A Simple Guide to Rabbet Joints in Woodworking
Master the art of Rabbet Joints for precise carpentry projects.

Rabbet joints might seem straightforward, but they’re a big deal in woodworking. These L-shaped grooves have been a reliable choice for centuries, offering strength and precision across projects like picture frames, cabinets, and bookshelves.
If you’re looking to take your carpentry skills up a notch, mastering rabbet joints is a great place to start. Let's break it down together.
What Is a Rabbet Joint?
A rabbet joint is a groove, usually rectangular, cut along the edge or end of a wooden board. This groove allows another piece of wood to fit in, creating a connection that’s both sturdy and seamless. The word “rabbet” comes from the French term rabattre, which means “to beat down” or “to reduce.”
What really makes rabbet joints shine is their strength. They have more gluing surface compared to a typical butt joint, thanks to their long-grain-to-long-grain contact. This stronger bond can hold up longer and perform better under pressure, whether in furniture or cabinetry.
Types of Rabbet Joints
Rabbet joints aren’t all the same. Here are the most common types and where you might use them:
Standard Rabbet
- What It Is: A simple groove cut along one edge of a board.
- Best For: Box construction, cabinet doors, and simple frames.
Double Rabbet
- What It Is: Both boards have matching rabbet grooves, so they lock together.
- Best For: High-stress areas like drawer construction.
Stopped Rabbet
- What It Is: A rabbet that doesn’t go the full length of a board, leaving a clean outer edge.
- Best For: Exposed joints, where you want a polished appearance.
Mitered Rabbet
- What It Is: A rabbet combined with a mitered edge for clean, angled corners.
- Best For: Projects where both strength and aesthetics matter, like decorative frames.
Why Choose Rabbet Joints?
Rabbet joints are practical and versatile because they’re strong, neat, and easy to conceal. Here are a few scenarios where they work particularly well:
- Cabinet Making: They create perfect alignment and clean reveals for doors and drawers.
- Picture Frames: The groove securely holds glass, artwork, and backing materials while making edges look flawless.
- Drawer Bottoms: Rabbeted sides keep drawer bottoms sturdy and prevent rattling.
- Bookcases: A rabbeted back gives the panel a snug fit without the need for visible screws.
Rabbet joints are also popular in exterior work, like shiplap siding, where their overlapping fit helps keep out drafts and water.
How to Cut a Rabbet Joint
Cutting a rabbet joint might sound tricky, but with the right tools and methods, it becomes second nature. Here’s a step-by-step breakdown:
1. Planning Your Cut
- Decide how deep and wide your rabbet needs to be. A good rule of thumb is to make the depth about one-third to one-half of the board's thickness.
- Mark your cut lines using a marking gauge or pencil for precision.
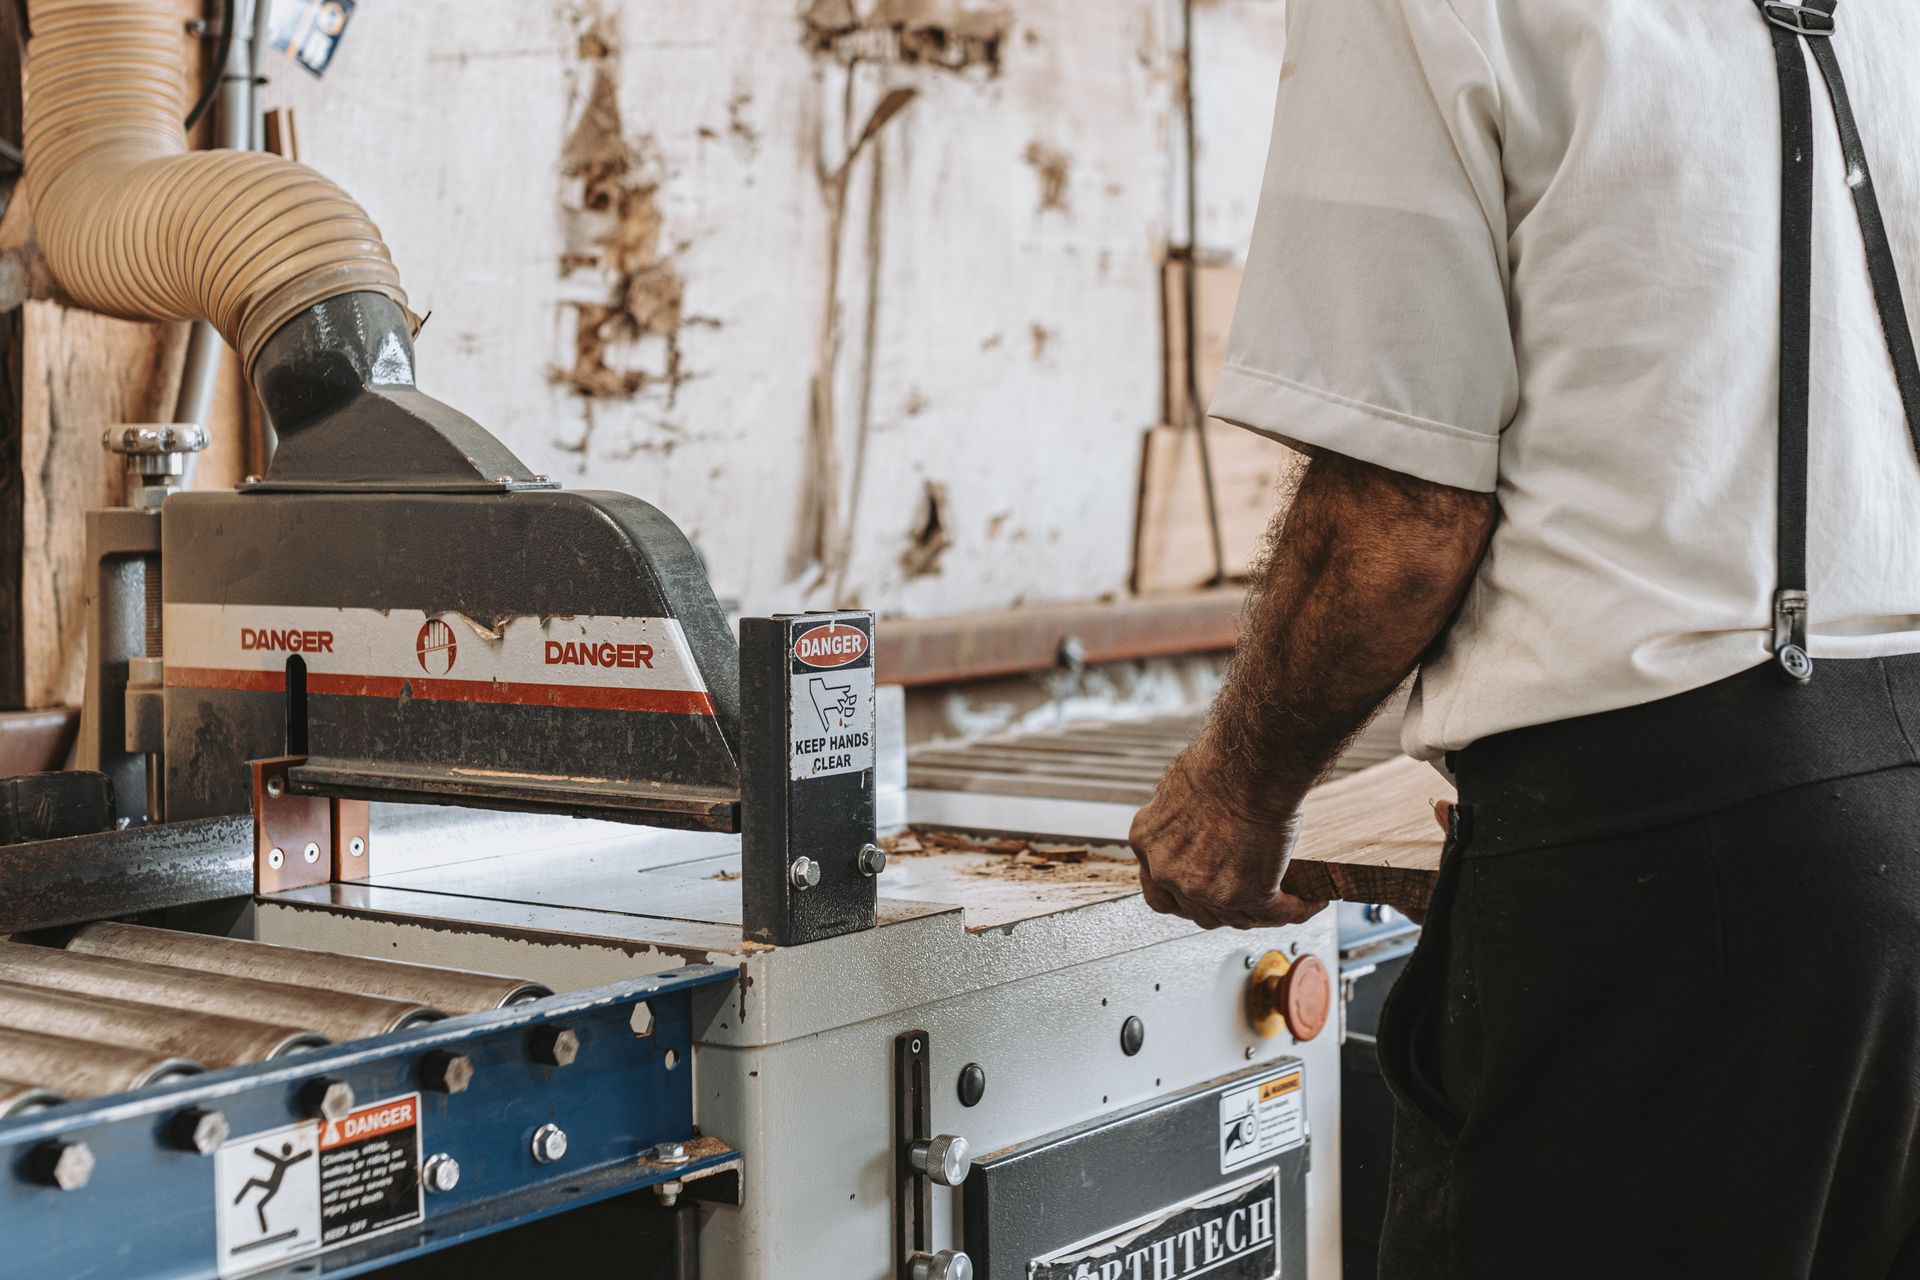
2. Choosing Your Tools
You can cut rabbets using several tools. Each method has its own benefits:
- Table Saw: Perfect for straight, precise cuts. Use a dado blade for speed or make several passes with a standard blade.
- Router: Great for versatility, especially with curved edges or stopped rabbets. A rabbet bit makes the job easier.
- Hand Planes: For traditionalists, a rabbet plane provides a quiet, precise option.
3. Cutting Process
- Double-check your tool settings for depth and width.
- Make test cuts on scrap wood to ensure accuracy.
- Cut your rabbet slowly and steadily, checking alignment as you go.
4. Final Touches
- Smooth rough edges with sandpaper or a chisel for a professional finish.
- Dry-fit the joint before gluing to ensure everything lines up perfectly.
Avoiding Common Mistakes
Even with practice, mistakes can happen. Here’s how to avoid or fix common problems:
- Wrong Proportions: A rabbet that’s too shallow won’t hold well, and one that's too deep can weaken the board. Stick to the one-third depth rule for balance.
- Tear-Out: Cutting against the grain can cause splintering. To avoid this, score your cut line with a sharp knife or use a backing board.
- Misaligned Joints: An uneven rabbet results from inaccurate measurements or tool setups. Always double-check before cutting.
- Sagging Boards: Long pieces should be fully supported during cutting to ensure straight, clean lines.
Tips for Strengthening
Rabbet joints are already reliable, but a few extra steps can make them even stronger:
- Use the Right Glue
Apply wood glue evenly on both surfaces for the strongest bond. Wipe off any excess before it dries. - Add Reinforcements
- Drive small nails or screws into the joint for added durability.
- Wooden pins make for a traditional-looking reinforcement.
- Metal corner brackets secure the joint if looks aren’t a concern.
- Clamp Properly
Clamp with steady, moderate pressure. Too much force will squeeze out glue, while too little won’t hold the joint snugly.
Tools of the Trade
Investing in the right tools makes all the difference. Bring these woodworking essentials to your toolbox for rabbet projects:
- Marking Gauge for precise layout.
- Table Saw for straight and efficient cuts.
- Router Bits that do the heavy lifting in creating rabbets.
- Rabbet Plane for fine, detailed work on small or decorative joints.
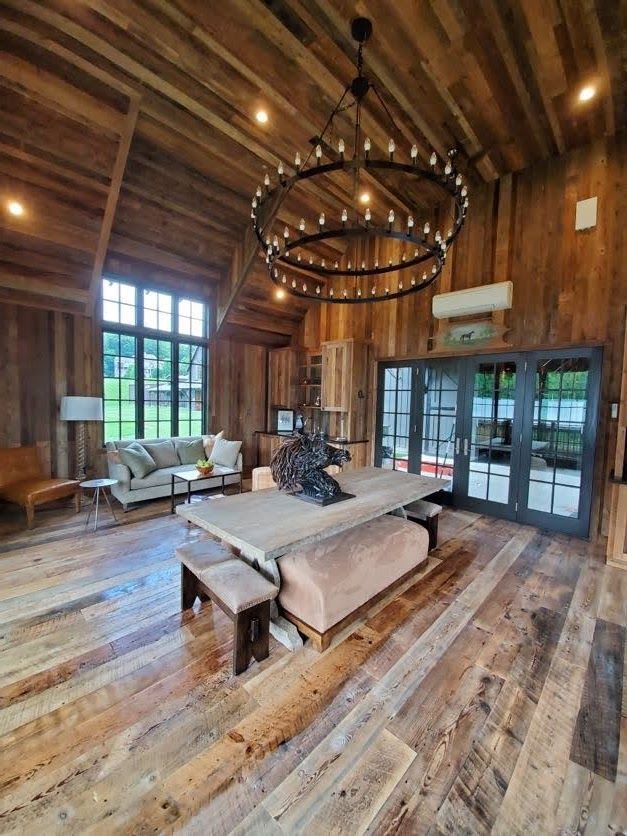
The Classic Appeal
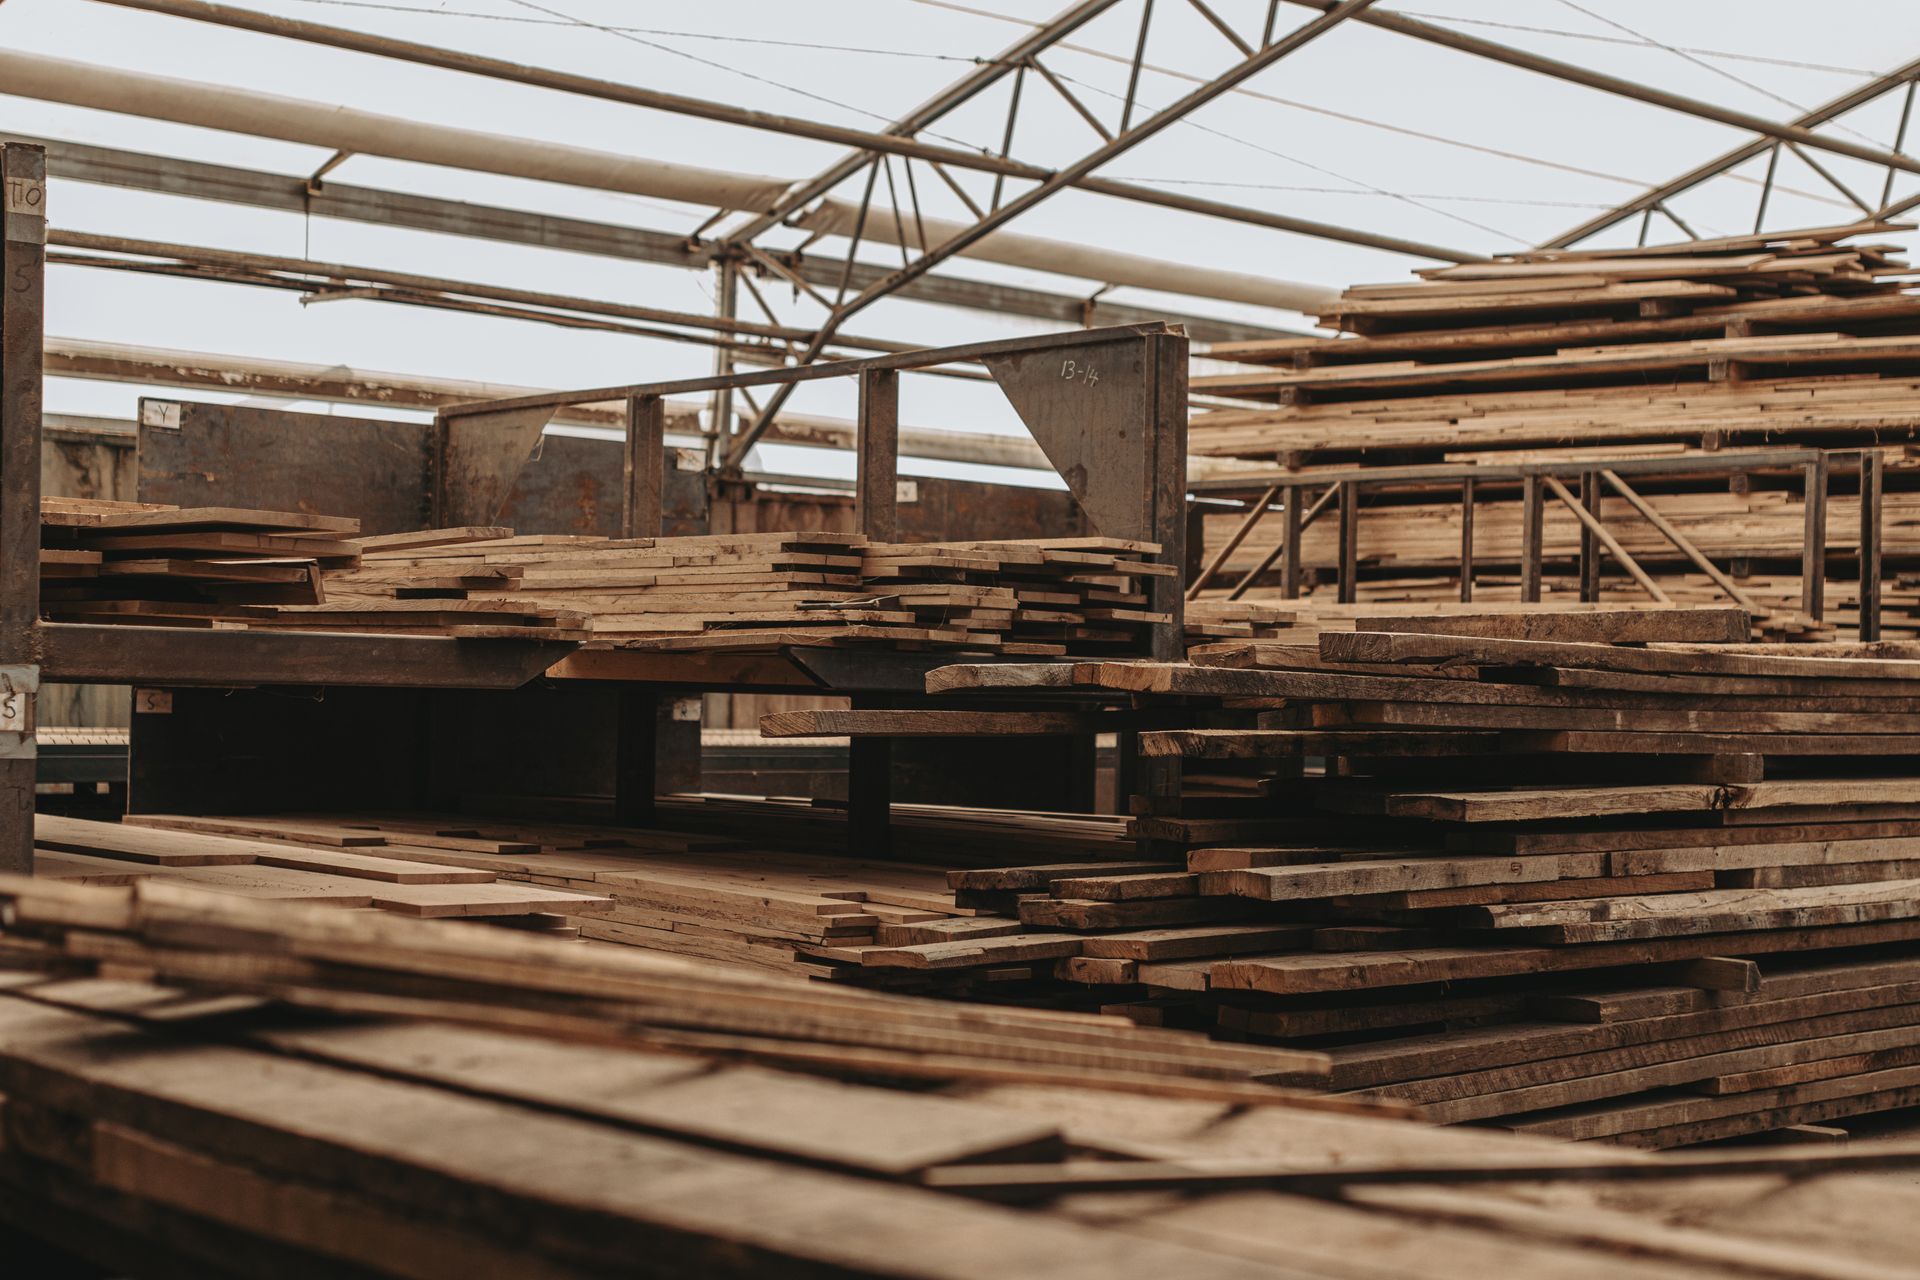
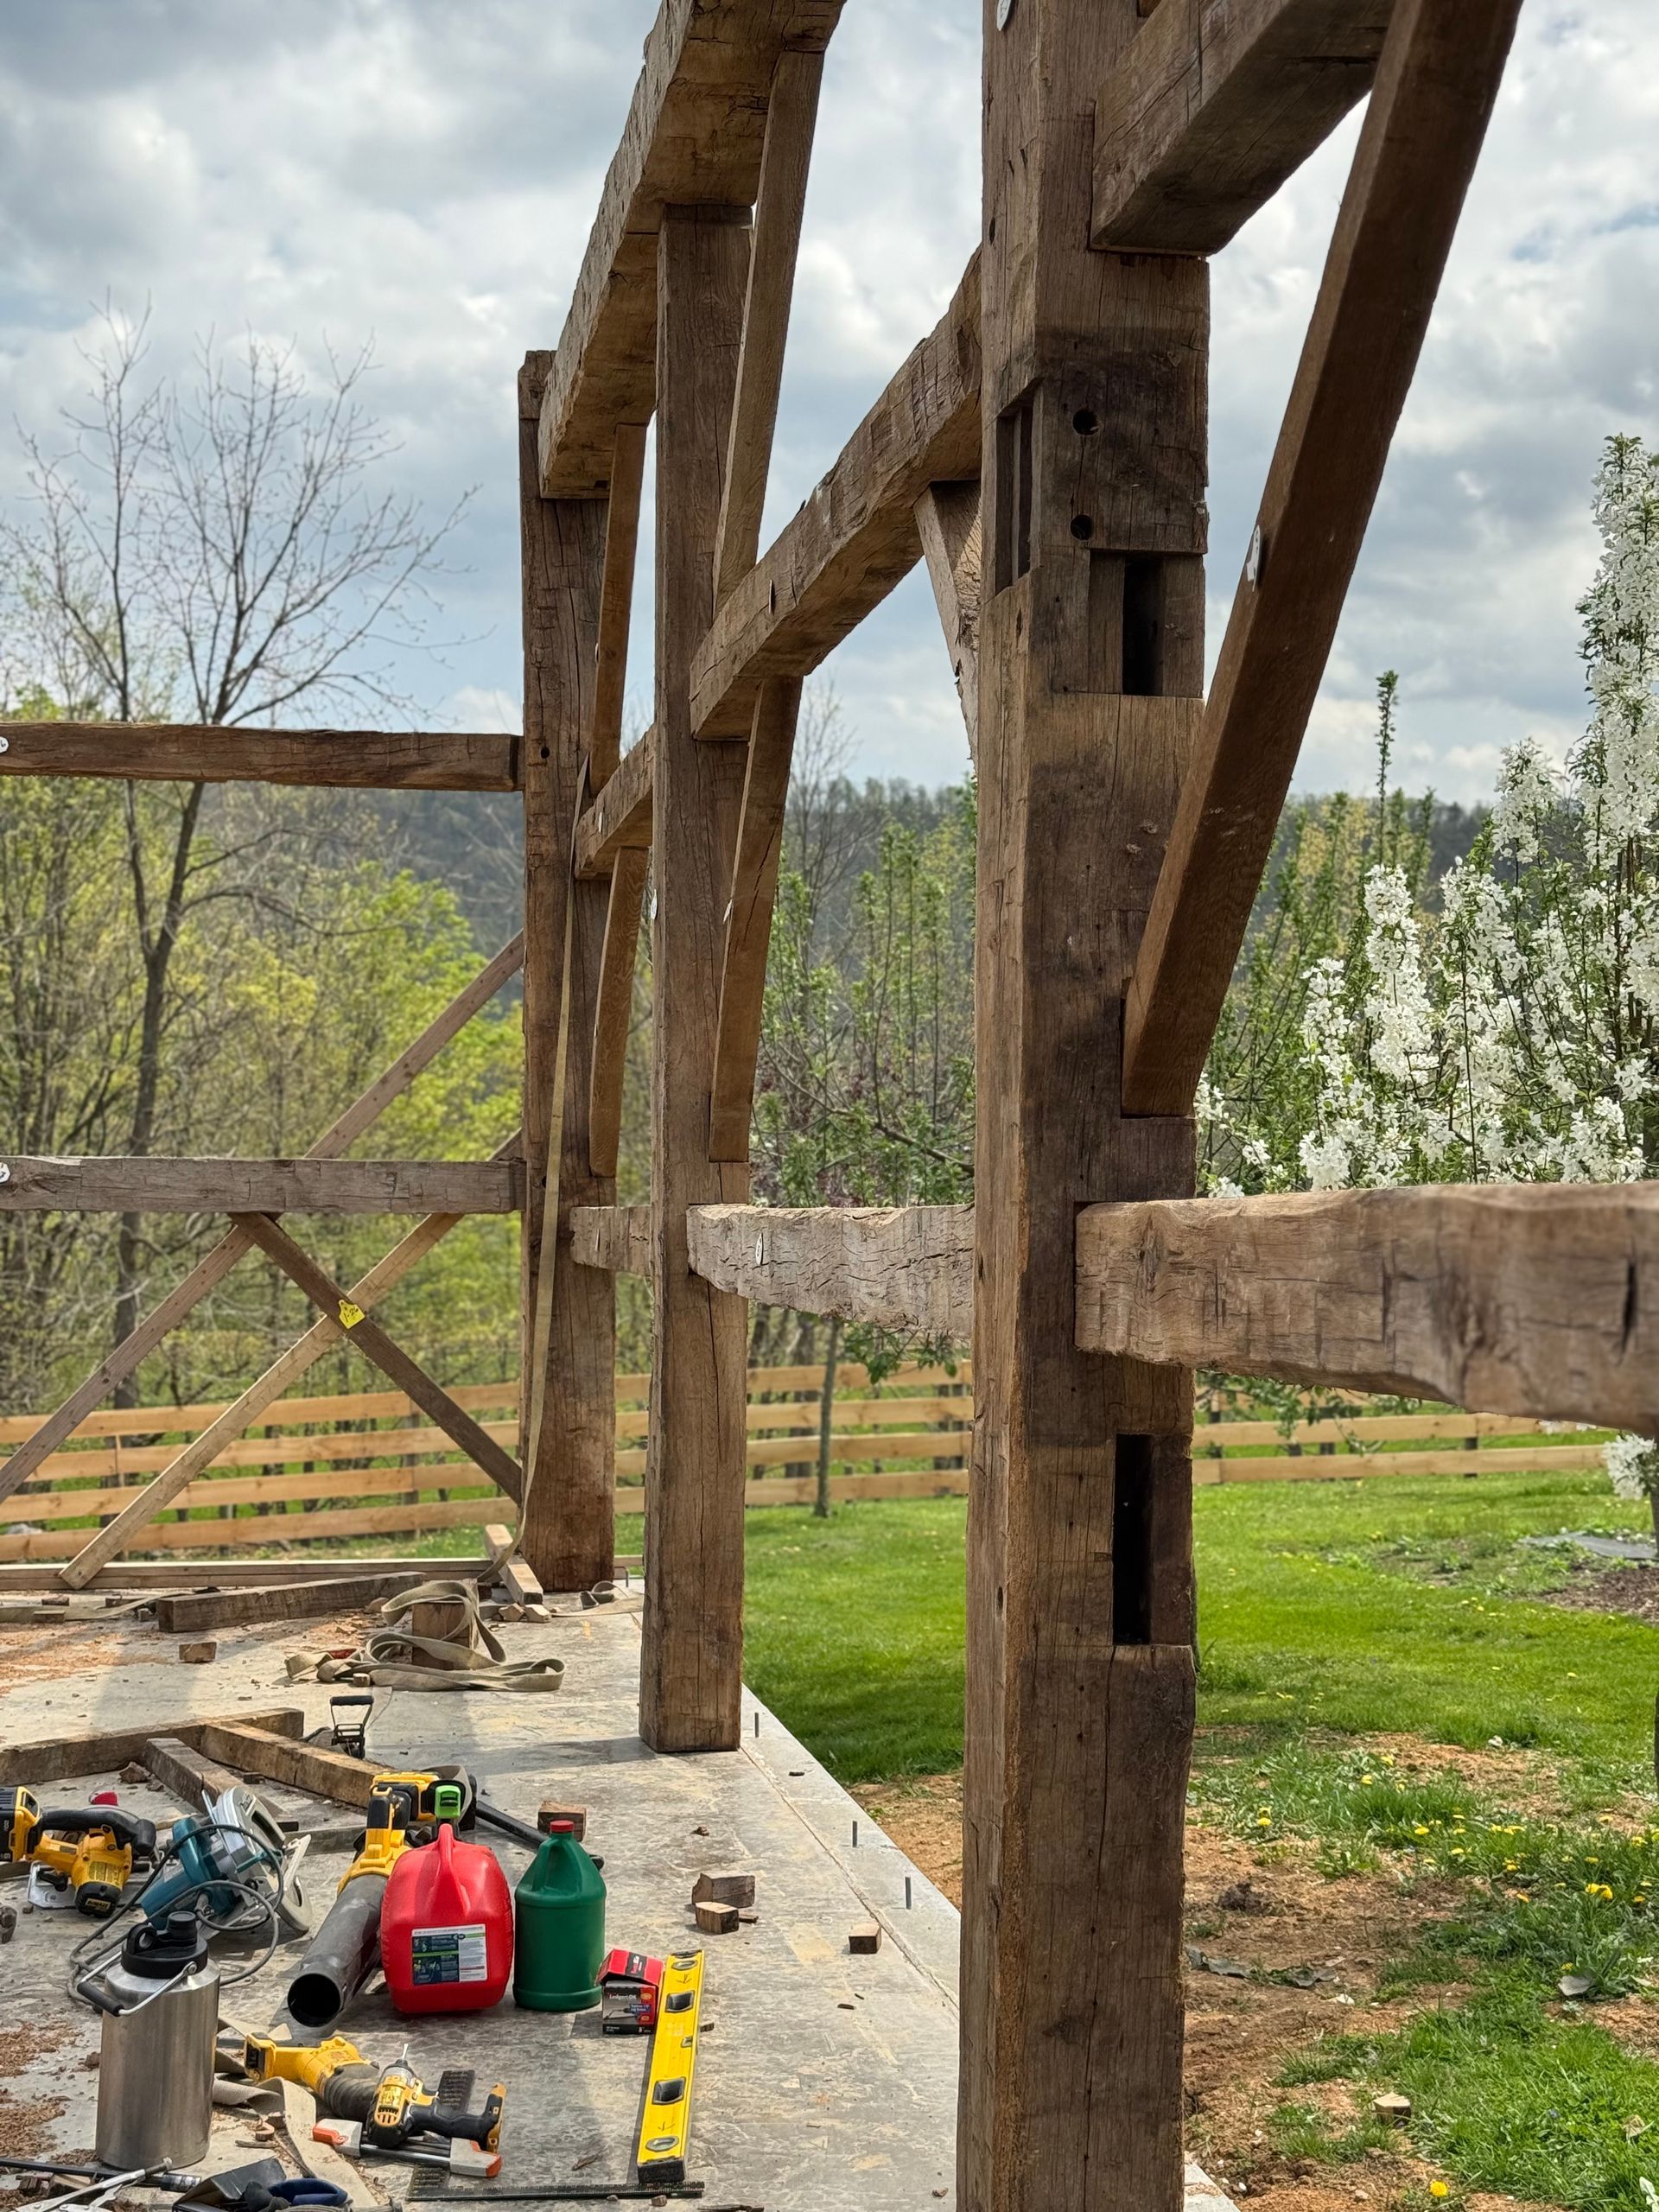
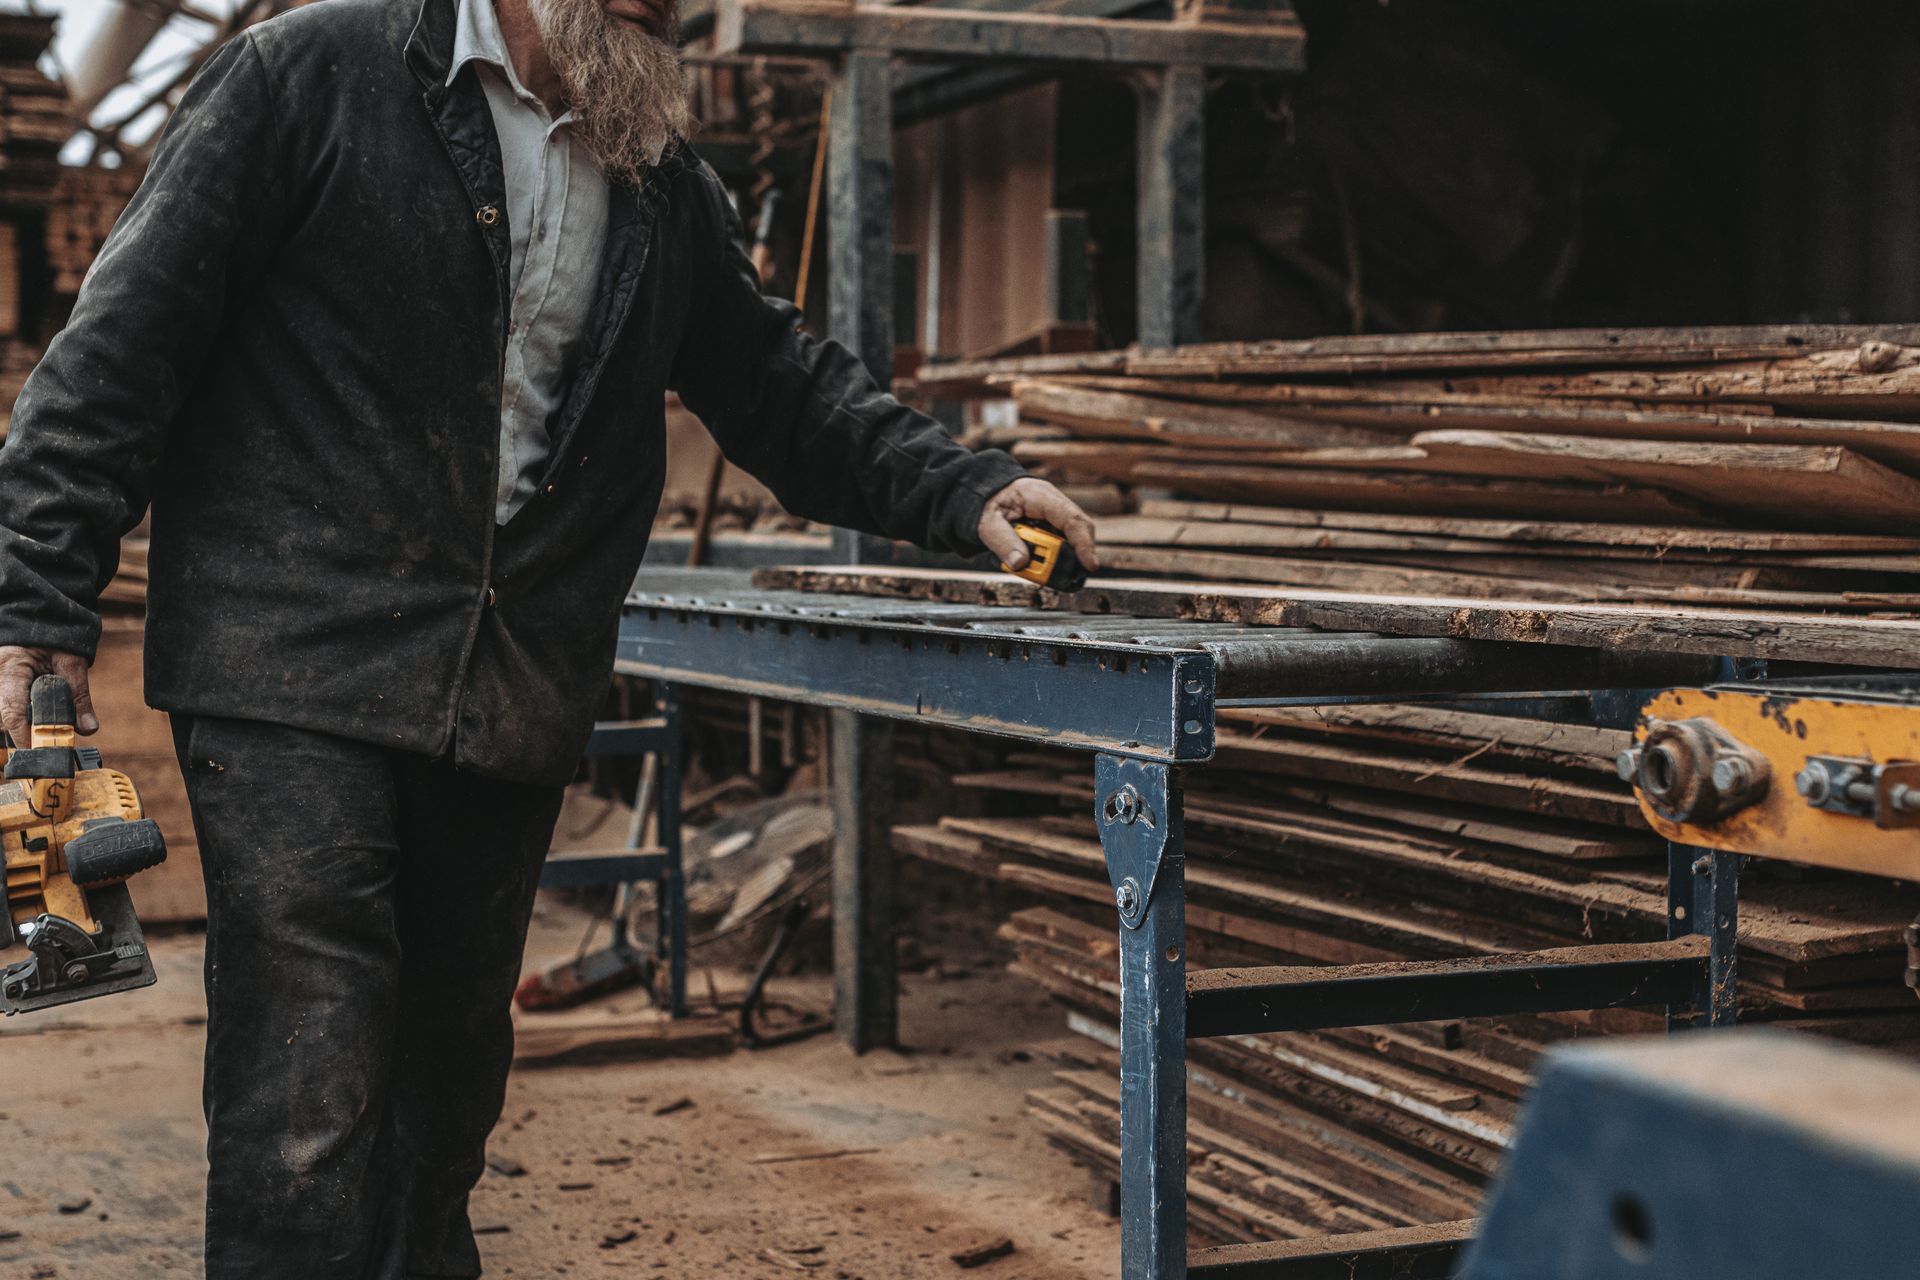
At Bay & Bent, we work with lots of old timber frames, and we often come across rabbet joints that have held up for hundreds of years. These joints, created entirely with hand tools, serve as a reminder of how timeless and effective traditional joinery techniques can be. They inspire us to focus on quality and precision in every woodworking project we take on.
Whether you’re crafting a simple box or restoring something historic, rabbet joints are a foundational technique that any woodworker can master. From their strength to their clean look, they offer both functionality and style, proving why they’ve been a go-to method for generations.
Final Thoughts
Rabbet joints are one of the most useful techniques in woodworking. They’re easy to learn, endlessly versatile, and look great when done right. By perfecting this joint, you’ll be able to tackle all kinds of projects, from sleek furniture to sturdy cabinetry.
The best part? Rabbet joints prove that great carpentry doesn’t always need to be complicated. With a bit of practice, some basic tools, and a careful approach, your rabbet joints will stand the test of time.