What Are Dado Joints? A Simple Guide for Beginners and Experts
Master the art of Dado Joints with this beginner-to-expert guide.
Ever wondered how shelves stay sturdy or how cabinets seem to hold everything so securely? The secret is often hidden in plain sight, thanks to a woodworking technique called a dado joint. This easy yet powerful method has been used for centuries and can take your woodworking skills to the next level.
Whether you’re just starting out or have years of experience, understanding dado joints is a must for anyone serious about building strong, long-lasting furniture.
What's a Dado Joint?
At its core, a dado joint is a groove or channel cut across the grain of a wood board. Another piece of wood fits snugly into this groove, creating a strong and stable connection. Think of it like puzzle pieces coming together, but with added strength. The groove’s depth can vary depending on the project.
Why are dado joints so popular? They create a mechanical hold, distributing weight evenly and reducing the reliance on glue or nails. This makes them one of the most reliable choices for shelving units, cabinets, and other structures where durability matters.
Types of Dado Joints
Not all dado joints are the same. Here are the most common types and where you might use them:
1. Through Dado
This is the simplest type of dado joint. It cuts completely across a board, edge to edge. You’ll often find dados in bookshelves, where the shelves sit securely in grooves cut into the side panels.
2. Stopped Dado (Blind Dado)
A stopped dado doesn’t run all the way across the board. Instead, it stops short of one or both edges, leaving the outer surface smooth and clean. This is a great choice when you want the strength of a dado without it being visible on the finished product.
3. Rabbet Dado
This is a combination joint that includes both a dado and a rabbet. It’s common in cabinetry where extra strength is needed to support heavy loads.
When Should You Use Dado Joints?
Dado joints are versatile and can be used in many woodworking projects. Here are a few examples:
- Shelving: Dado joints are perfect for bookshelves and kitchen cabinets. They can handle heavy loads without sagging over time.
- Cabinet Making: Professional cabinetmakers rely on dado joints for strong connections, especially where the sides, tops, and bottoms of cabinets meet.
- Drawers: Dados are sometimes used to attach drawer bottoms to the drawer sides. While dovetail joints are more common, dados still provide a solid connection.
- Built-ins: When building desks, entertainment centers, or other permanent furniture installations, dado joints offer long-term strength and stability.
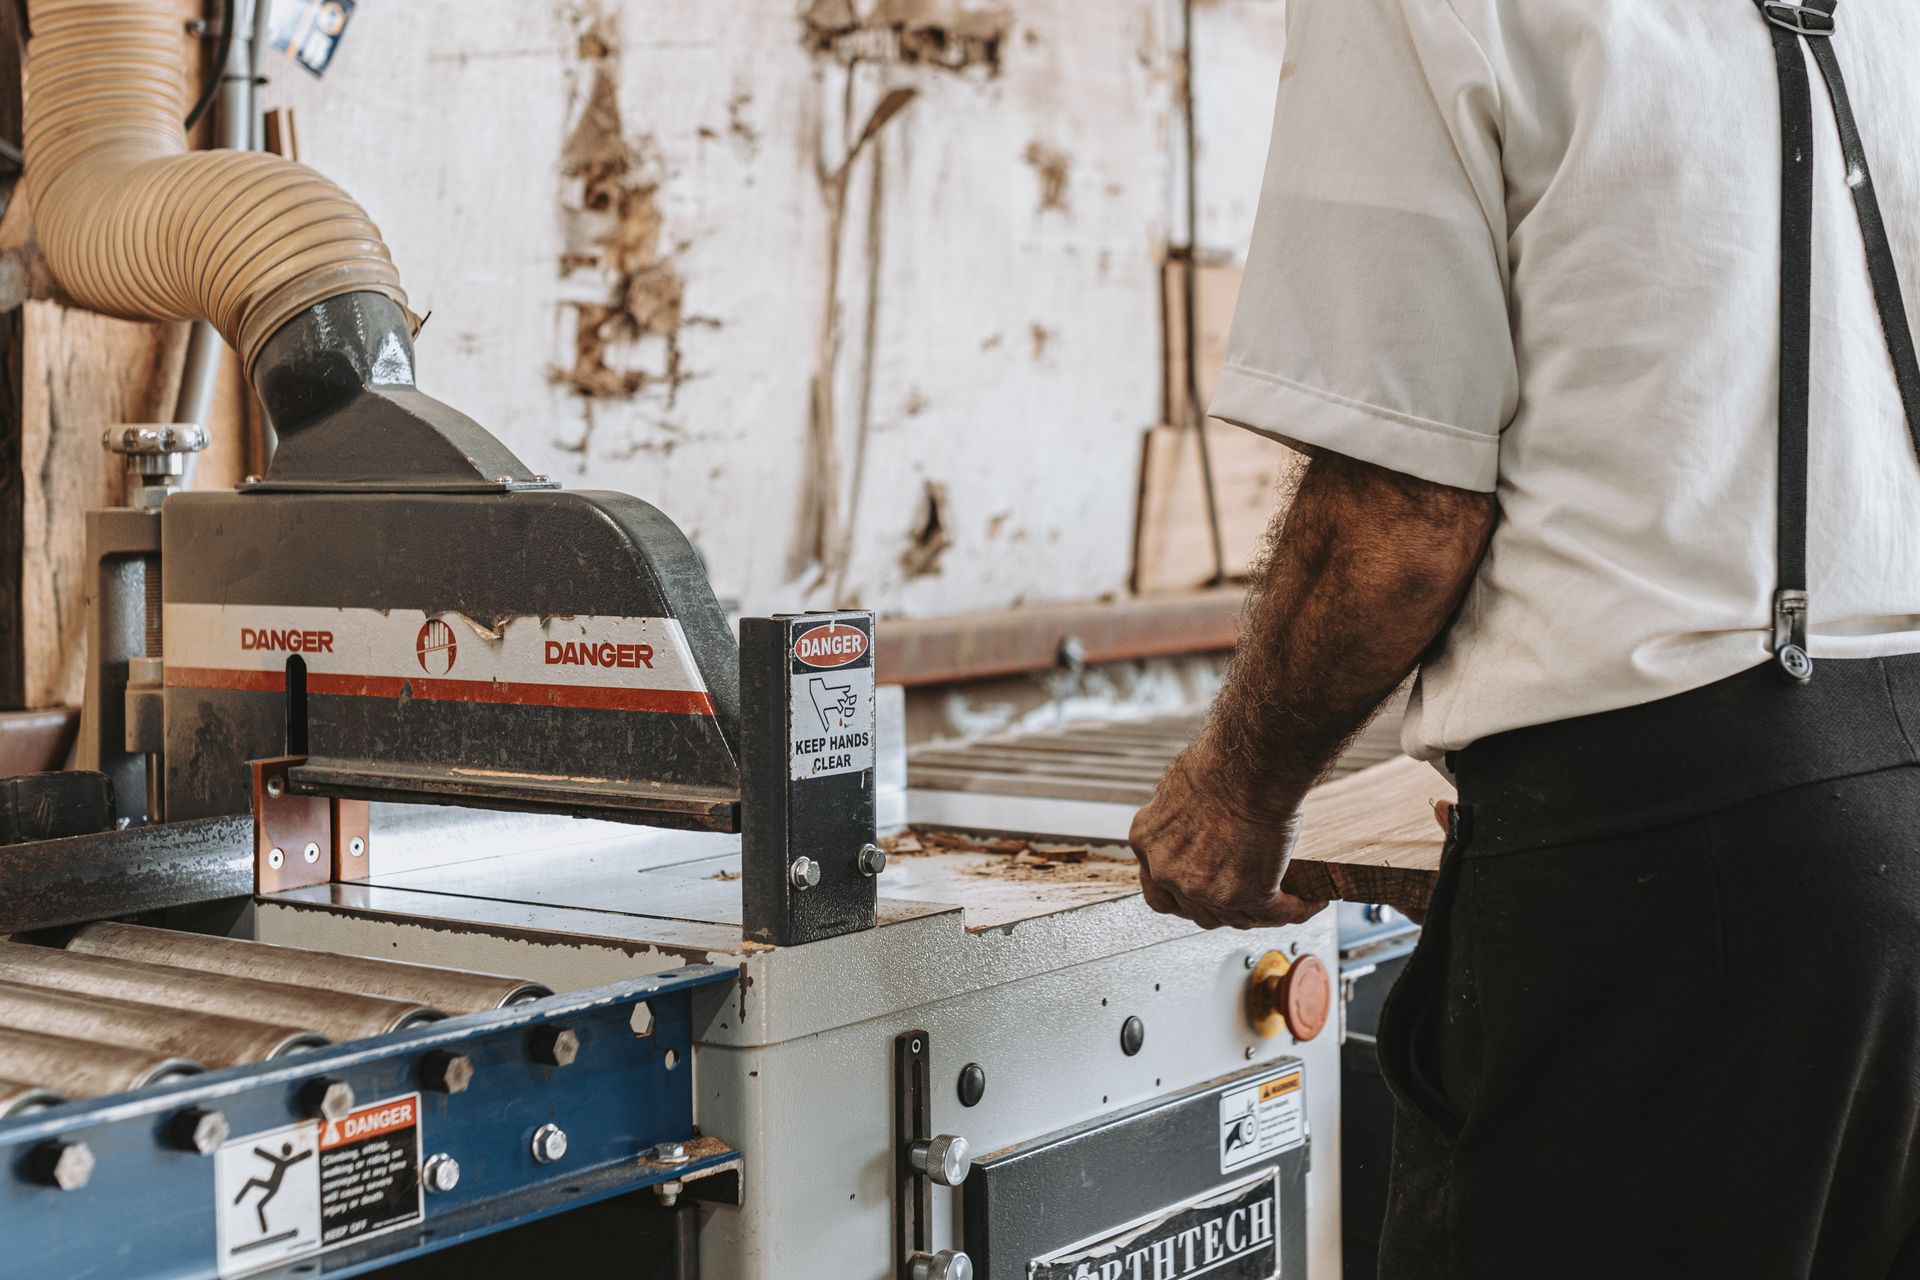
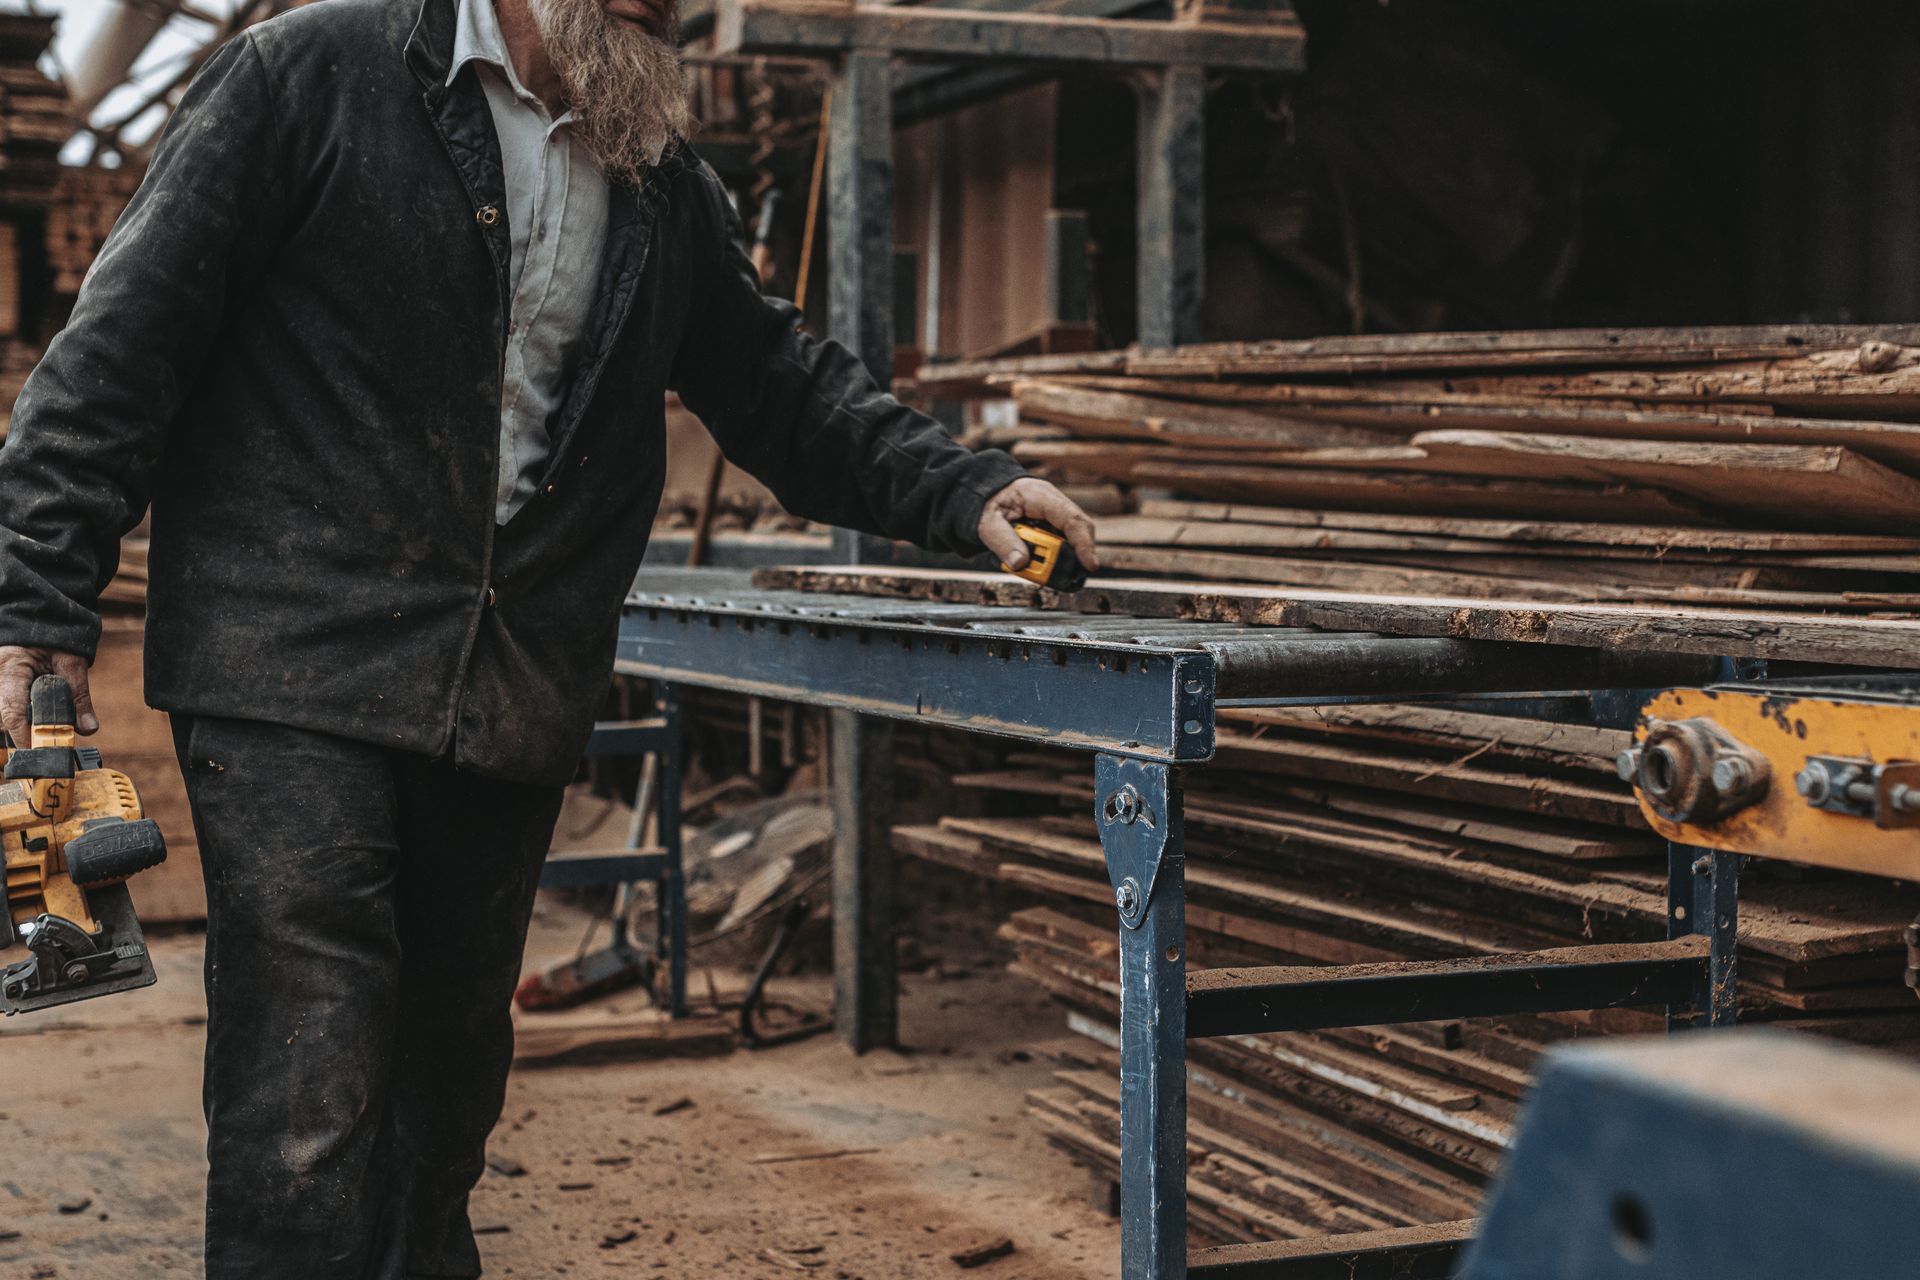
How to Cut a Dado Joint
Cutting a precise dado joint isn’t hard, but it does take a little know-how. Here’s a basic guide to help you get started:
Tools You’ll Need
- A table saw with a dado blade set (ideal for most projects).
- A router with a straight bit (great for stopped dados).
- A circular saw (useful for through dados).
- Chisels and a hand saw if you want to go old school.
Step-by-Step Instructions
- Mark Your Cuts: Use a pencil and square to mark where your dado will go. Double-check your measurements because precision matters.
- Set the Depth: A good rule is to make your dado about one-third to one-half the thickness of the receiving board.
- Make Test Cuts: Always practice on scrap wood first to ensure the groove is the right fit.
- Cut in Steps: Don’t try to cut the full groove depth all at once. Take multiple shallow passes for a cleaner cut and avoid splintering.
- Clean It Up: Use a chisel to smooth out any rough spots and ensure the bottom of the groove is flat.
Common Mistakes to Avoid
Even though dado joints are simple, there are some common mistakes to watch for:
- Going Too Deep: A groove deeper than half the board thickness can make the wood weak. Stick to the one-third rule for a strong joint.
- Cutting With the Grain: Dados should always be cut across the grain of the wood. Cutting with the grain weakens the joint and increases the risk of splitting.
- Poor Measurements: Precision is everything in woodworking. Even a slightly loose or tight dado can cause problems during assembly.
- Ignoring Wood Movement: Wood expands and contracts with changes in humidity. Plan your cuts carefully, especially for larger panels.
At Bay & Bent, We Respect the Classics
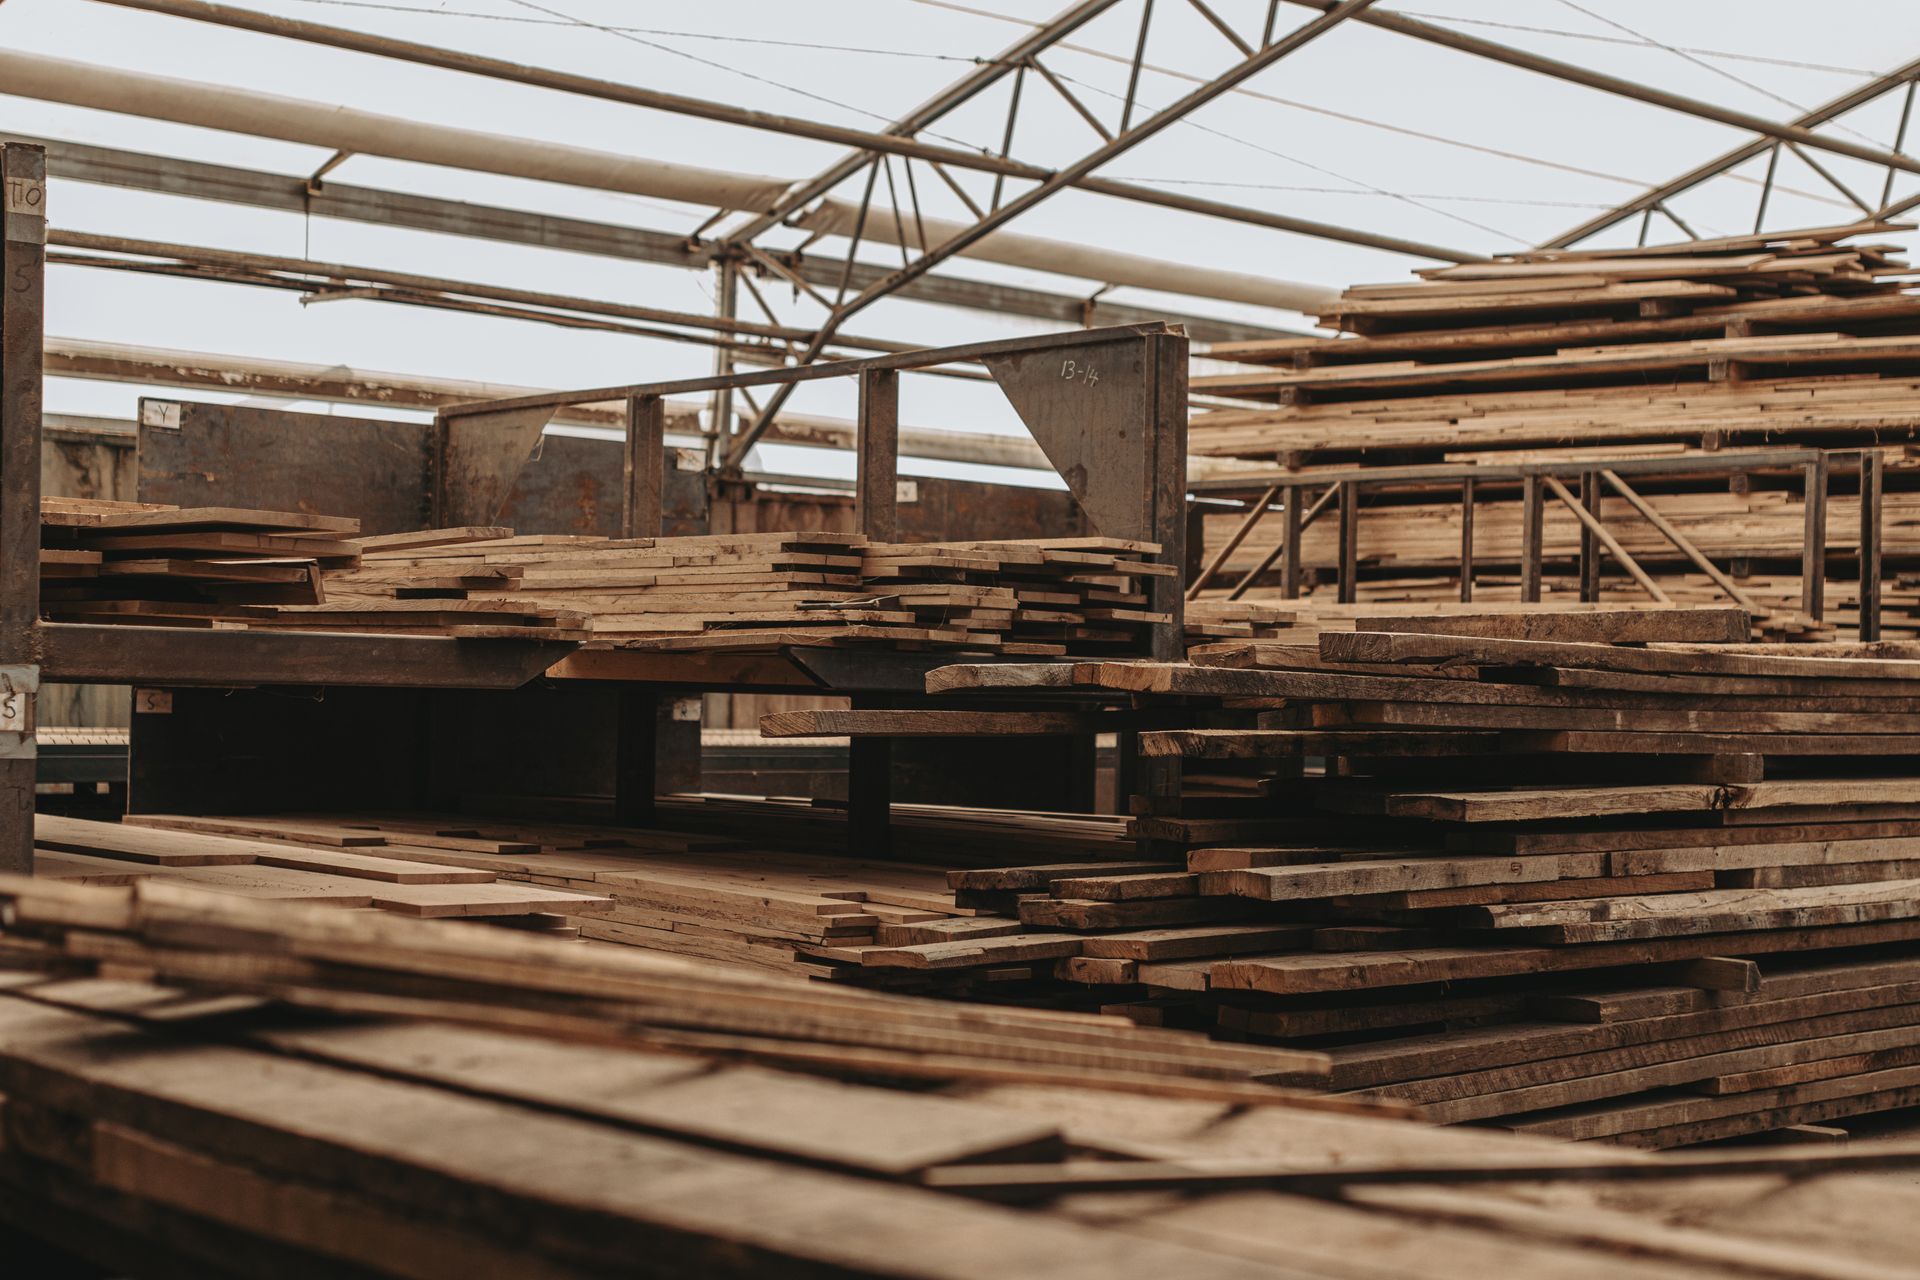
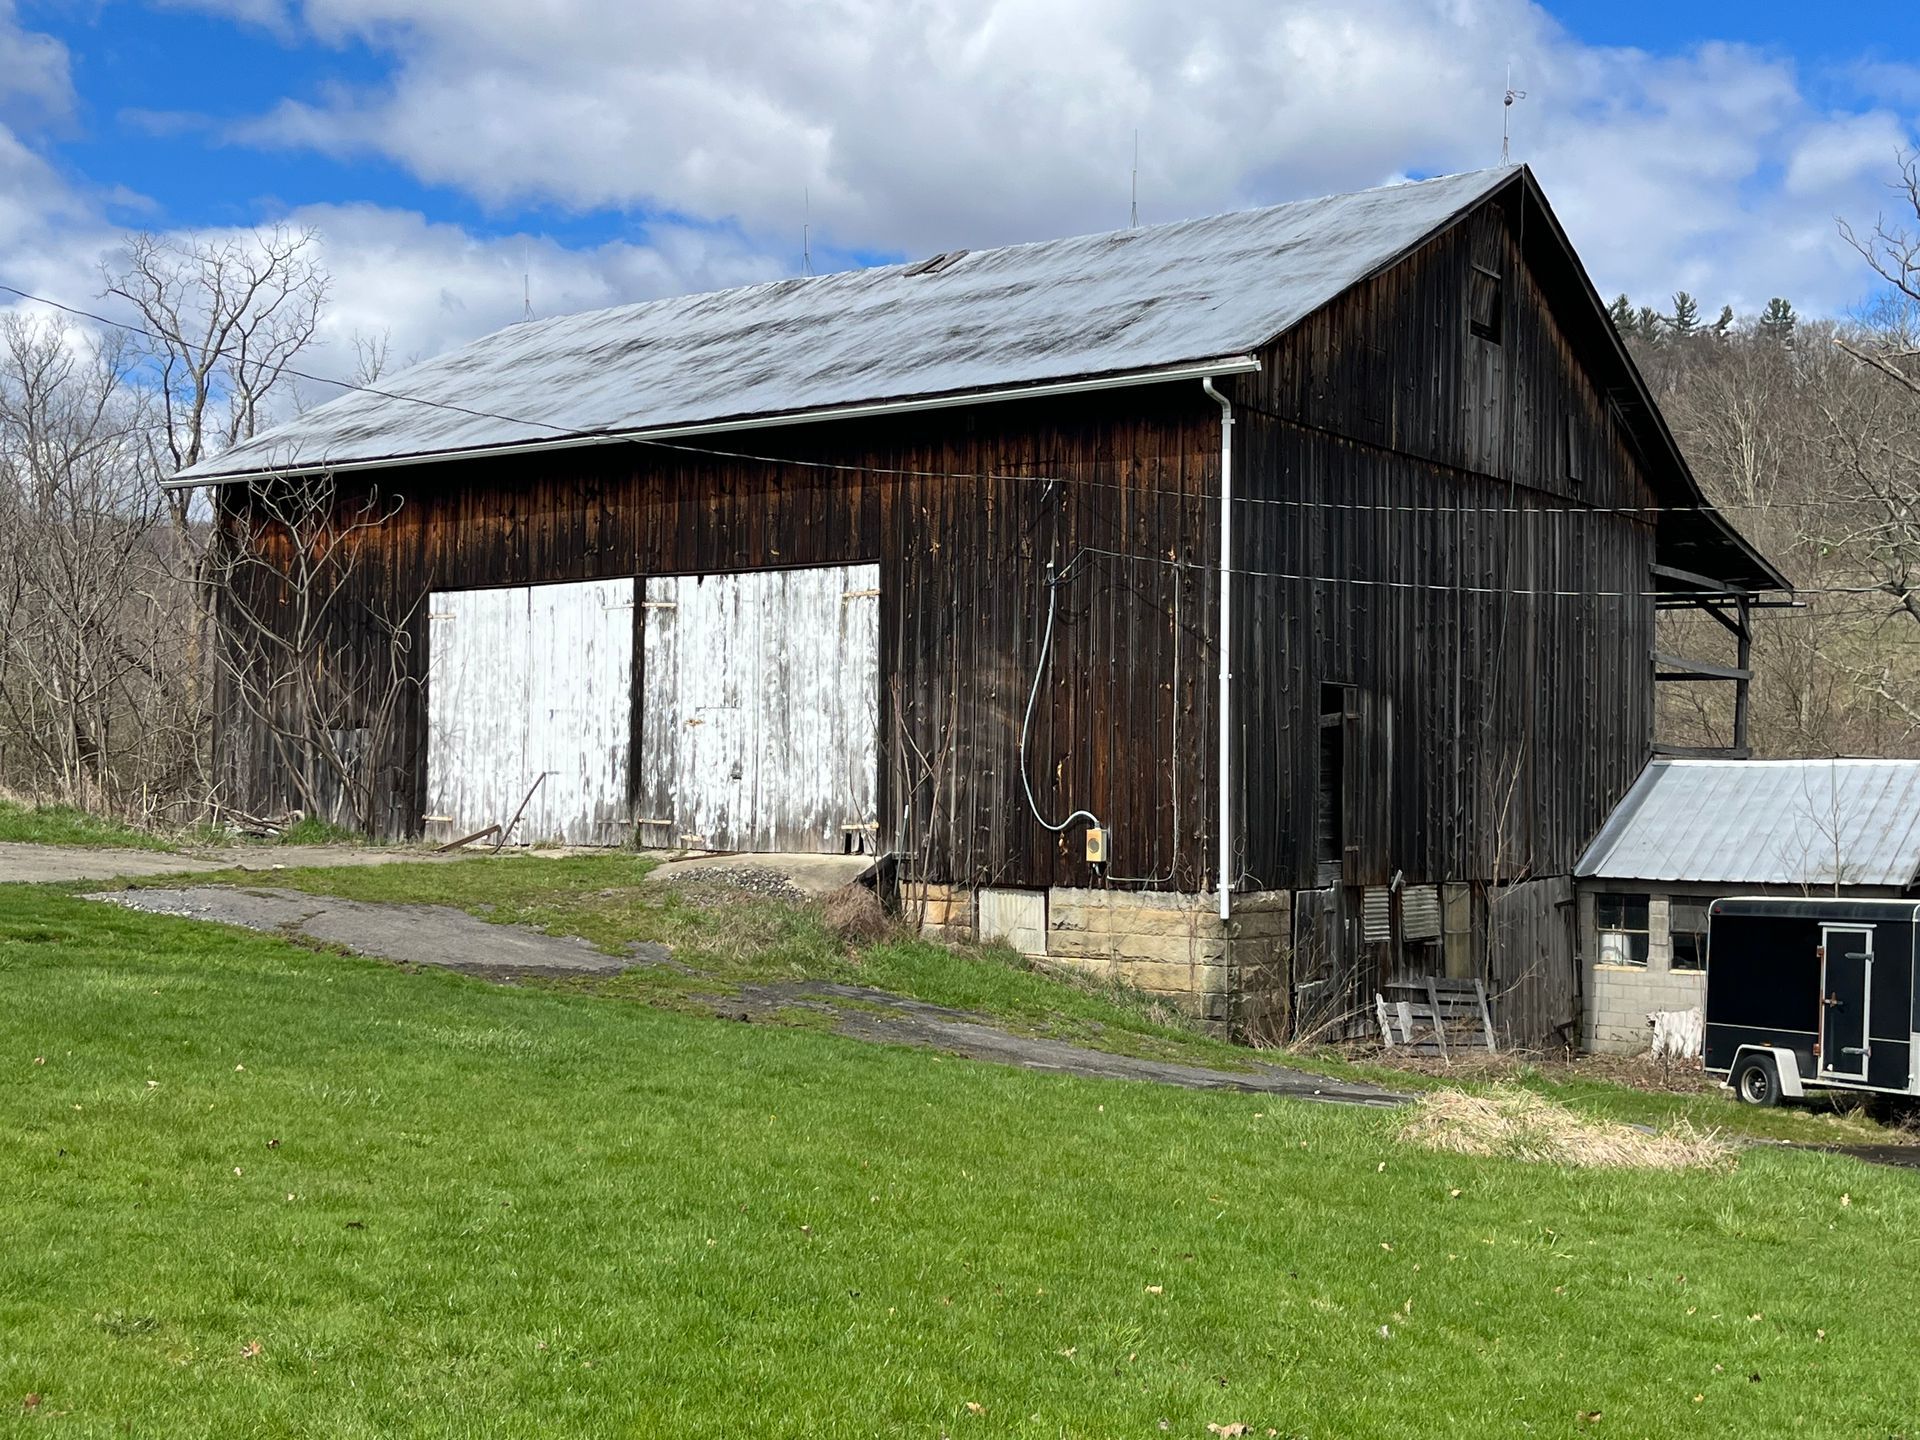
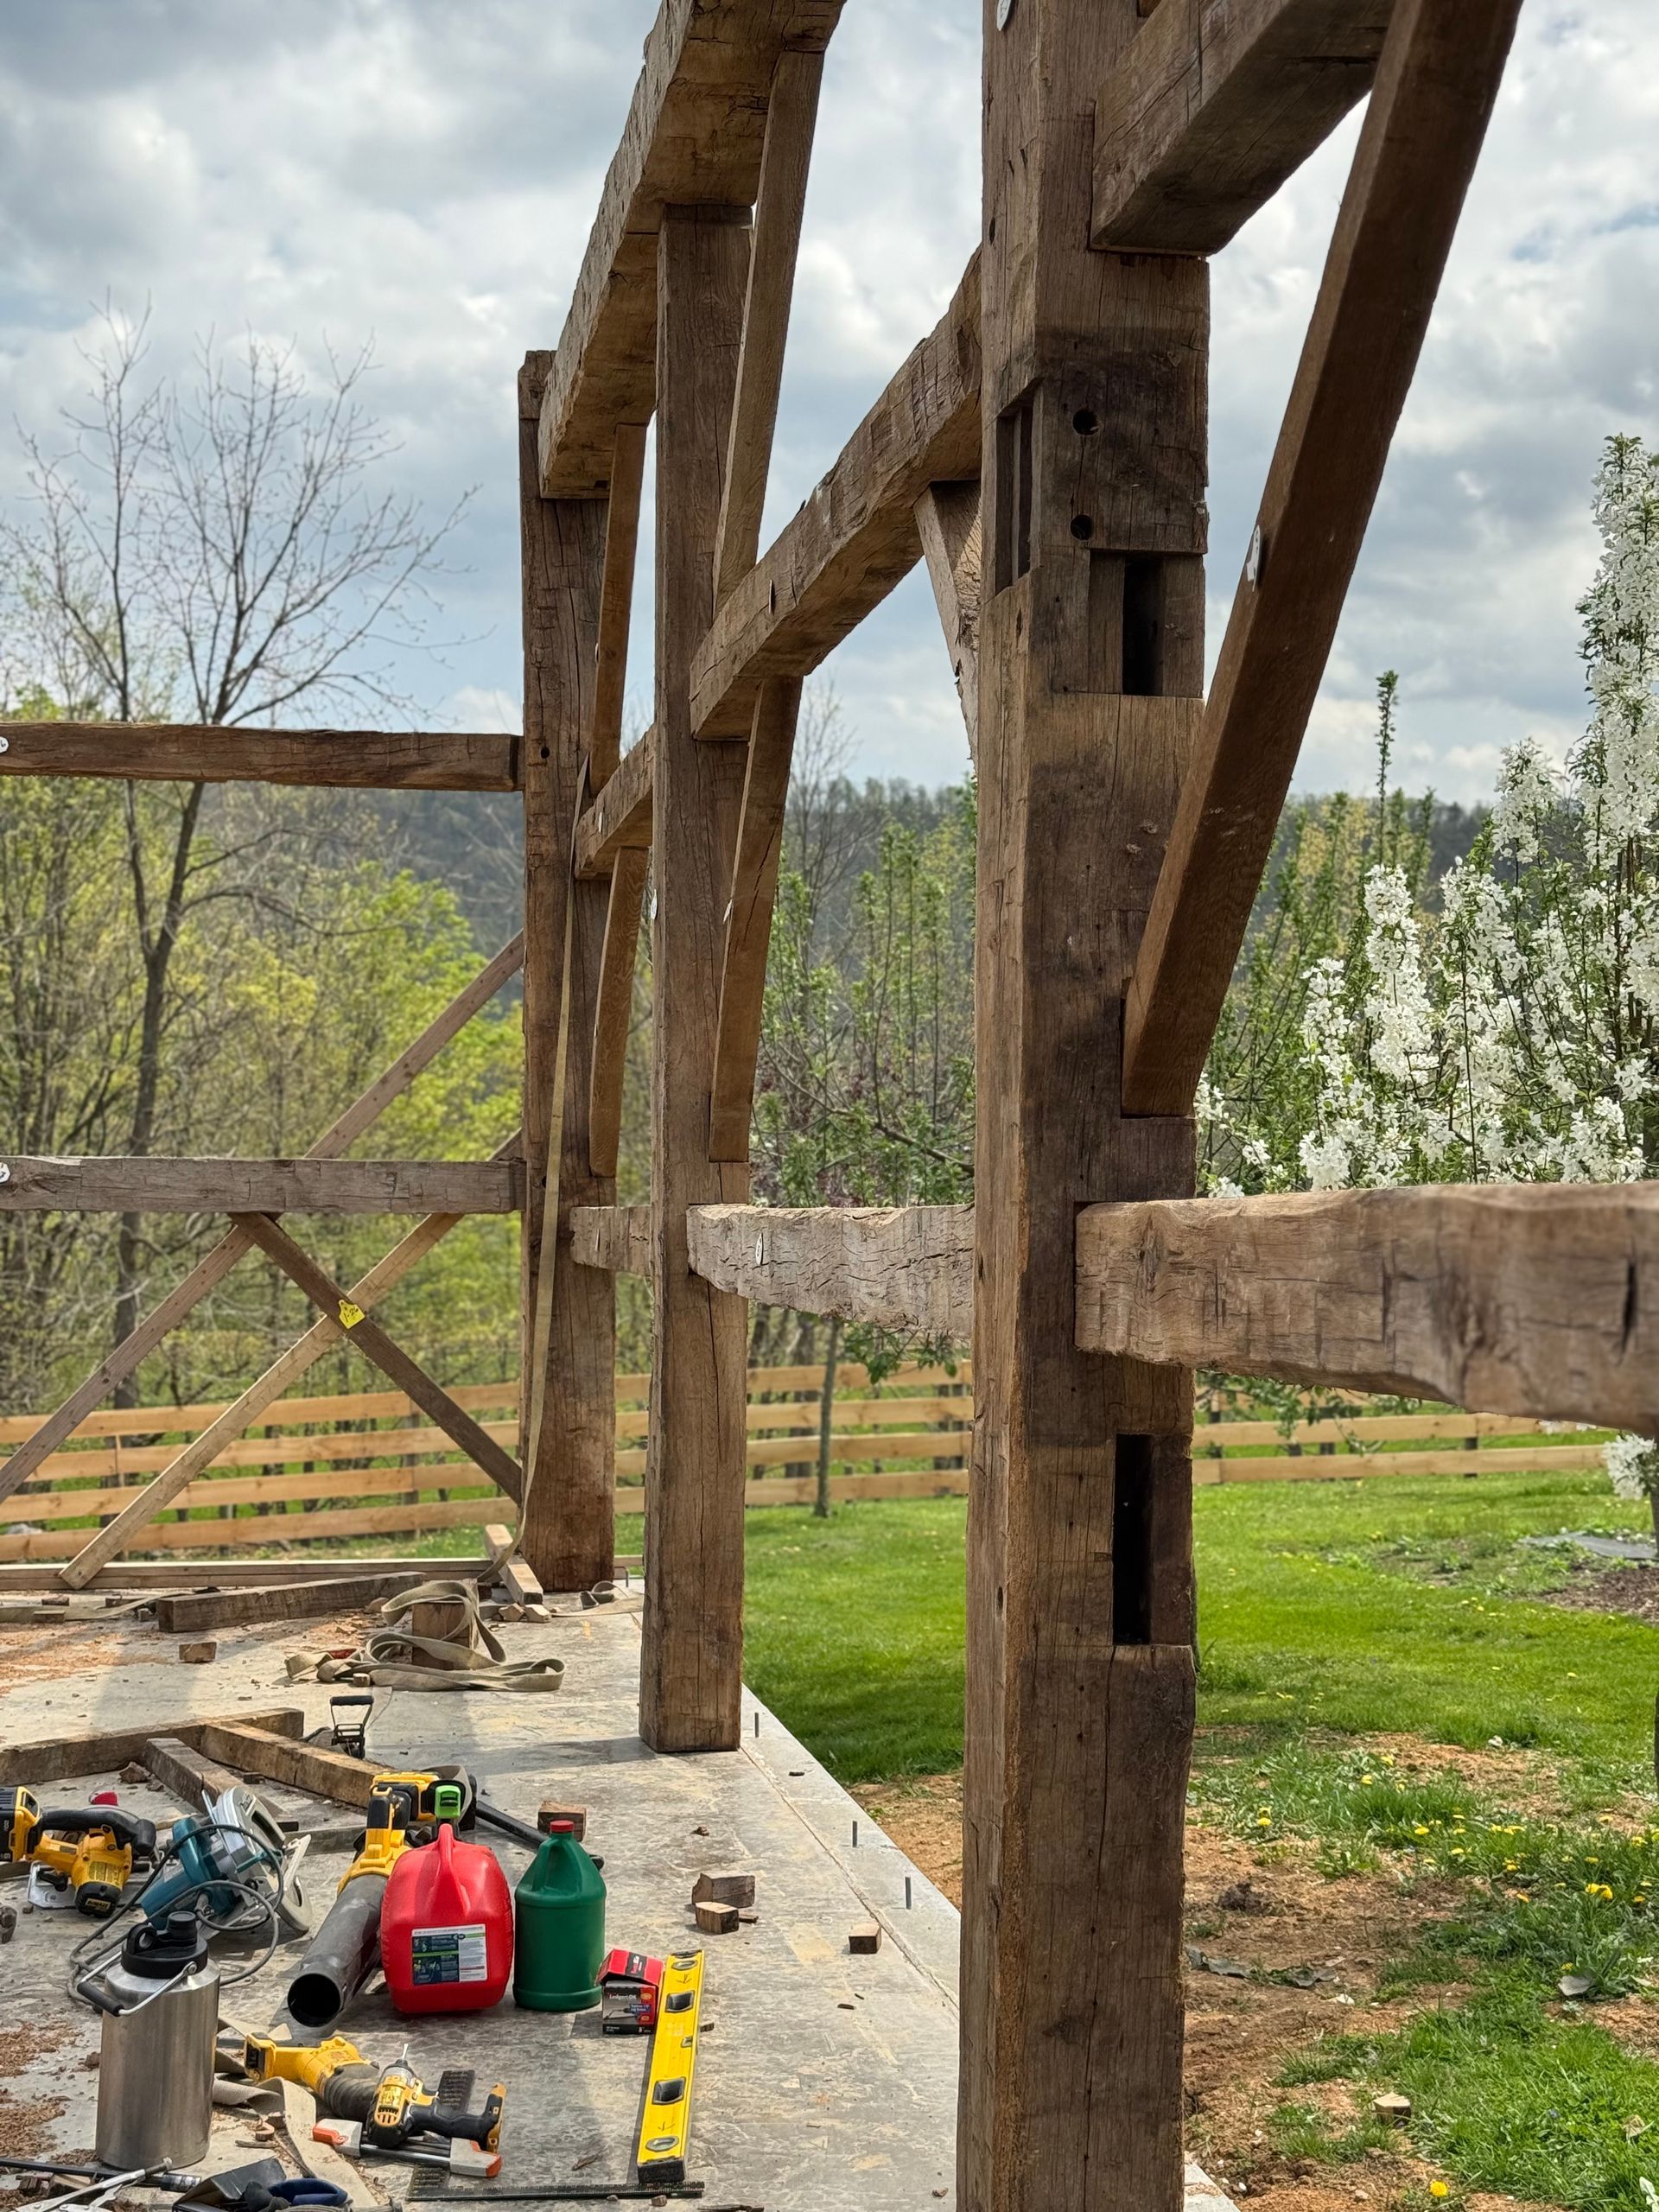
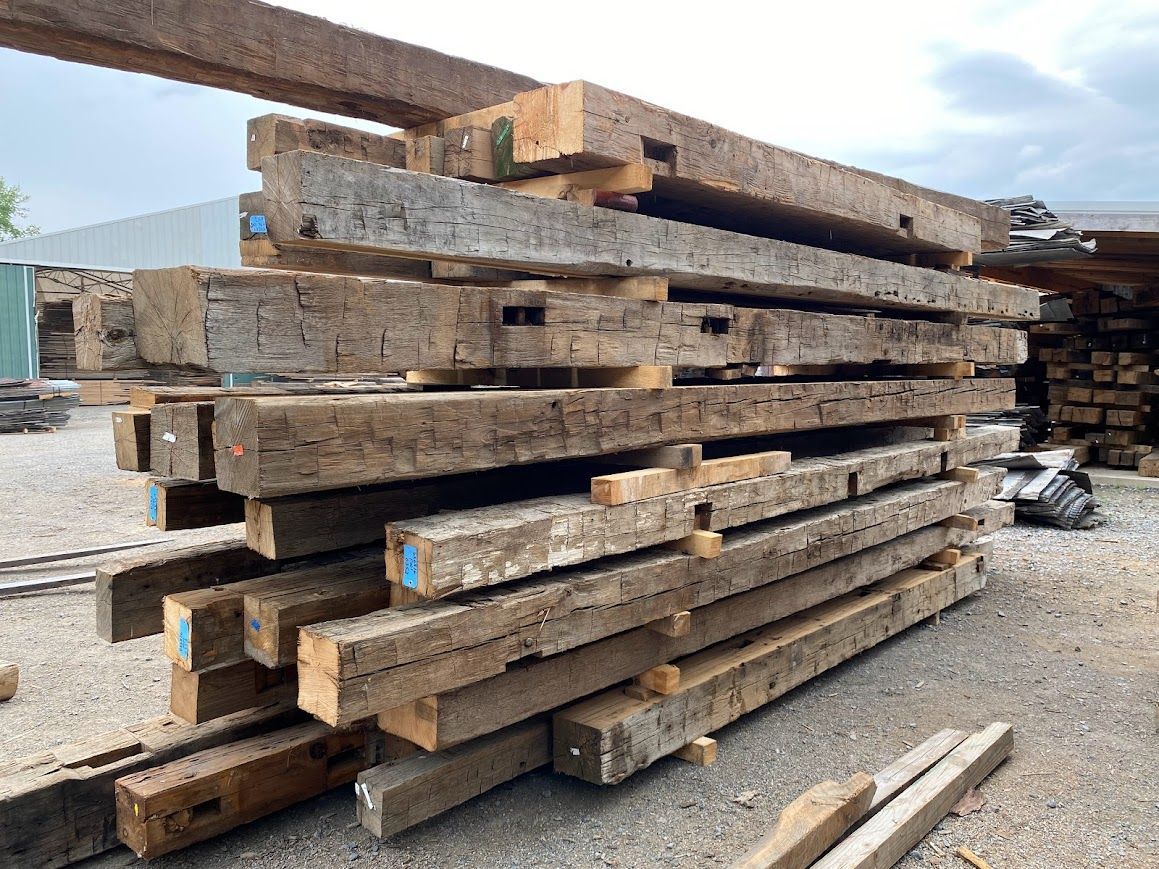
Here at Bay & Bent, we’ve worked on restoring historic timber frames for years. One thing we’ve learned from studying 18th- and 19th-century buildings is how vital dado joints are in traditional woodworking. The dados we find in historic barns and homes are often cut entirely by hand, showing just how much skill and precision went into these structures.
When we repair or restore a timber frame, we often replicate these joints to maintain the structural integrity and honor the craftsmanship of the original builders. Seeing how well these joints have held up after hundreds of years reminds us of why they’re still essential today.
Modern Tools, Timeless Results
Today, modern tools make cutting dado joints easier and faster than ever. Table saws and routers provide precision and control, even for beginners. However, no matter how advanced the tools, the basics of a good dado joint haven’t changed. Accurate measurements, proper technique, and a solid understanding of wood behavior are essential for success.
Add Strength to Your Dado Joints
Want to make your dado joints even stronger? Here are a few tips:
- Use Glue Wisely: Apply a thin, even layer of wood glue inside the groove. Avoid over-gluing, as the excess can weaken the connection.
- Add Fasteners: Screws or nails driven through the joint from the outside can add extra stability, especially in large or heavy furniture pieces.
- Clamp It Down: Use clamps to hold the pieces together while the glue dries. This ensures a tight and strong bond.
The Bottom Line
Dado joints are a perfect example of how simplicity and technique can create something lasting. Whether you’re building a simple bookshelf or tackling a custom cabinet project, mastering this joint will open up endless possibilities in your woodworking.
Next time you see a sturdy bookcase or an elegant cabinet, take a moment to appreciate the hidden dado joints keeping it all together. These grooves may be invisible, but their strength is undeniable. Why not try cutting a dado joint in your next project? You’ll see firsthand why this timeless technique has endured through the ages.