Lap Joints 101: A Simple Guide for Beginners
Master lap joints with step-by-step techniques and essential tips
Are you ready to move beyond basic woodworking joints but not quite ready to tackle something as complex as a mortise and tenon? Lap joints are a great next step. These joints are strong, versatile, and simple enough for beginners to learn quickly.
Lap joints have been used for centuries and show up in everything from garden projects to historic timber-framed buildings. Mastering this type of joint will expand your woodworking skills and give you the confidence to take on more advanced projects.
What Is a Lap Joint?
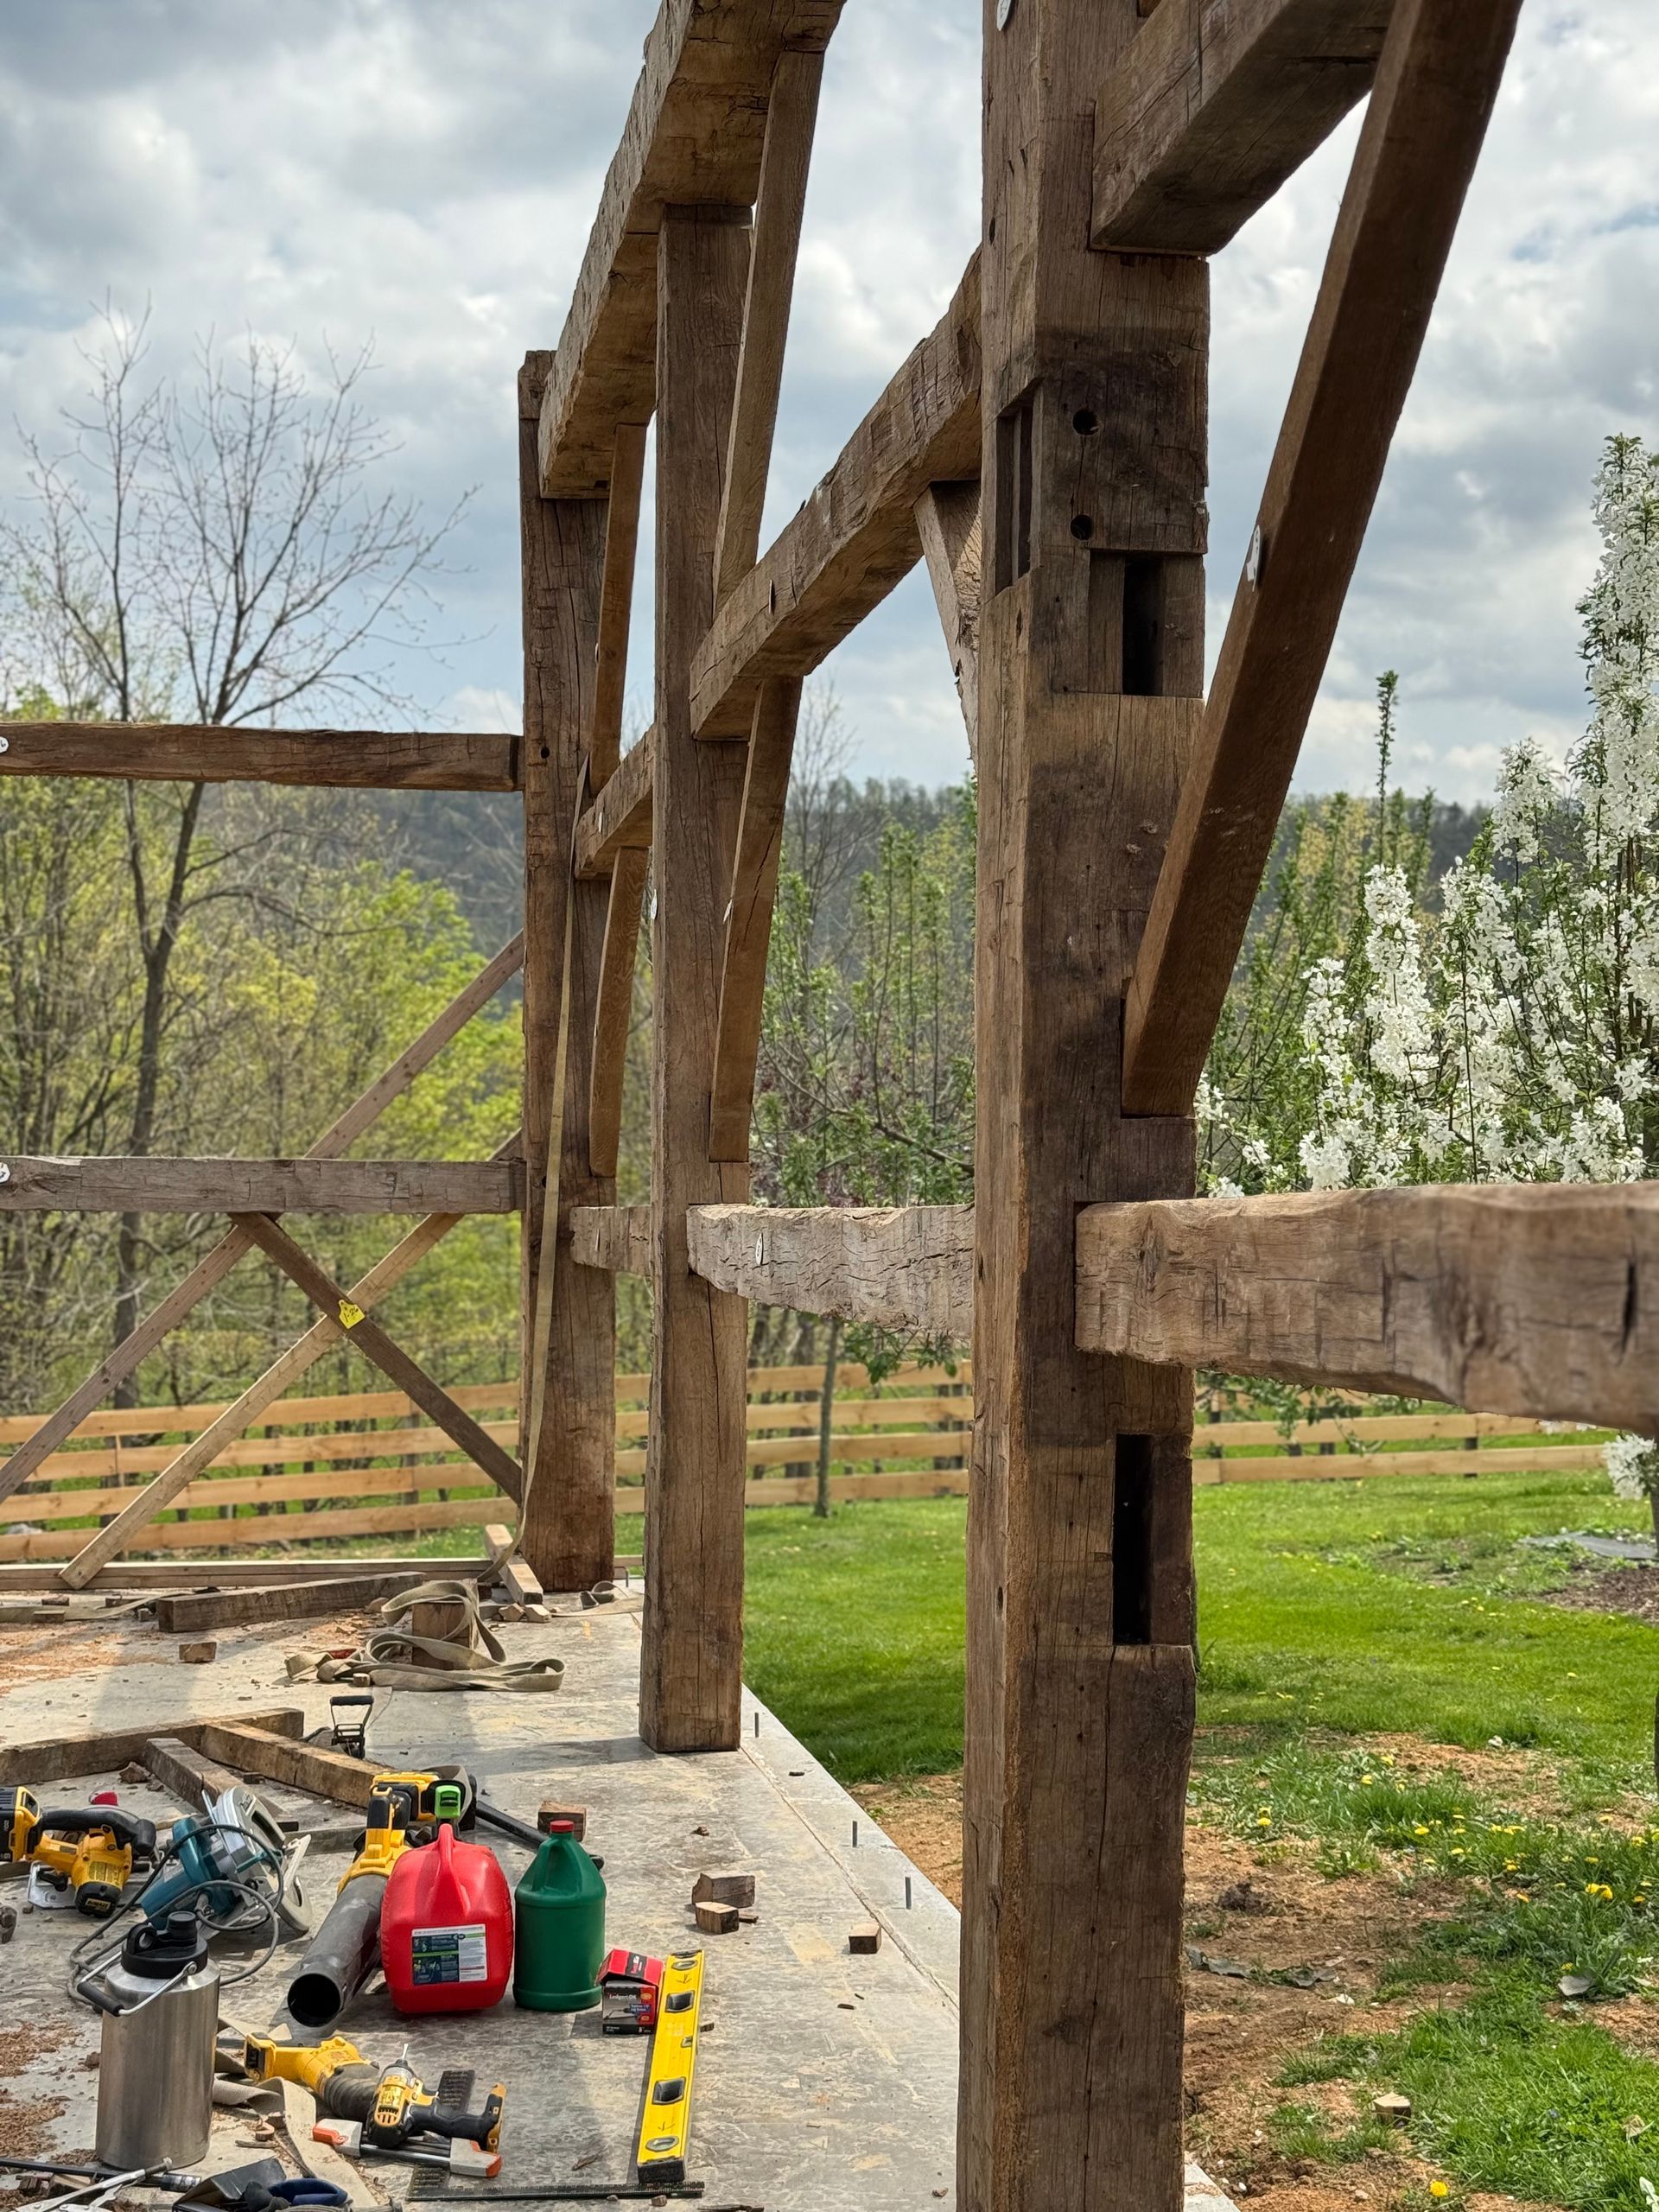
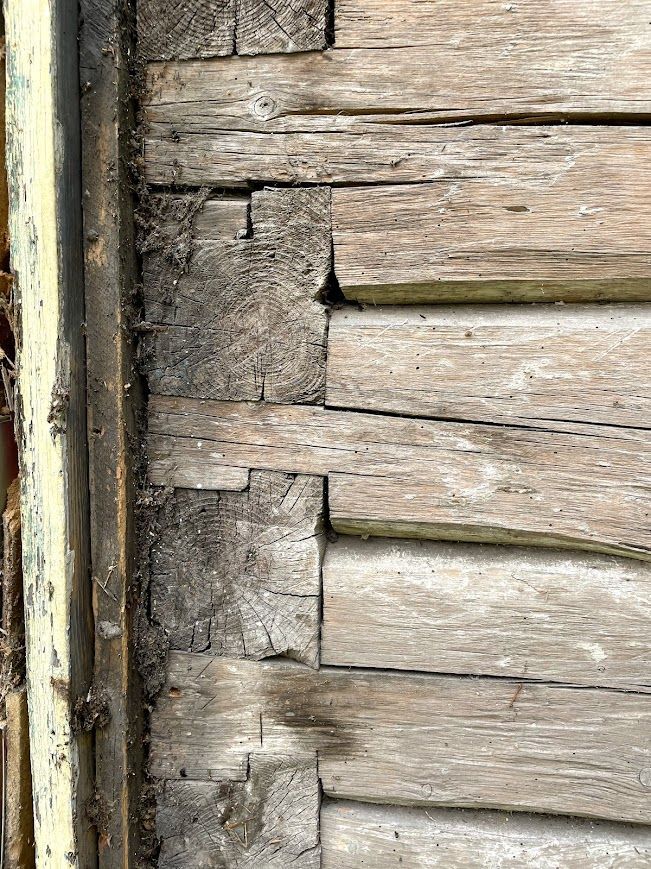
A lap joint is created when two pieces of wood overlap. To make them fit together neatly, material is removed from one or both pieces so they sit flush. This design increases the strength of the joint compared to a simple butt joint, where two pieces meet end-to-end.
To make it, you remove half of the thickness of each piece where they overlap. This creates a sturdy, flat connection that holds up well under stress.
Types of Lap Joints
There are several kinds of lap joints designed to fit different needs. Here are the most common ones:
1. Half Lap
This is the most popular type. You remove half the thickness from each piece, making a joint that’s flush and strong.
2. Full Lap
One piece of wood overlaps the other without removing any material. While it is easier to make, it creates a thicker joint that may not always look as polished.
3. Cross Lap
This option involves two pieces crossing at right angles, with material removed from both where they intersect. It works great for grid-like structures.
4. End Lap
Used when connecting the ends of two pieces to the side of another, like creating corners for frames or boxes.
5. Angled Lap
These joints involve angles other than 90 degrees, often used for braces or decorative features.
Why Use Lap Joints?
Lap joints have many advantages that make them a favorite for both hobbyists and pros:
- Strong Connections: The overlapping design gives the joint a much larger glue surface, making it stronger than butt joints.
- Flush Surfaces: When cut correctly, the pieces fit perfectly, creating a smooth surface.
- Beginner-Friendly: They’re a bit more challenging than butt joints but much easier than more advanced joinery.
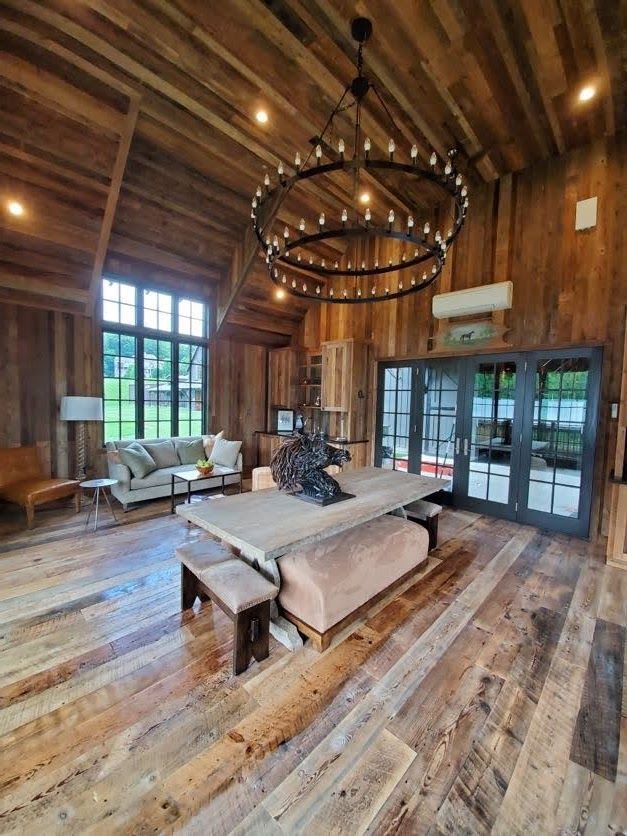
- Versatile: From picture frames to timber framing, lap joints can be used in countless projects.
- Great Learning Experience: You’ll practice skills like precise measuring, cutting, and fitting, all of which are essential for woodworking.
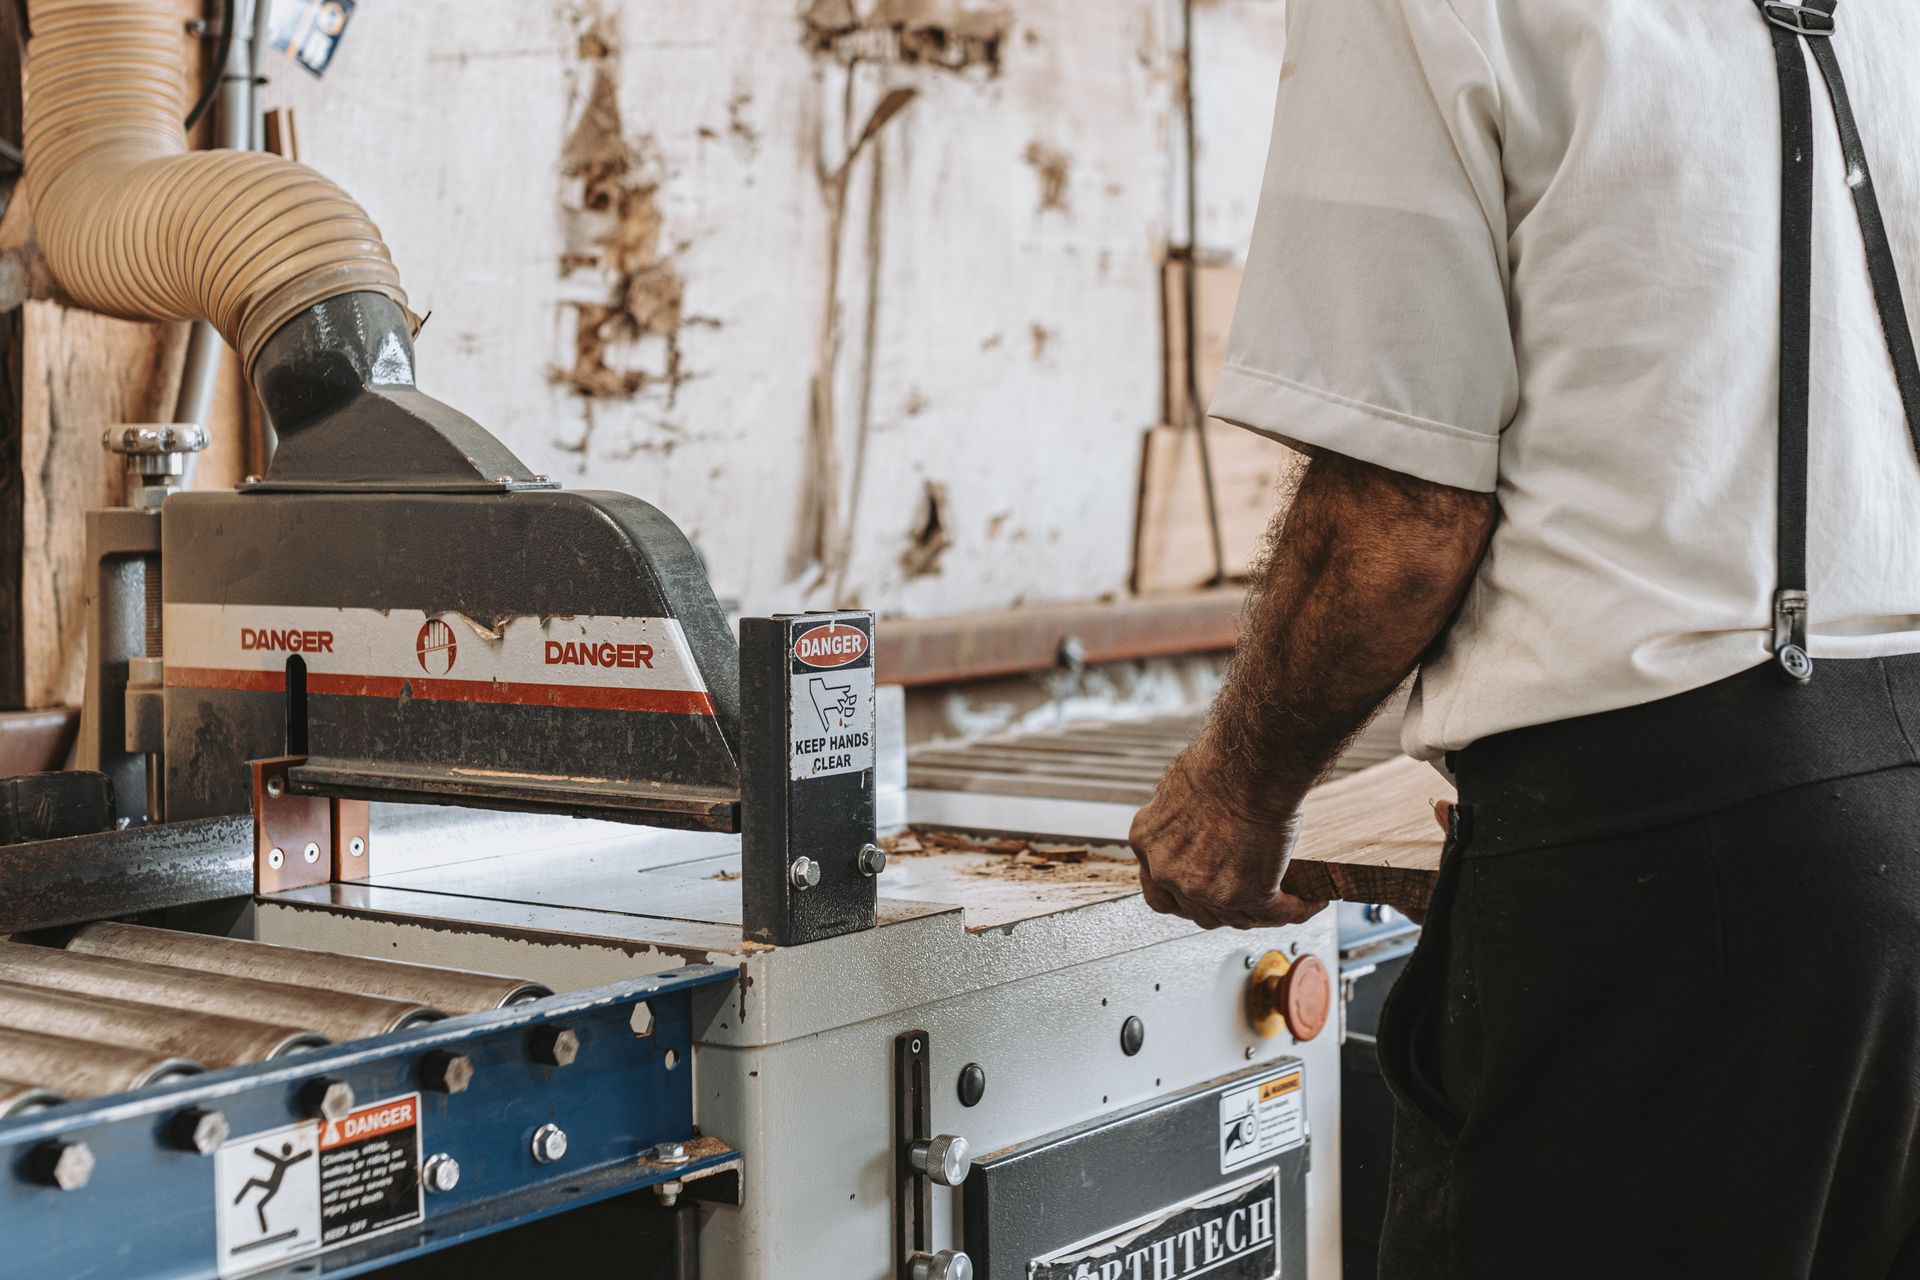
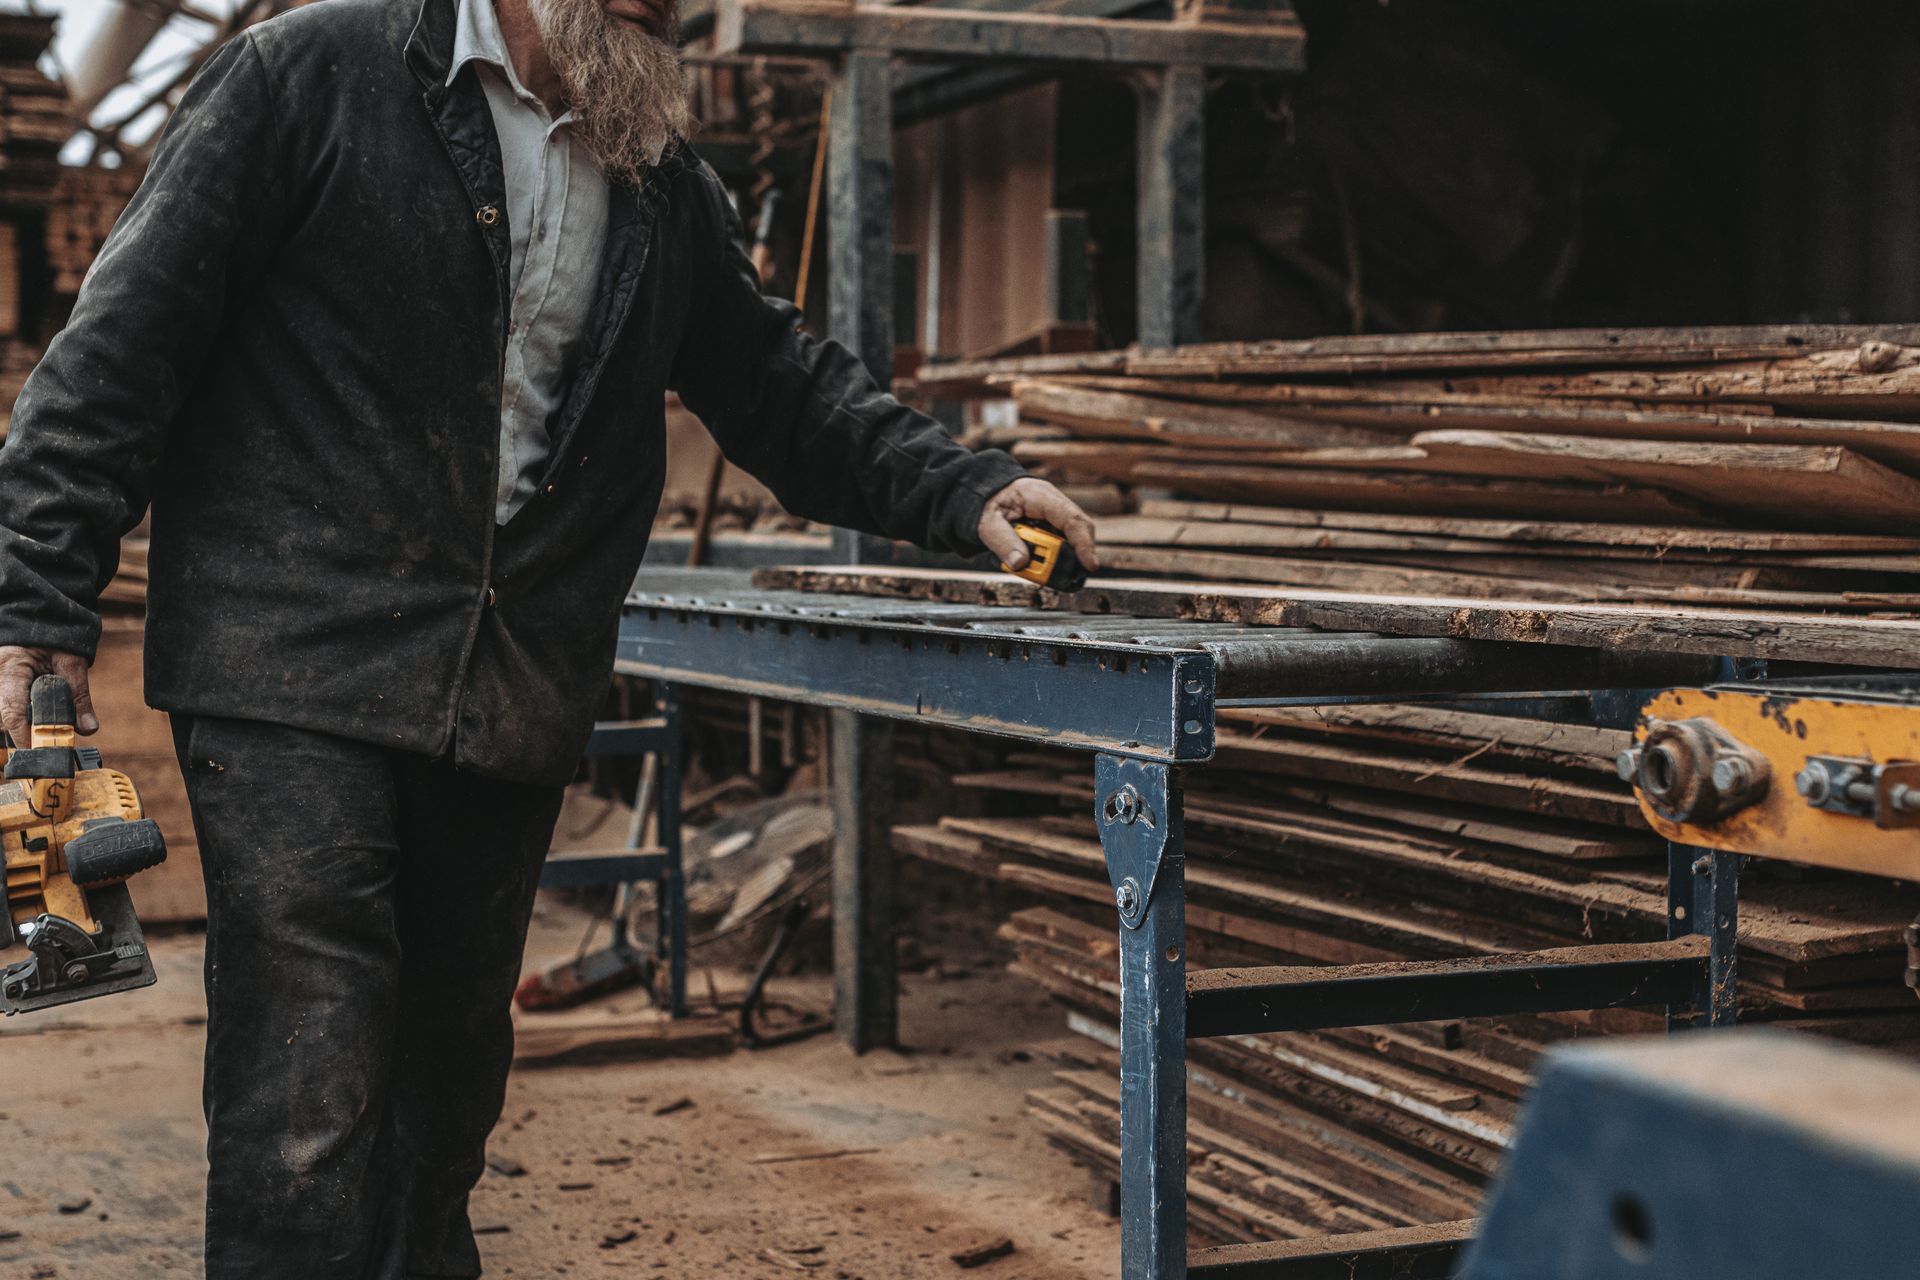
Tools You’ll Need for Lap Joints
You don’t need fancy tools to make lap joints. Here’s a simple list to get started:
- Measuring Tools: A ruler, a square, and a sharp pencil or marking knife for accuracy.
- Saws: A backsaw or tenon saw for clean cuts, and optionally, a coping saw for removing waste.
- Chisels: Sharp chisels for tidying up cuts and fine-tuning your fit.
- Router (Optional): A router with a guide can speed up the process for larger projects.
- Hand Plane: Helps create smooth surfaces for a perfect fit.
How to Make a Basic Half Lap Joint
If you’re new to this, follow these steps to make your first half lap joint:
Step 1: Mark Your Cuts
Mark the area where you’ll remove material on both pieces. Use a ruler and a square to ensure accuracy. Double-check your measurements before cutting.
Step 2: Set Your Depth
You’ll need to remove exactly half the thickness of each piece. Use a marking gauge or pencil to draw this depth line clearly.
Step 3: Cut the Shoulders
Use a backsaw to cut down to the depth line along the edges of the marked area. Be careful to cut straight.
Step 4: Clear Out the Waste
Remove the material between your cuts using a coping saw, a chisel, or a router. Work carefully to avoid cutting too deep.
Step 5: Fine-Tune the Joint
Clean up rough edges with a chisel or sandpaper. The pieces should fit together snugly, but not so tightly that you need to force them.
Step 6: Test Fit and Glue
Dry-fit the pieces to ensure a good connection. If everything looks correct, apply glue to the surfaces and clamp the joint while it dries.
Common Uses for Lap Joints
Lap joints can be used for a variety of projects, big and small:
- Picture Frames: They create strong, clean corners.
- Garden Trellises: Cross-laps are ideal for grid-like structures.
- Shelves: Use lap joints to securely attach vertical supports.
- Furniture: Lap joints can be found in cabinets, tables, and chairs.
- Repairs: They’re perfect for fixing broken wooden structures.
Tips for Better Lap Joints
Here are some tips to help you avoid common mistakes and improve your technique:
- Measure Twice: Mistakes in layout will lead to poor-fitting joints. Double-check everything before cutting.
- Control Depth: Removing too much or too little material can ruin the joint. Use a depth gauge to stay consistent.
- Smooth Surfaces: Rough cuts can weaken glue bonds. Take the time to clean up edges.
- Don’t Force It: The pieces should fit together with light hand pressure. Forcing them can lead to splits or weaken the joint.
Strengthening Your Lap Joints
While lap joints are naturally strong, there are a few ways to make them even stronger:
- Use high-quality wood glue and ensure full coverage.
- Add mechanical fasteners like screws, pegs, or nails.
- Apply even clamping pressure when gluing.
- Choose wood with the right grain orientation for the type of stress the joint will face.
- For outdoor projects, seal the edges to protect against moisture.
Learning from Lap Joints
Lap joints aren’t just practical; they’re also excellent for learning basic woodworking skills:
- Measuring and Marking: Teaches you the importance of precision.
- Cutting Control: Helps you practice sawing and chiseling with accuracy.
- Surface Prep: Shows how clean cuts improve joint quality.
- Dry Fitting: Encourages problem-solving when adjustments are needed.
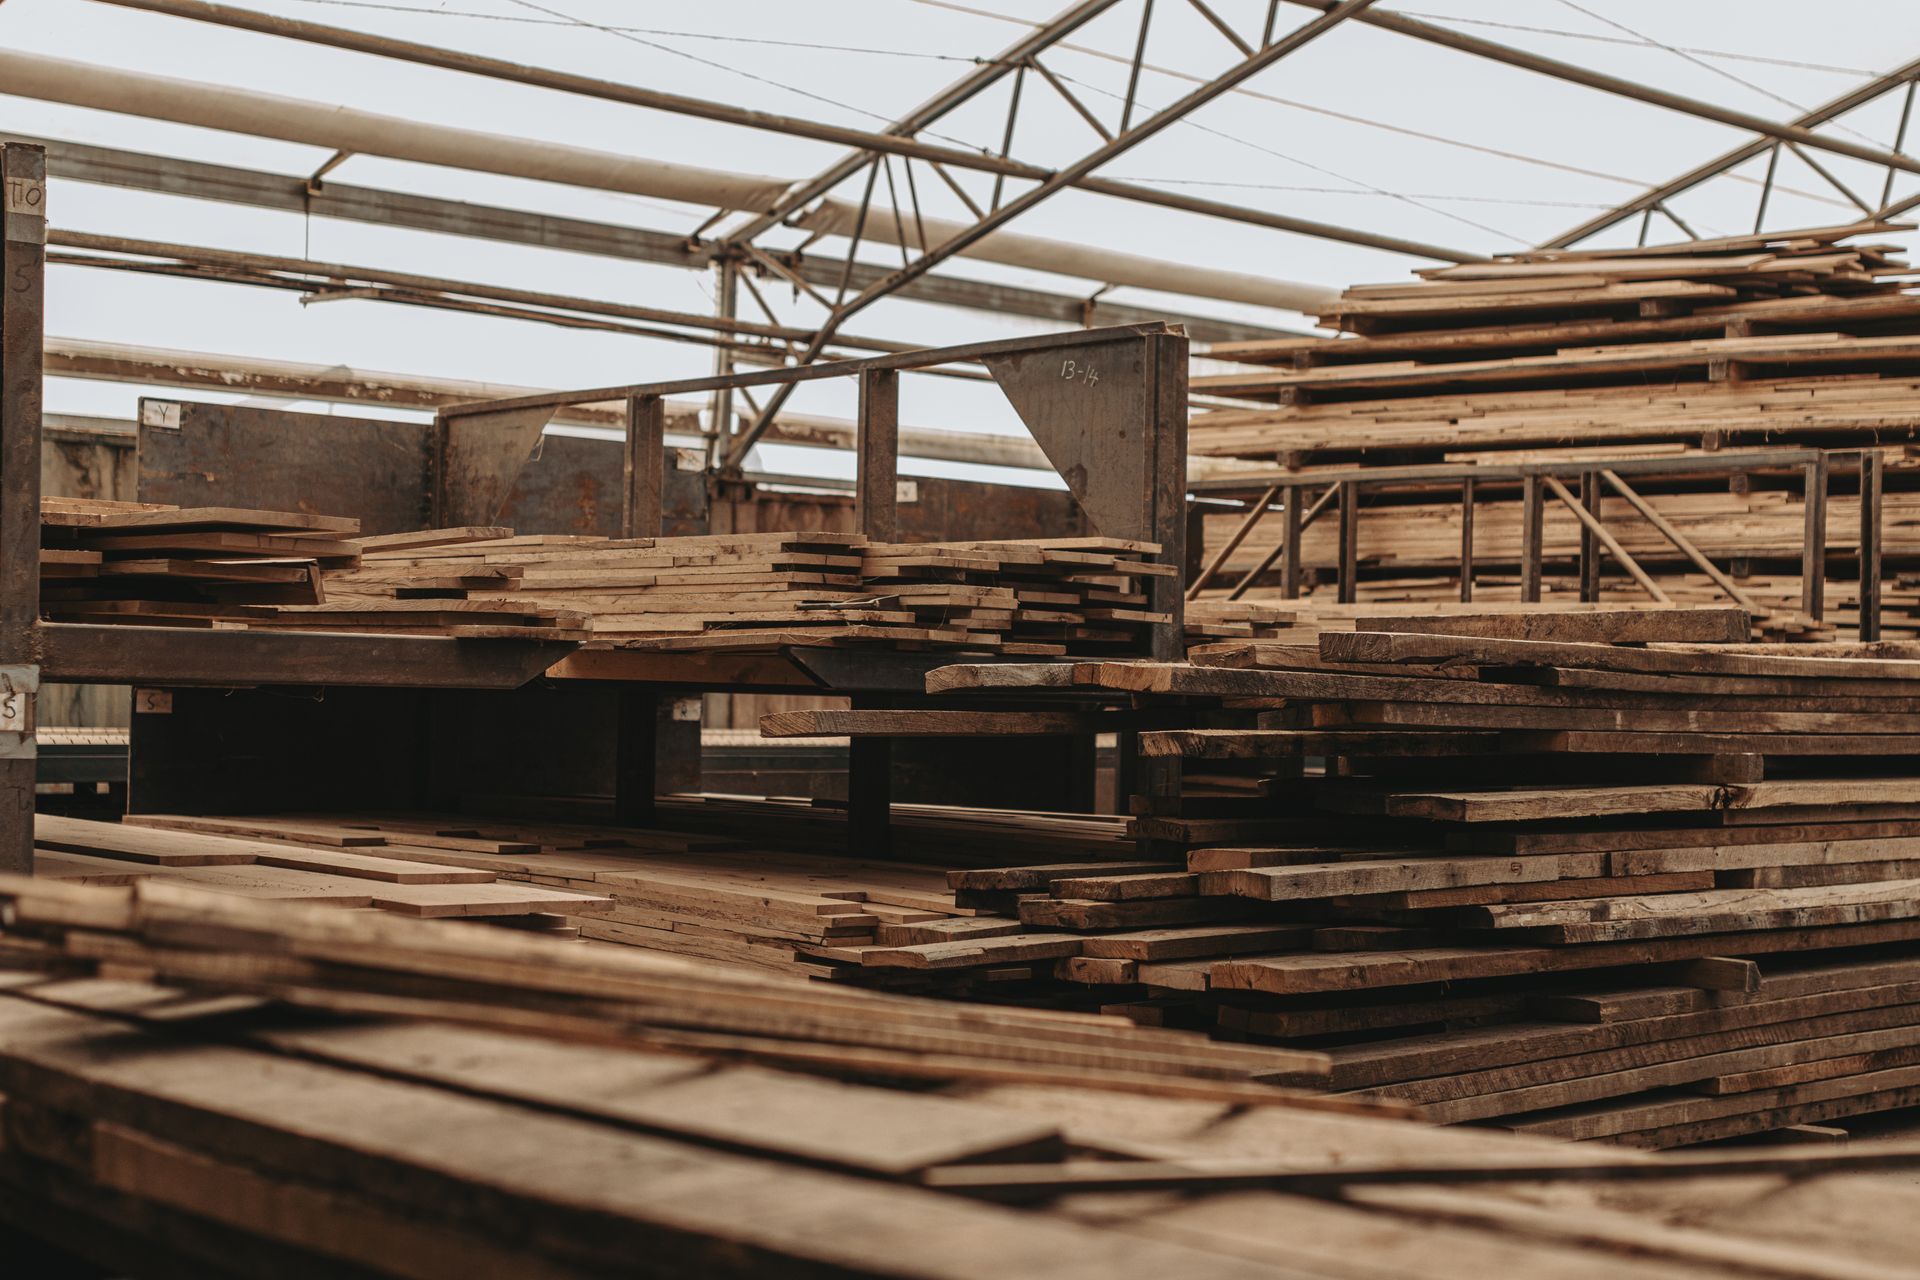
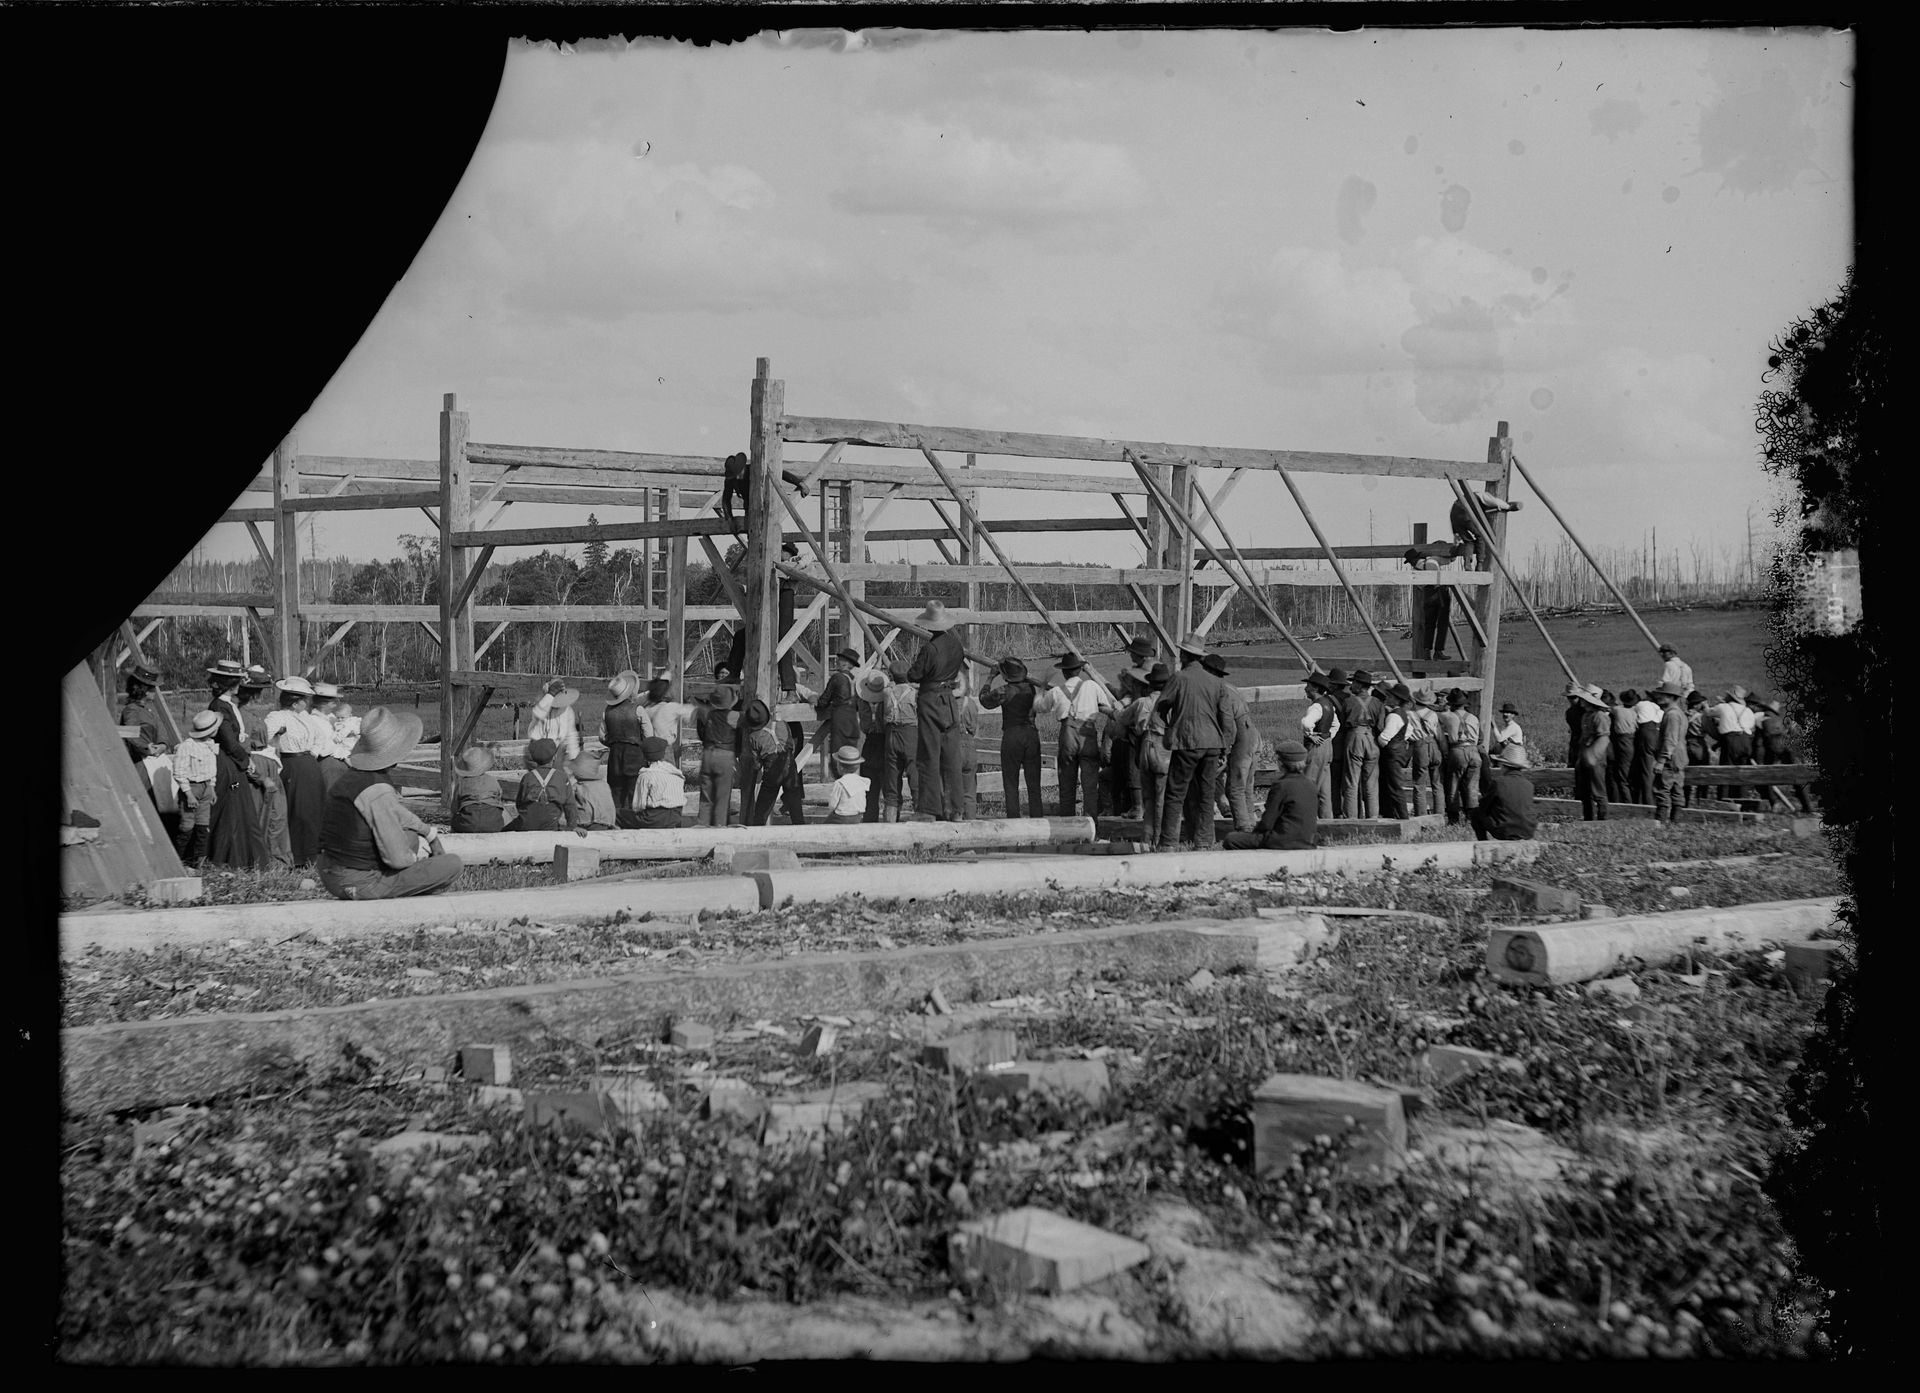
History and Inspiration
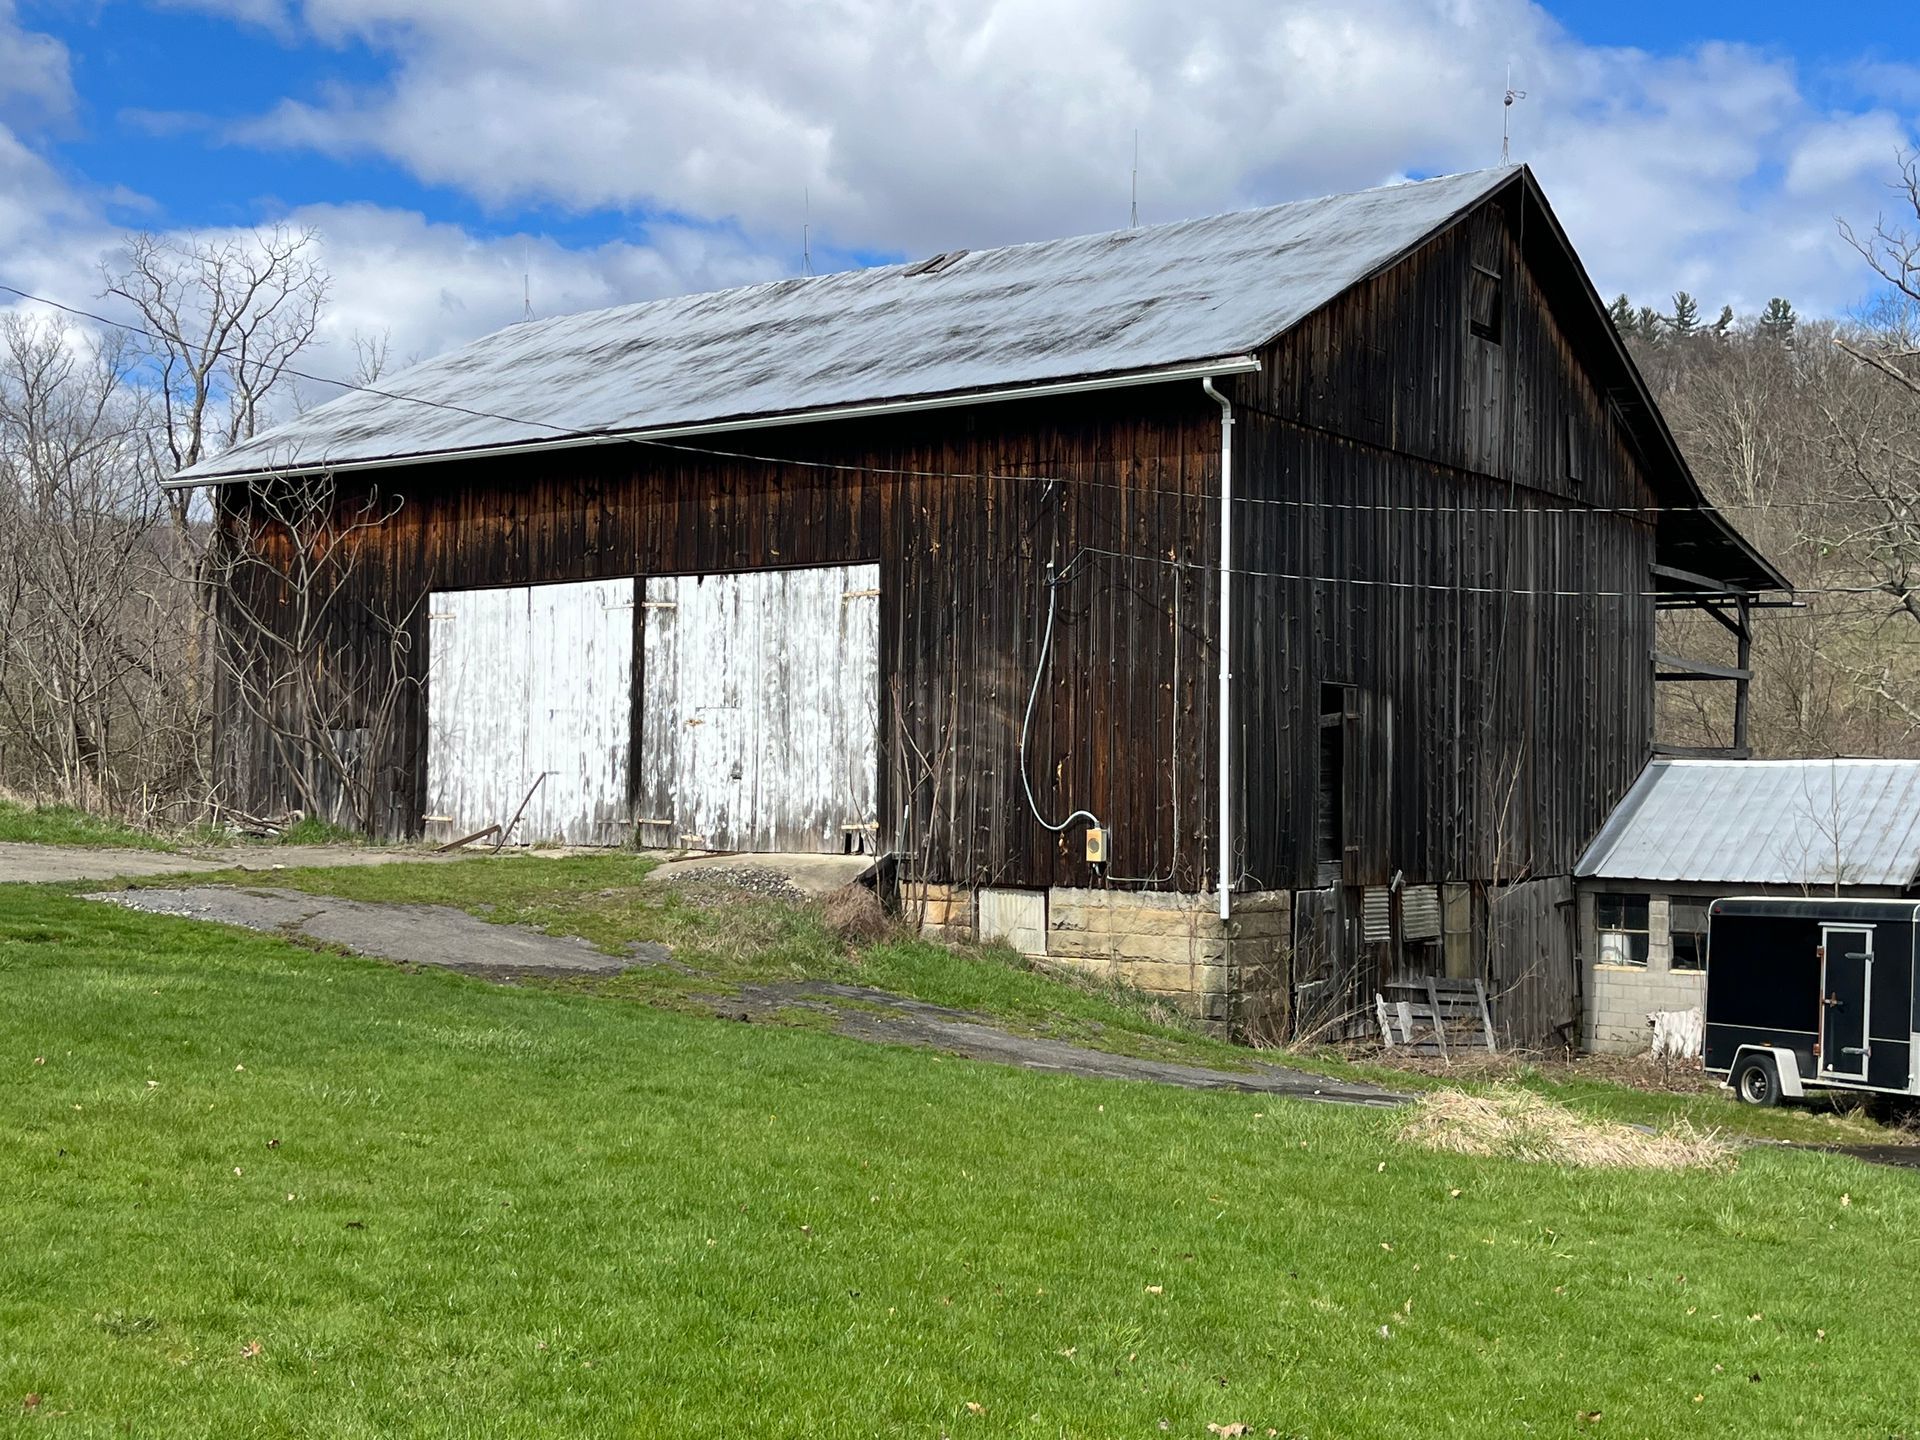
Lap joints have stood the test of time. They were used in historic timber frames, many of which are still standing today, showing their durability and effectiveness. At Bay & Bent, we’ve seen century-old structures where lap joints remain strong, teaching us lessons about quality craftsmanship.
Craftsmen in cultures like Japan elevated lap joints to an art form, creating beautiful, intricate designs without using metal fasteners. These examples remind us that even simple joints can be perfected with care and skill.
Next Steps
Adding lap joints to your woodworking skill set opens up a world of possibilities. Start with smaller projects, like a picture frame or garden trellis, to practice your technique. As you gain confidence, you can try more complex applications, like shelving or furniture.
By mastering lap joints, you’re not just improving your woodworking skills. You’re also stepping into a tradition of craftsmanship that’s been around for centuries. With each joint you create, you’re building something that can last a lifetime. Happy woodworking!