Why Mortise and Tenon Joints Are the Best in Woodworking
why Mortise and Tenon Joints are the ultimate choice
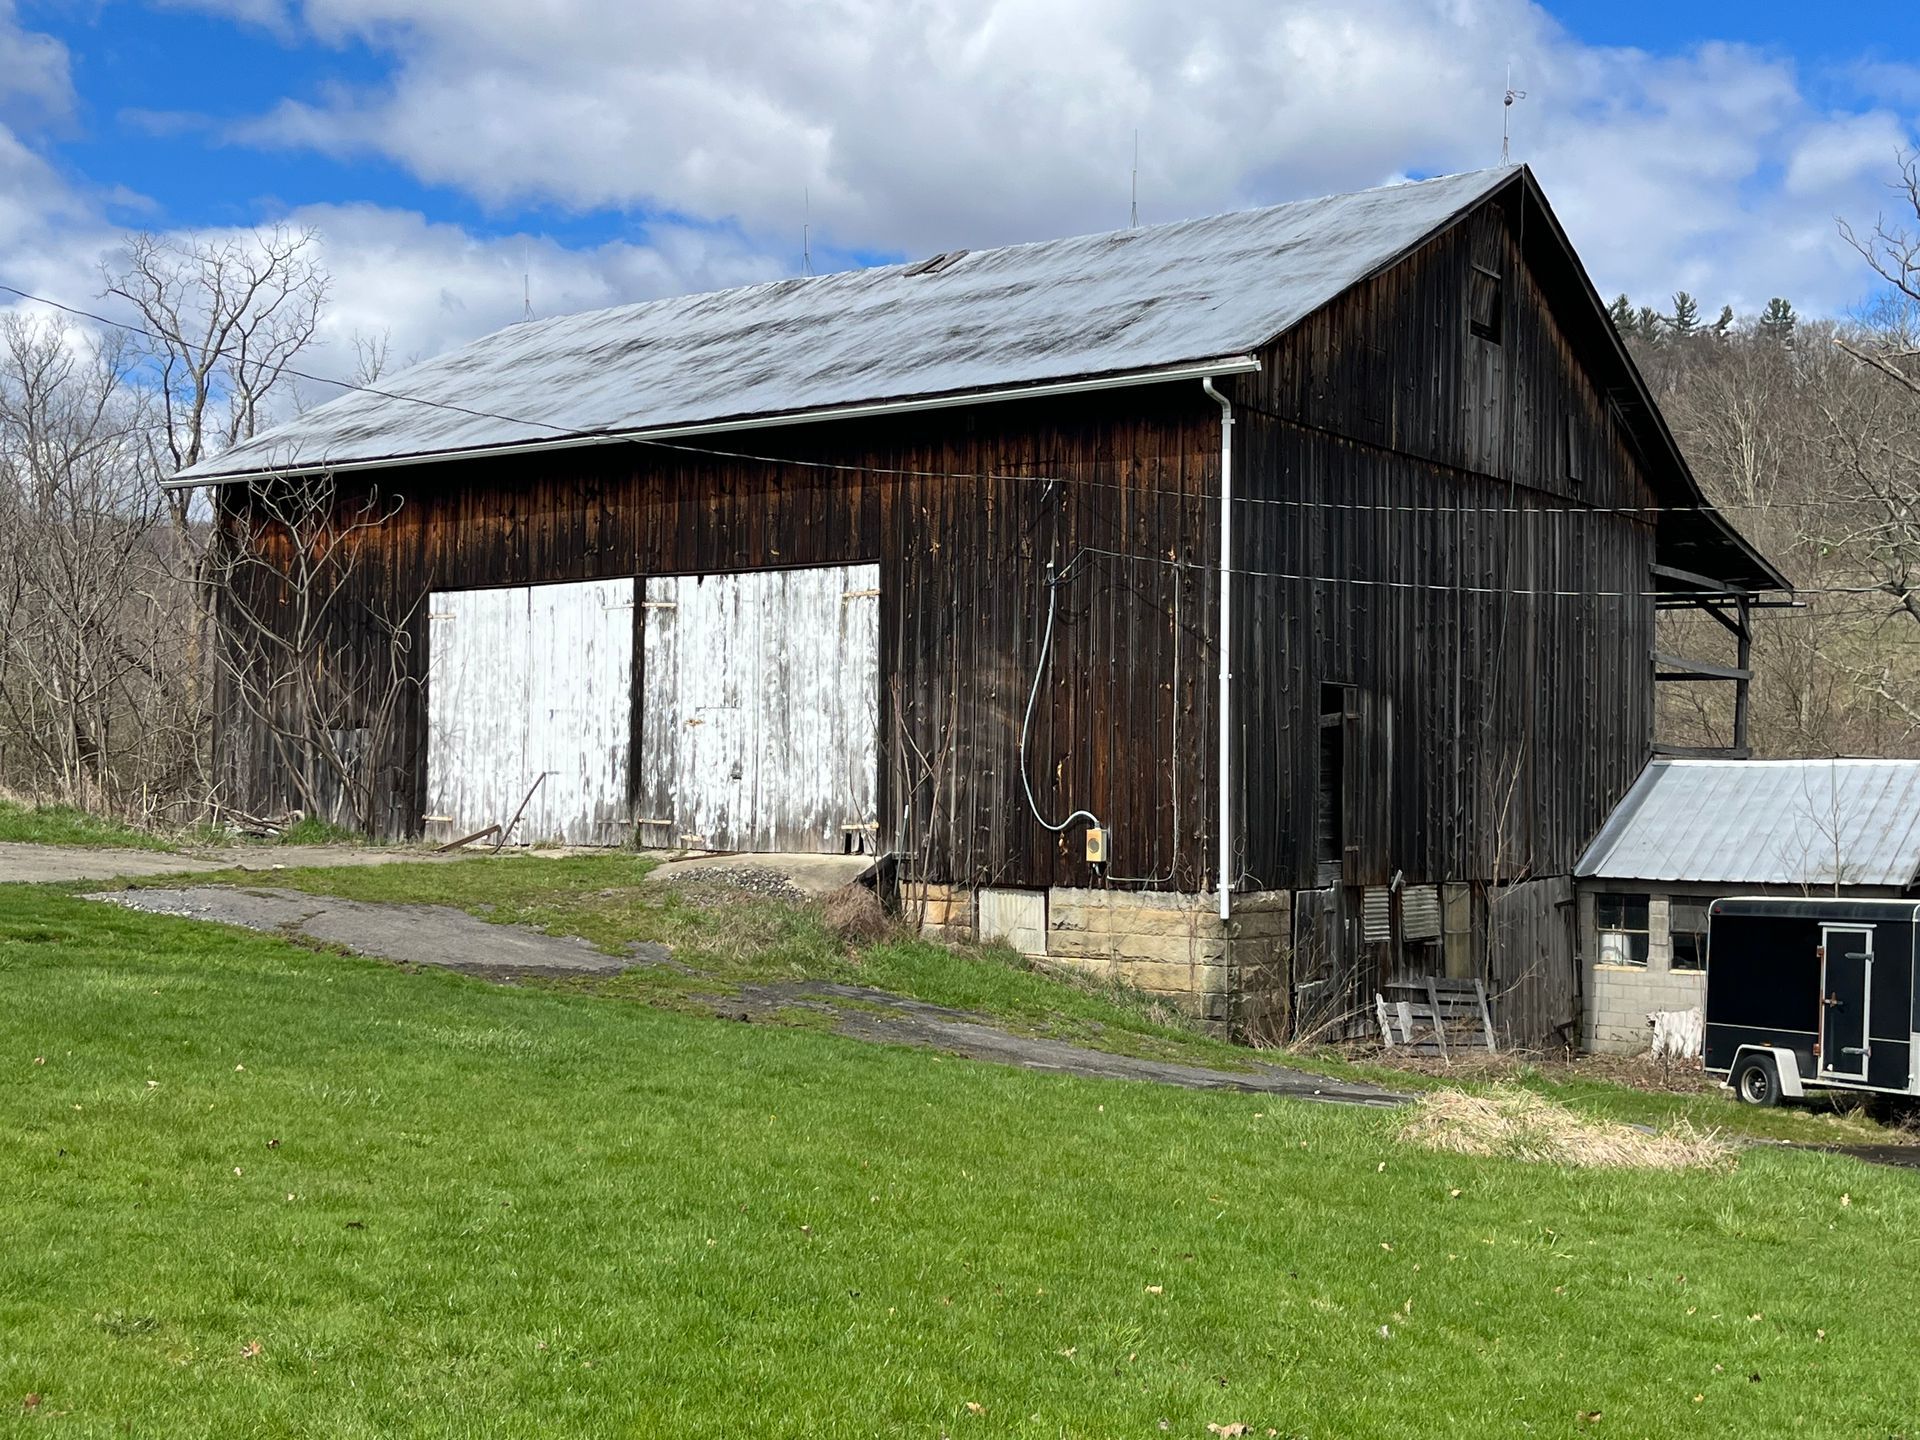
When you step into a historic barn or admire antique furniture, you're seeing the enduring power of mortise and tenon joints. These connections have been used for thousands of years, appearing in everything from ancient Egyptian artifacts to medieval timber-framed buildings.
Why? Because mortise and tenon joints are unmatched in strength, durability, and craftsmanship. Even in modern times, they remain a go-to option for serious woodworkers and builders.
Let's break down why mortise and tenon joints continue to be the gold standard in woodworking techniques.
What Are Mortise and Tenon Joints?
At their core, mortise and tenon joints are pretty simple. They consist of:
- The Mortise: A rectangular hole cut into a piece of wood.
- The Tenon: A projecting piece shaped to fit snugly into the mortise.
When these two pieces are joined, they form a tight, interlocking connection. This joint not only distributes stress evenly but also provides a strong area for glue, creating a bond that can last for centuries. Unlike screws or nails, mortise and tenon joints stay strong under pressure—even without glue.
Why They're so Strong
The design is key. The tenon fits perfectly inside the mortise, creating a mechanical lock. When forces pull on the joint, the surfaces hold together rather than relying solely on fasteners or glue. This type of traditional joinery has been passed down through generations because it works.
Types of Mortise and Tenon Joints
Mortise and tenon joints come in various designs, depending on what you need. Here are some common types:
1. Through Mortise and Tenon
- The tenon goes all the way through the mortise and sticks out the other side.
- It’s super strong and often used in heavy-duty timber framing or furniture.
- Wooden wedges or pins are sometimes added to lock the joint in place.
2. Blind Mortise and Tenon
- The mortise doesn’t go all the way through, so the joint stays hidden.
- Perfect for furniture where a clean, polished look is important.
3. Haunched Tenon
- Ideal for doors and windows, this type has a "shoulder" that helps resist twisting.
- It provides extra glue surface, adding to its strength.
4. Wedged Tenon
- A notch in the tenon holds a wedge, creating a tight, mechanical lock.
- It works extremely well for joints without glue, and even gets tighter over time.
5. Twin Tenons
- Two smaller tenons are used instead of one large one, which helps keep wide boards strong.
- This design is common in large furniture or thick frames.
Each style has its purpose, and understanding when to use them is part of the art of woodworking.
Where They Shine
These joints are versatile and excel in many woodworking applications where strength and longevity are essential. Here are some examples:
Furniture Construction
- They're perfect for connecting table legs, chair frames, and cabinet face frames.
- Mortise and tenon joints ensure furniture remains sturdy for decades or even centuries.
Door and Window Frames
- Because they resist twisting (or "racking"), these joints are great for framing structures that experience daily use.
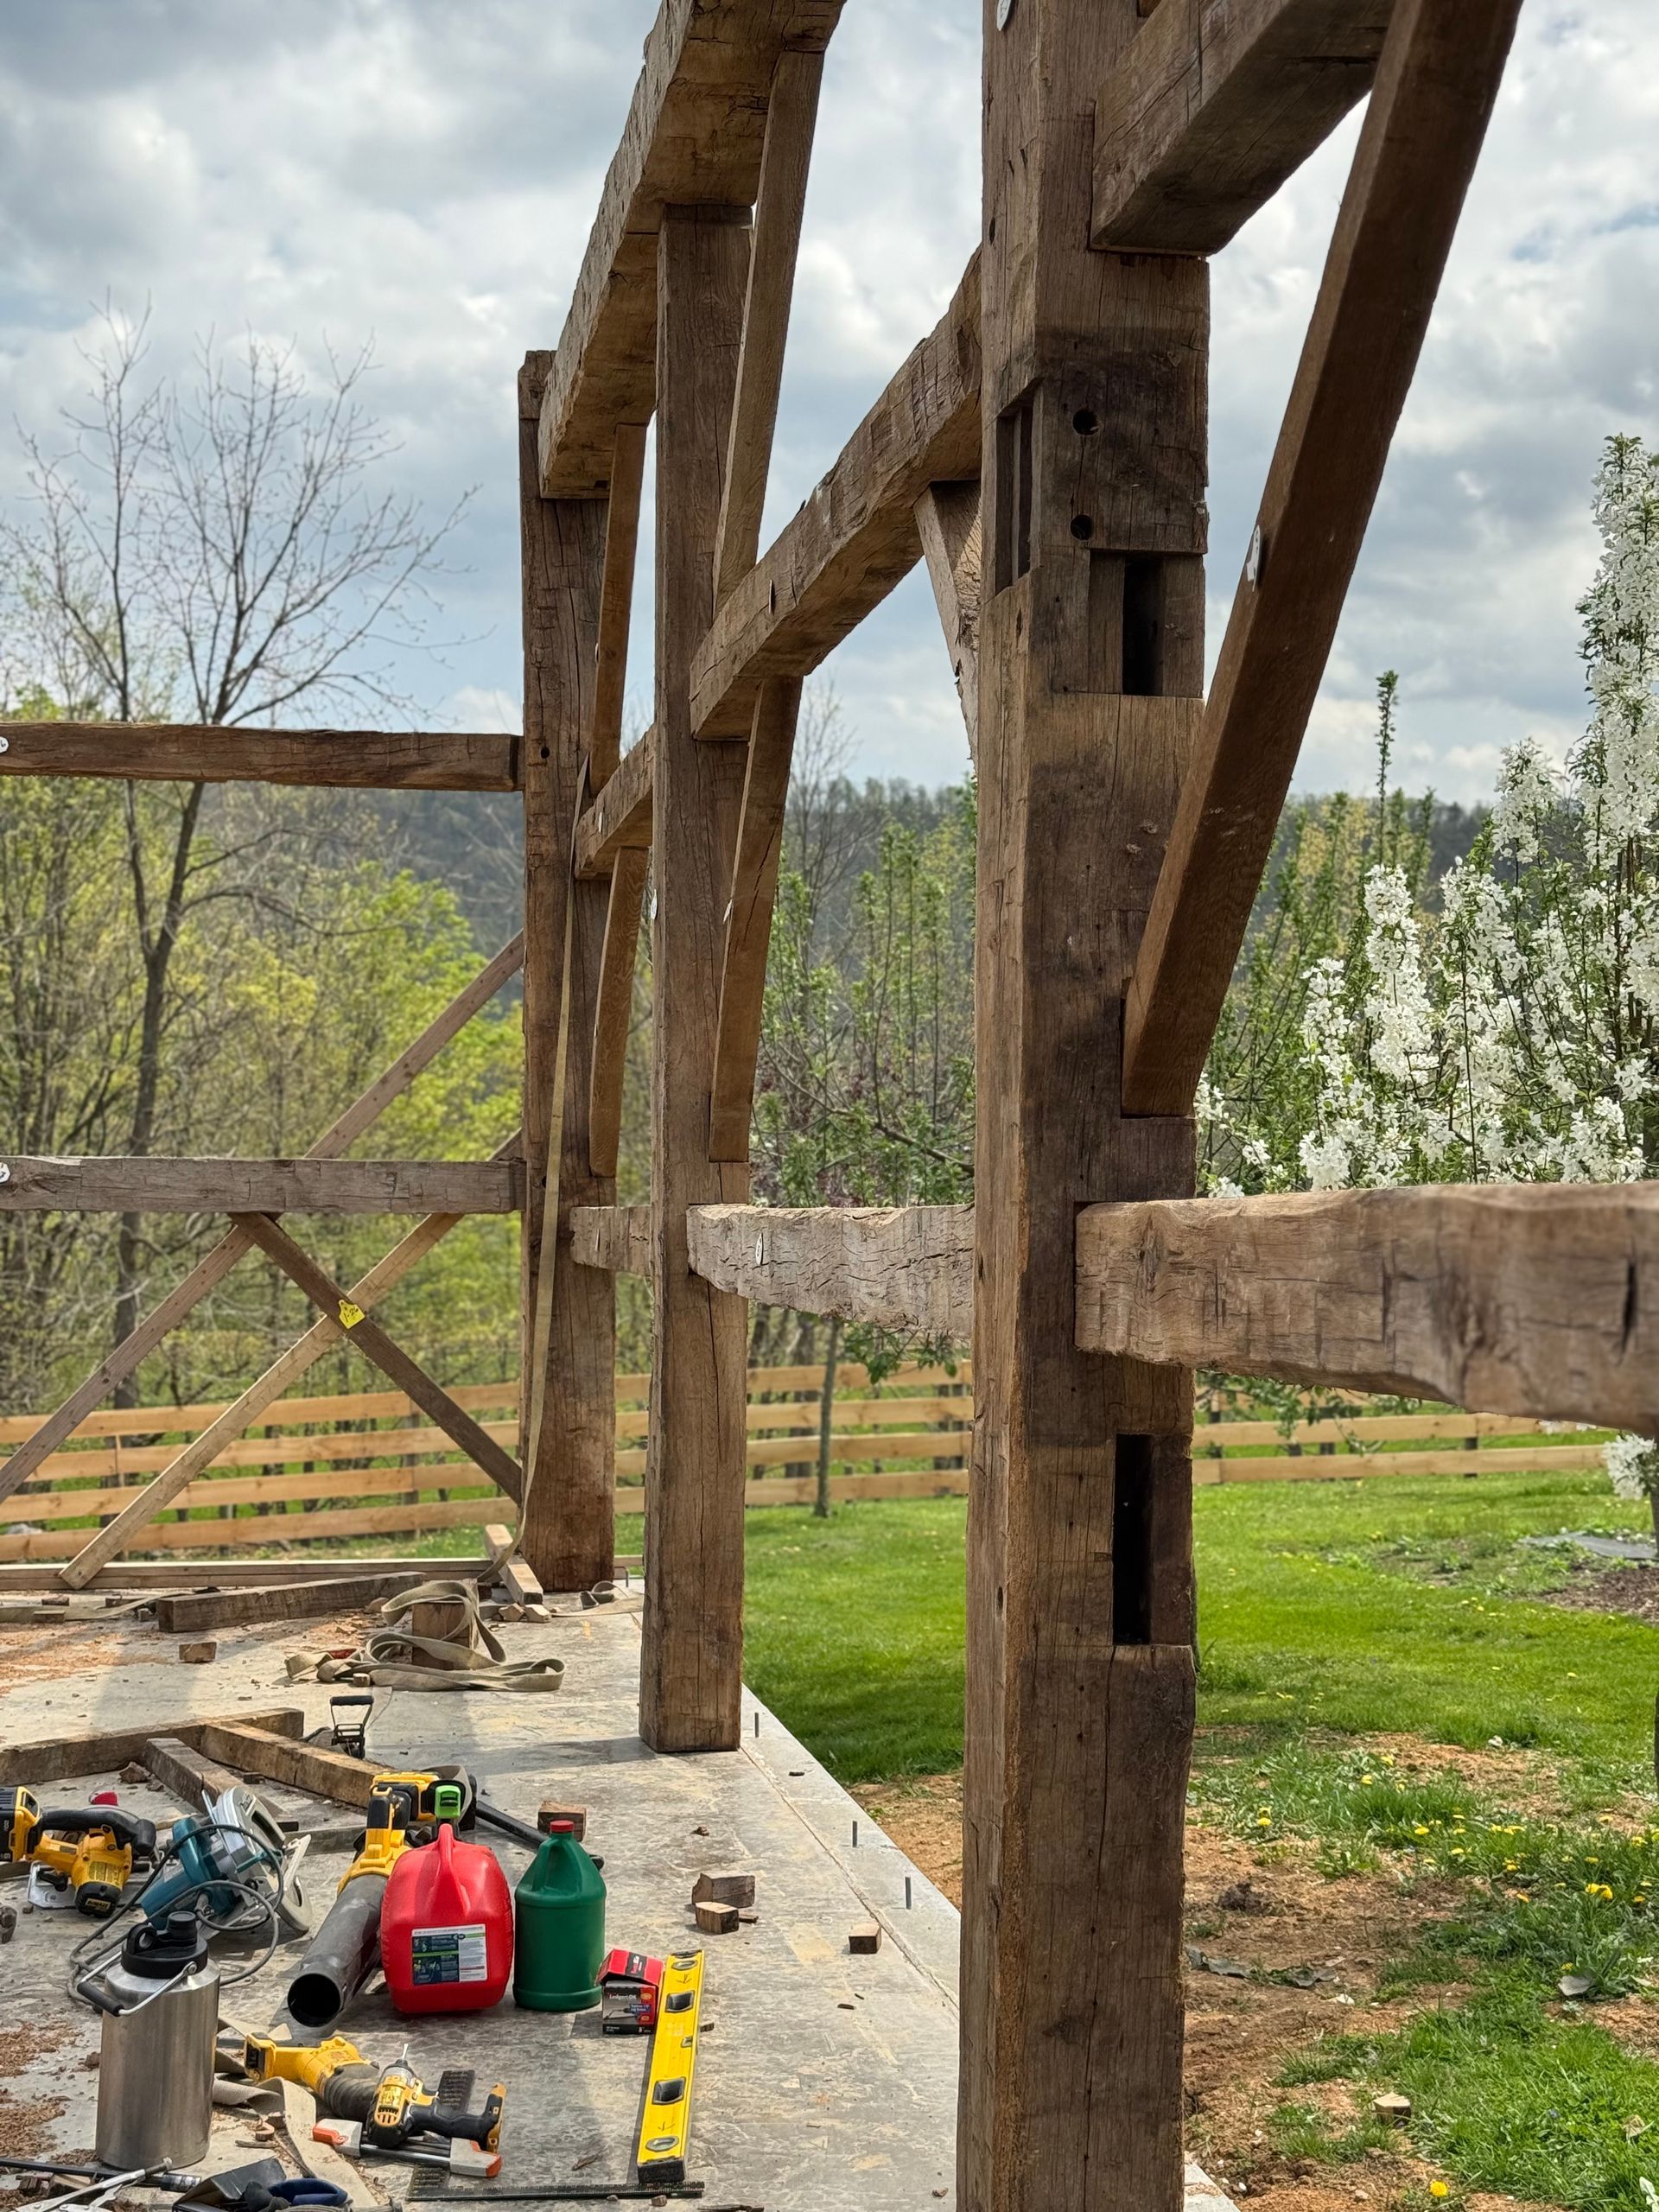
Timber Framing and Outdoor Structures
- Pergolas, gazebos, and barn frames rely on these joints to handle heavy loads and long-term exposure to the elements.
Heirloom Projects
- For pieces you want to pass down through generations, mortise and tenon joints are the ultimate choice for lasting quality.
How to Make Mortise and Tenon Joints
Creating these joints takes skill and patience, but the results are worth it. Here’s a simple guide to crafting them:
Step 1. Plan and Lay Out Your Joint
- Start by deciding on proportions. A tenon should be about one-third the thickness of the wood.
- Use a marking gauge and ruler to ensure precise measurements
Step 2. Cut the Mortise
- Drill out most of the wood with a drill bit.
- Clean up and square the sides with sharp chisels.
- If it’s a through mortise, work from both sides to avoid splintering.
Step 3. Shape the Tenon
- Start by cutting the shoulders, so you know the length.
- Remove the cheek material next, testing the fit as you go.
- Use sanding or precise cuts to achieve a snug fit. The tenon should slide in with light taps from a mallet.
Step 4. Assemble and Secure
- If needed, use glue, wooden wedges, or pins to secure the joint. Remember, a well-cut joint relies on the fit, not just glue, for its strength.
Using quality tools will make this process much easier. Many professionals combine power tools (like routers or hollow-chisel mortisers) with hand tools for precision and finishing touches.
The Bay & Bent Perspective
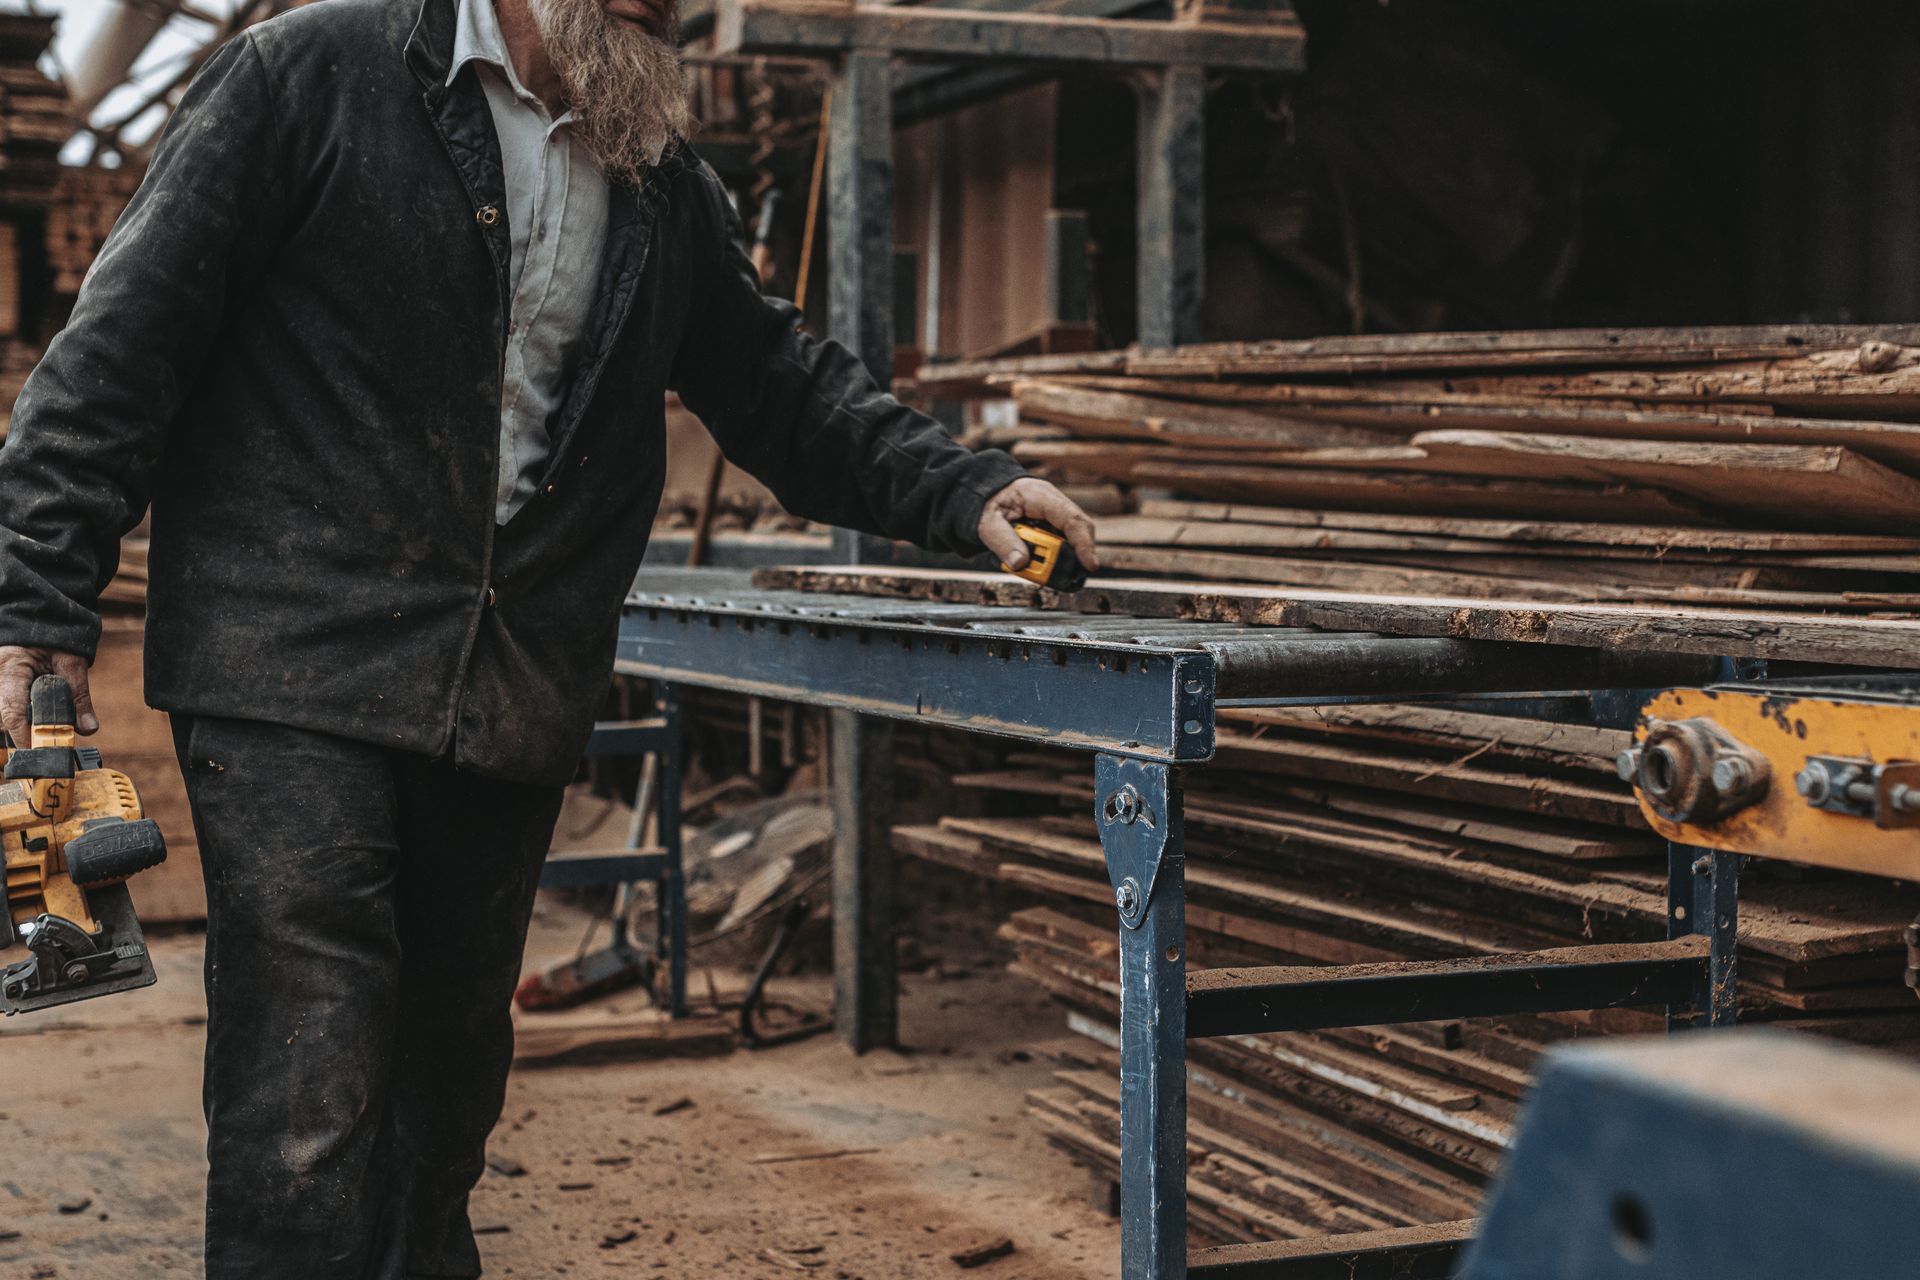
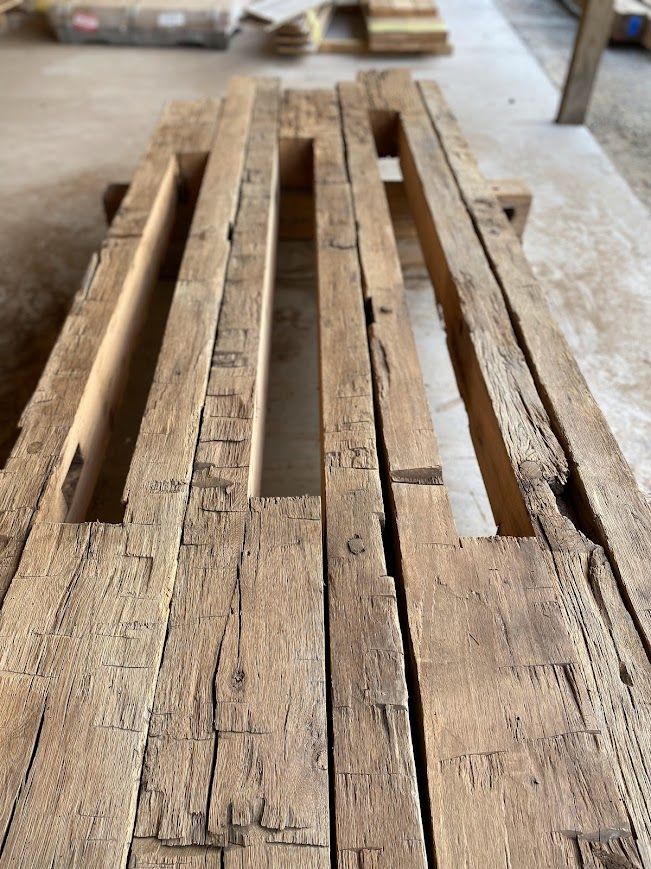
Here at Bay & Bent, we have a deep appreciation for traditional joinery like mortise and tenon joints. When we reclaim timber frames from historic barns, we’re often amazed by the craftsmanship of these connections. Many of these mortises and tenons have withstood centuries of wear, weather, and structural stress.
During our restoration process, we study each joint, learning from the anonymous craftspeople who built them. When necessary, we repair or reinforce these joints, ensuring they’re ready for another lifetime of use. By preserving and integrating these traditional woodworking techniques into modern projects, we carry forward a legacy of craftsmanship.
Would you like to see how we bring historic joinery to life in new ways? Visit our portfolio of projects to explore our work in detail!
Troubleshooting Common Mortise and Tenon Mistakes
Even experienced woodworkers can face challenges with this joint. Here’s how to avoid or fix common missteps:
- Poor Proportions: Following the one-third rule keeps the joint strong without weakening the wood.
- Sloppy Layout: Use precise tools, like marking gauges, and double-check your lines.
- Over-Fitting: Adjust the tenon patiently; cutting too much at once can ruin the joint.
- Cross-Grain Mortises: Always align the mortise with the wood grain for added strength.
If a joint becomes loose or split over time, you can repair it with thin wood shims, careful gluing, or structural reinforcements like wedges or draw bores.
Why Master Mortise and Tenon Joints?
Learning this technique is about more than just building strong, durable furniture or structures. It’s about preserving the art of traditional woodworking. Mortise and tenon joints connect us to centuries of craftsmanship where patience, precision, and skill mattered.
Whether you’re building a simple chair, restoring a family heirloom, or tackling a timber frame project, mastering mortise and tenon joints will elevate both your work and your appreciation for woodworking.
What’s Next?
If this inspired you to try your hand at traditional joinery, start with a small project like a bookcase or stool to practice cutting your first mortise and tenon joints. For tips, tools, or to explore our restoration work, feel free to contact our team. Let's keep the legacy of craftsmanship alive.