Wood Shrinkage: How to Keep Your Projects Stable and Long-Lasting
How to Manage Wood Shrinkage for Stronger, More Reliable Projects
If you’ve ever worked with wood, you know it has a mind of its own. It shrinks, expands, and moves depending on the environment. For beginners, this can be frustrating, but understanding wood shrinkage is key to creating projects that stand the test of time.
Let’s break it down so you can build pieces that stay strong and beautiful for years to come.
Why Does Wood Shrink?
Wood is like a sponge, it absorbs and releases moisture from the air around it. This is because wood is hygroscopic, meaning it reacts to changes in humidity. When wood dries, it loses moisture, causing its cells to shrink. When it absorbs moisture, the cells expand. This process never stops, even after your project is finished.
Several factors affect how much wood shrinks:
- Type of Wood: Hardwoods like oak shrink more than softwoods like pine.
- Grain Direction: Wood shrinks differently depending on the grain pattern.
- Starting Moisture: The wetter the wood, the more it will shrink as it dries.
- Final Environment: The humidity and temperature where the wood ends up play a big role in how much it moves.
How Wood Shrinks: Patterns to Know
Wood doesn’t shrink evenly in all directions. Here’s what you need to know:
- Tangential Shrinkage: This happens along the growth rings and causes the most movement, about twice as much as radial shrinkage.
- Radial Shrinkage: This occurs across the growth rings and is less dramatic than tangential shrinkage.
- Longitudinal Shrinkage: This is shrinkage along the length of the board and is usually minimal, less than 1%.
These patterns explain why some boards warp or cup while others stay relatively stable. For example, quartersawn boards (cut perpendicular to the growth rings) are more stable than plain-sawn boards.
Common Problems Caused by Shrinkage
Wood shrinkage can lead to several issues if not managed properly:
- Cupping: Boards curve across their width, often because one side dries faster than the other.
- Bowing: Boards bend along their length due to uneven drying.
- Twisting: Boards twist like a corkscrew, usually because of uneven grain or moisture.
- Cracking: Splits happen when the wood shrinks too much, especially at the ends.
- Joint Failure: Glue joints can break if different pieces of wood shrink at different rates.
How to Prevent Shrinkage Problems
The good news? You can plan for wood movement and avoid most of these issues. Here are some tips:
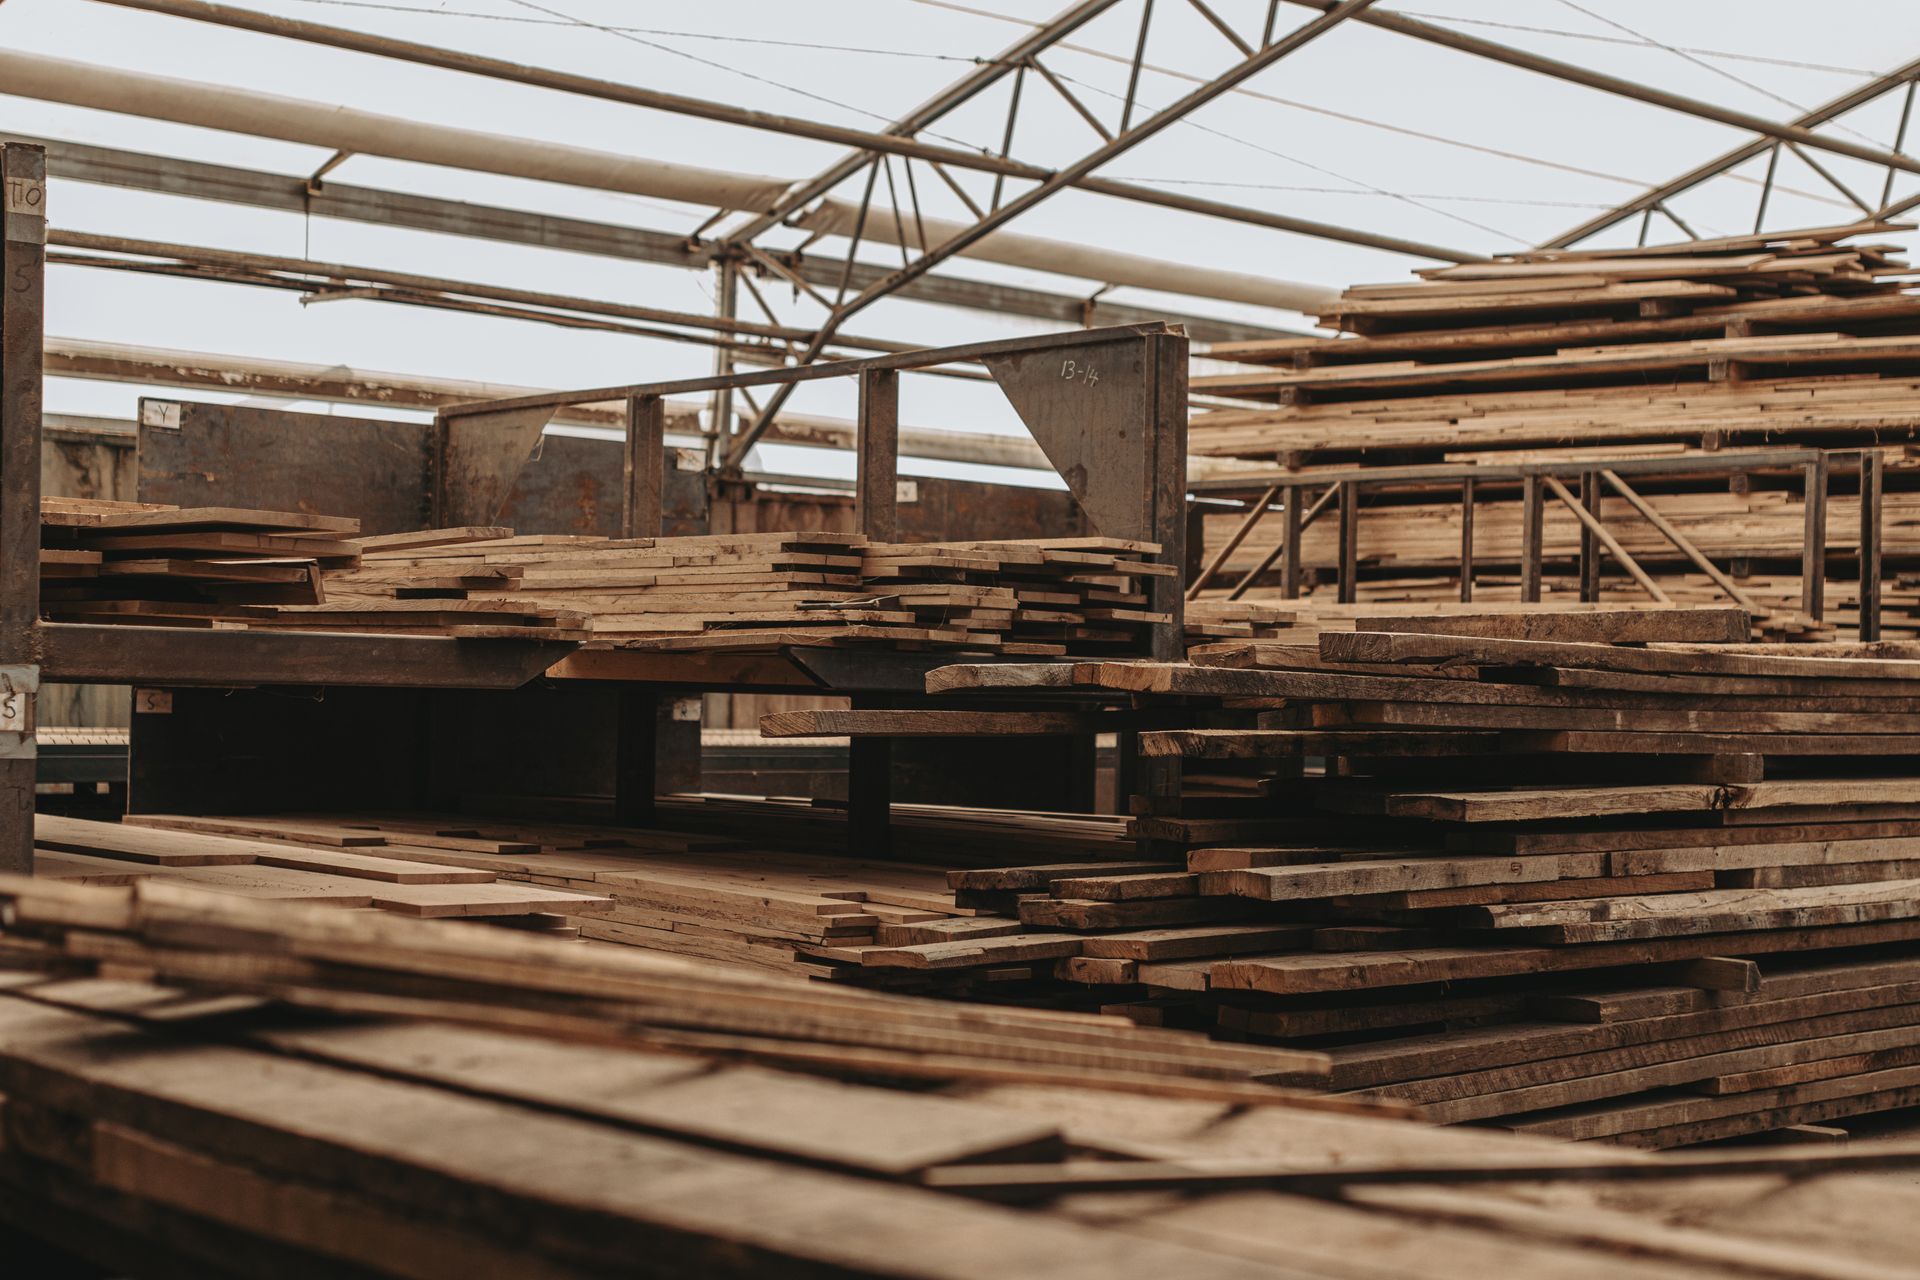
- Dry Your Wood Properly: Let your wood acclimate to your workshop’s environment before starting your project. This can take weeks or even months.
- Use a Moisture Meter: Check the wood’s moisture content to ensure it’s ready to work with. Aim for levels that match the final environment.
- Choose Quartersawn Lumber: It’s more stable and less prone to warping.
- Match Grain Patterns: When gluing boards together, alternate the growth ring patterns to reduce cupping.
- Store Wood Correctly: Stack boards with spacers (called stickers) to allow air to circulate evenly.
Design Tips
When designing your project, keep these tips in mind:
- Allow for Movement: Use joints that let the wood expand and contract naturally, like tongue-and-groove or floating panels.
- Avoid Forcing Wood: Don’t try to hold wood in place if it wants to move—it’ll crack or break.
- Think About Grain Direction: Position boards so any movement is less noticeable.
- Use the Right Fasteners: Choose screws or hardware that allow for some flexibility.
Seasonal Changes and Wood Movement
Wood reacts to the seasons:
- Winter: Low humidity makes wood shrink.
- Summer: High humidity makes wood expand.
- Spring and Fall: These transitional seasons often cause the most movement.
Plan your projects with these changes in mind, and avoid working with wood during extreme humidity shifts.
Modern Tools to Help You
Today, we have tools and techniques that make managing wood movement easier:
- Moisture Meters: Essential for checking moisture levels.
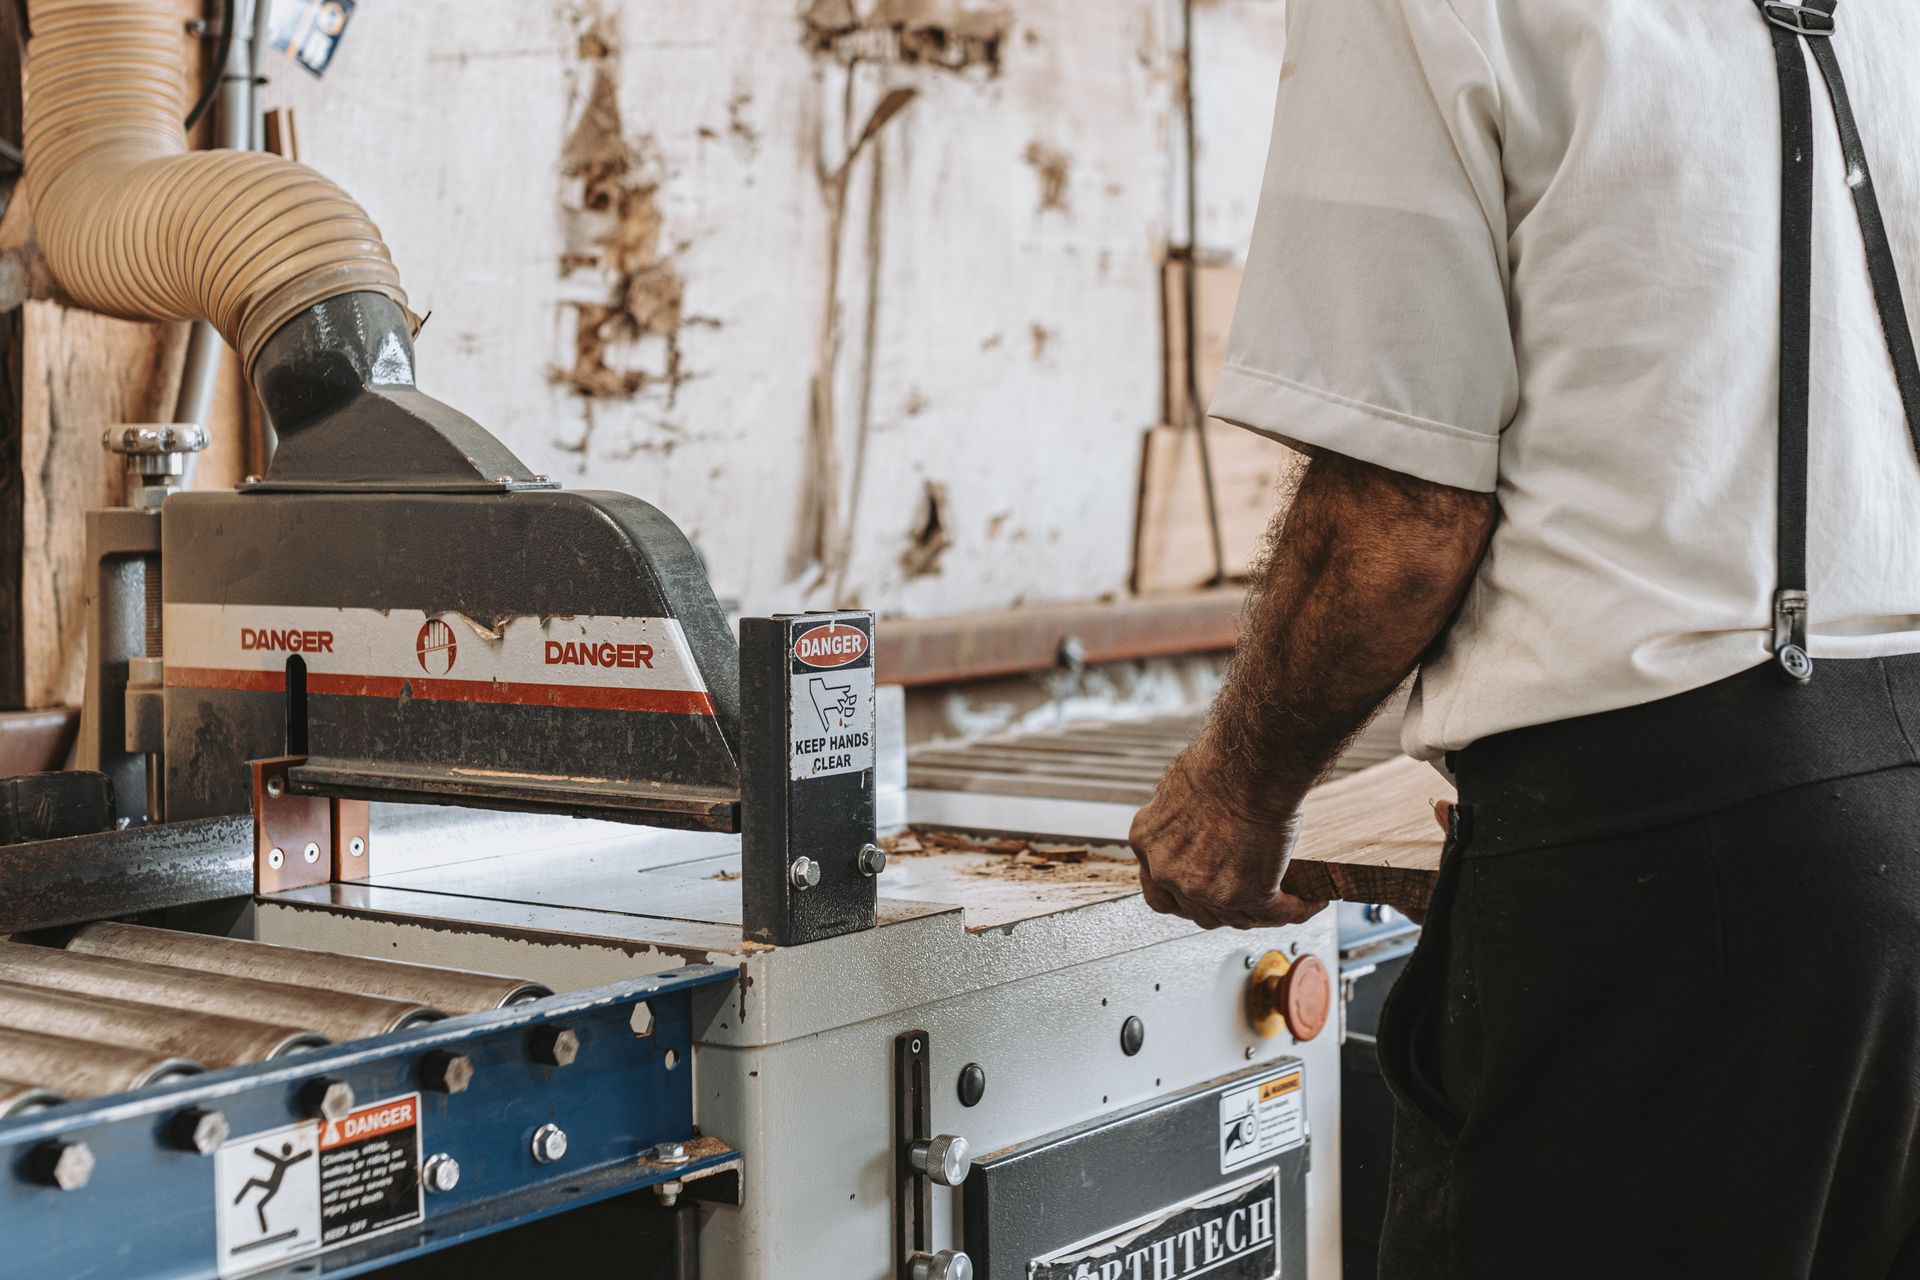
- Kiln Drying: Speeds up the drying process while reducing shrinkage issues.
- Moisture Barriers: Finishes and sealers slow down moisture exchange.
- Climate Control: Keeping your workshop at a consistent temperature and humidity helps minimize movement.
Know Your Wood Species
Different types of wood shrink at different rates. Here’s a quick guide:
- Low Shrinkage: Cedar, redwood, and some pines.
- Moderate Shrinkage: Oak, maple, and cherry.
- High Shrinkage: Beech, hickory, and some tropical hardwoods.
Research your wood species before starting a project to understand how it will behave.
Final Thoughts
Wood shrinkage doesn’t have to be a headache. By understanding how wood moves and planning for it, you can create projects that are both beautiful and durable. Remember, the best woodworkers don’t fight wood’s natural tendencies, they work with them.
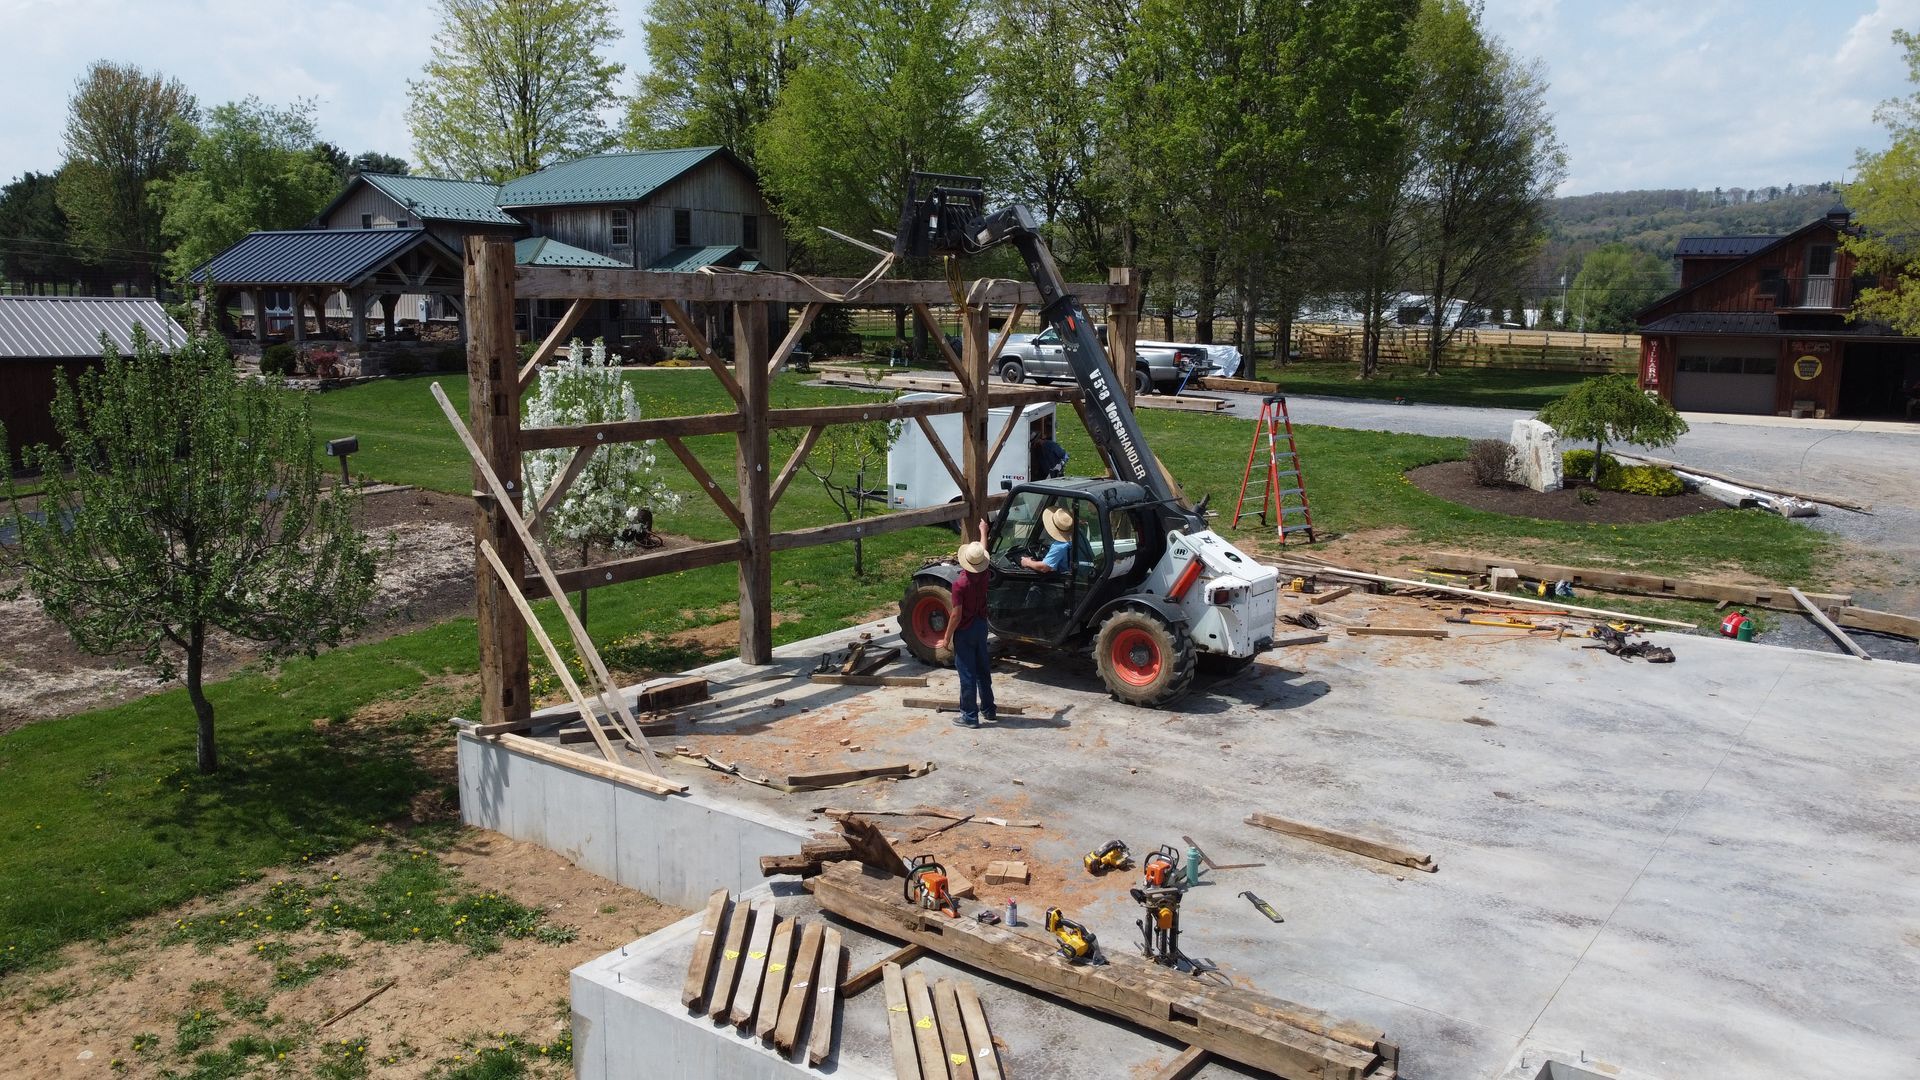
At Bay & Bent, we’ve seen how traditional techniques and modern tools can come together to create pieces that last for generations. Whether you’re building a table, a cabinet, or restoring a historic frame, understanding wood shrinkage is the first step to success.
So, embrace the challenge, plan ahead, and let the wood do what it does best—age gracefully and add character to your work.