A Simple Guide to Understanding Wood Grain
Master wood grain patterns and textures with ease
When you feel a piece of wood, those lines and patterns under your fingers are more than just looks. That’s the wood grain, and it’s like a map of the tree’s life, showing how it grew and what it went through.
If you’re into woodworking, understanding wood grain can take your projects to a whole new level. Here’s a straightforward guide to help you make the most of it.
What Is Wood Grain?
Wood grain is the pattern you see in wood, made by the way the wood fibers run through it. It’s affected by how the tree grew and even how the board was cut from the trunk. A board sliced parallel to the tree rings will show a completely different pattern than one cut at an angle.
The grain tells a story. Did the tree grow fast or slow? Was it in a windy spot or crowded by other trees? All these things leave their mark, and understanding these details can help you choose the right piece of wood for your projects.
Wood Grain Types
Wood grain comes in a few common patterns. Each one looks different and affects how easy or hard the wood is to work with:
Straight Grain
This is the most predictable and easiest to use. The lines run in the same direction, making it ideal for building furniture or anything structural.
Interlocked Grain
Here, the fibers twist and spiral as the tree grows, creating a ribbon-like look. It’s stunning but tricky to work with since the twisty fibers can tear out when using tools.
Irregular or Wild Grain
This happens when trees grow under odd conditions, like around a rock or on a slope. The grain can be messy but incredibly beautiful, with swirls and irregular shapes.
Wavy Grain
This is where the fibers undulate, creating flowing, wave-like patterns. When it catches the light, wavy grain can shimmer, making it perfect for decorative pieces.
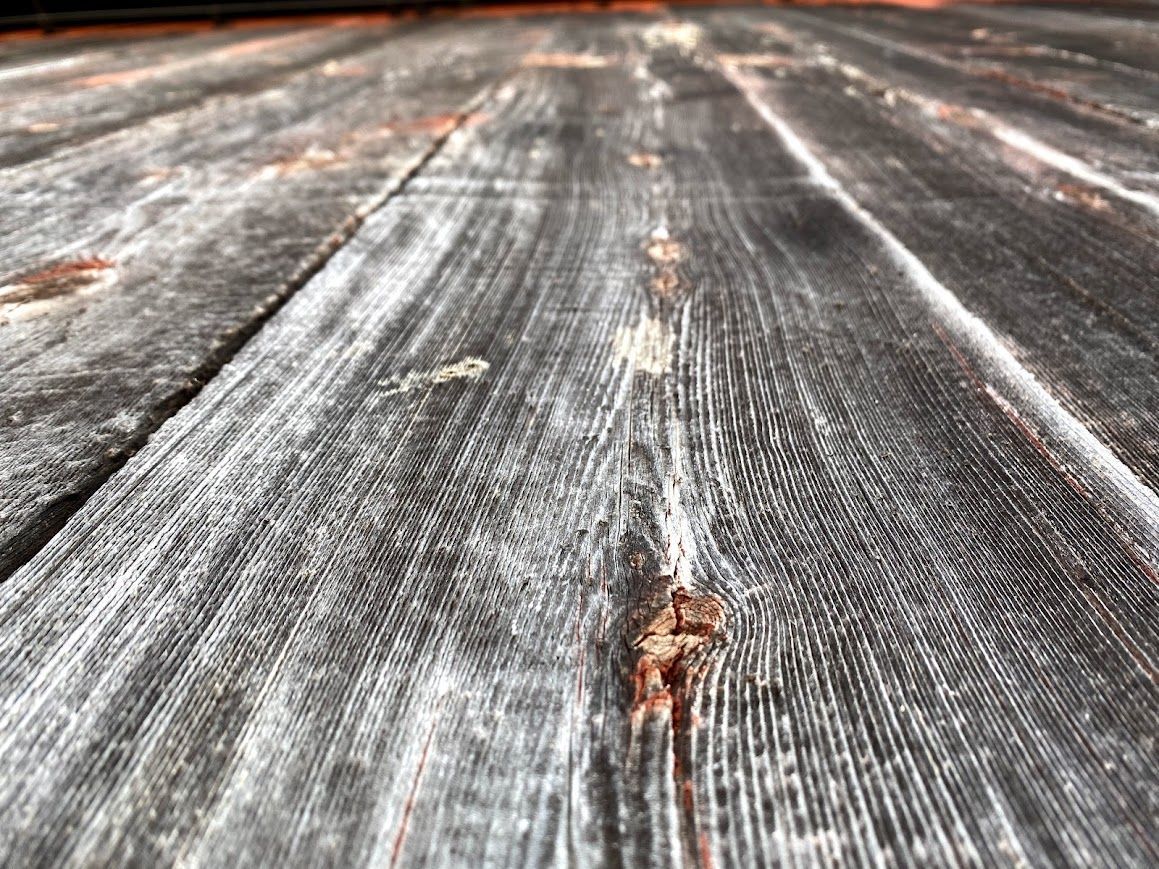
How to Read Wood Grain
Take a close look at the end of the board. The growth rings reveal loads of info. Tight, even rings mean the tree grew slowly and steadily, so the wood is strong and stable. Wide, uneven rings tell you the tree grew fast, which can make the wood prone to warping.
You’ll also want to note the grain direction. Wood is strongest when you apply force along the grain. That’s why splitting logs along the grain is easy, but breaking them across the grain takes serious effort.
How to Work With Wood Grain
Plan Your Cuts Carefully
Try to align the grain with how the finished piece will handle stress. For example, if you’re making table legs, position the grain vertically so it can support weight without bending or breaking.
Use the Right Tools the Right Way
When using a planer or router, go with the grain, not against it. Think of it like petting a dog’s fur in the right direction, it’s smoother and causes less trouble. And sharp tools are a must, especially for tricky grain patterns.
Sand in the Grain Direction
Always sand along the grain. If you sand across it, even fine scratches will show up when you apply stain or finish, and they’re almost impossible to hide.
Why Wood Grain Affects Finishing
Wood doesn’t soak up stain or finish evenly. The denser parts (called latewood) absorb less and often look darker, while the porous earlywood drinks up more finish and looks lighter. Knowing how your wood will react can help you avoid surprises and get a great finish.
If your wood has dramatic grain variation, consider using a pre-conditioner before staining to even things out.
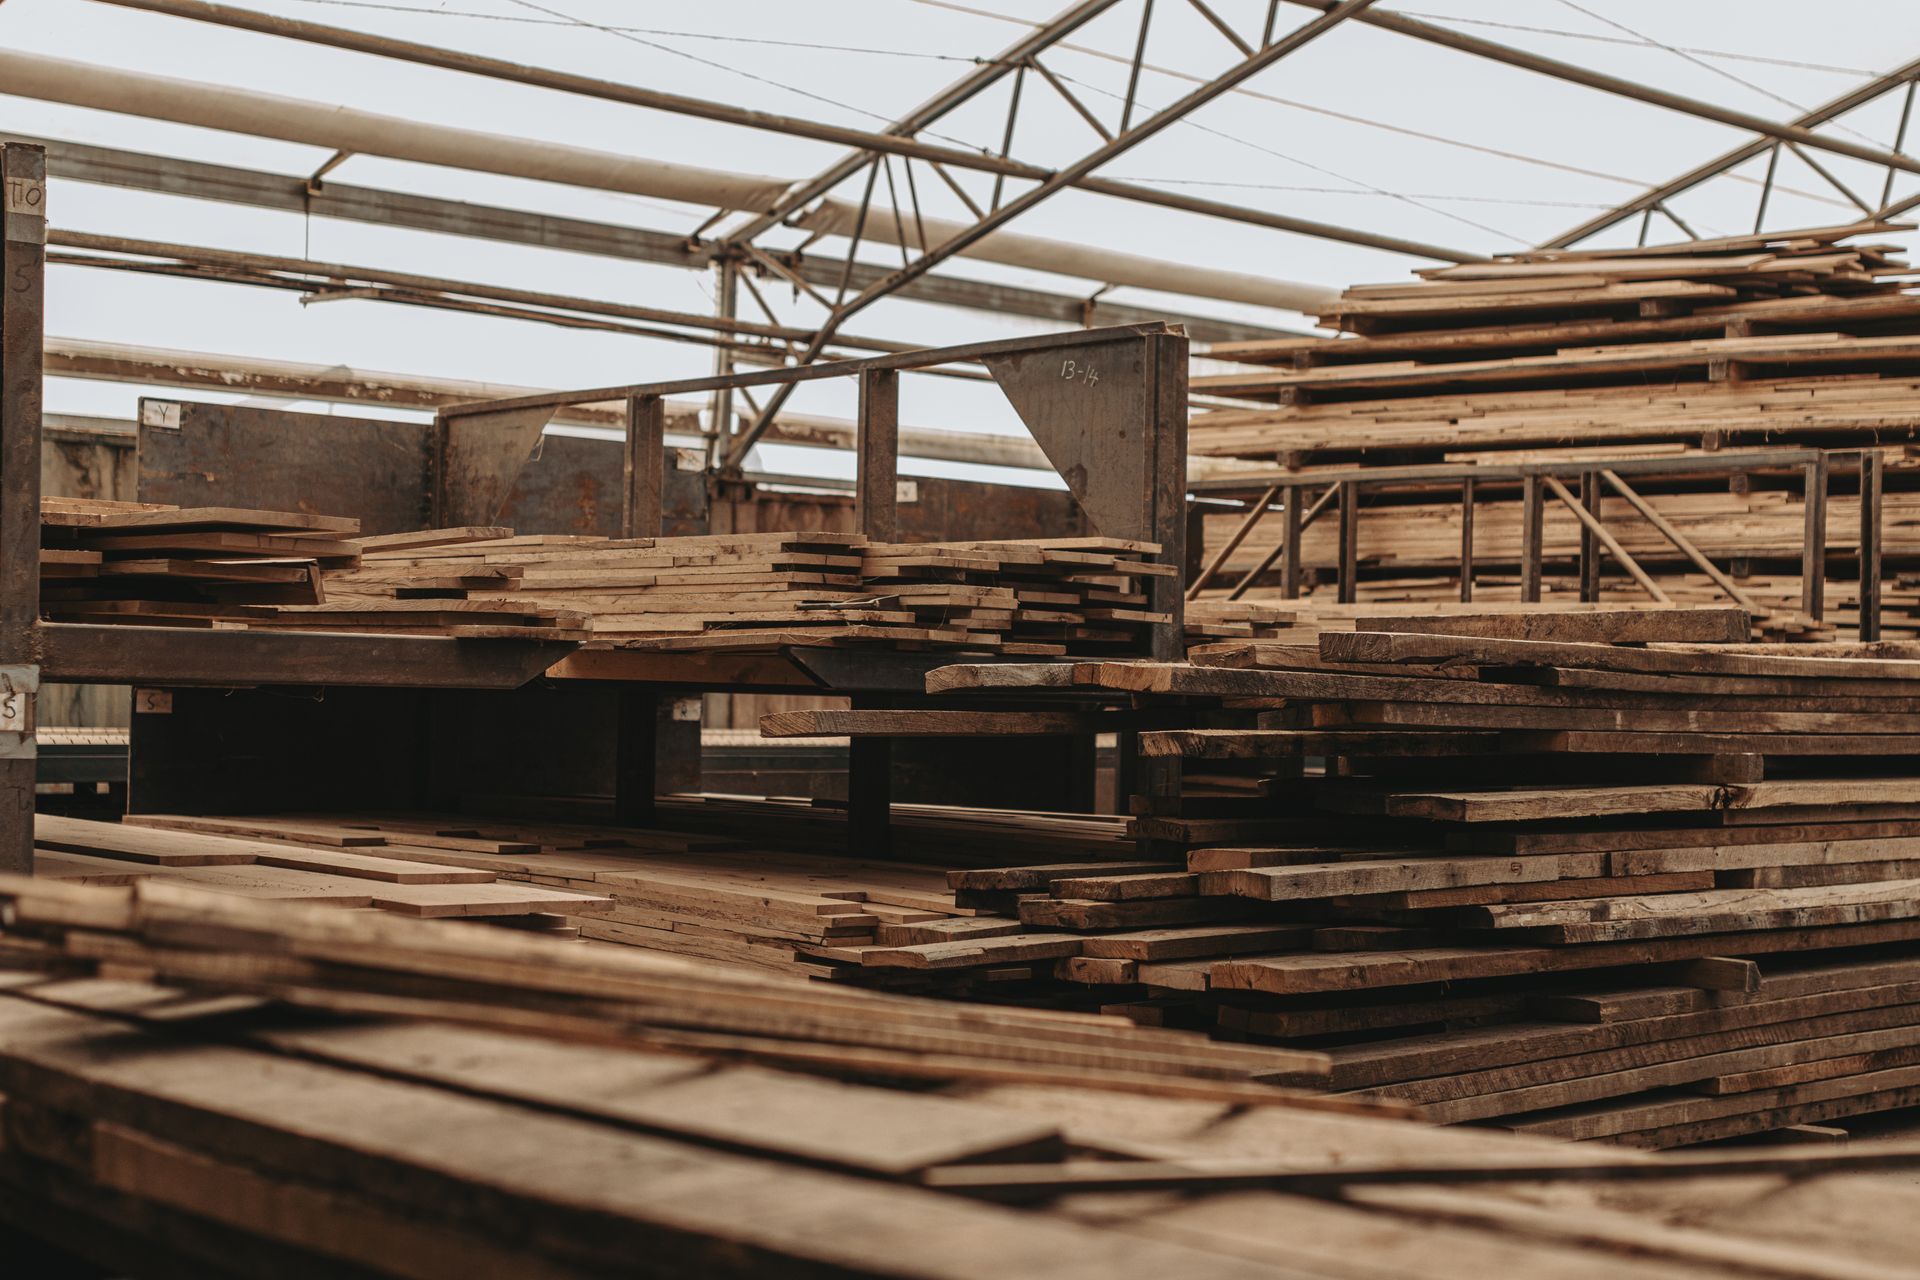
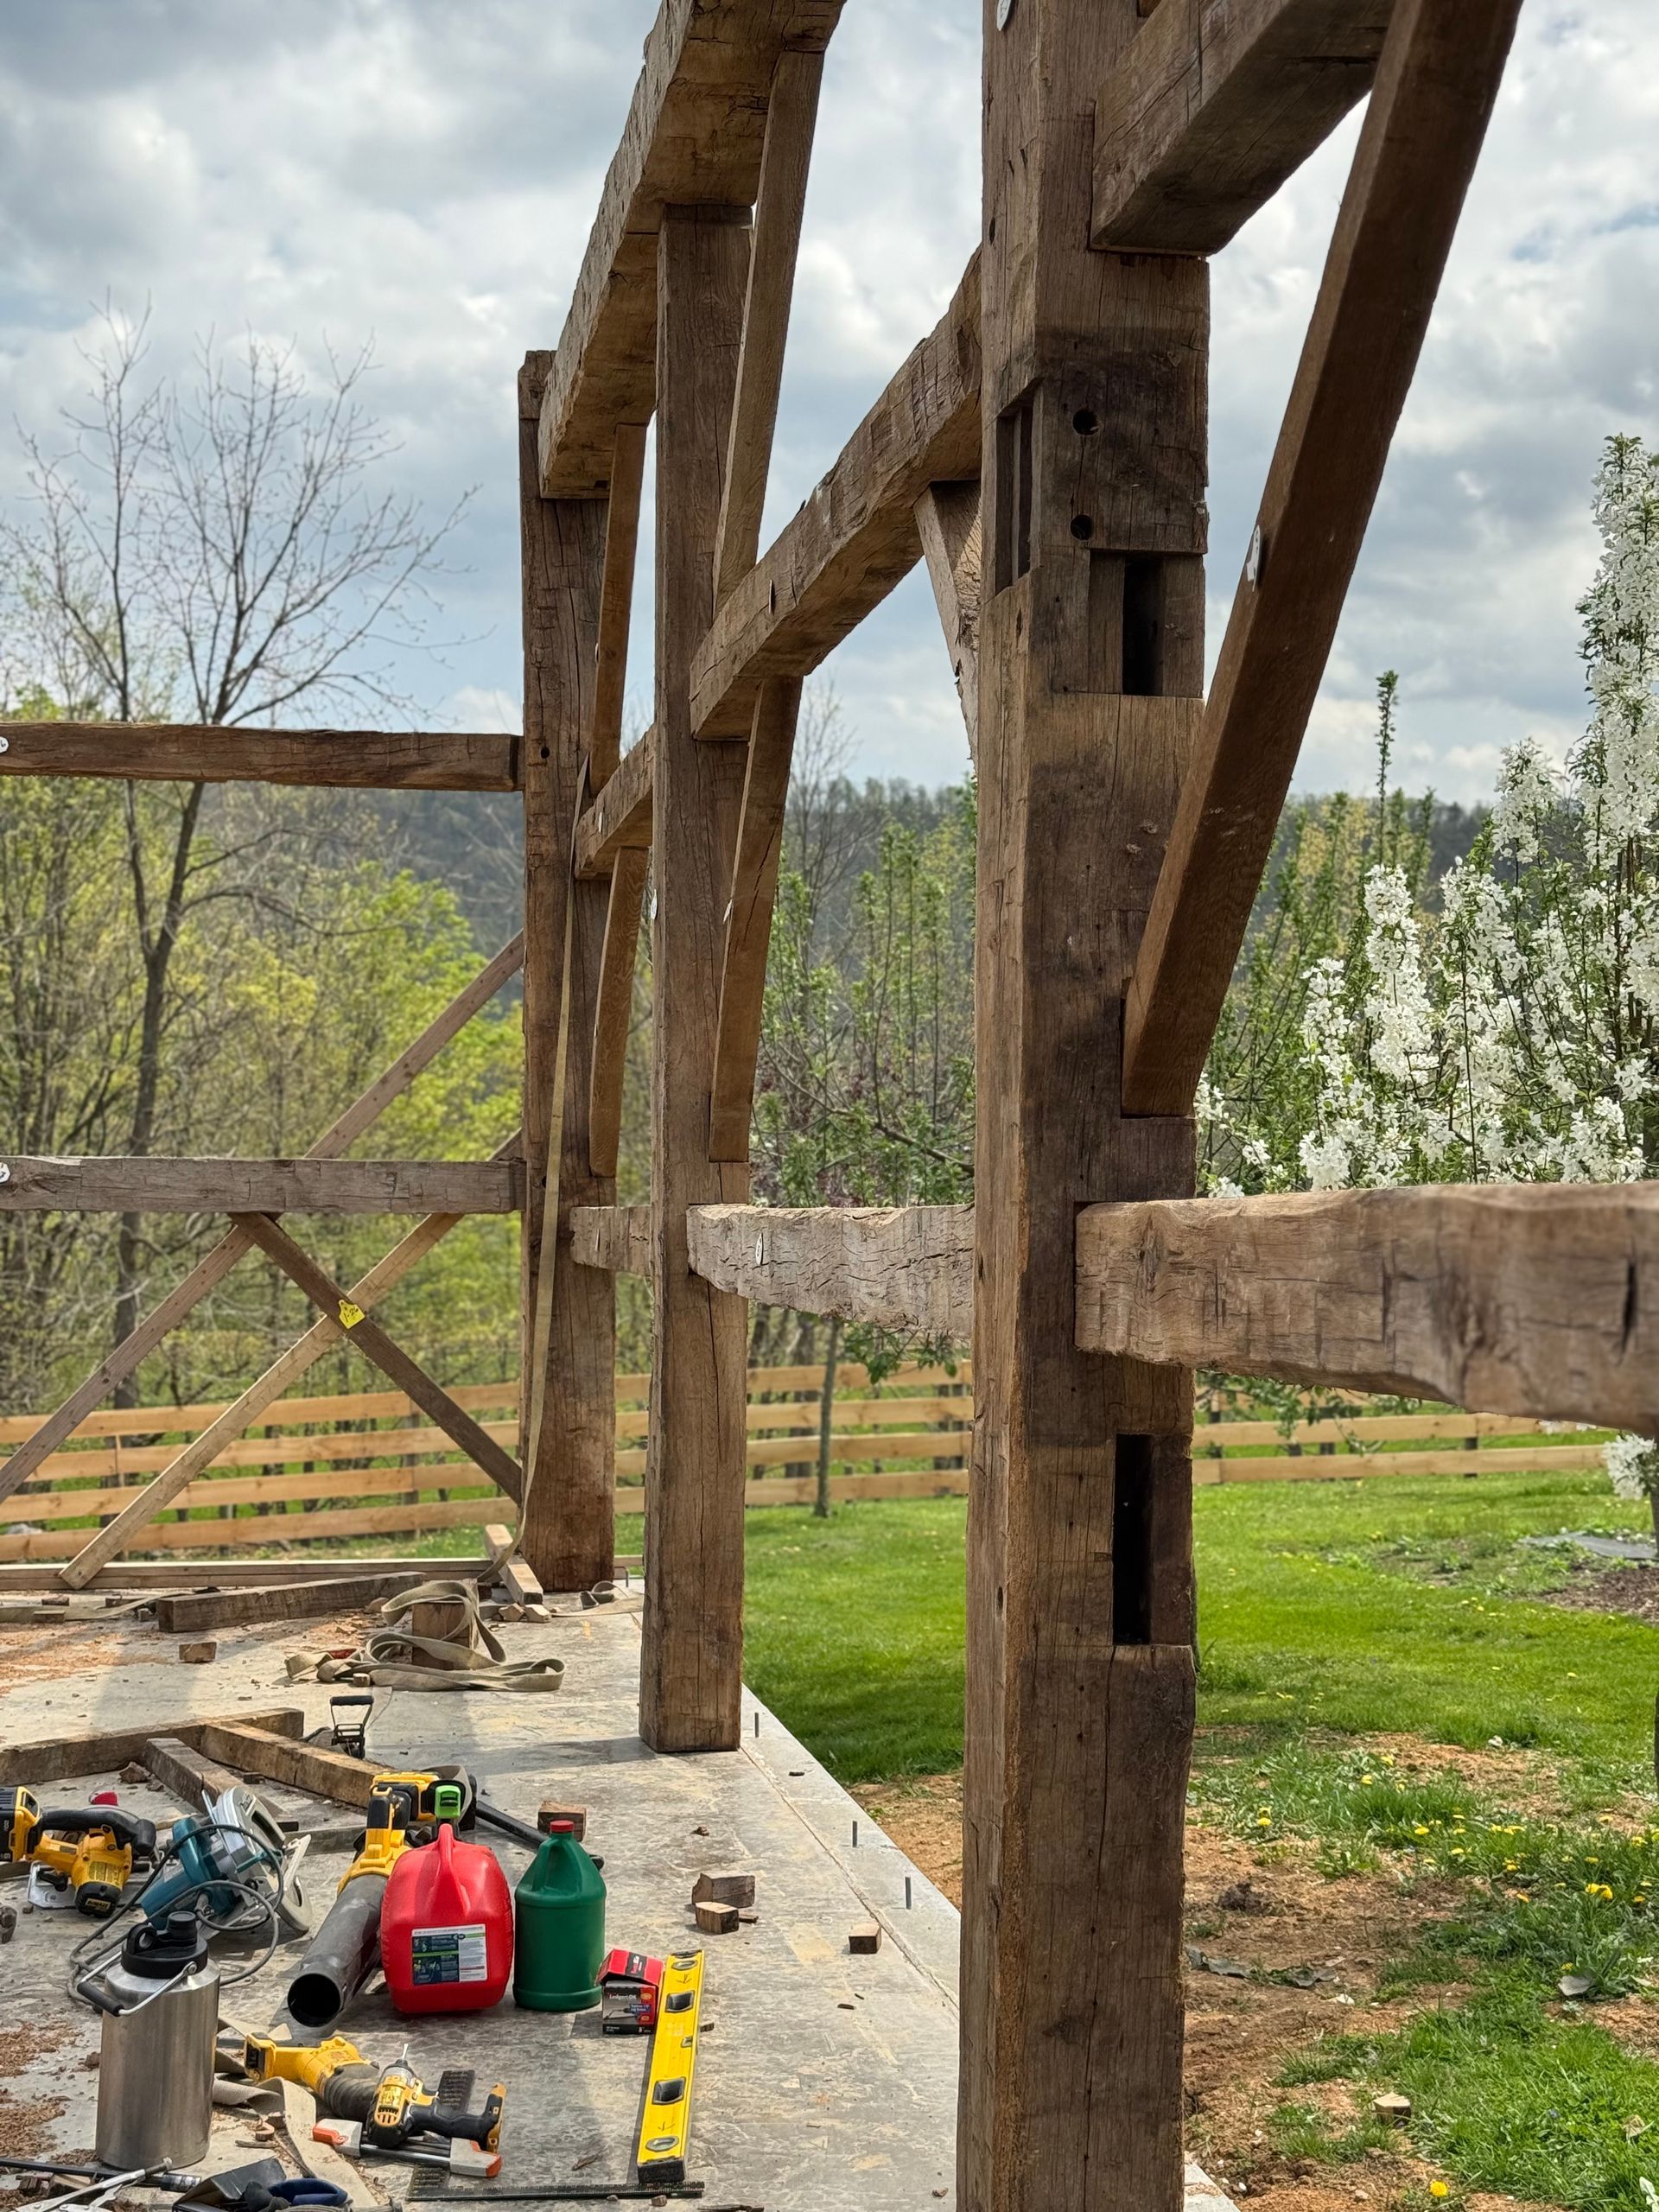
Lessons From Historic Timber
At Bay & Bent, we’ve had the chance to work with reclaimed timber from barns that are hundreds of years old. The grain on this wood is often incredibly tight and straight because these trees grew slowly in old forests. That natural stability and strength are hard to match with modern materials.
Historic builders really understood wood grain. They could look at a tree and know which part to use for certain parts of a structure, from huge beams to small, detailed joinery. Today, we keep that same care alive by choosing the best pieces for each project and respecting the natural character of the wood.
Common Issues and Fixes
Tearout
When your tools lift the wood fibers instead of cutting them neatly, you might be going against the grain. Try sharper tools, take lighter cuts, or adjust your angle for a cleaner finish.
Warping
Wood moves as it absorbs or loses moisture. Quartersawn boards (cut at right angles to the growth rings) are less likely to warp than plainsawn ones.
Grain Reversal
If the grain shifts direction on the same board, tools might snag. Switching to a scraper or adding a slight angle to your cut can help avoid tearout.
Picking Wood Based on Grain
Straight grain is the go-to for anything that needs strength, like furniture or structural parts. But for decorative pieces, don’t shy away from more dramatic grain patterns. Bold, wavy, or wild grain can add a lot of character to larger projects like tabletops or wall panels.
The Bottom Line
Understanding wood grain is a game-changer for woodworking. It’s not just about looks (though the right grain can definitely boost your project’s visual appeal). It’s about working with the natural strengths and quirks of the wood to get results that are not only beautiful but also durable and reliable.
Before you grab your saw or plane, spend a few minutes studying the wood. Those lines and patterns can tell you everything you need to know about how it will behave and where it’ll shine in your project. When you get it right, working with wood grain isn’t just easier, it’s a lot more satisfying, too.
Wood grain is nature’s way of showing off, and when you learn to read it, you can create woodworking projects that are strong, stunning, and uniquely yours.