Why You Should Always Acclimate Lumber Before Use
Acclimate lumber properly to prevent warping and cracking
If you’ve heard people in woodworking circles mention “acclimating your lumber,” you might be wondering what it’s all about. Is it necessary? And why should it even matter?
Well, skipping this step is one of the easiest ways to turn your carefully planned project into a frustrating mess. Don’t worry, though, we’ll break it down so it’s simple and clear.
What Does It Mean to Acclimate Lumber?
Acclimating lumber is basically giving the wood some time to adjust to the conditions in your workshop before you use it. It’s like letting the wood “settle in” so it doesn’t get stressed or react poorly when you start cutting or assembling.
You see, wood is hygroscopic, meaning it absorbs or loses moisture depending on the air around it. If you bring wood from a humid storage yard to a drier workshop, it needs to balance out with its new surroundings. Without that adjustment time, the wood can warp, crack, or twist later, ruining all your hard work.
Why Does Wood Move Around?
Here’s the thing about wood: even though it’s been cut into planks, it’s still active. Wood expands when it absorbs moisture and shrinks when it dries out. This movement isn’t even in all directions, though. Wood shifts more across its width than it does along its length.
This might seem like a minor issue, but think about it. A wide board could expand or contract by as much as an eighth of an inch. That tiny change can suddenly create cracks, make doors hard to close, or leave visible gaps in a tabletop. And those changes could show up weeks after you thought your project was done.
Why Skipping This Step Can Mess Things Up
If you buy some gorgeous lumber, bring it straight to your shop and jump right into your project, it all seems perfect at first. Then, a couple of weeks later, you notice gaps in your table or misaligned cabinet doors.
What happened? It’s not that the wood was bad; it just hadn’t had enough time to adjust to your shop’s moisture and temperature. Professional woodworkers know this all too well, which is why acclimating lumber is something they never skip.
What Impacts How Wood Adjusts?
Several things affect how long it takes for lumber to settle in.
Temperature Changes
While temperature doesn’t affect wood as much as humidity does, big temperature swings can still stress the wood if they happen too fast.
Humidity Levels
This is the game changer. Wood will either soak up moisture or release it until it matches the air around it. For example, wood stored in a humid warehouse will behave very differently in your dry shop.
Seasons
Even your shop’s conditions change depending on the time of year. Lumber that behaves fine during winter could expand in summer if your space isn’t climate-controlled.
How Long Should You Acclimate Lumber?
The time lumber needs to adjust depends on a few factors, like its thickness and where it came from. Generally, the thicker the board and the bigger the difference in humidity, the more time it’ll need.
Here’s a basic guide to work with:
- Thin boards (under 1 inch): 3-7 days
- Mid-thickness boards (1-2 inches): 1-2 weeks
- Thick slabs (over 2 inches): 3-4 weeks or more
For freshly kiln-dried lumber, you may need to give it extra time, especially if it came from a humid storage area.
How to Acclimate Lumber the Right Way
If you want to do it properly (and trust us, you do), follow these steps.
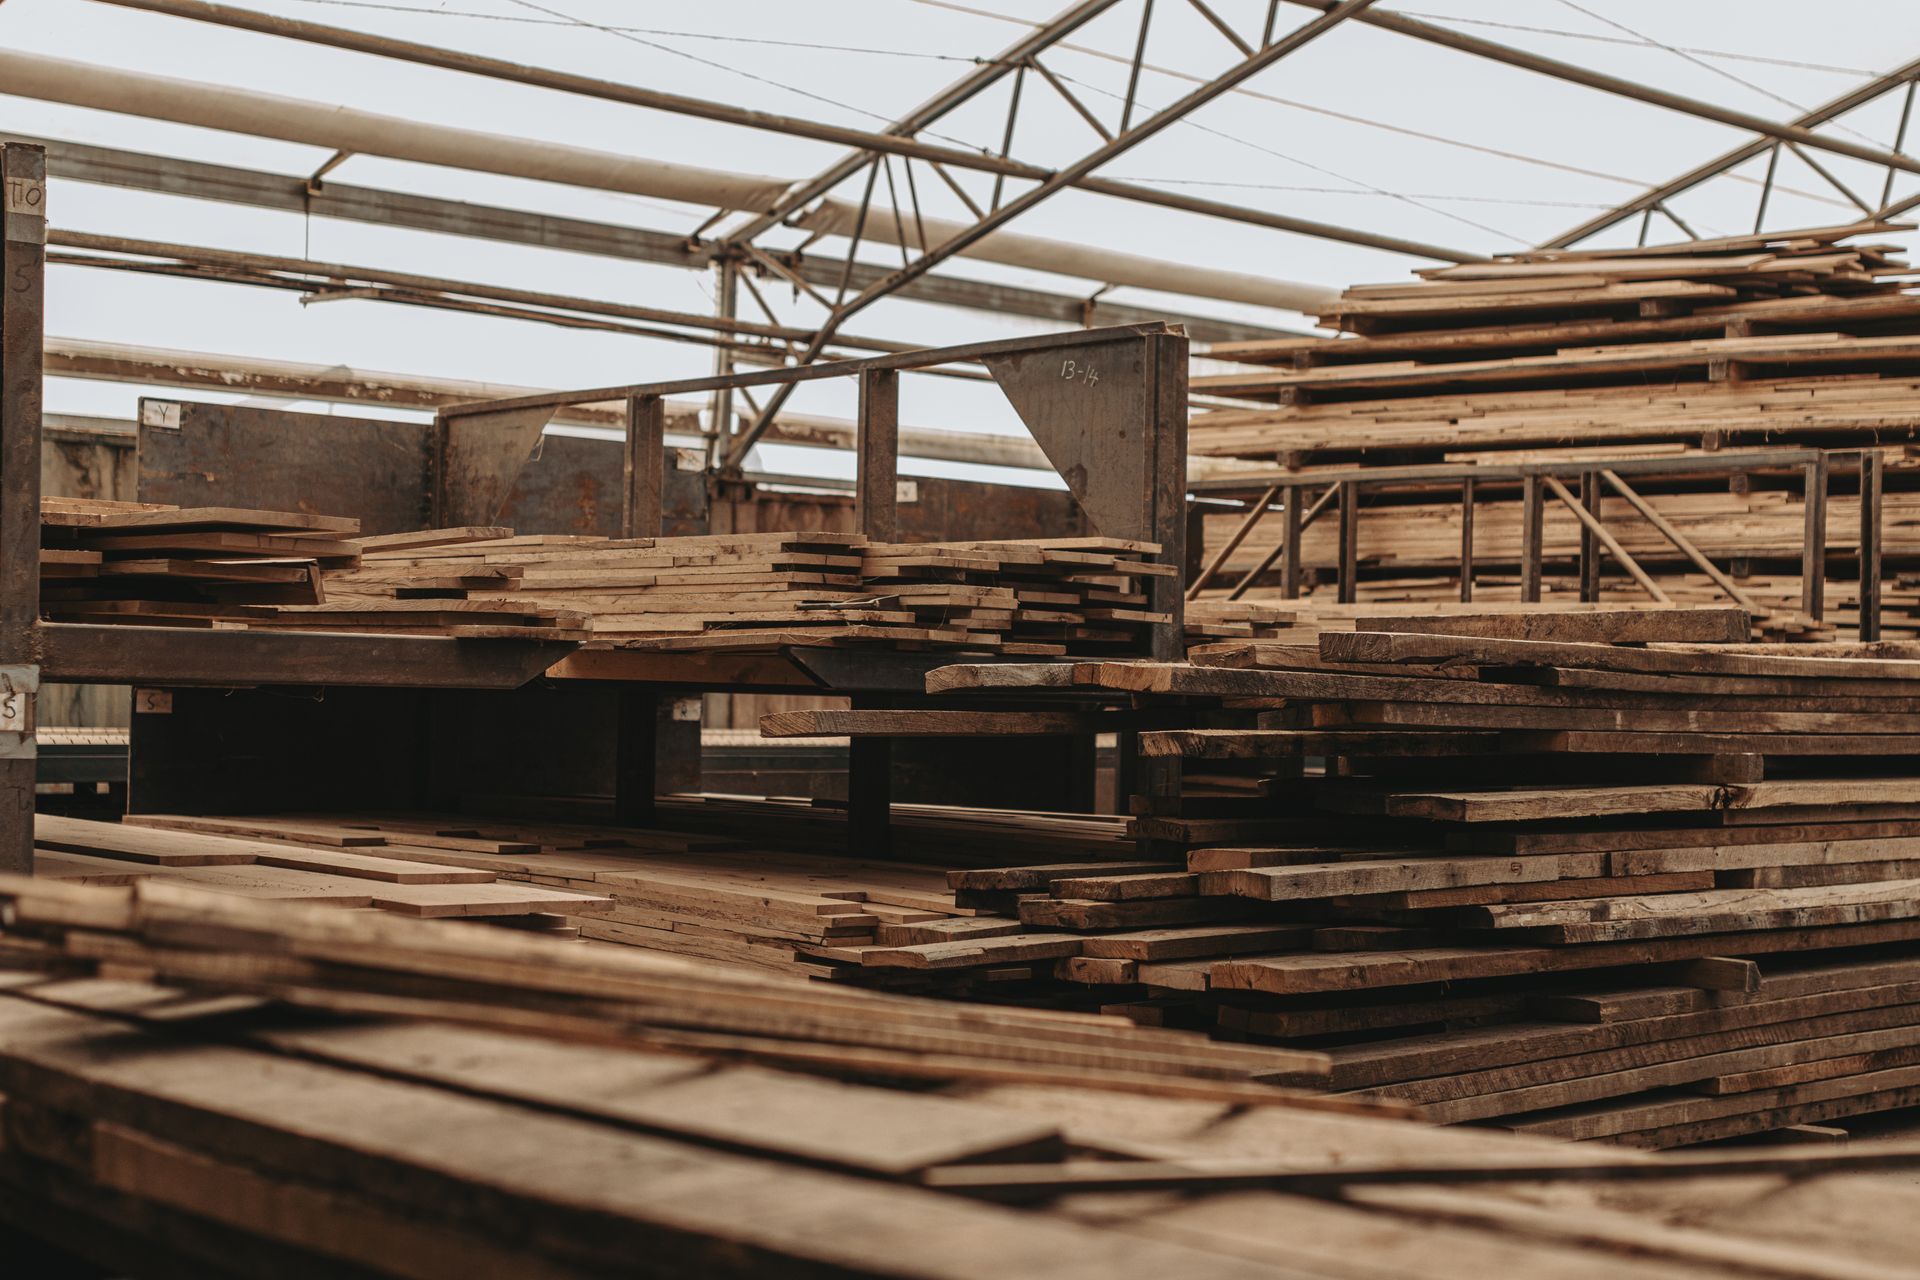
1. Stack It Right
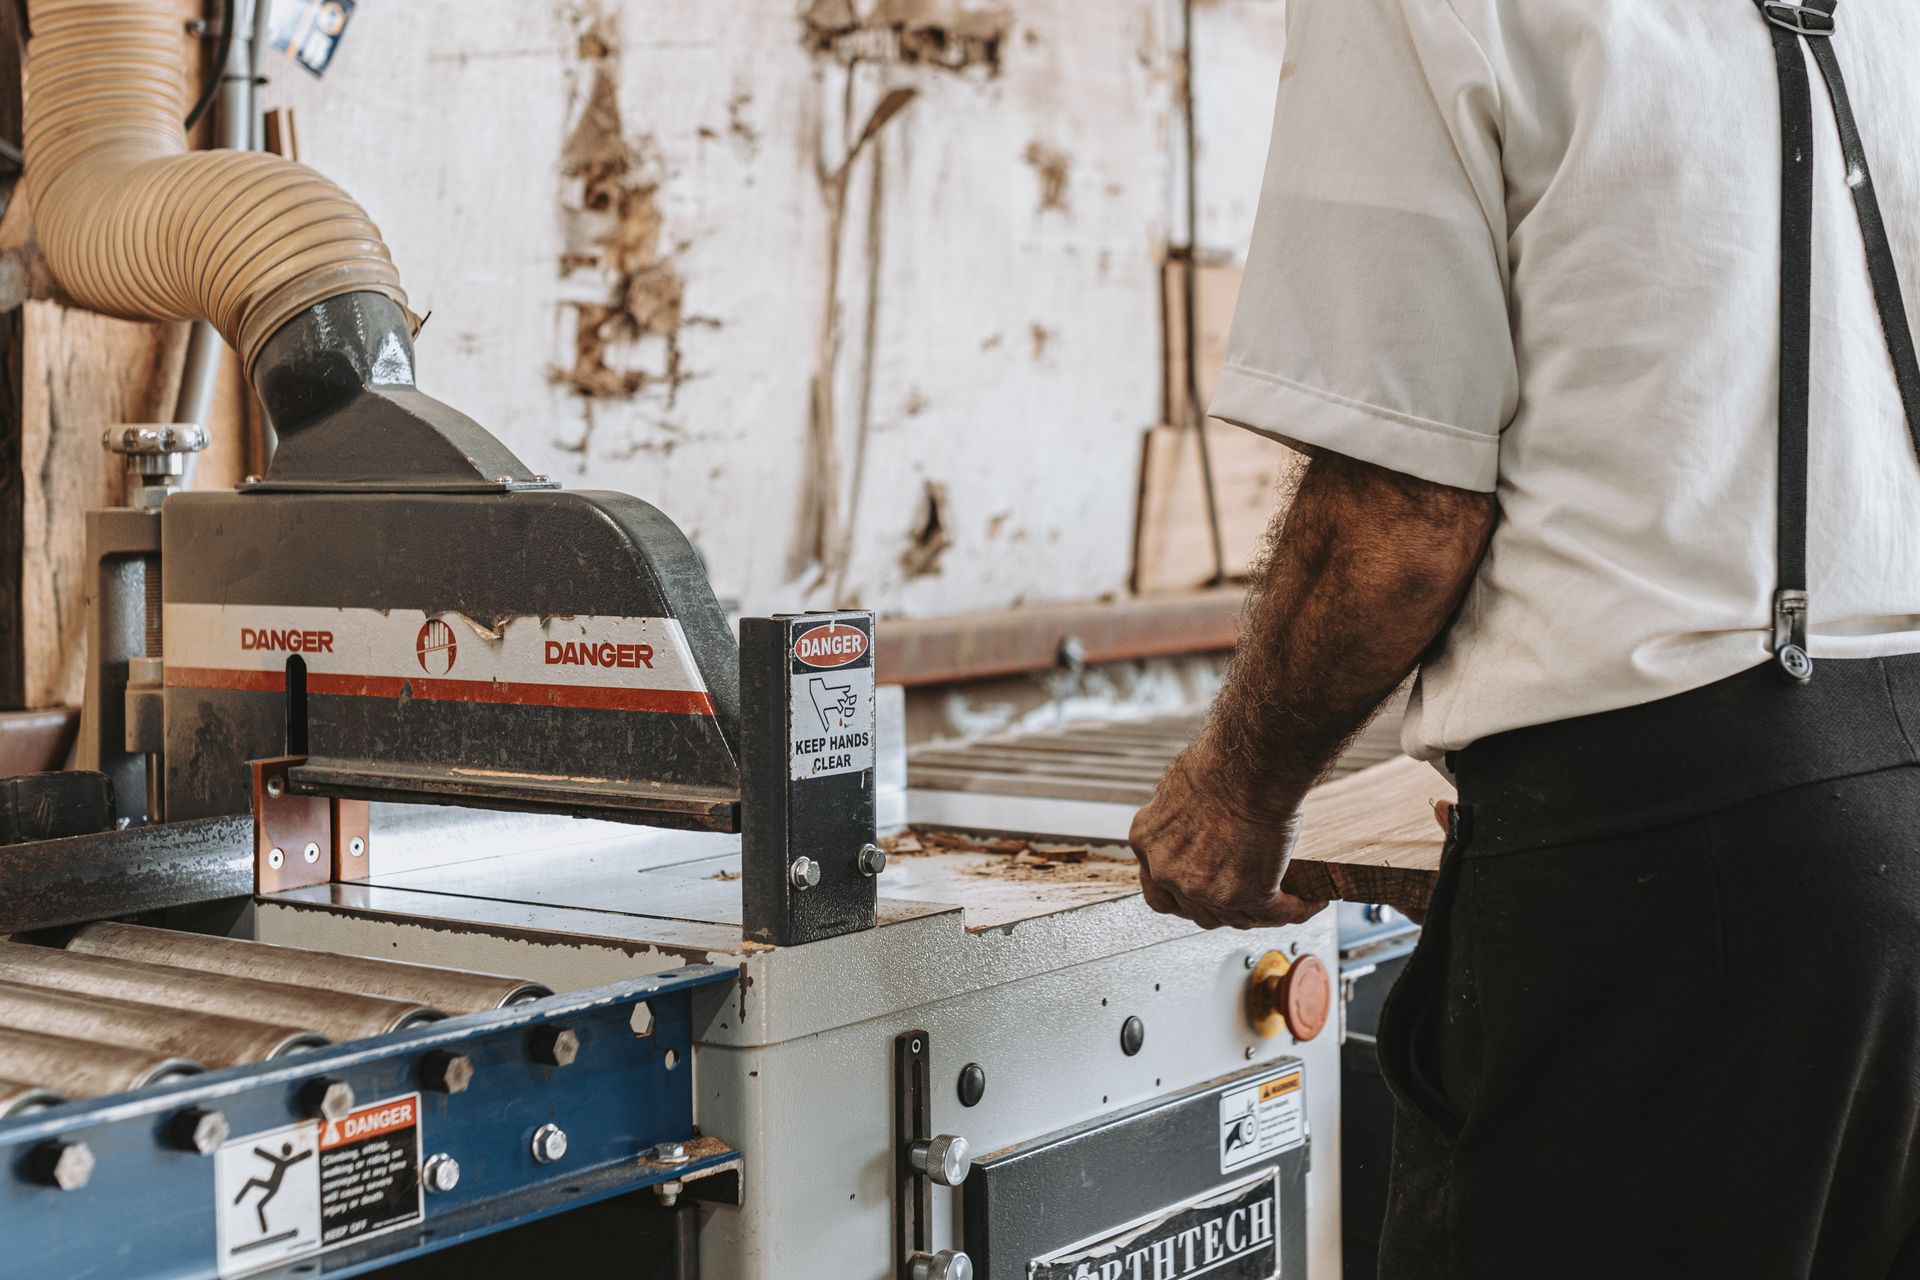
Use small strips of scrap wood, called stickers, to separate your boards. These let air flow around each piece evenly. Just make sure the stickers are the same thickness and line up vertically in your stack to prevent warping.
2. Create Stable Shop Conditions
Ideally, your workshop should have consistent temperature and humidity. If that’s not possible, try to avoid placing wood near a heat source or leaving it in a spot where conditions change drastically.
3. Check with a Moisture Meter
A moisture meter is a great tool to measure how much moisture is in your wood. When the readings stop changing and match your shop’s environment, the wood is ready to use.
4. Don’t Rush It
Keep the stack out of direct sunlight or heaters. Quick drying can cause uneven stress in the wood, leading to warping or cracking.
Signs Your Wood Needs More Time
Here’s how you’ll know your lumber isn’t ready yet:
- The moisture meter keeps giving you different readings.
- Boards are warping or twisting within days of being in your workshop.
- There’s a big difference in moisture content between the edges and the middle of the boards.
Special Cases
Exotic Woods
Exotic or imported woods often need extra care. These might come from tropical climates, so they’ll need more time to settle into your shop’s conditions.
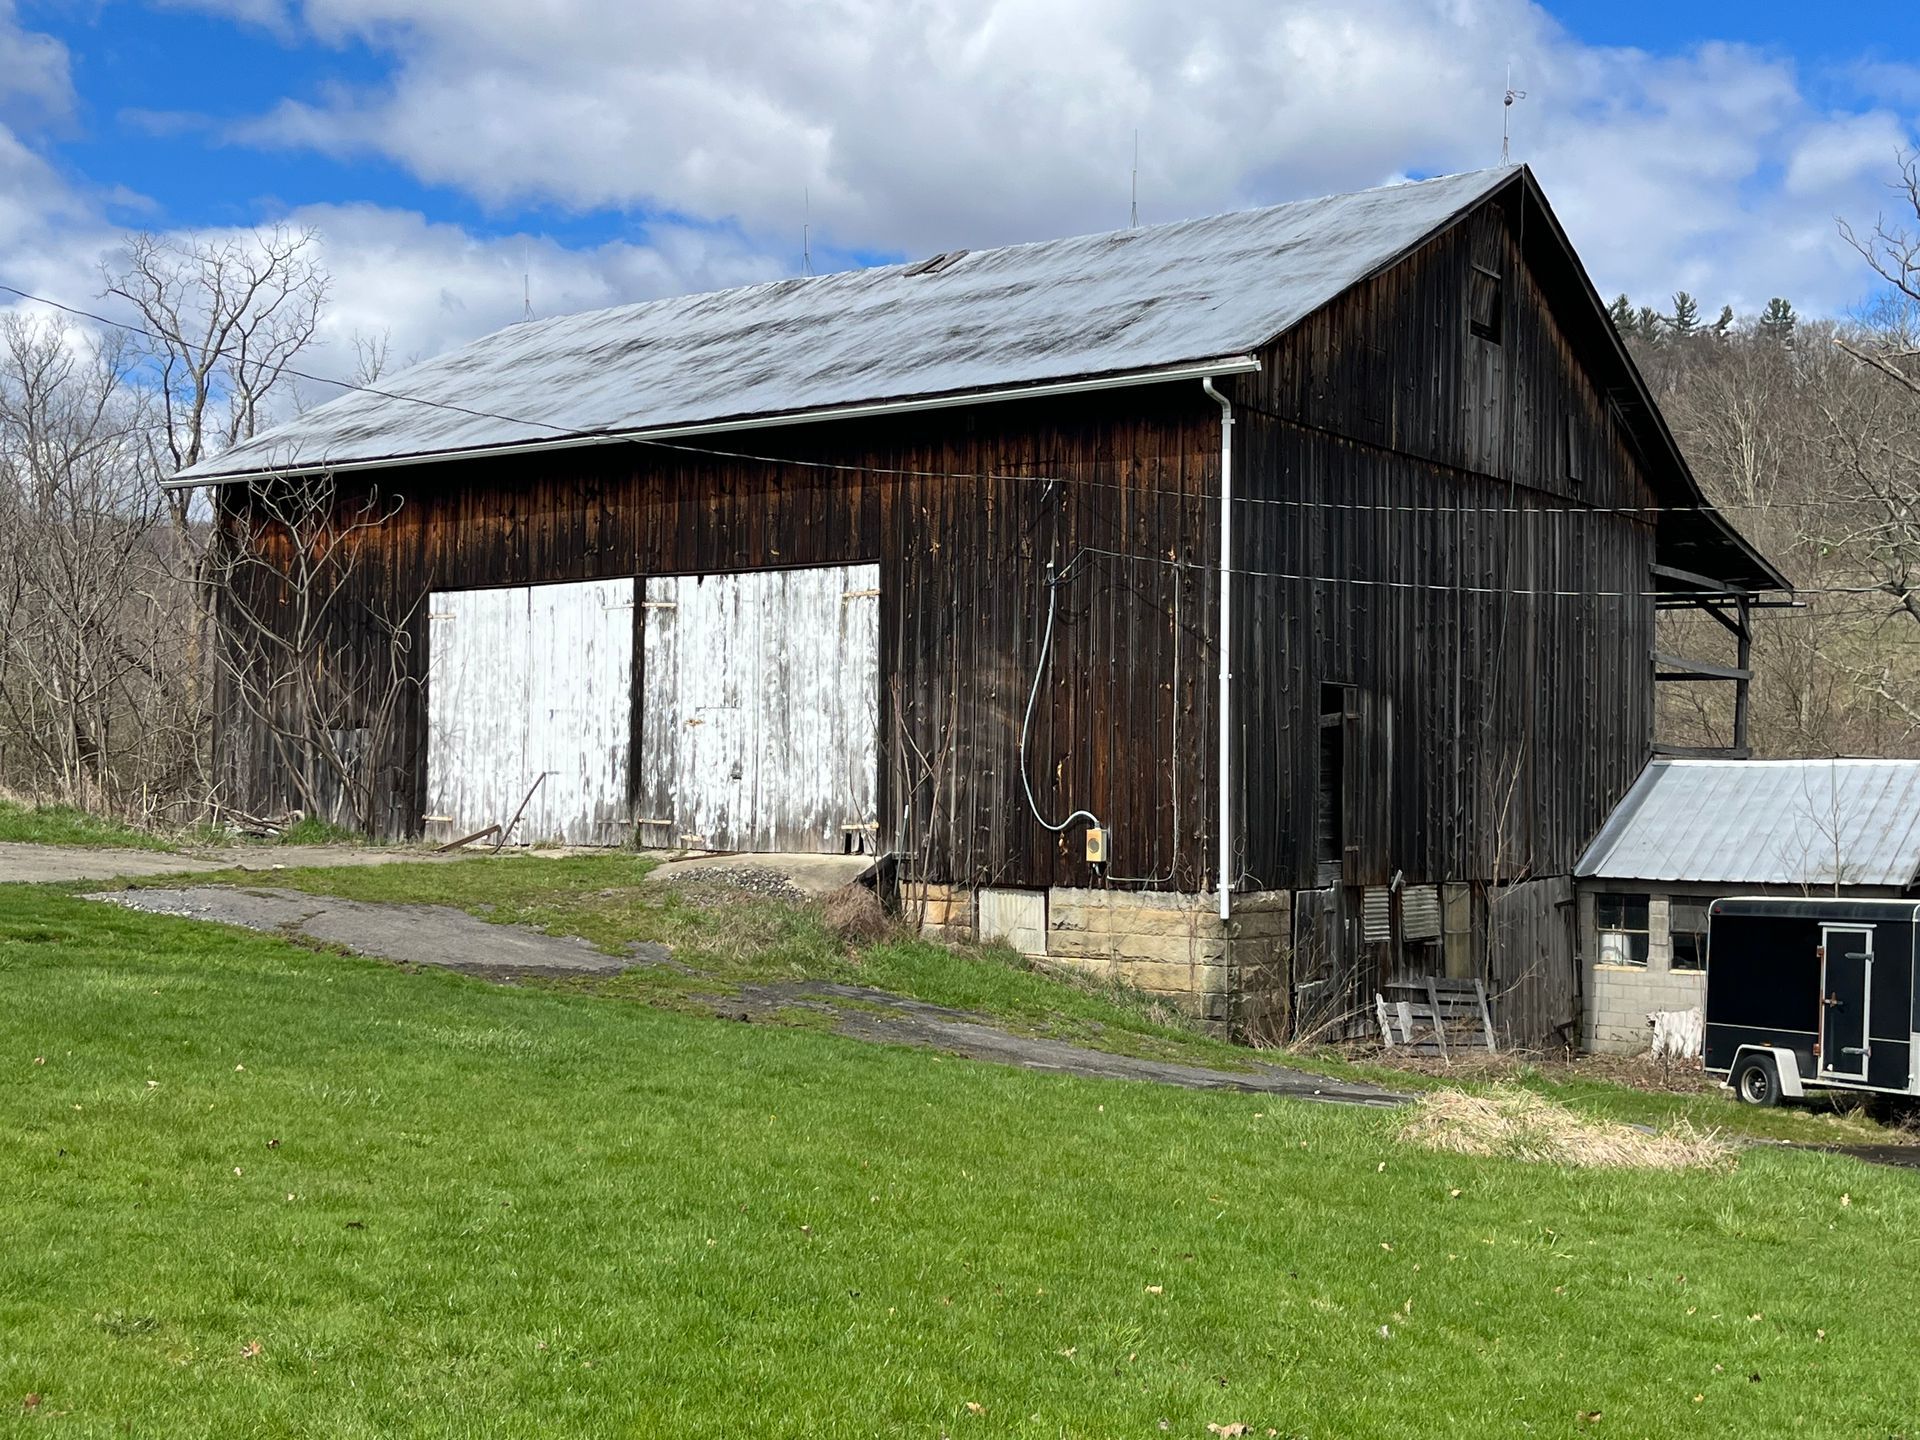
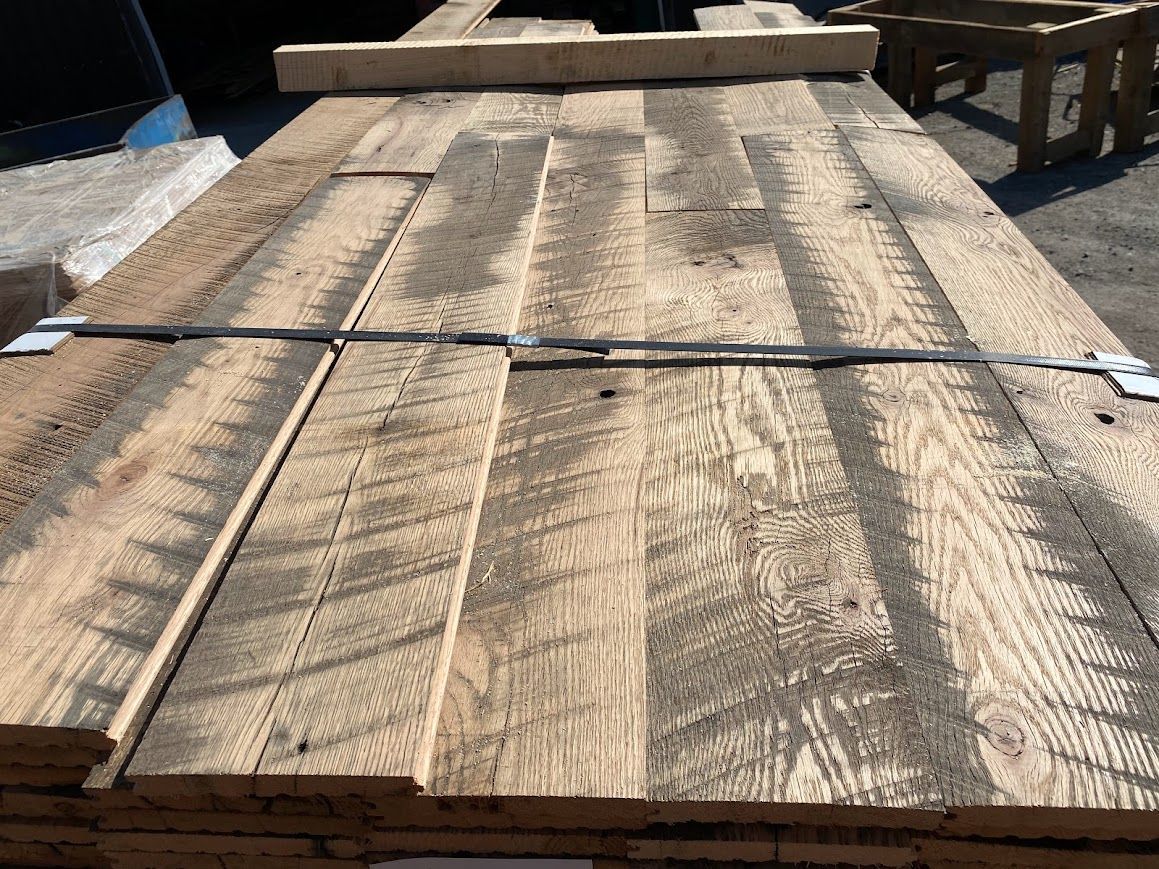
Reclaimed Lumber
Wood salvaged from older structures might take longer to adjust, especially if it’s been outside or stored in a different environment for decades.
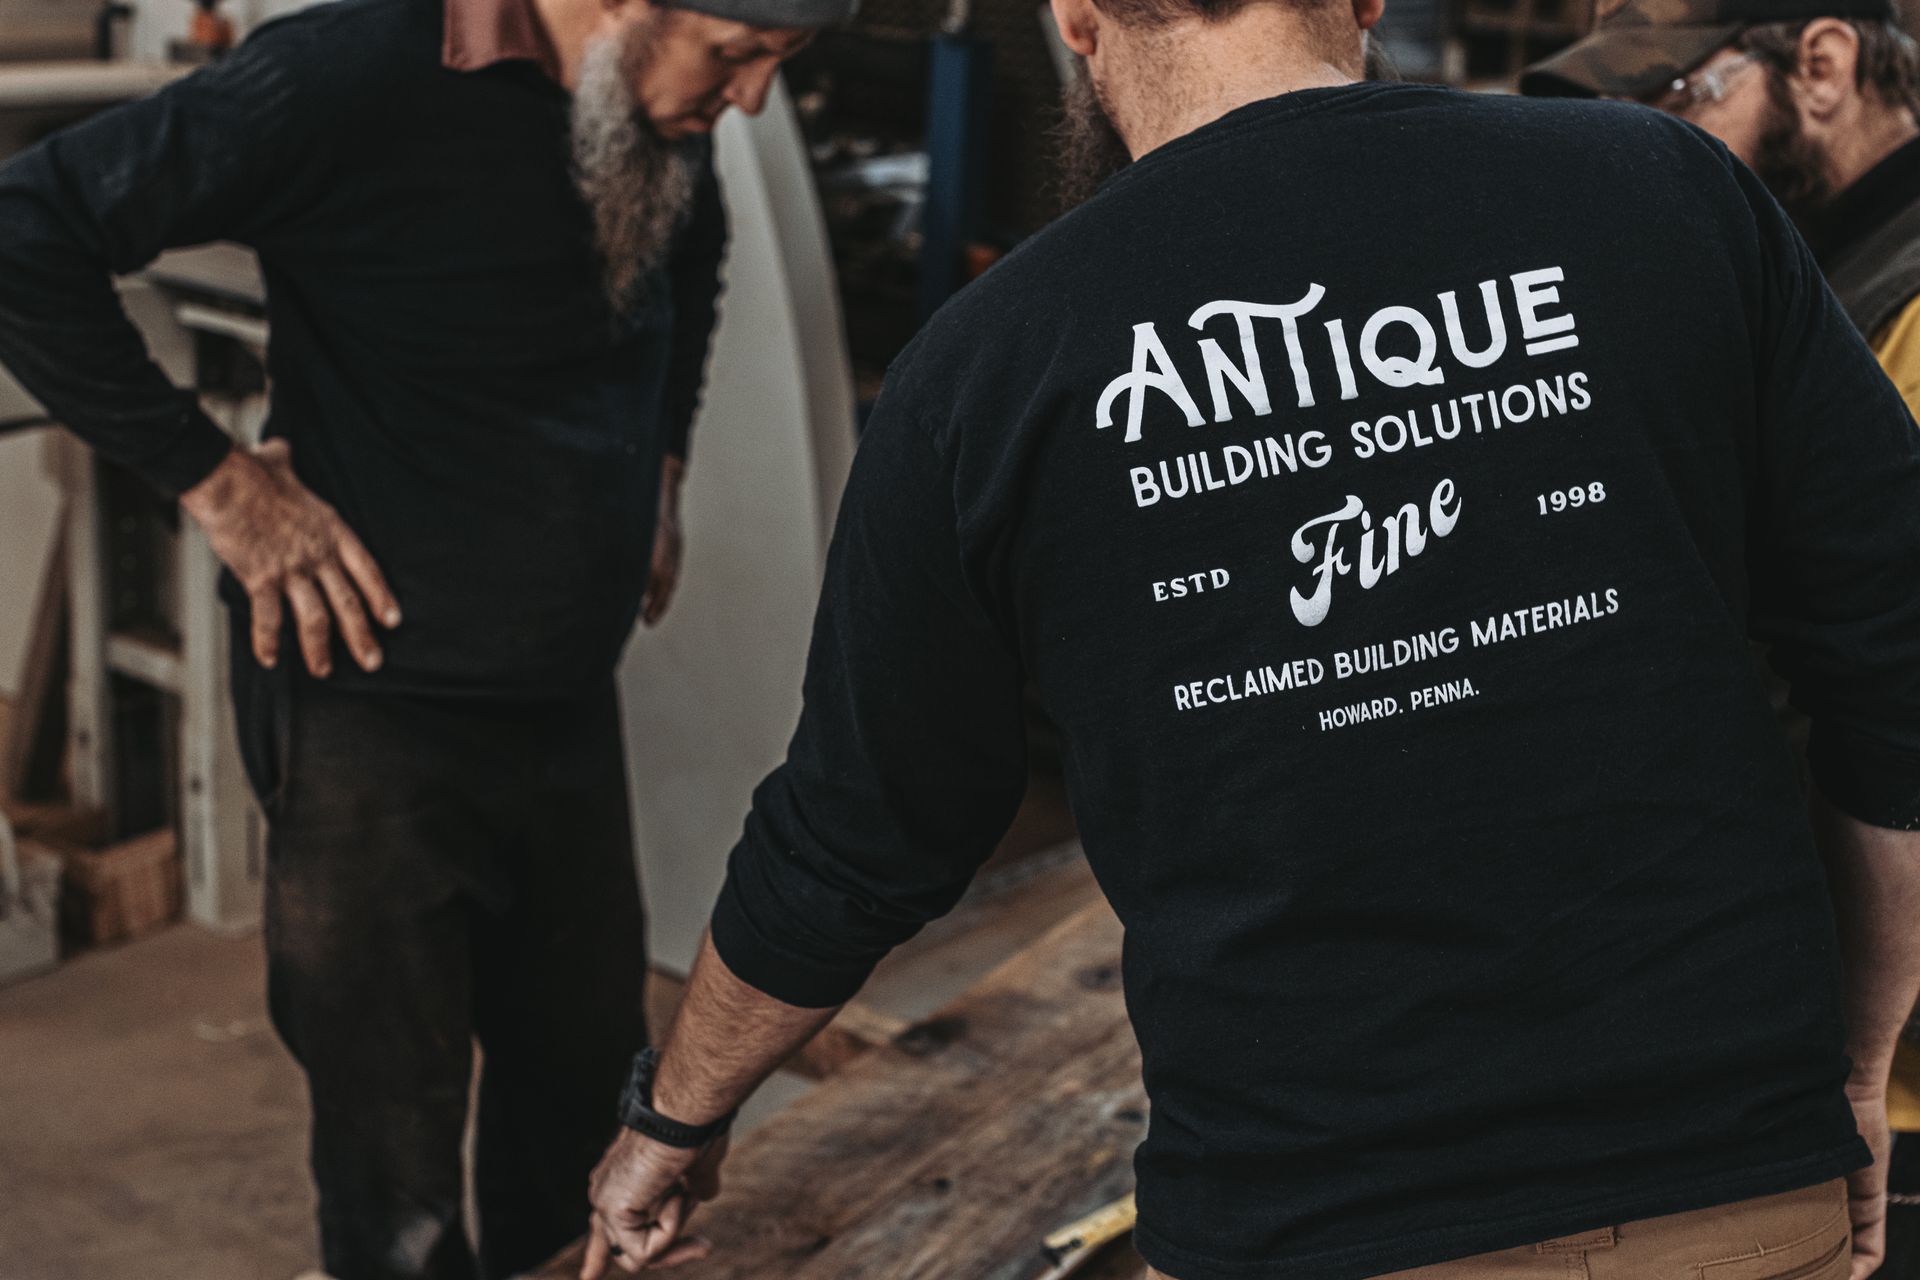
What We’ve Learned at Bay & Bent
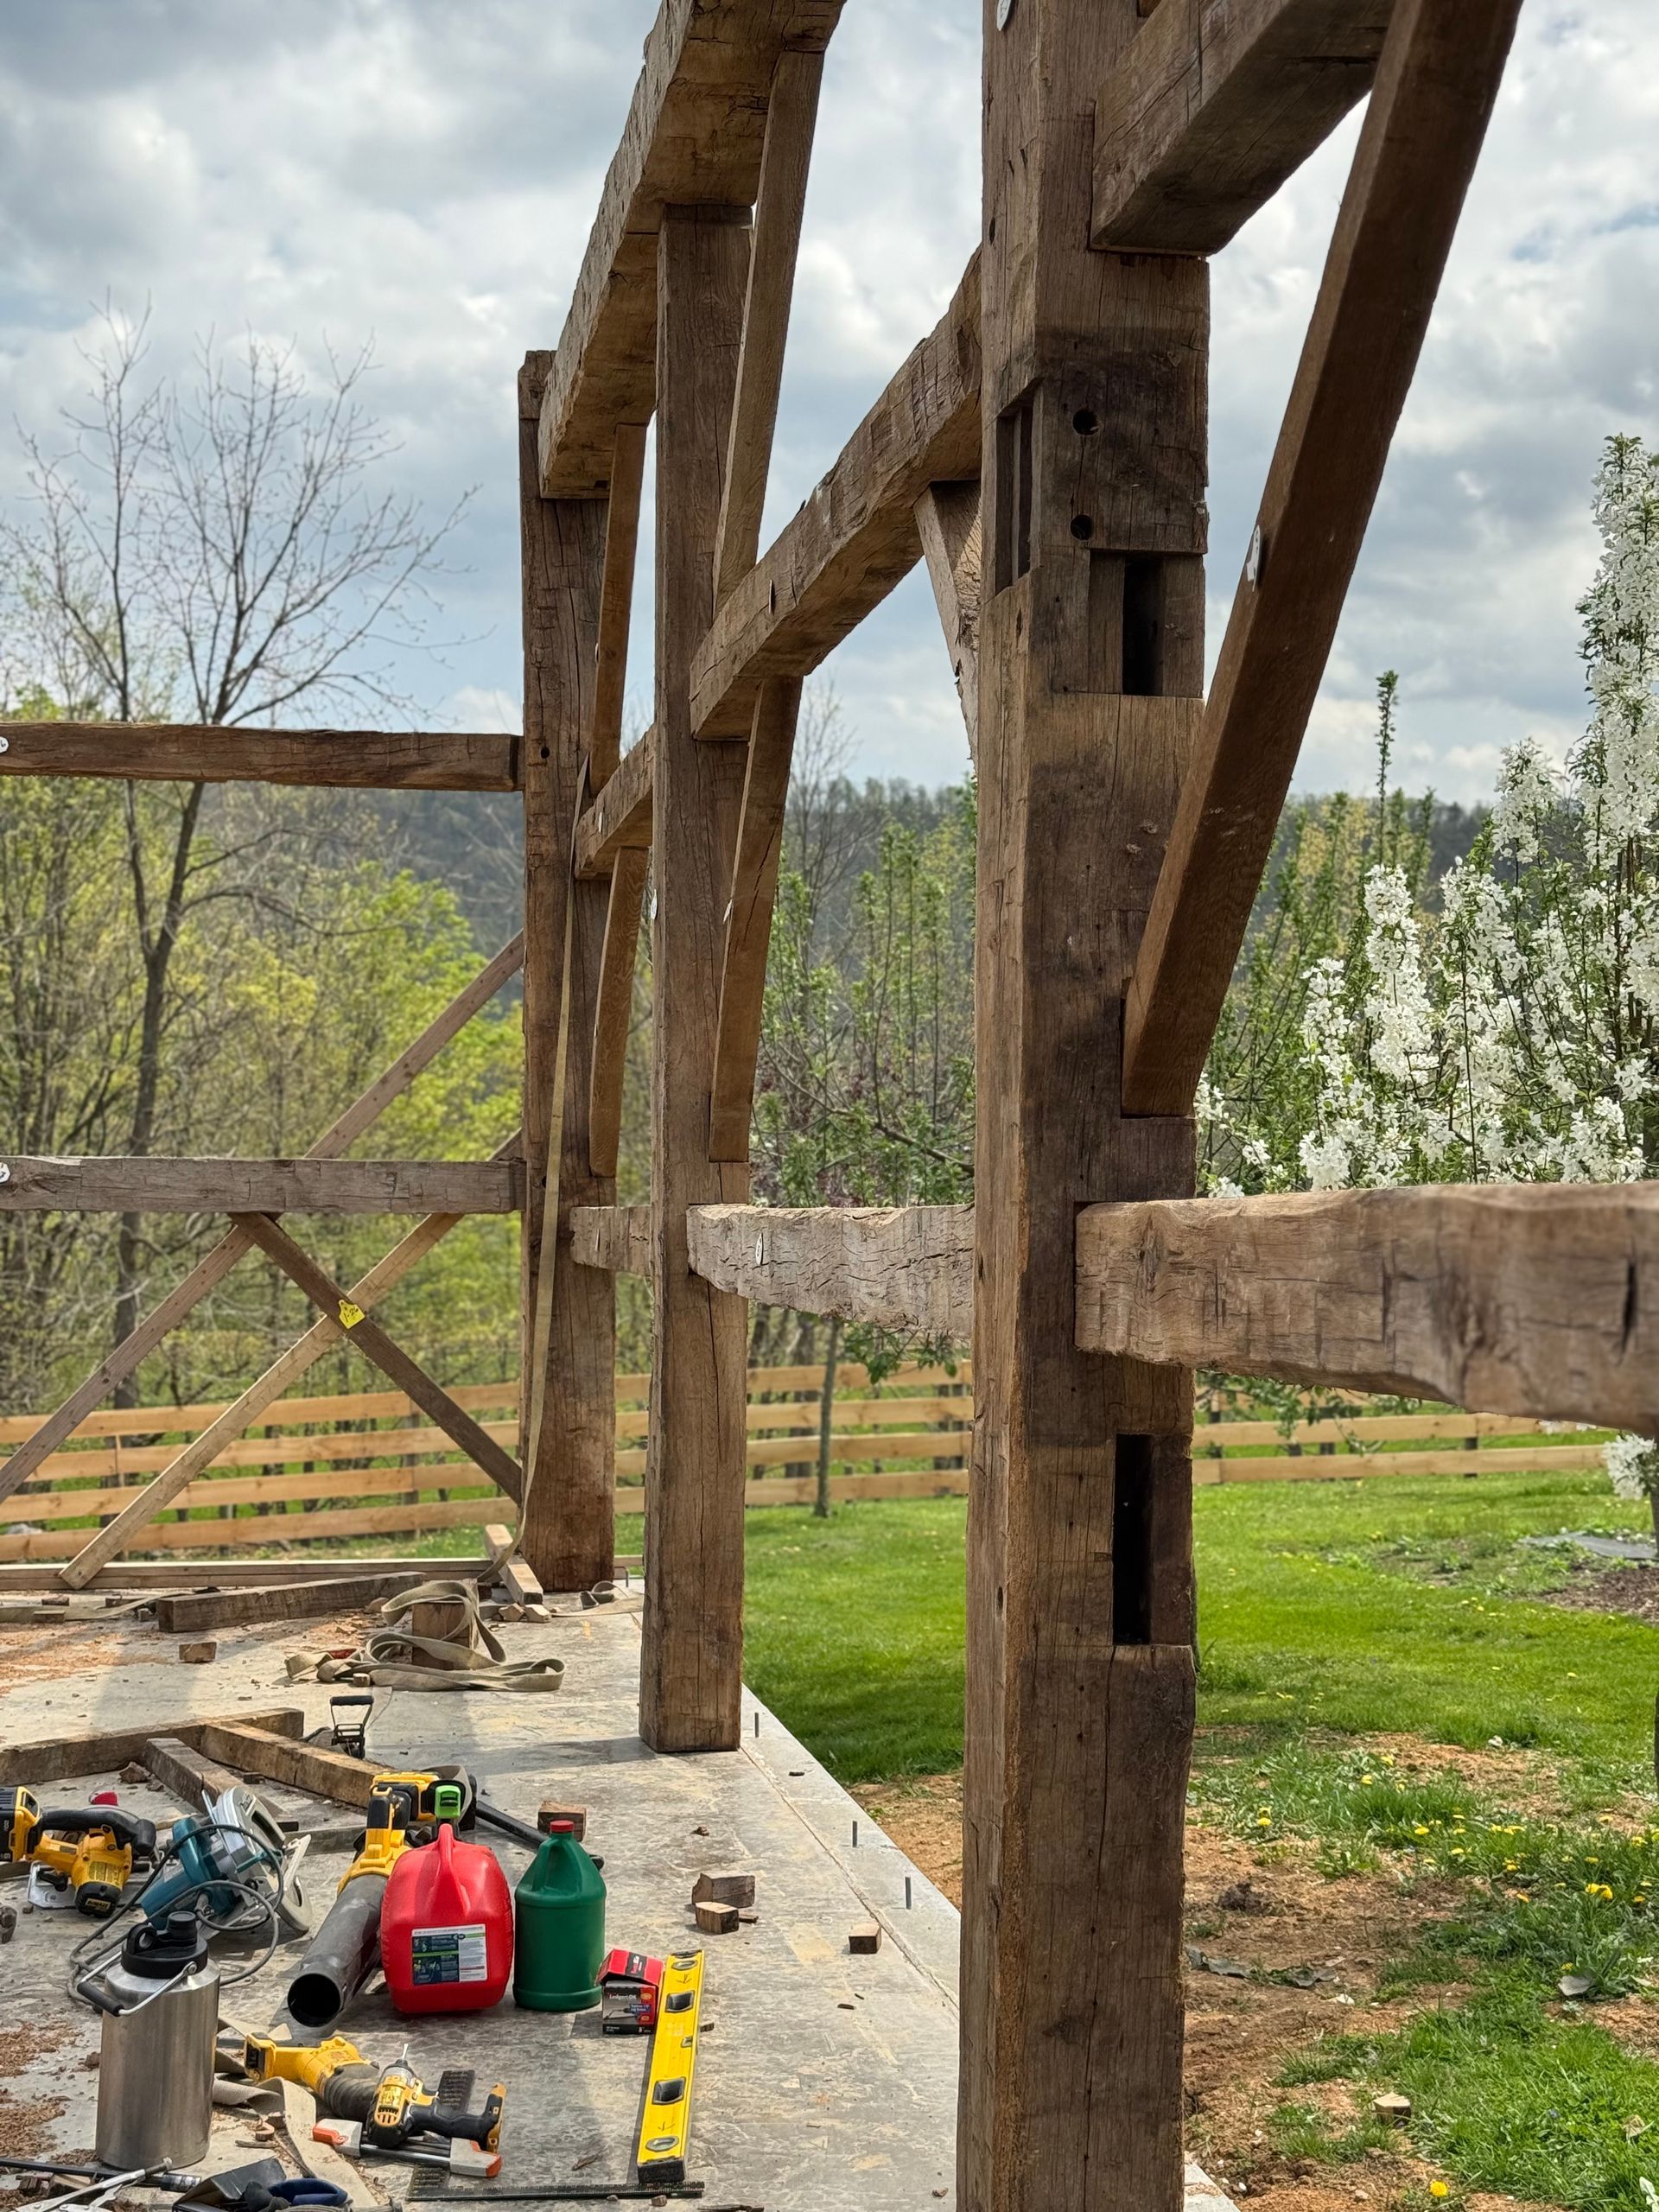
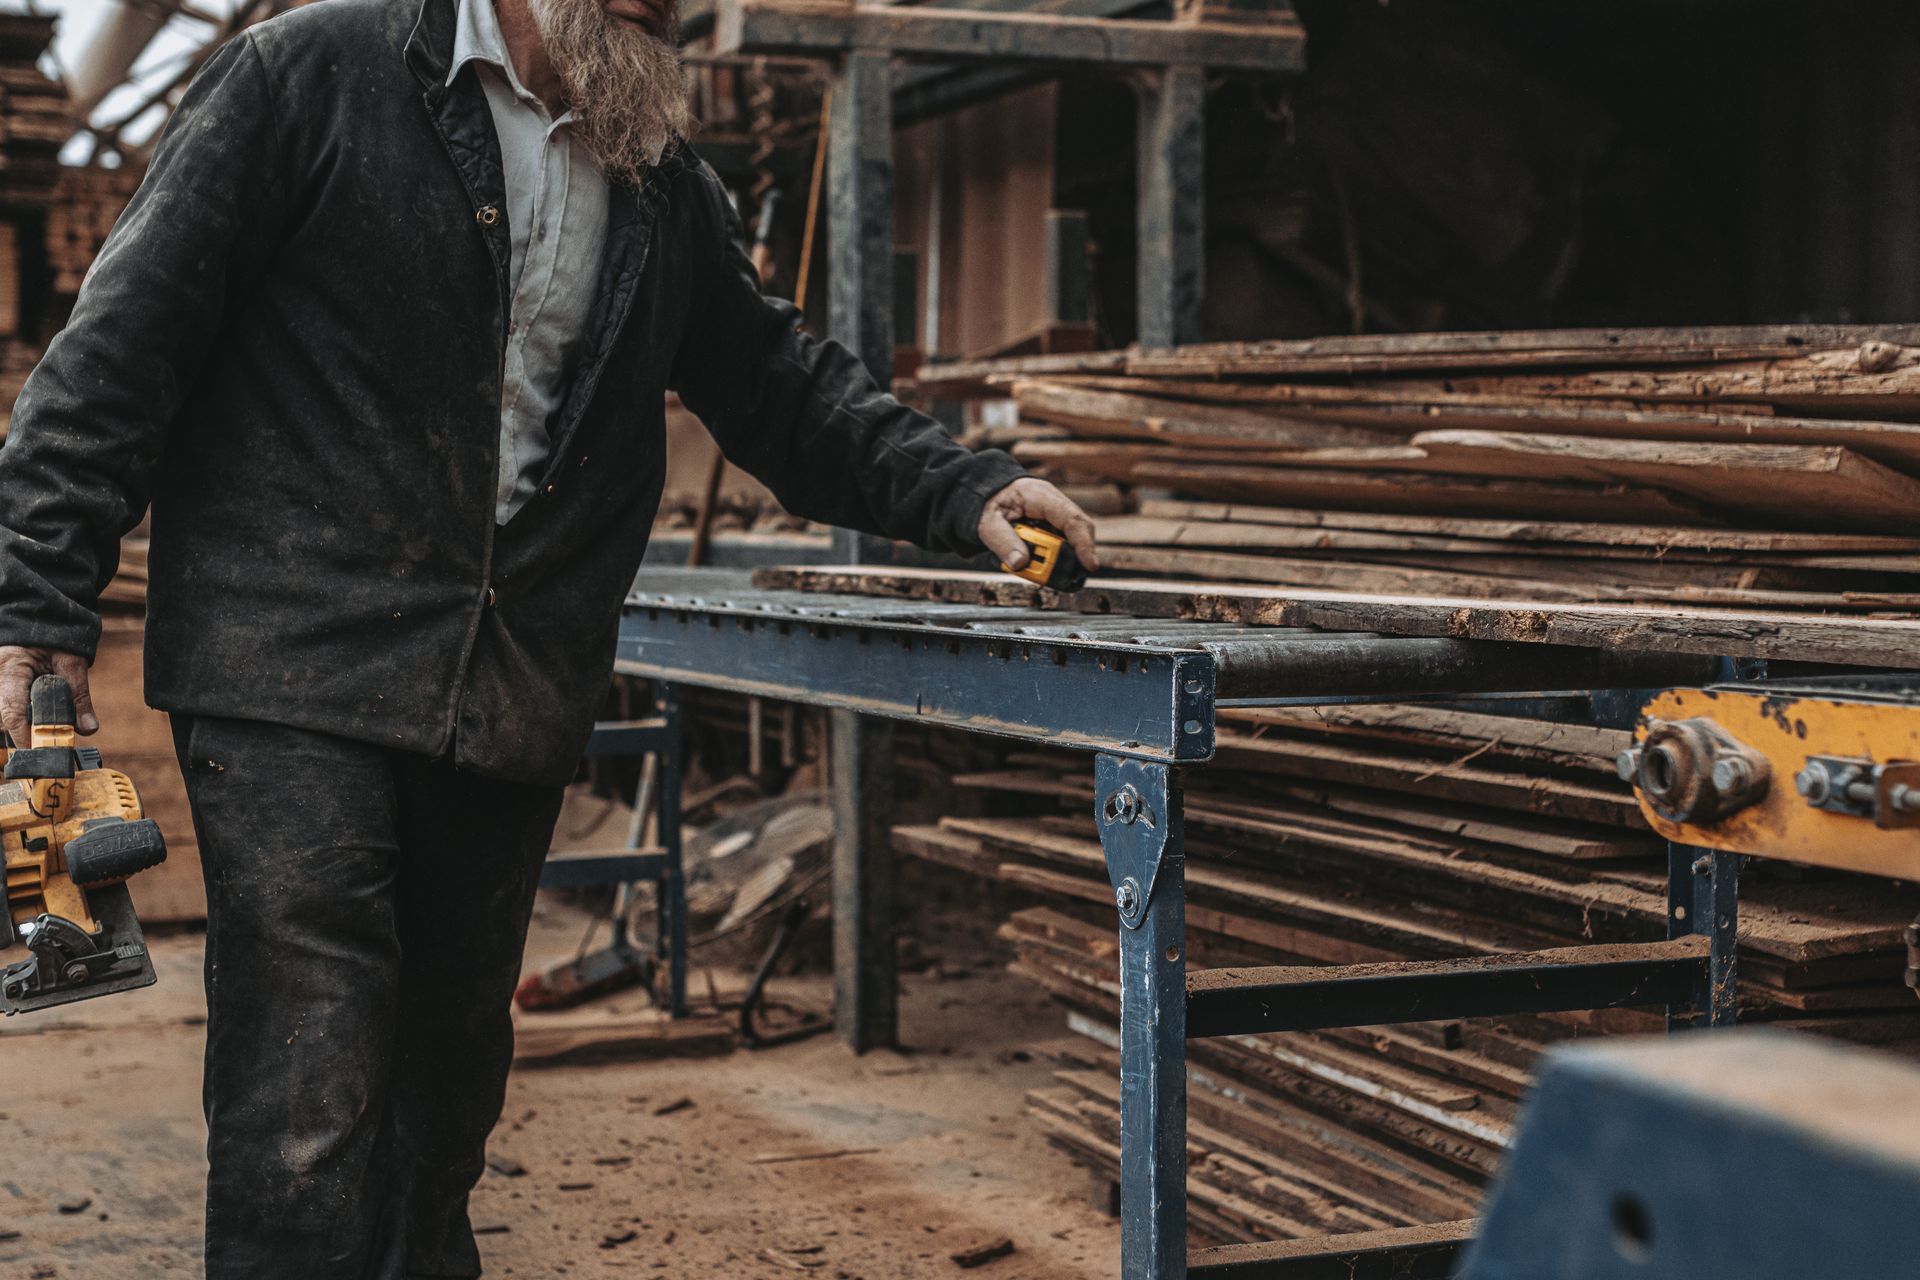
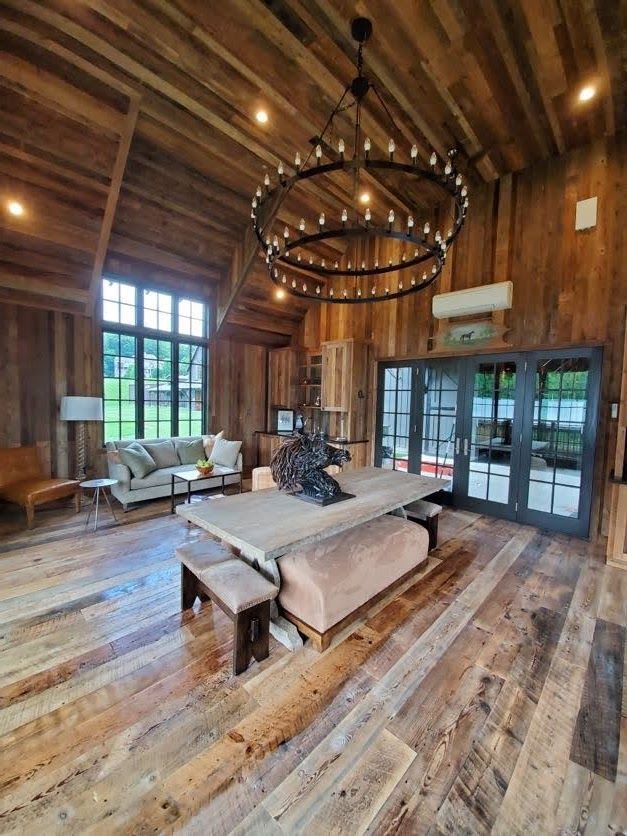
At Bay & Bent, we work with a lot of timber that has been aging naturally for decades or even centuries. When we restore old barn frames, we’re often dealing with wood that’s already gone through its fair share of seasonal cycles. These beams have stood the test of time, showing just how important it is to respect wood’s natural characteristics.
We make sure every piece we work on stays stable by finishing repairs in a controlled environment. This care and patience help us preserve historic timber frames so they can be part of new projects while staying structurally sound.
Build Good Habits
Making acclimation a routine part of your process will save you headaches and money. Instead of rushing into a project with fresh lumber, plan for a bit of downtime. Keep a small stockpile of lumber acclimating in your workshop so it’s ready when you need it.
Tools That Can Help
- Moisture Meters: These take the guesswork out of knowing when lumber is ready to use.
- Climate Control: Keeping a consistent environment in your workshop speeds up acclimation and keeps it predictable.
- Good Storage Practices: Sticking to proper stacking and circulation methods will ensure your lumber adjusts evenly.
Wrapping It Up
Lumber acclimation isn’t the most exciting part of woodworking, but it’s essential if you want your projects to last. Think of it as taking the time to set a strong foundation.
Giving wood the chance to adjust properly means your furniture, cabinets, or other pieces will stay sturdy and beautiful for years to come. It’s a simple habit that can make a huge difference in the quality of your work.
The next time you’re tempted to skip acclimation, just remember this step is about more than waiting around. It’s about understanding your materials and setting yourself up for success from the start.