Reclaimed Wood Construction Hacks DIYers Swear By!
Easy reclaimed wood hacks to upgrade your DIY projects!
Using reclaimed wood can add lots of charm and history to your DIY projects. The rough texture, old nail holes, and weathered look make it stand out from new, plain lumber. Whether you’re building furniture, making a feature wall, or working on structural parts of your home, reclaimed wood is a great choice.
However, using it comes with unique challenges. This guide will help DIYers understand how to get the most out of this amazing material.
Where Does Reclaimed Wood Come From?
Before starting, it’s good to know where reclaimed wood comes from. This will help you understand what you're working with.
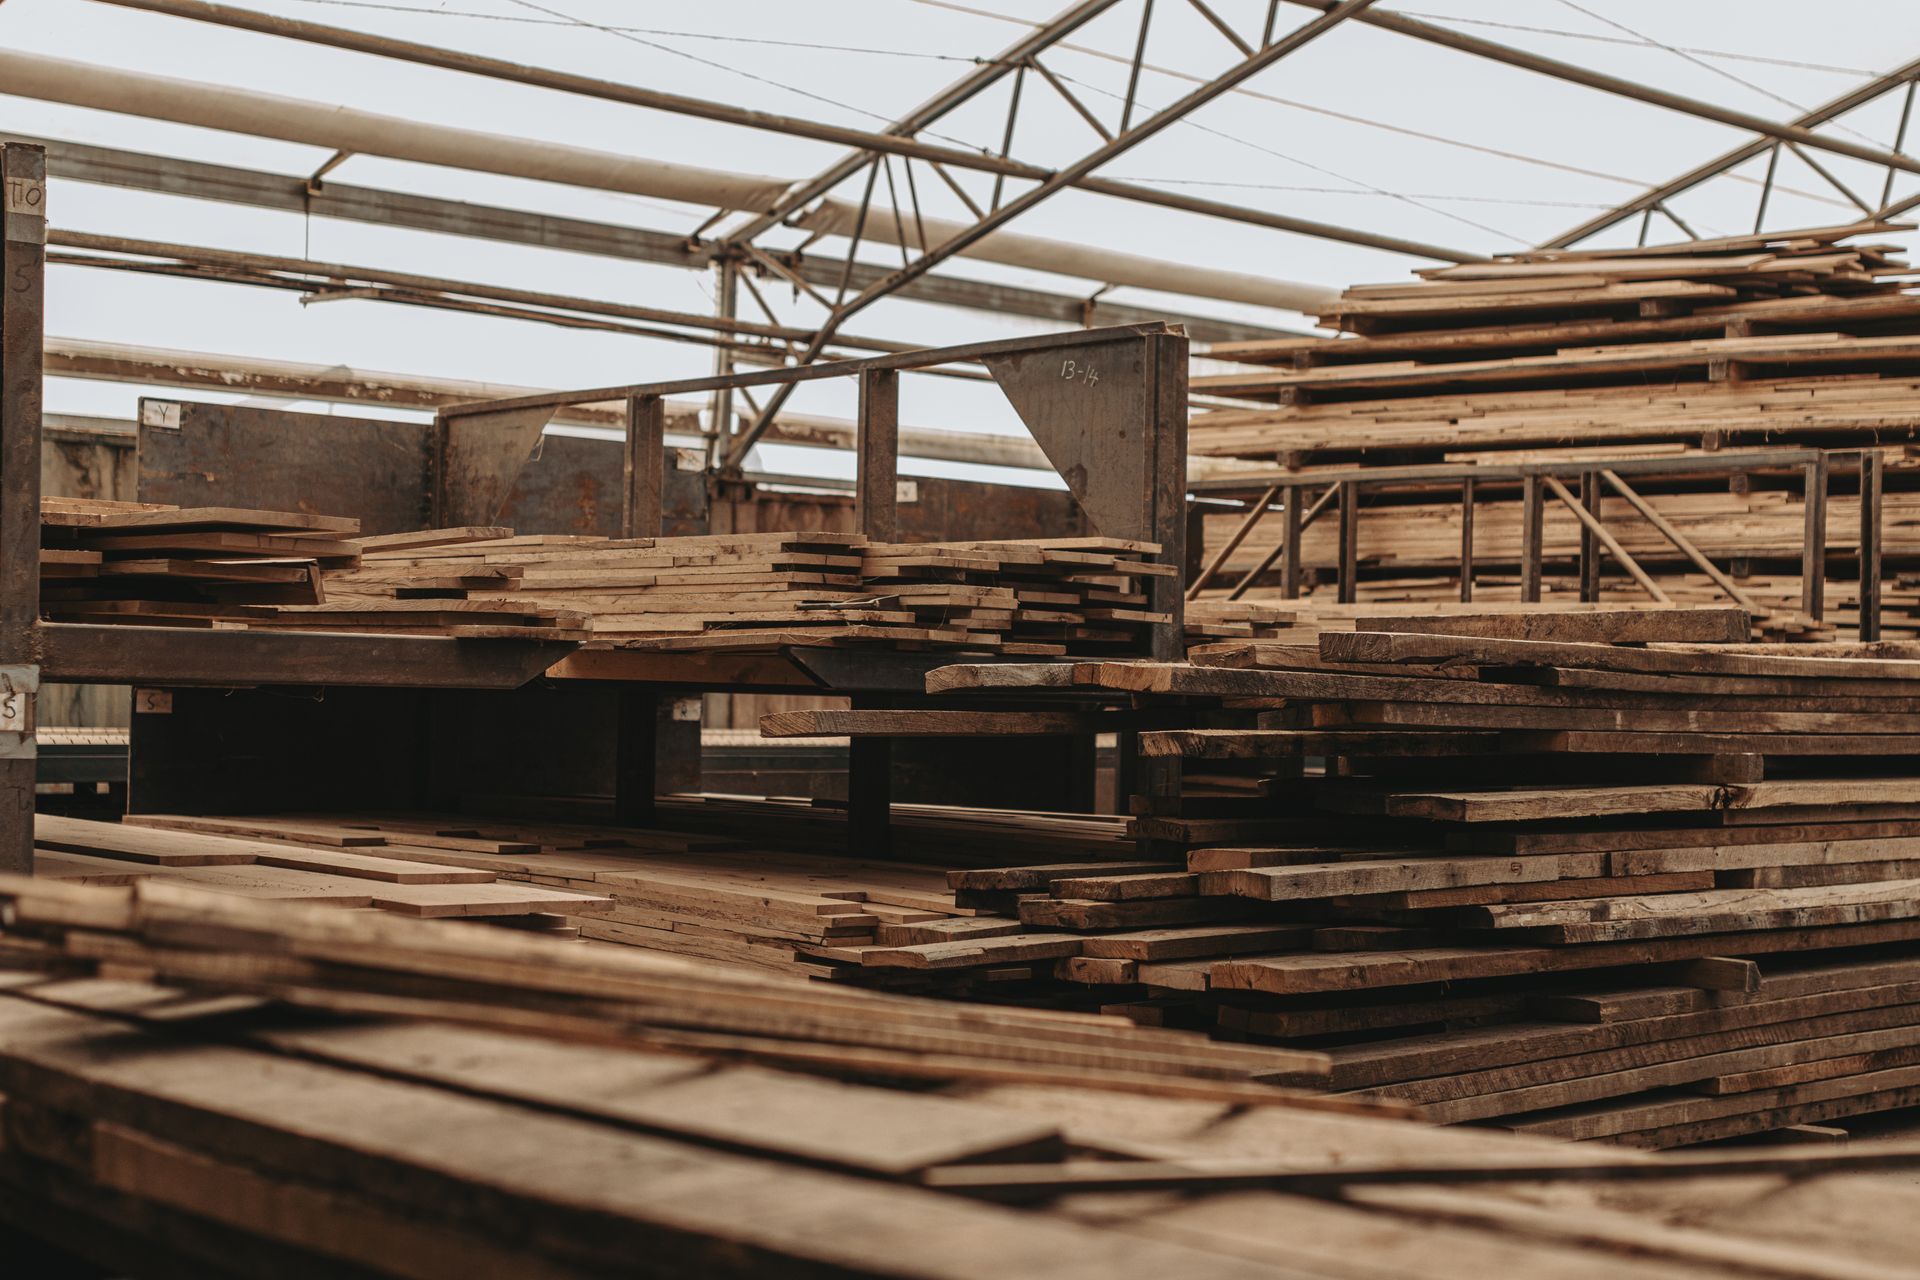
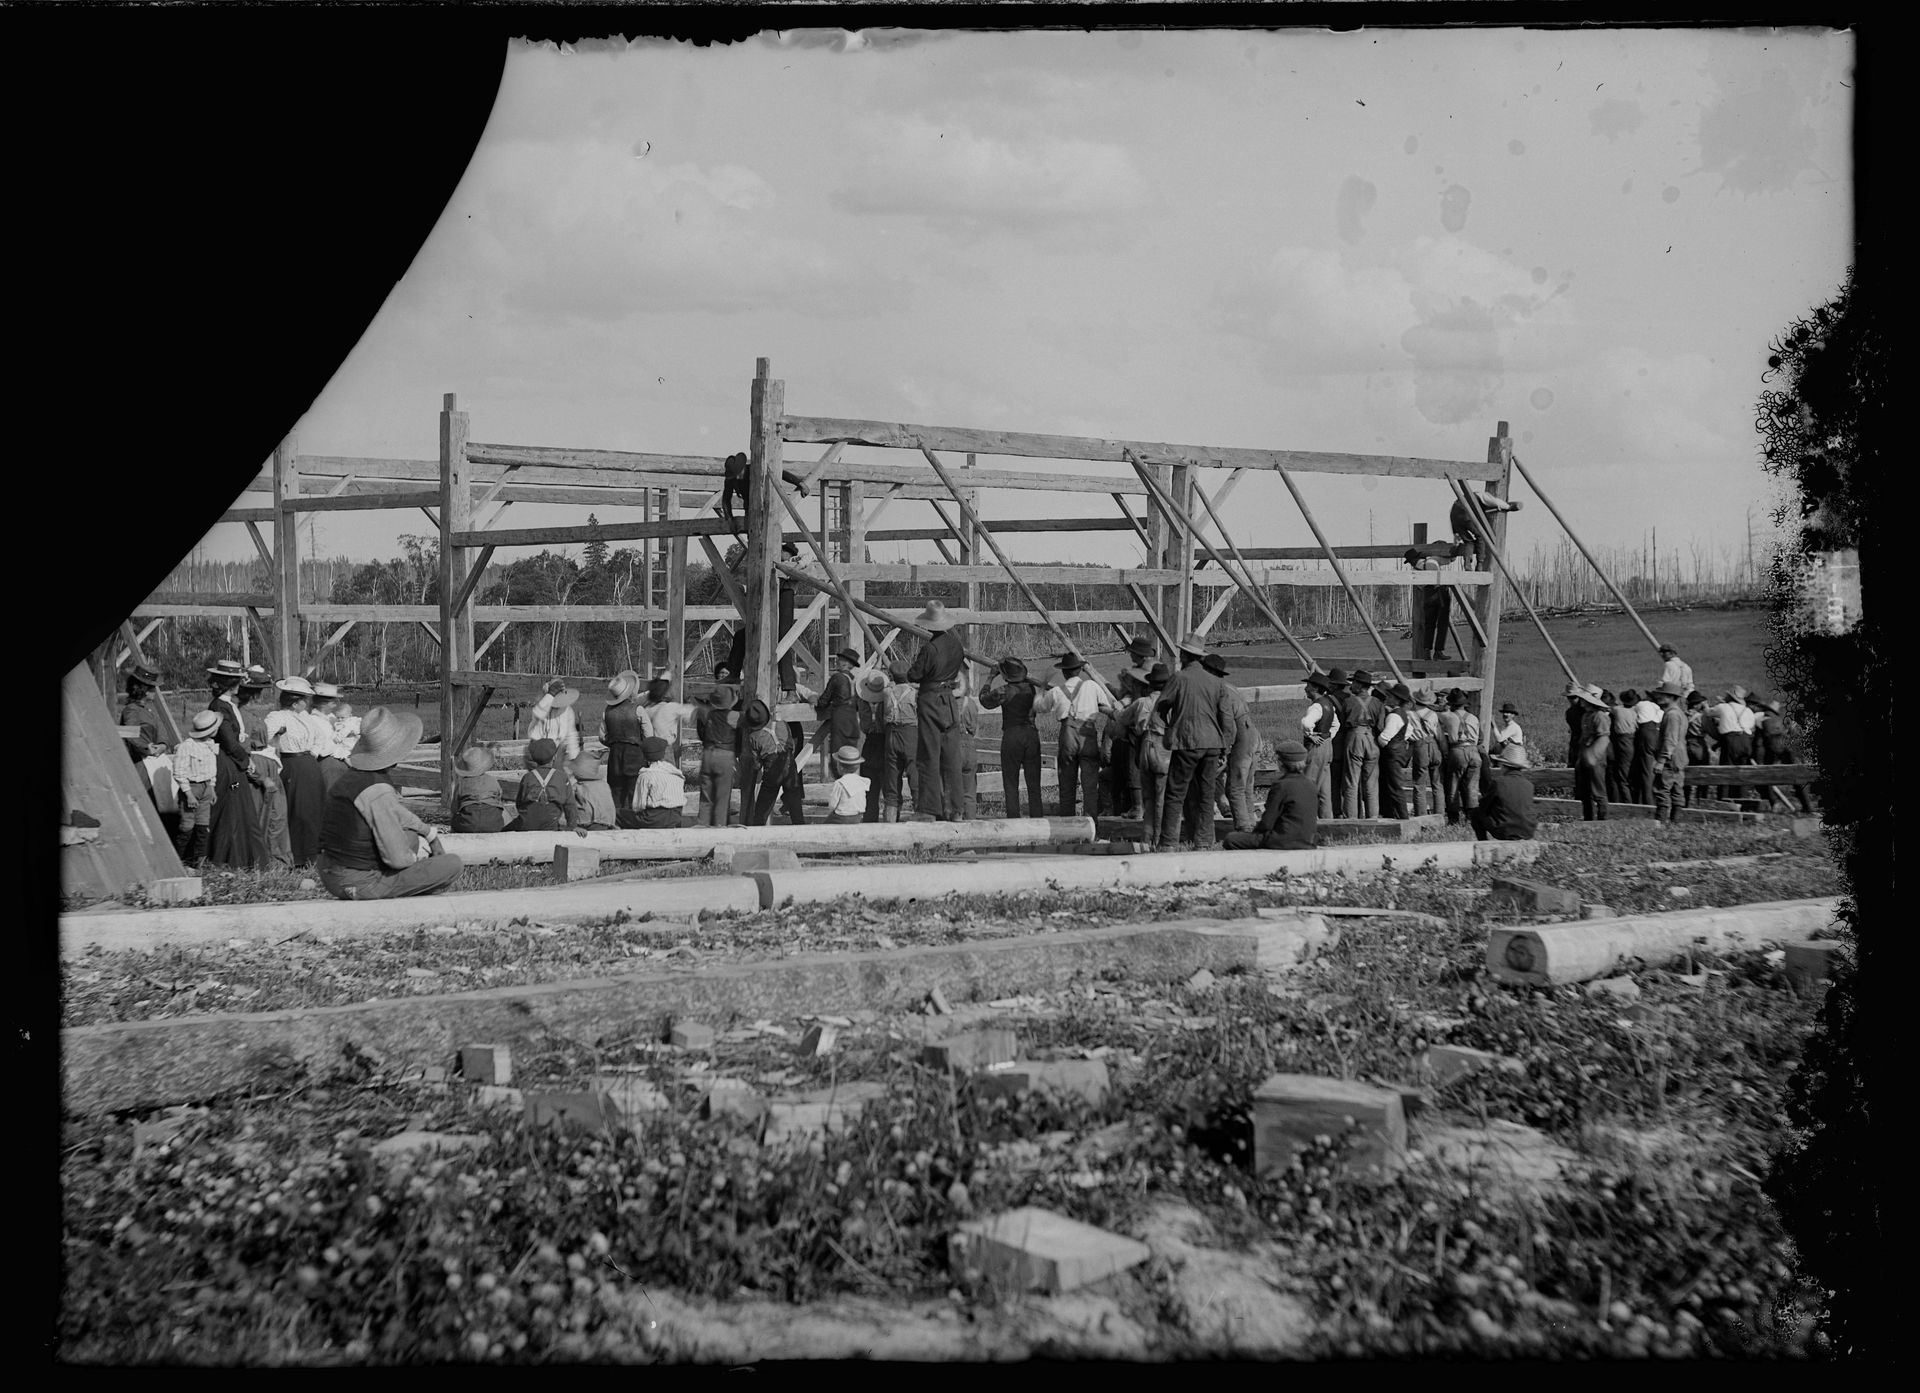
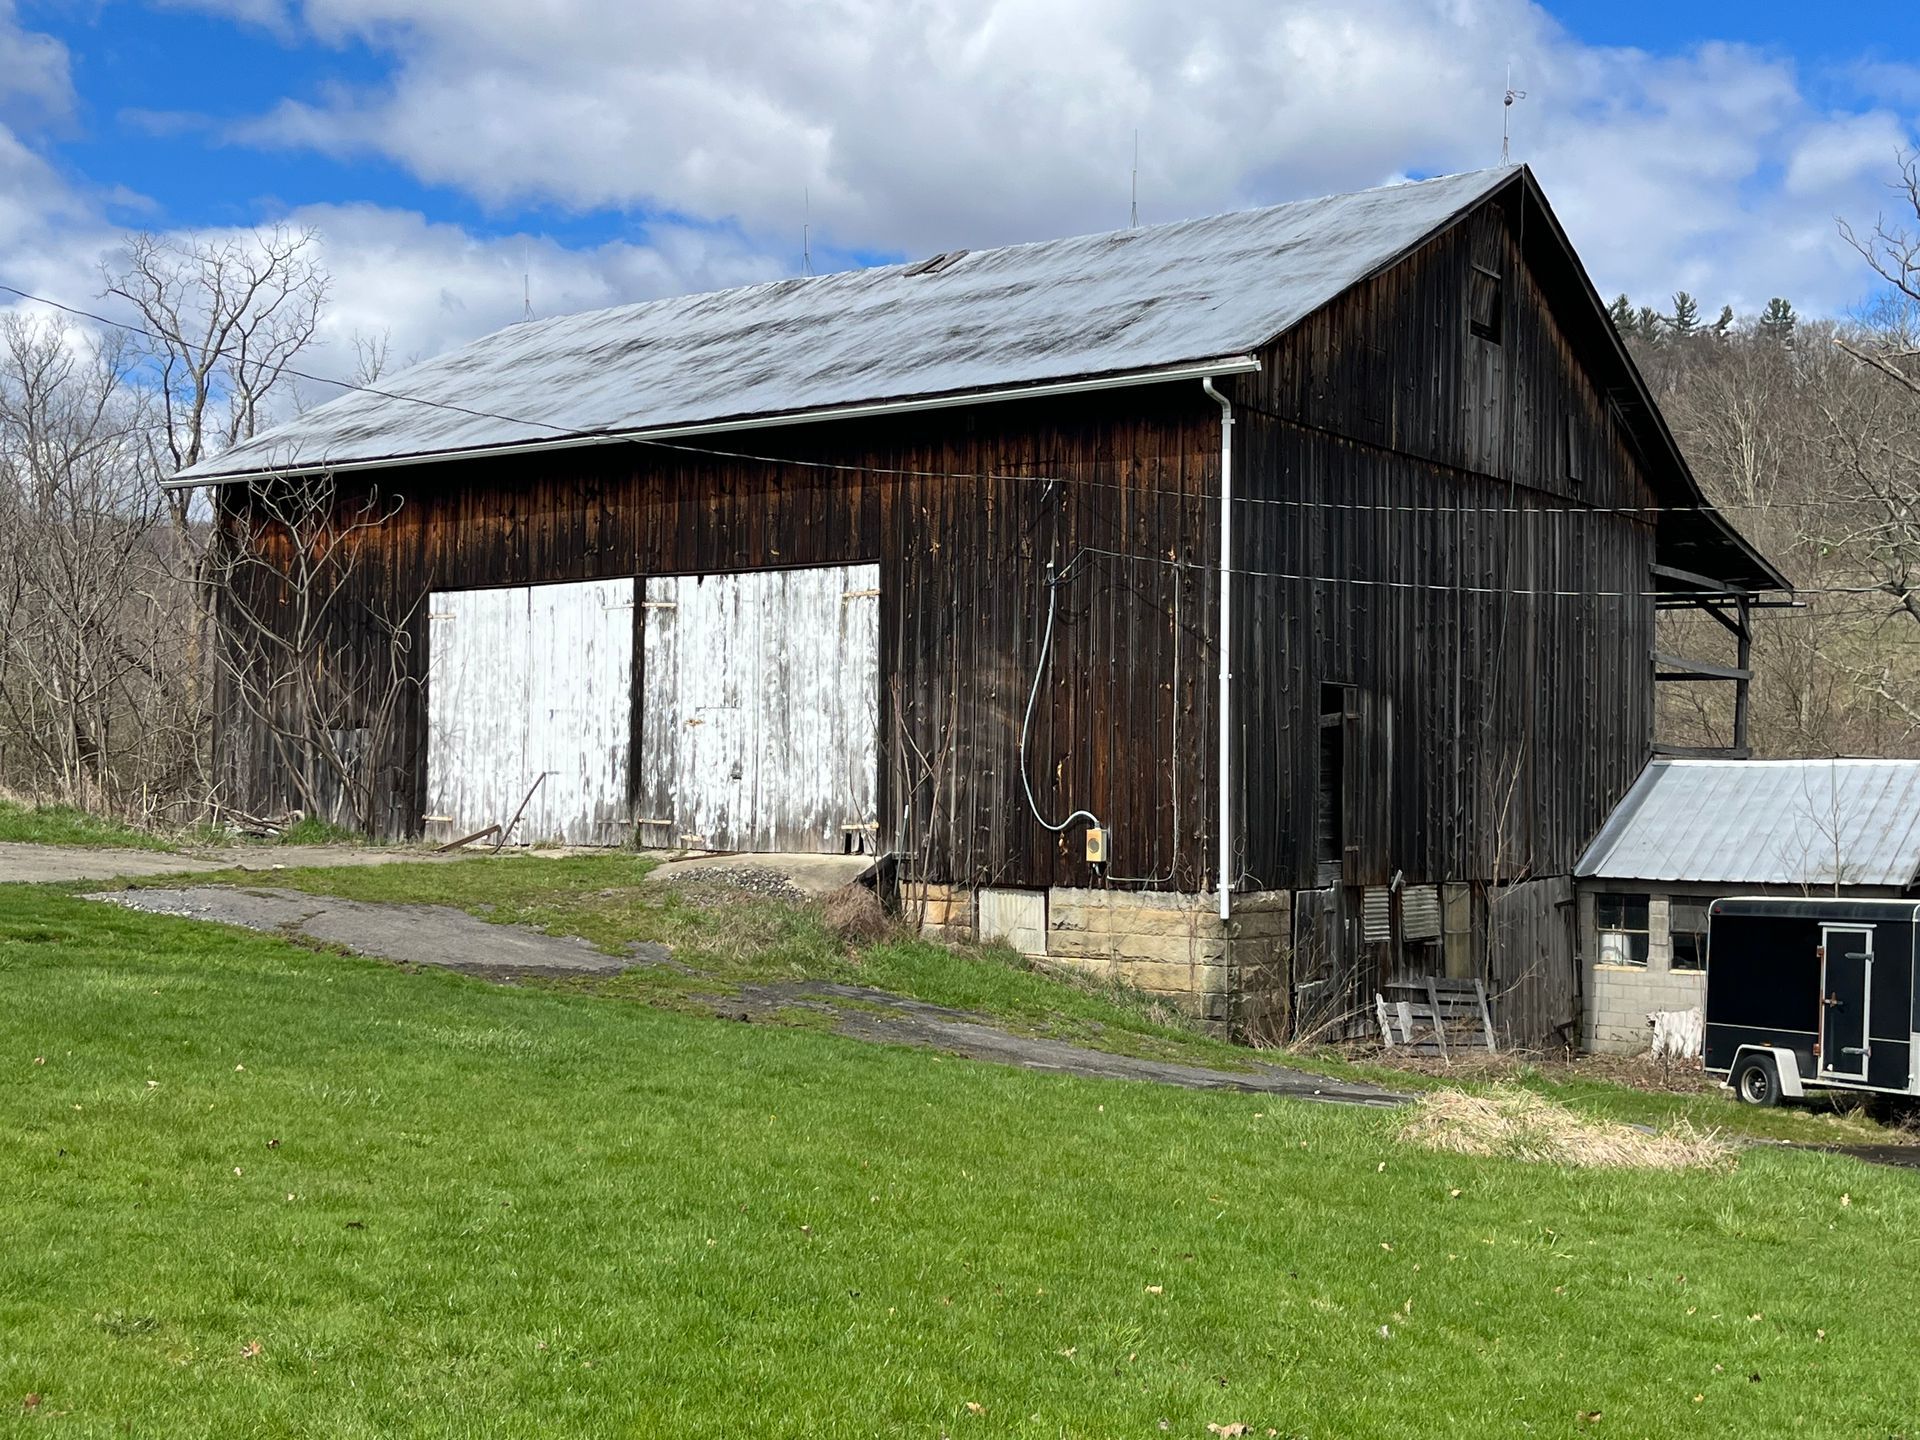
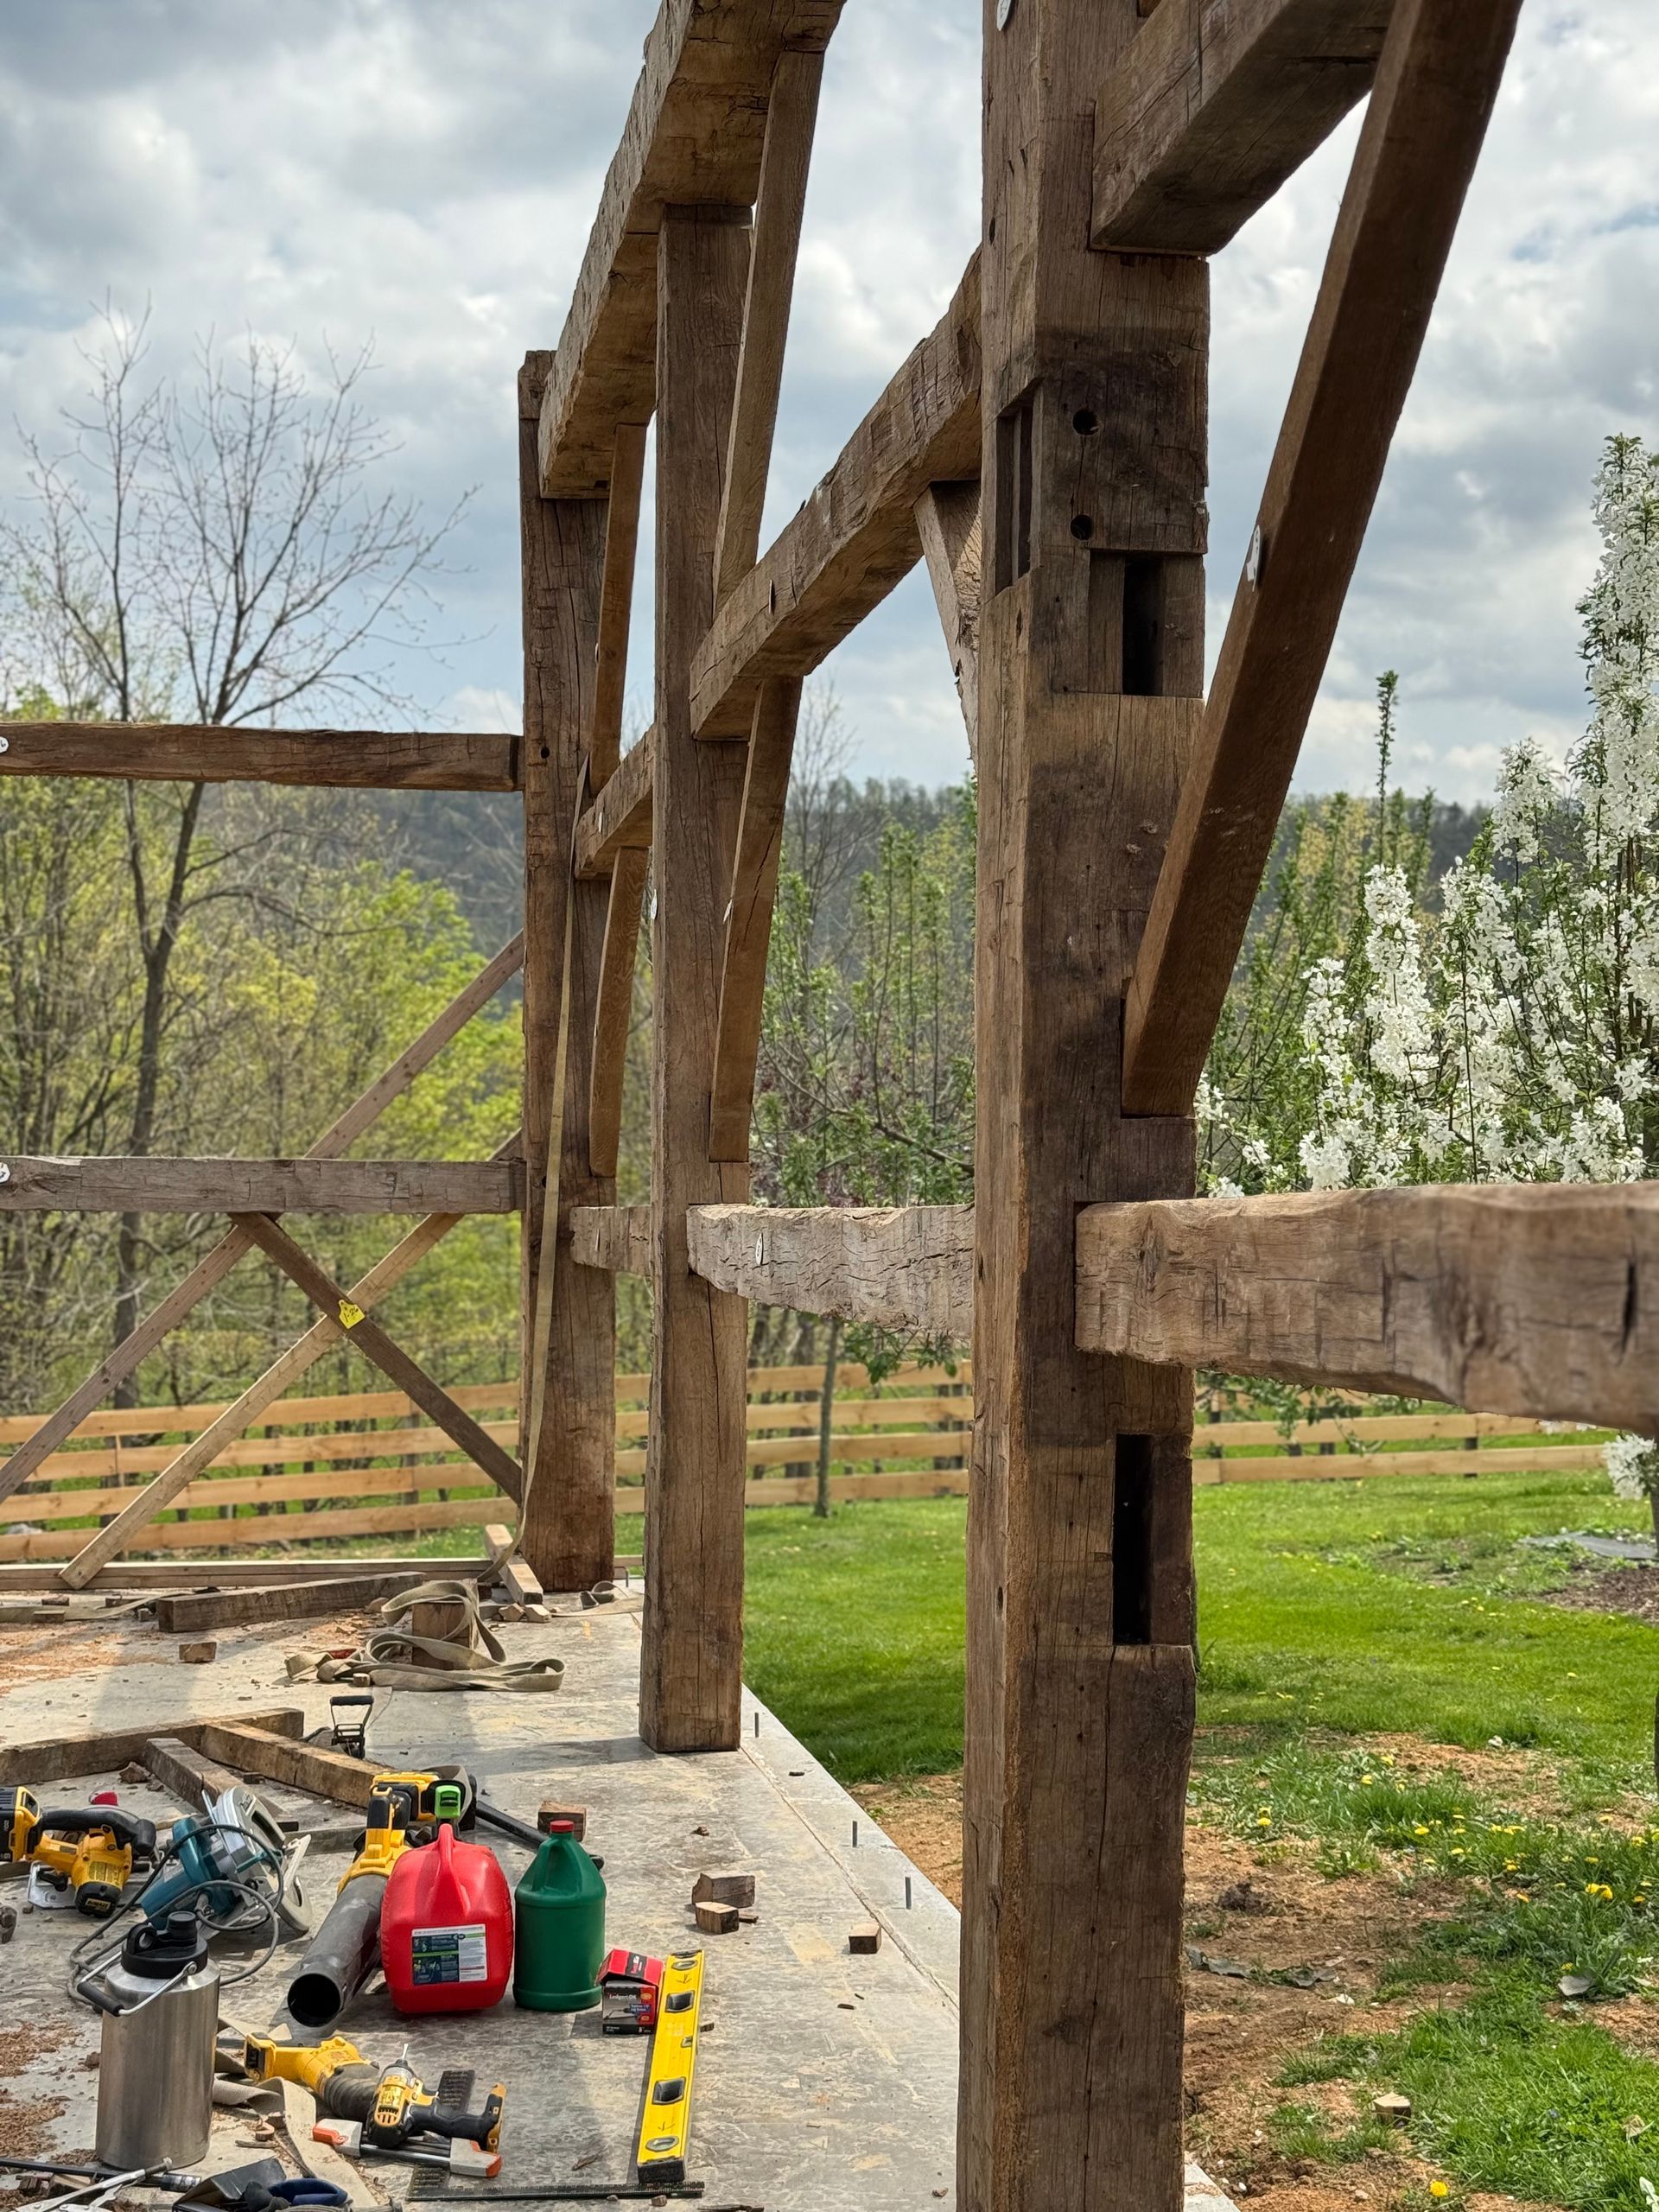
Barn Wood
Old barns are often full of oak, pine, and other strong woods. These pieces usually have weathered textures, nail holes, and even leftover paint. Siding tends to be thinner and full of character, while beams are thicker and strong enough for heavy-duty projects.
Factory and Warehouse Wood
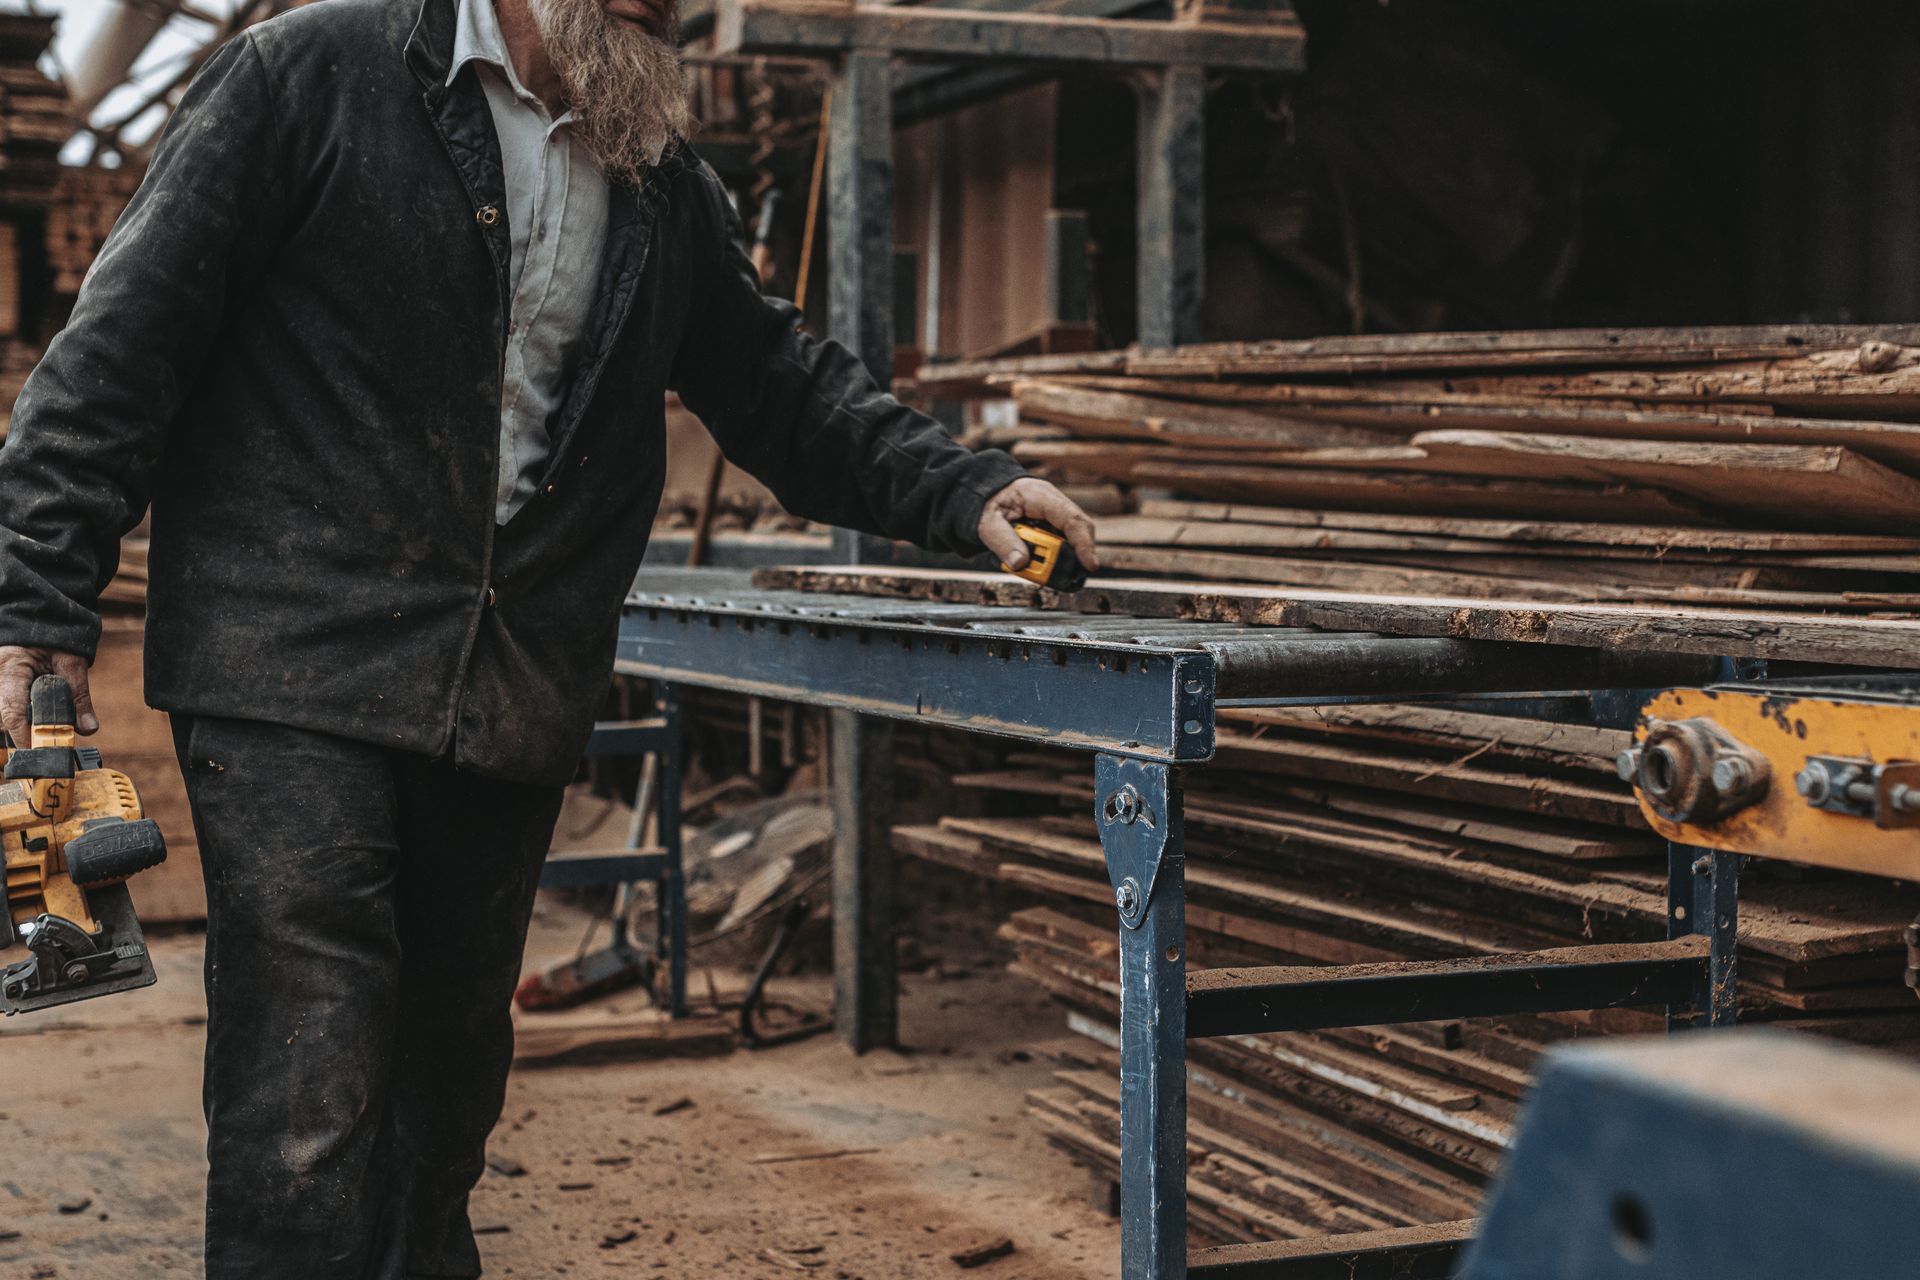
Wood from old warehouses or factories often comes from heart pine or fir. These pieces have wear and tear from years of use. They may also have metal bits like screws or bolts stuck inside, so you’ll need to check closely.
River-Recovered Logs
These logs were lost and sunk during old logging operations. Because they’ve been preserved underwater for years, they often have unique colors and are very stable.
Tools You’ll Need
Reclaimed wood needs special tools to make sure it’s safe and ready to use. Here are a few must-haves:
- Metal detector: Finds hidden nails, screws, or bolts.
- Heavy-duty planer: Shaves off the weathered surface to reveal cleaner wood if needed.
- Belt sander: Smooths wood surfaces while keeping them rustic.
- Drawknife: Removes bark or shapes the edges by hand.
- Respirator mask: Protects you from breathing in dust, mold, or harmful substances on the wood.
Prepping the Wood
To get the best results, you’ll need to properly prepare the wood before using it.
Cleaning
Brush off dirt with a soft brush. If needed, wash it with a mix of water and mild soap, but be gentle. Avoid using a pressure washer since it can ruin the wood’s surface and texture.
Removing Nails and Metal
Use a metal detector to find any hidden metal. Carefully remove all nails, screws, or staples with pliers or a nail puller. Double-check that every piece is free of metal so it won’t damage your tools.
Checking Stability
Look for cracks or weak spots. For large cracks, use an epoxy to strengthen the wood, but leave minor flaws to keep the rustic charm.
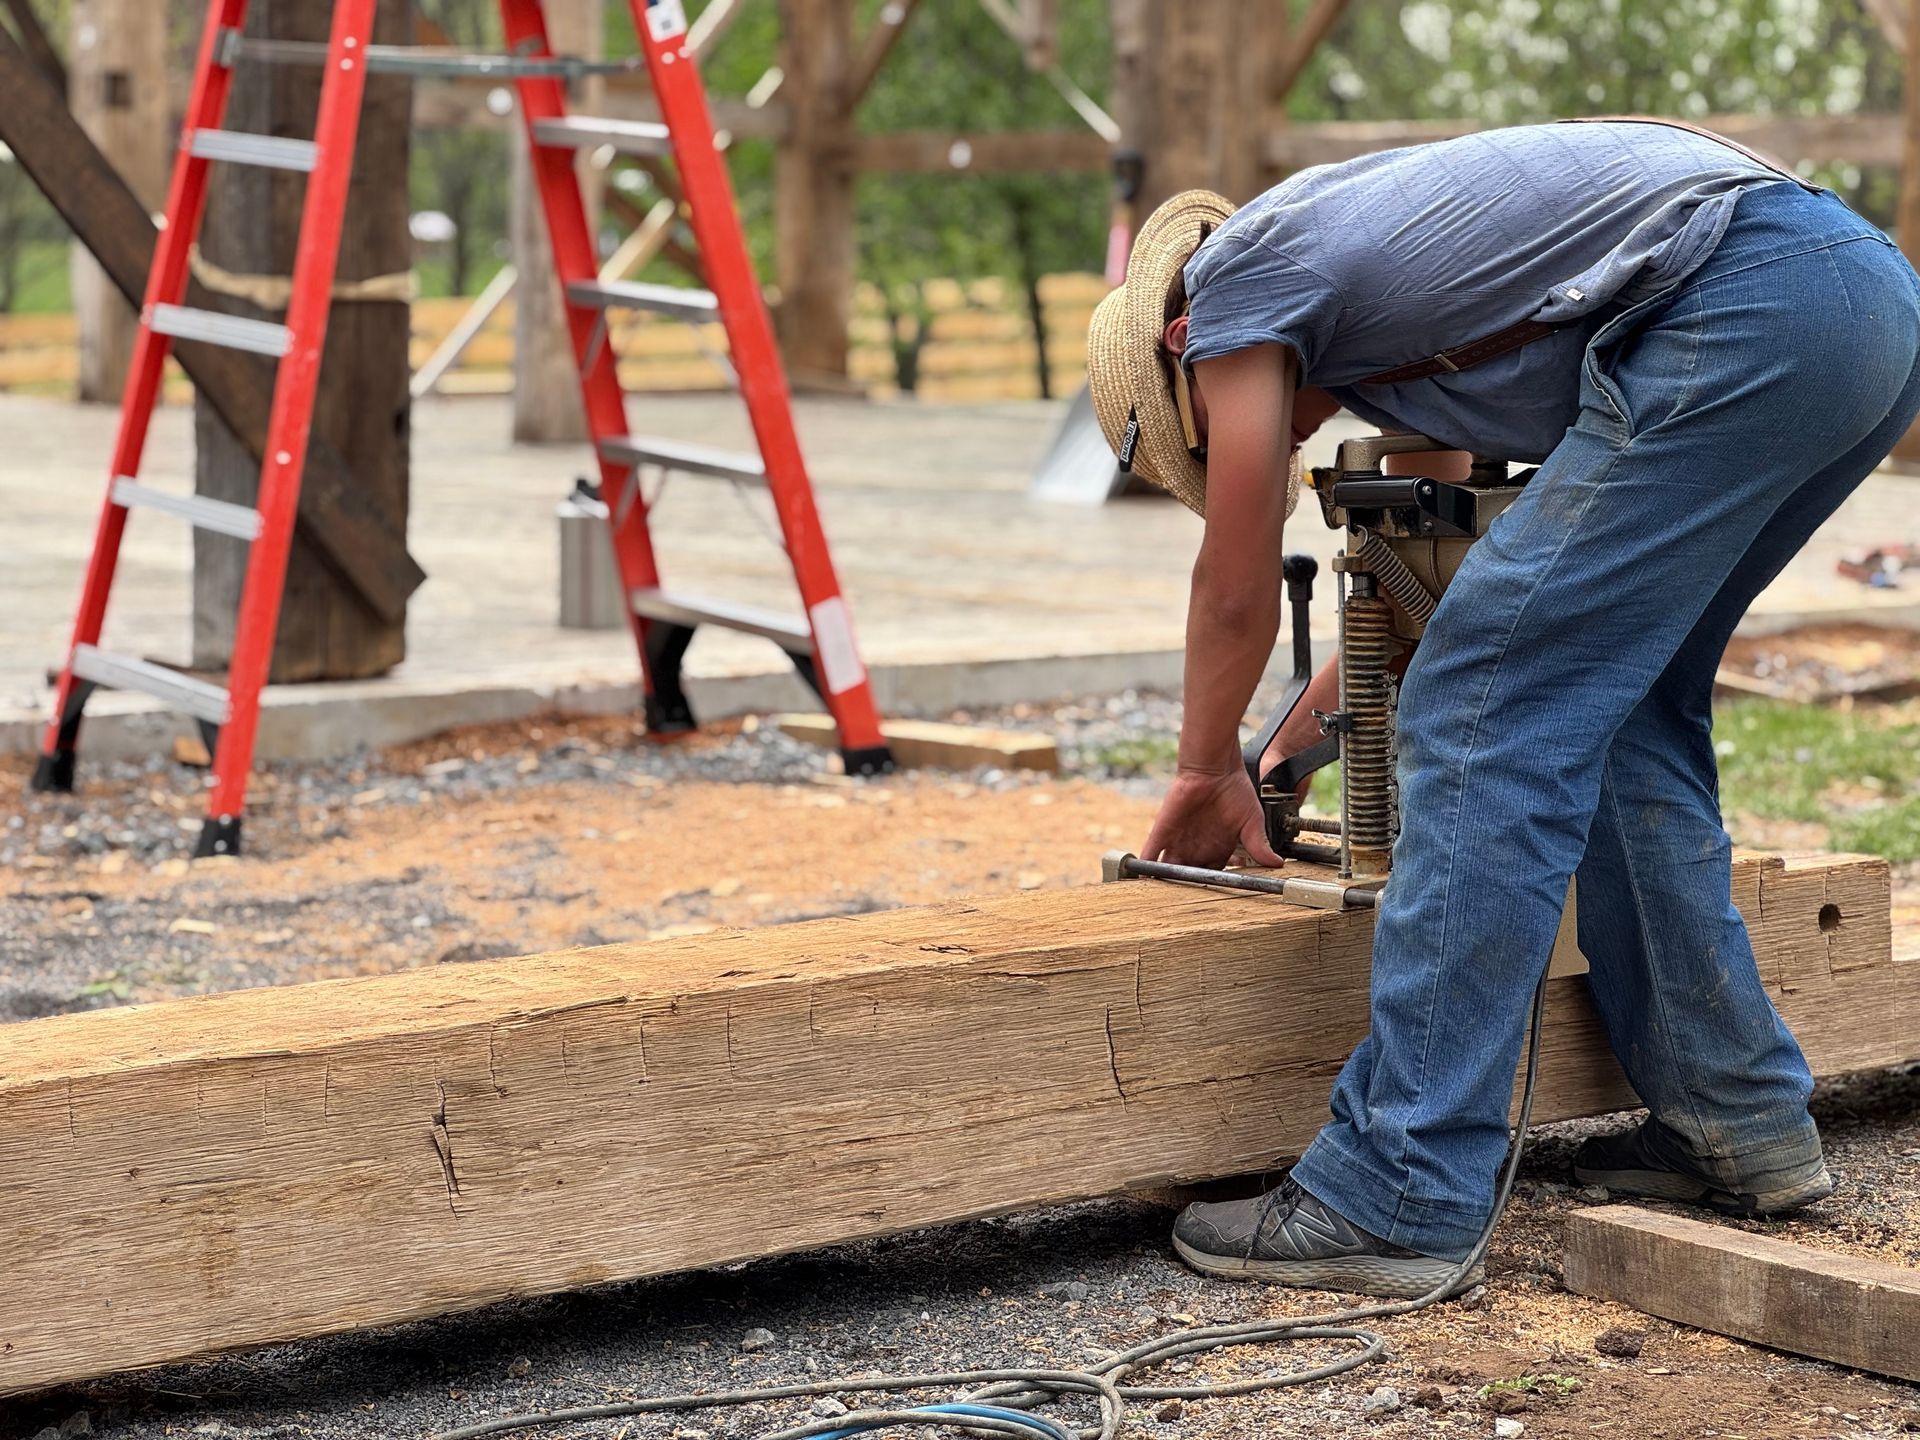
Trimming and Shaping
If you need even pieces, trim the wood to the right size and shape. Be ready to lose some wood in the process since reclaimed wood isn’t perfectly straight or even.
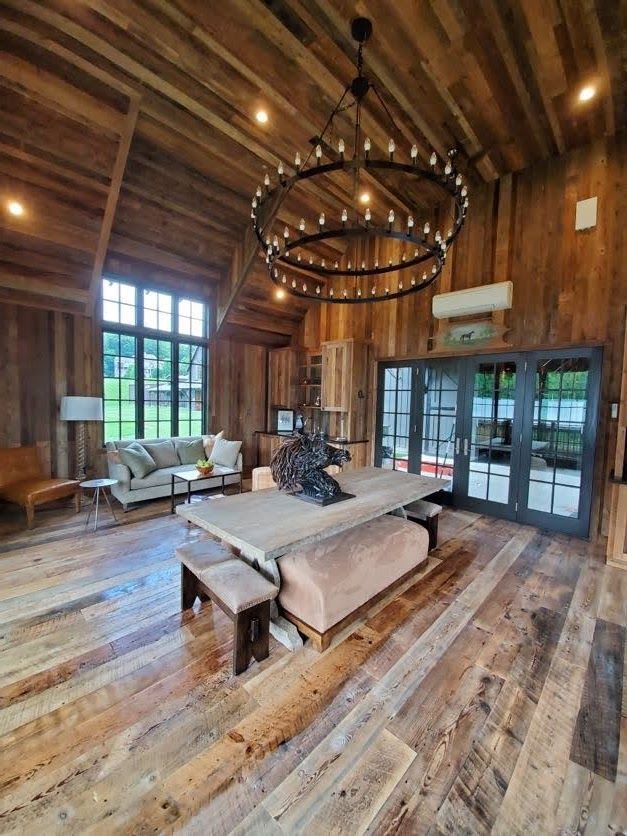
Designing with Reclaimed Wood
When working with reclaimed wood, flexibility is key. The wood decides your design, not the other way around.
Work With What You Have
Reclaimed wood doesn’t always come in standard sizes. Adjust your project to match the materials you can find instead of trying to force specific dimensions.
Highlight Imperfections
Knots, nail holes, and wear marks are part of the beauty of reclaimed wood. Instead of hiding them, showcase these flaws. They tell the story of the wood's history.
Mix Different Woods
If your project uses more than one type of wood, think about how their colors and textures will look together. Contrast can create striking results, or you can aim for materials that match more closely.
Joining Reclaimed Wood
How you connect reclaimed wood pieces can make or break your project. Here are some options:
Traditional Wood Joints
Techniques like dovetails, lap joints, or mortise and tenon (a way to fit pieces together snugly) work well with older wood, just like they did when it was first used.
Metal Connections
For a rustic look, you can use metal brackets, bolts, or plates to hold larger pieces together. These also add strength.
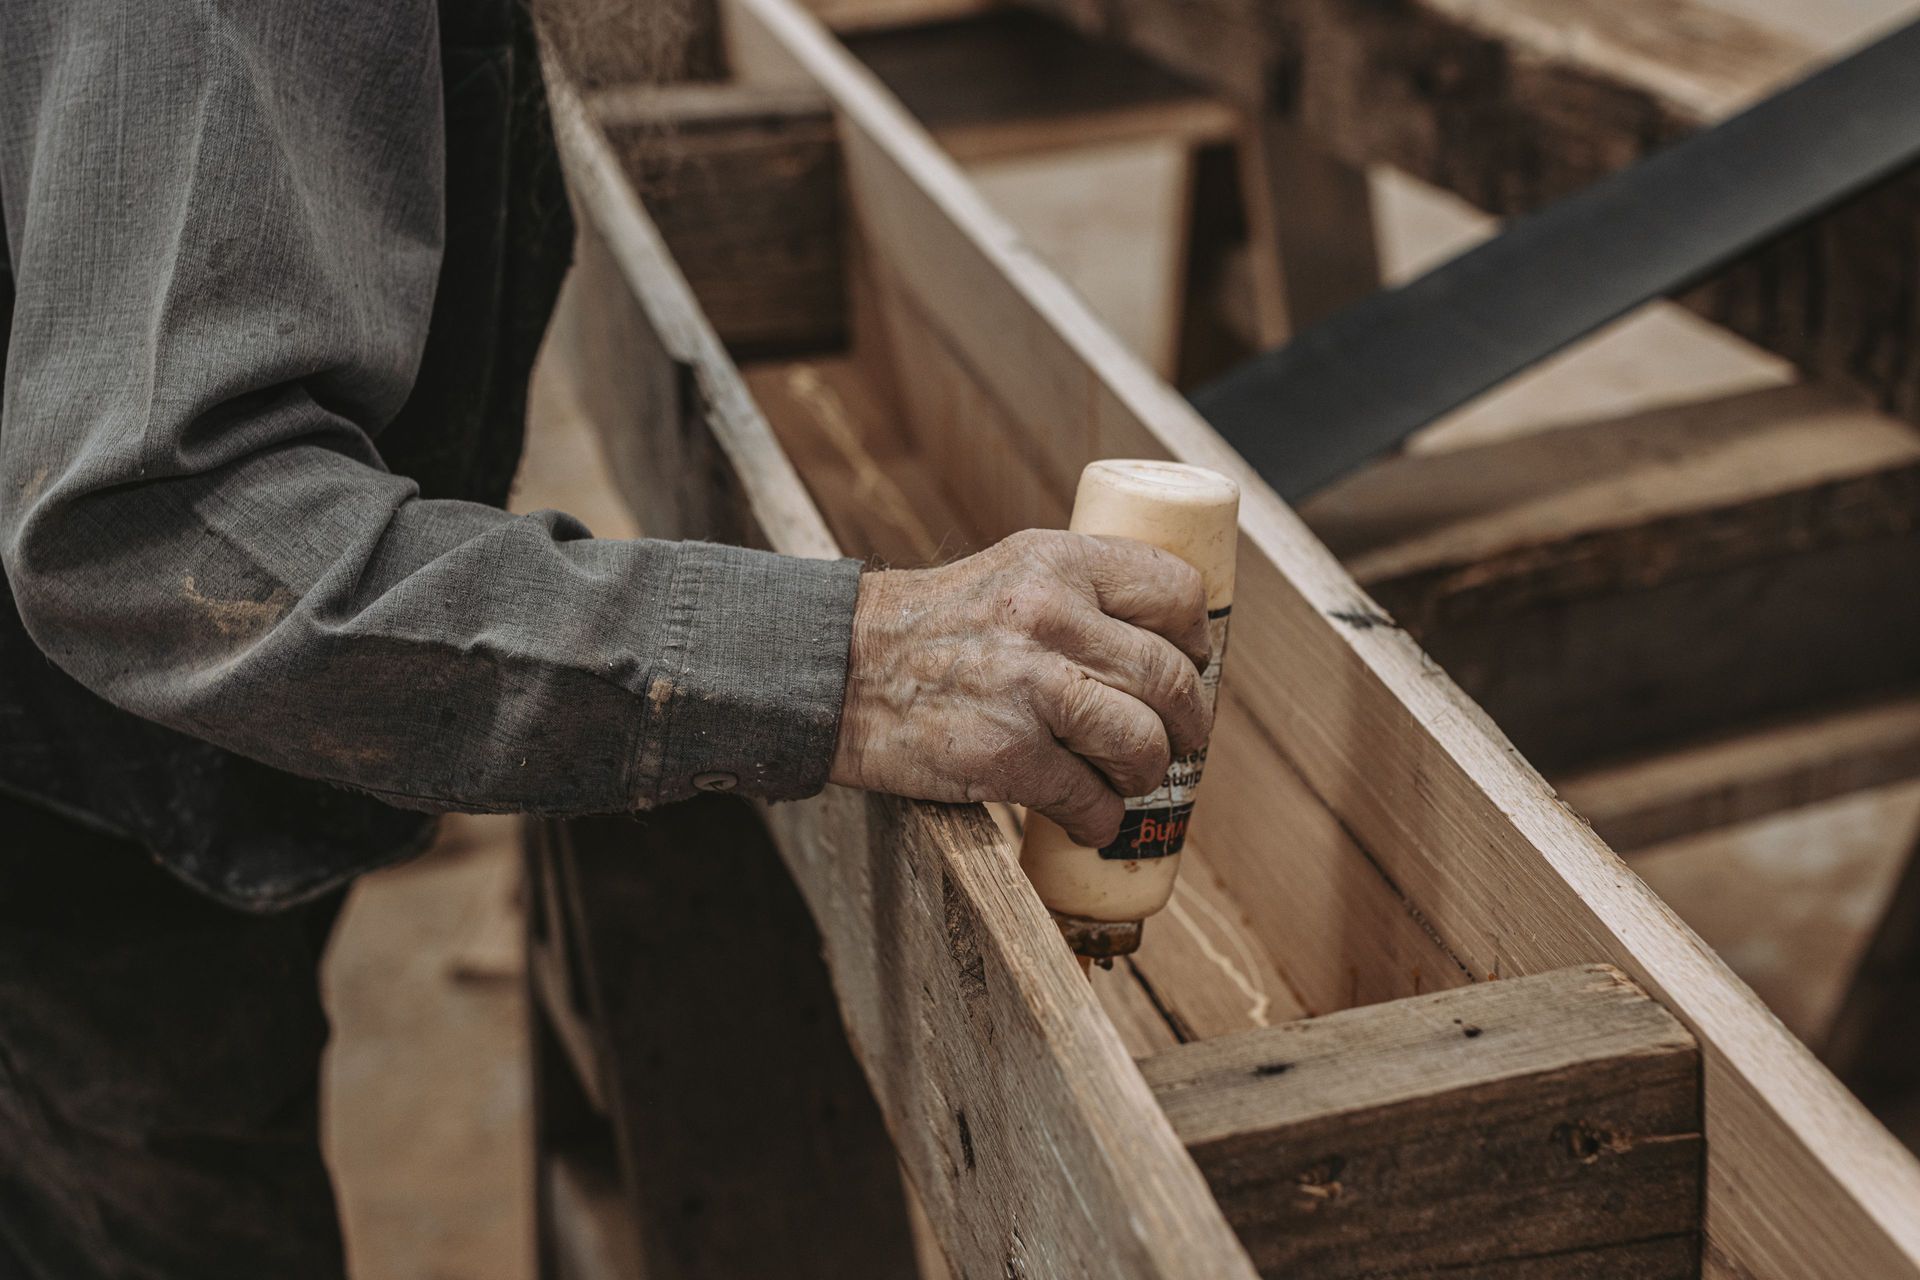
Modern Glues
Wood glue or epoxy can create strong bonds, but use them sparingly to maintain the old-fashioned look.
Finishing Touches
The right finish makes reclaimed wood look beautiful and protects it for years to come.
Keeping the Aged Look
If you want the wood to look old but still be protected, use oils like tung oil or linseed oil. These soak into the wood and don’t leave a shiny coat.
Clear Protection
To seal the wood without changing its color, go for water-based polyurethane. Test it out first on a scrap piece to make sure you like the look.
Enhancing the Grain
To bring out the natural color and patterns, try shellac or oil-based finishes. They’ll add depth and warmth to the wood.
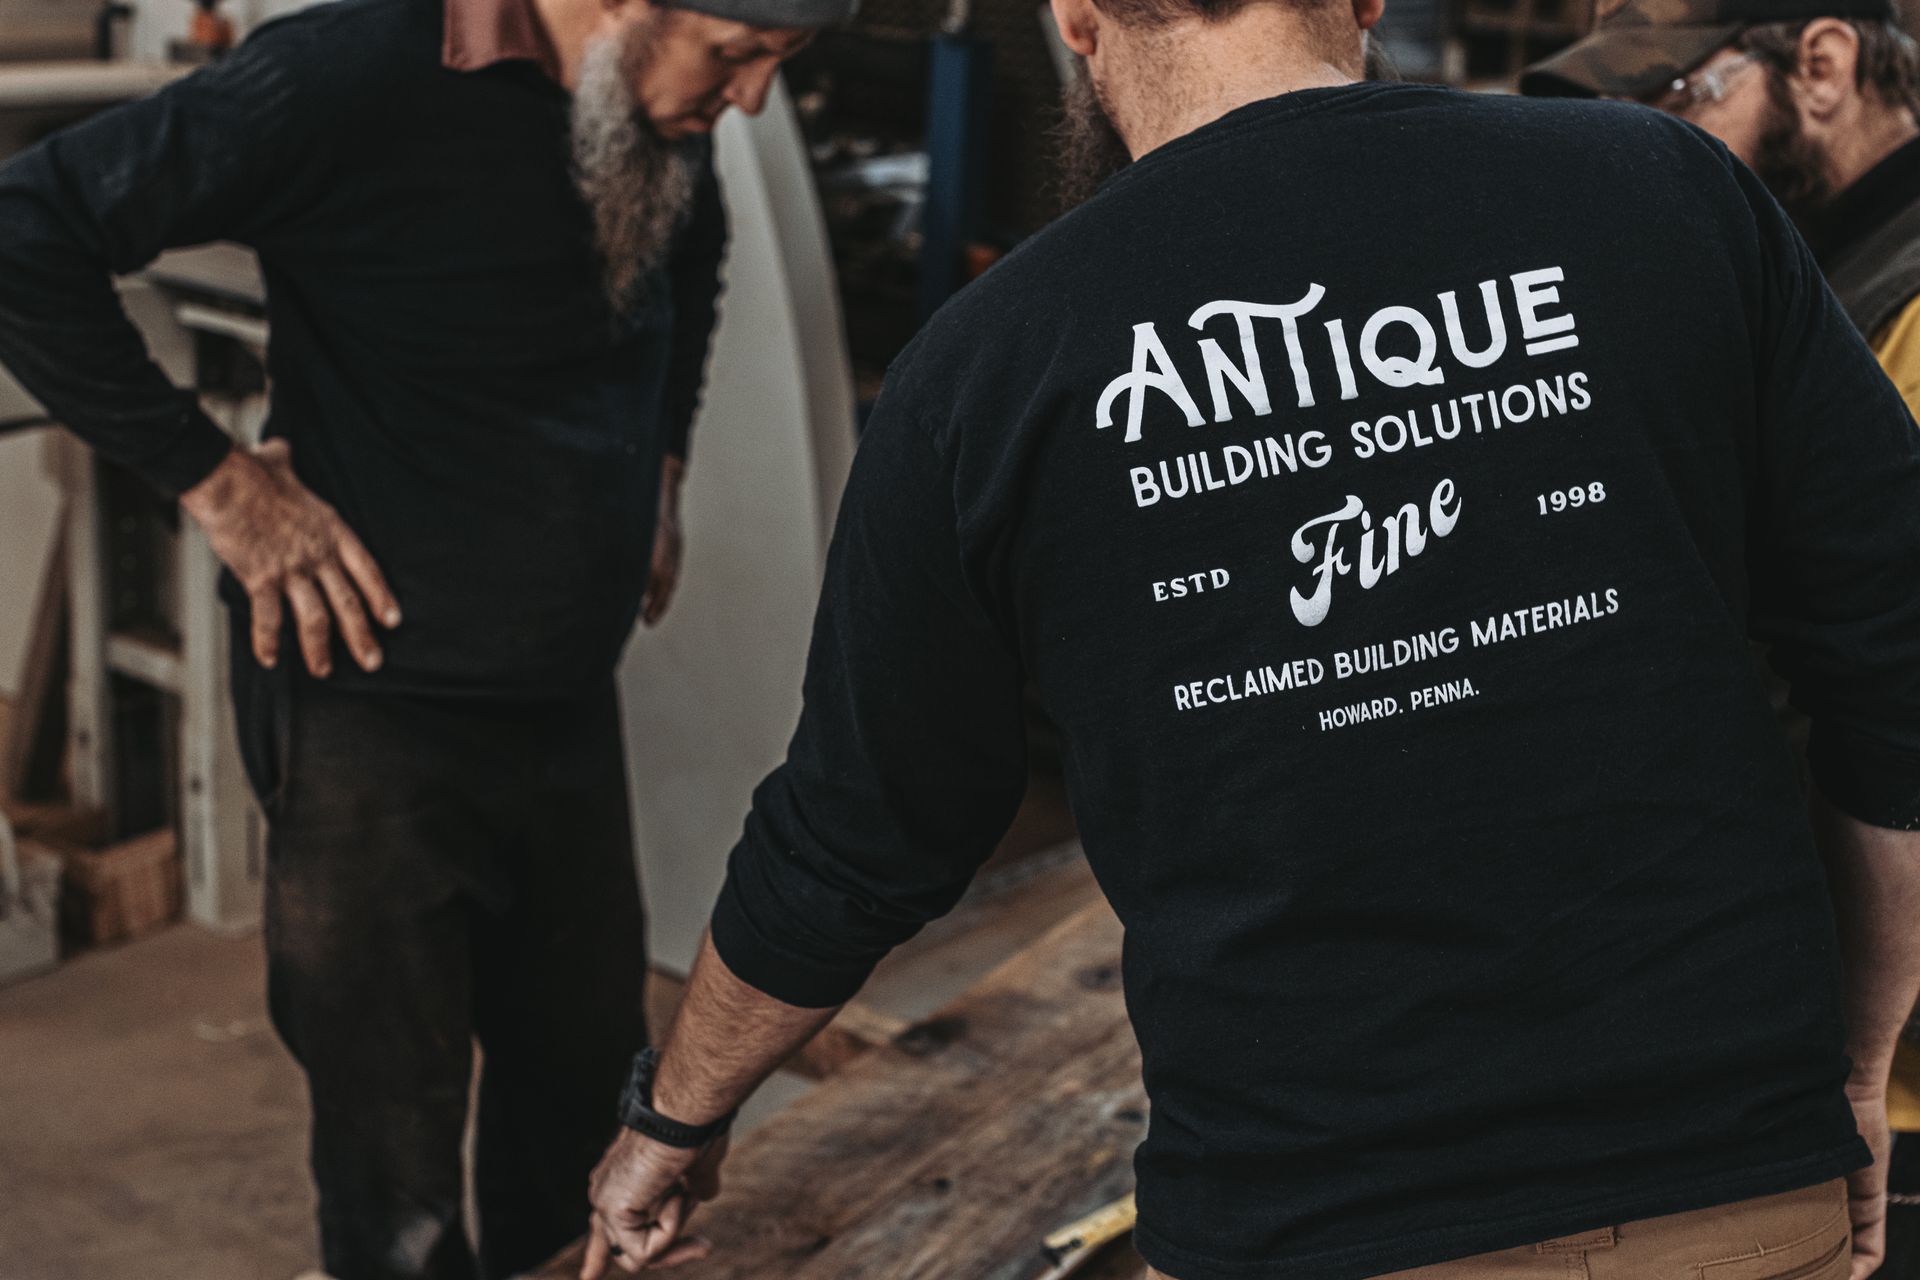
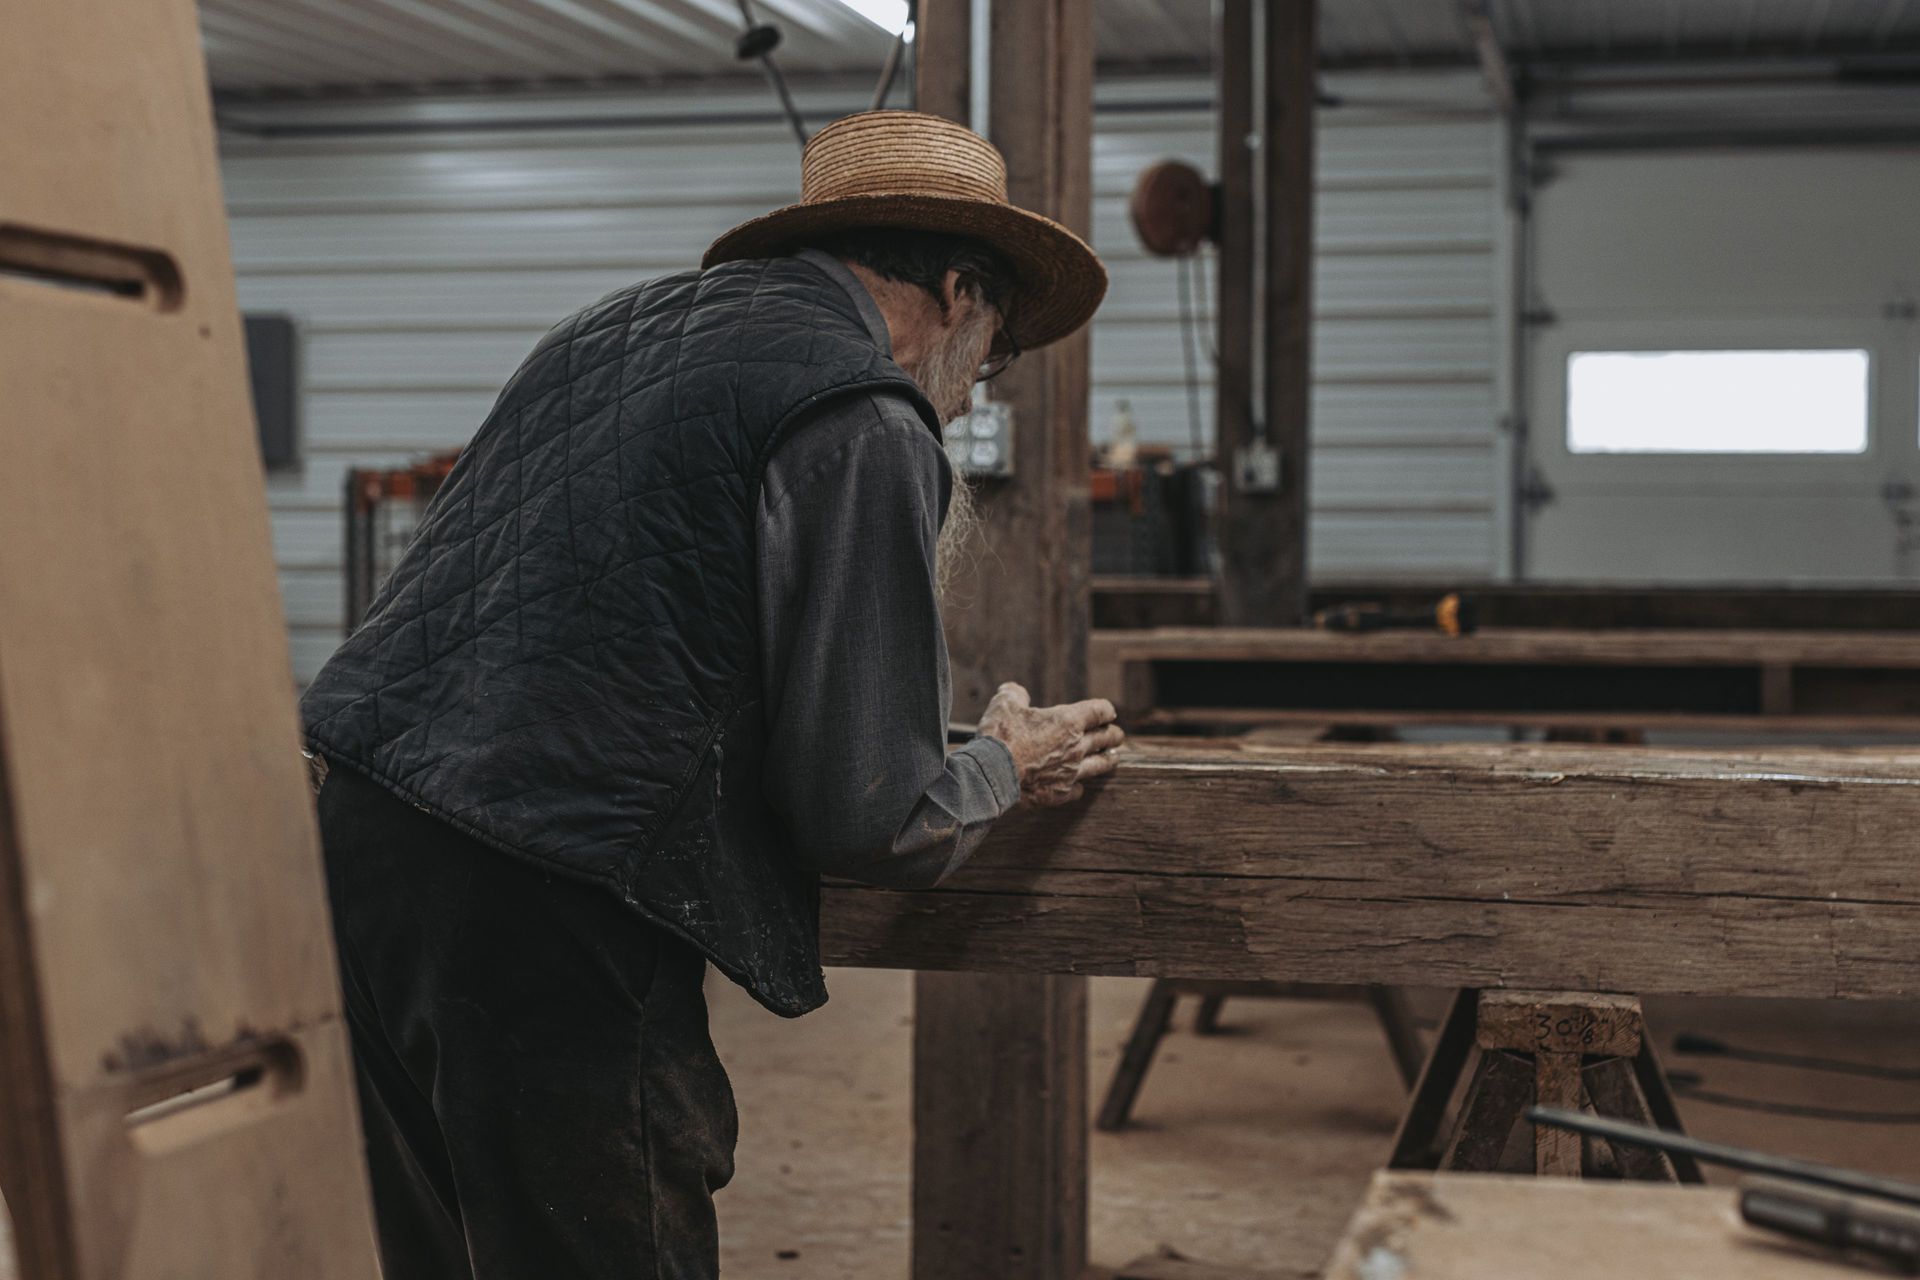
Why Expert Help Might Be Needed
DIYers can tackle many reclaimed wood projects, but some parts, like using structural beams, may need a pro. We, at Bay & Bent, specialize in restoring and reusing old barn frames and other historic wood.
We carefully disassemble the wood, repair it, and make it strong enough to use again while preserving its charm. So, if you’re planning a big project and need top-quality reclaimed wood, we’re here to help.
Start Small, Dream Big
If you’re new to working with reclaimed wood, try a smaller project first, like shelves, a small table, or a feature wall. Once you gain experience, you can move on to larger, more complex projects.
Every piece of reclaimed wood has its own story. By using it, you’re keeping history alive and creating something special that’s unique and eco-friendly. The extra effort will pay off in one-of-a-kind results you can’t get from new wood. Get started today, and bring a little history into your home!