Before You Install a Reclaimed Wood Ceiling, Read This!
Tips and warnings for installing a reclaimed wood ceiling
A reclaimed wood ceiling adds stunning character to your home, but without proper preparation, it can lead to frustration, wasted time, and extra costs. Here’s what you need to know to plan your project the right way and avoid common pitfalls.
Can Your Ceiling Handle the Weight?
Reclaimed wood adds significant weight to your ceiling, often 5-10 pounds more per square foot than regular drywall. Most homes aren’t built to support this without extra reinforcements.
To avoid damage, hire a structural engineer to check your ceiling joists. They’ll tell you if additional support is necessary. This might seem costly, but it’s far cheaper than fixing sagging ceilings or structural problems later.
Why Moisture Levels Are a Big Deal
Reclaimed wood may have adifferent moisture level than the air in your home. If you install wood that’s too wet or too dry, it can lead to gaps, warping, or buckling over time.
To prevent this, allow your wood to adjust to your home’s environment. Store it in the room where it will be installed for at least two weeks. Place spacers between boards for good airflow. This simple step can help you avoid major headaches.
Common Installation Challenges
Uneven Wood Pieces
Reclaimed wood isn’t always uniform. Boards may have different thicknesses, widths, or slight warping. Unlike brand-new wood, this may require extra planning and effort during installation.
Navigating Utilities
Electrical wires, HVAC ducts, or plumbing in your ceiling can complicate the process. Reclaimed wood’s irregular sizes might make it harder to cut and fit pieces around these obstacles.
Tough-to-Fasten Wood
Old reclaimed wood is often dense, making it tricky to nail or screw into. You’ll need to pre-drill holes to avoid splitting the wood, but this takes extra time and effort. Be sure to plan for this in your budget and schedule.
Checking for Quality Issues
Not all reclaimed wood is suitable for ceilings. Some boards might have damage, like loose knots, cracks, or insect infestation. These flaws may look charming on walls but could create problems overhead.
Carefully inspect every board before installation. Remove or repurpose pieces that seem weak or unreliable. It’s better to be cautious than face the risk of a failed ceiling.
Why Reclaimed Ceilings Cost More
A reclaimed wood ceiling can cost two to three times more than drywall. Here’s why:
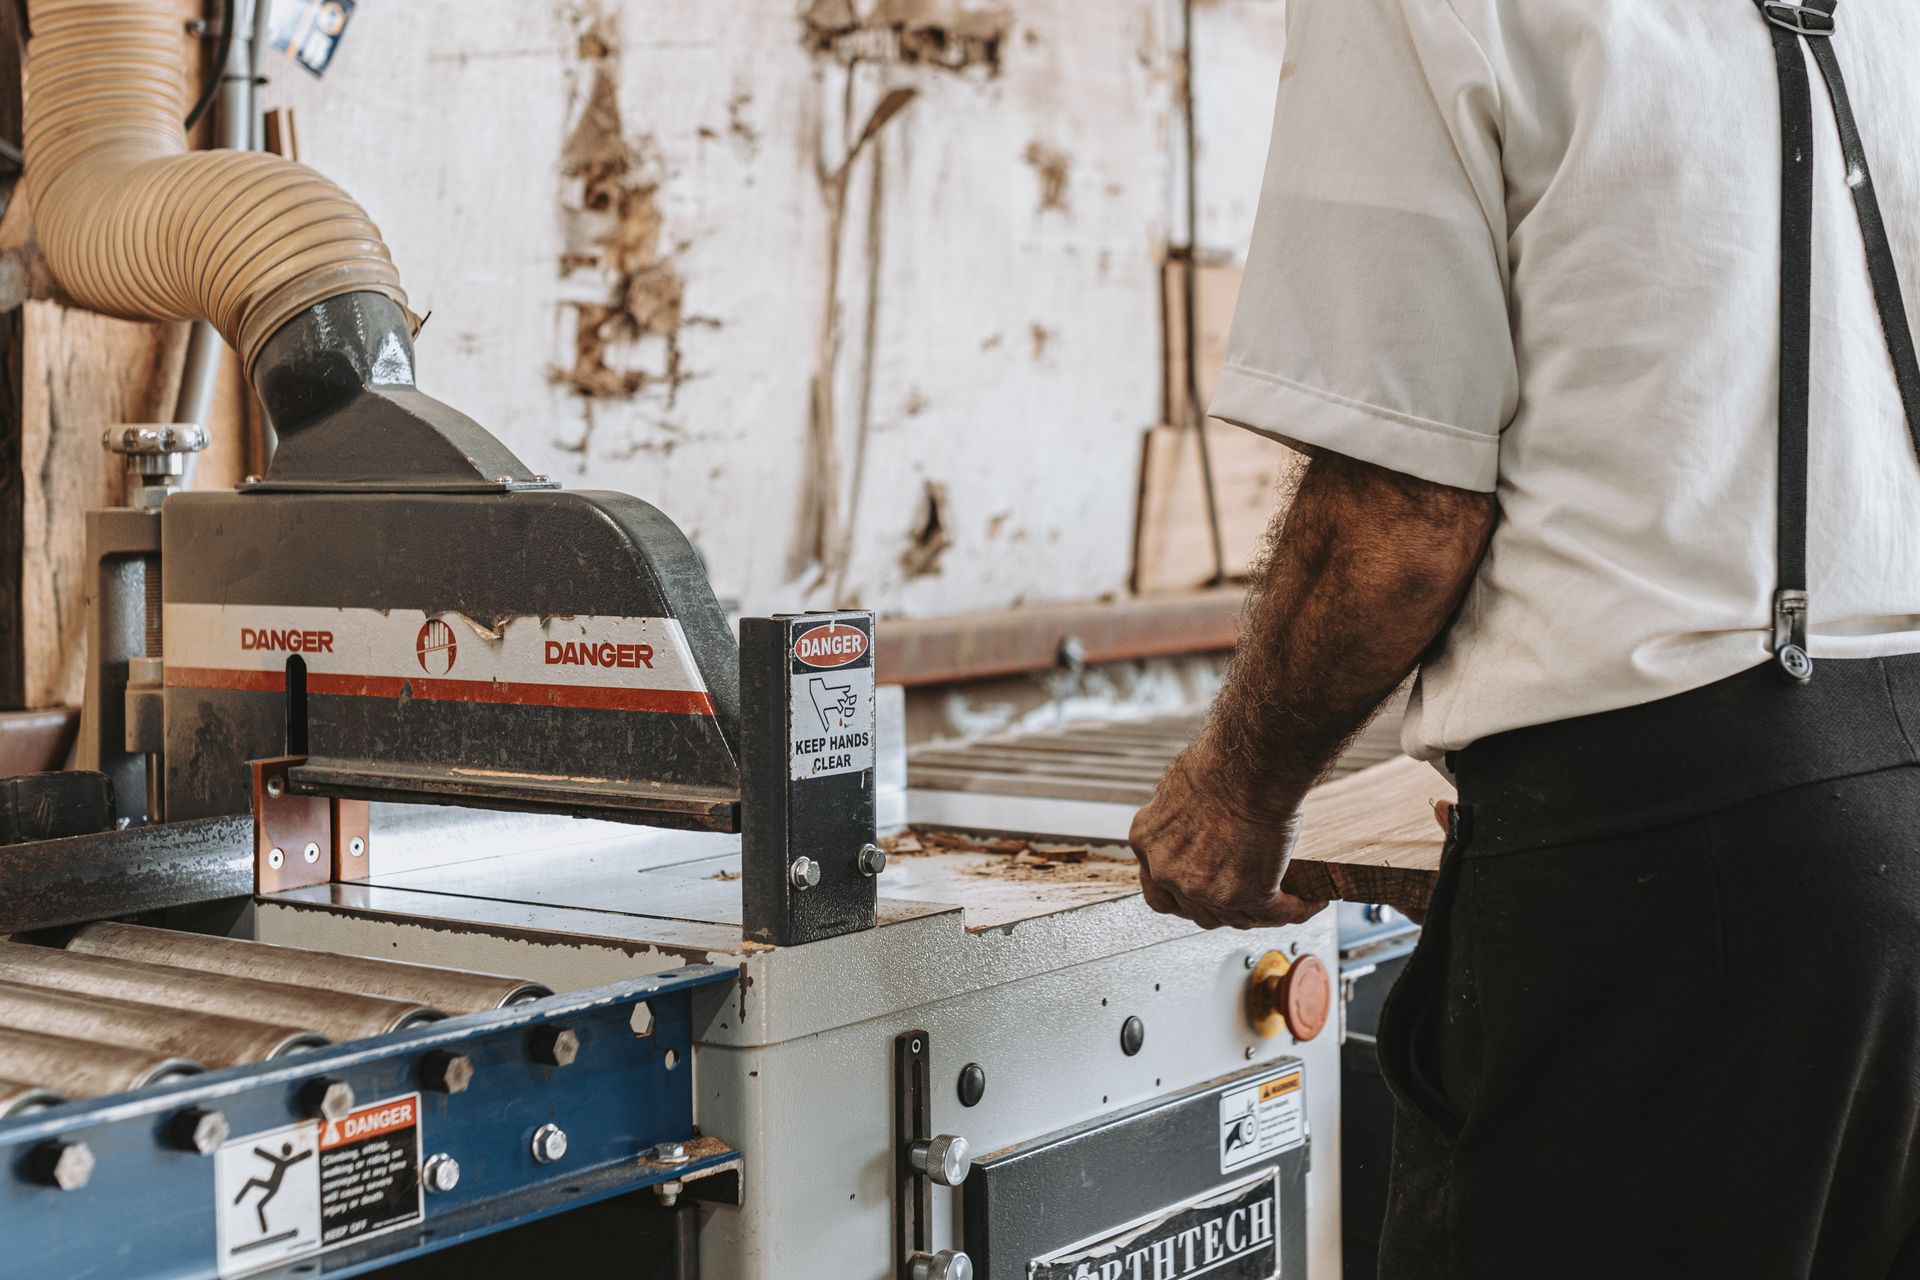
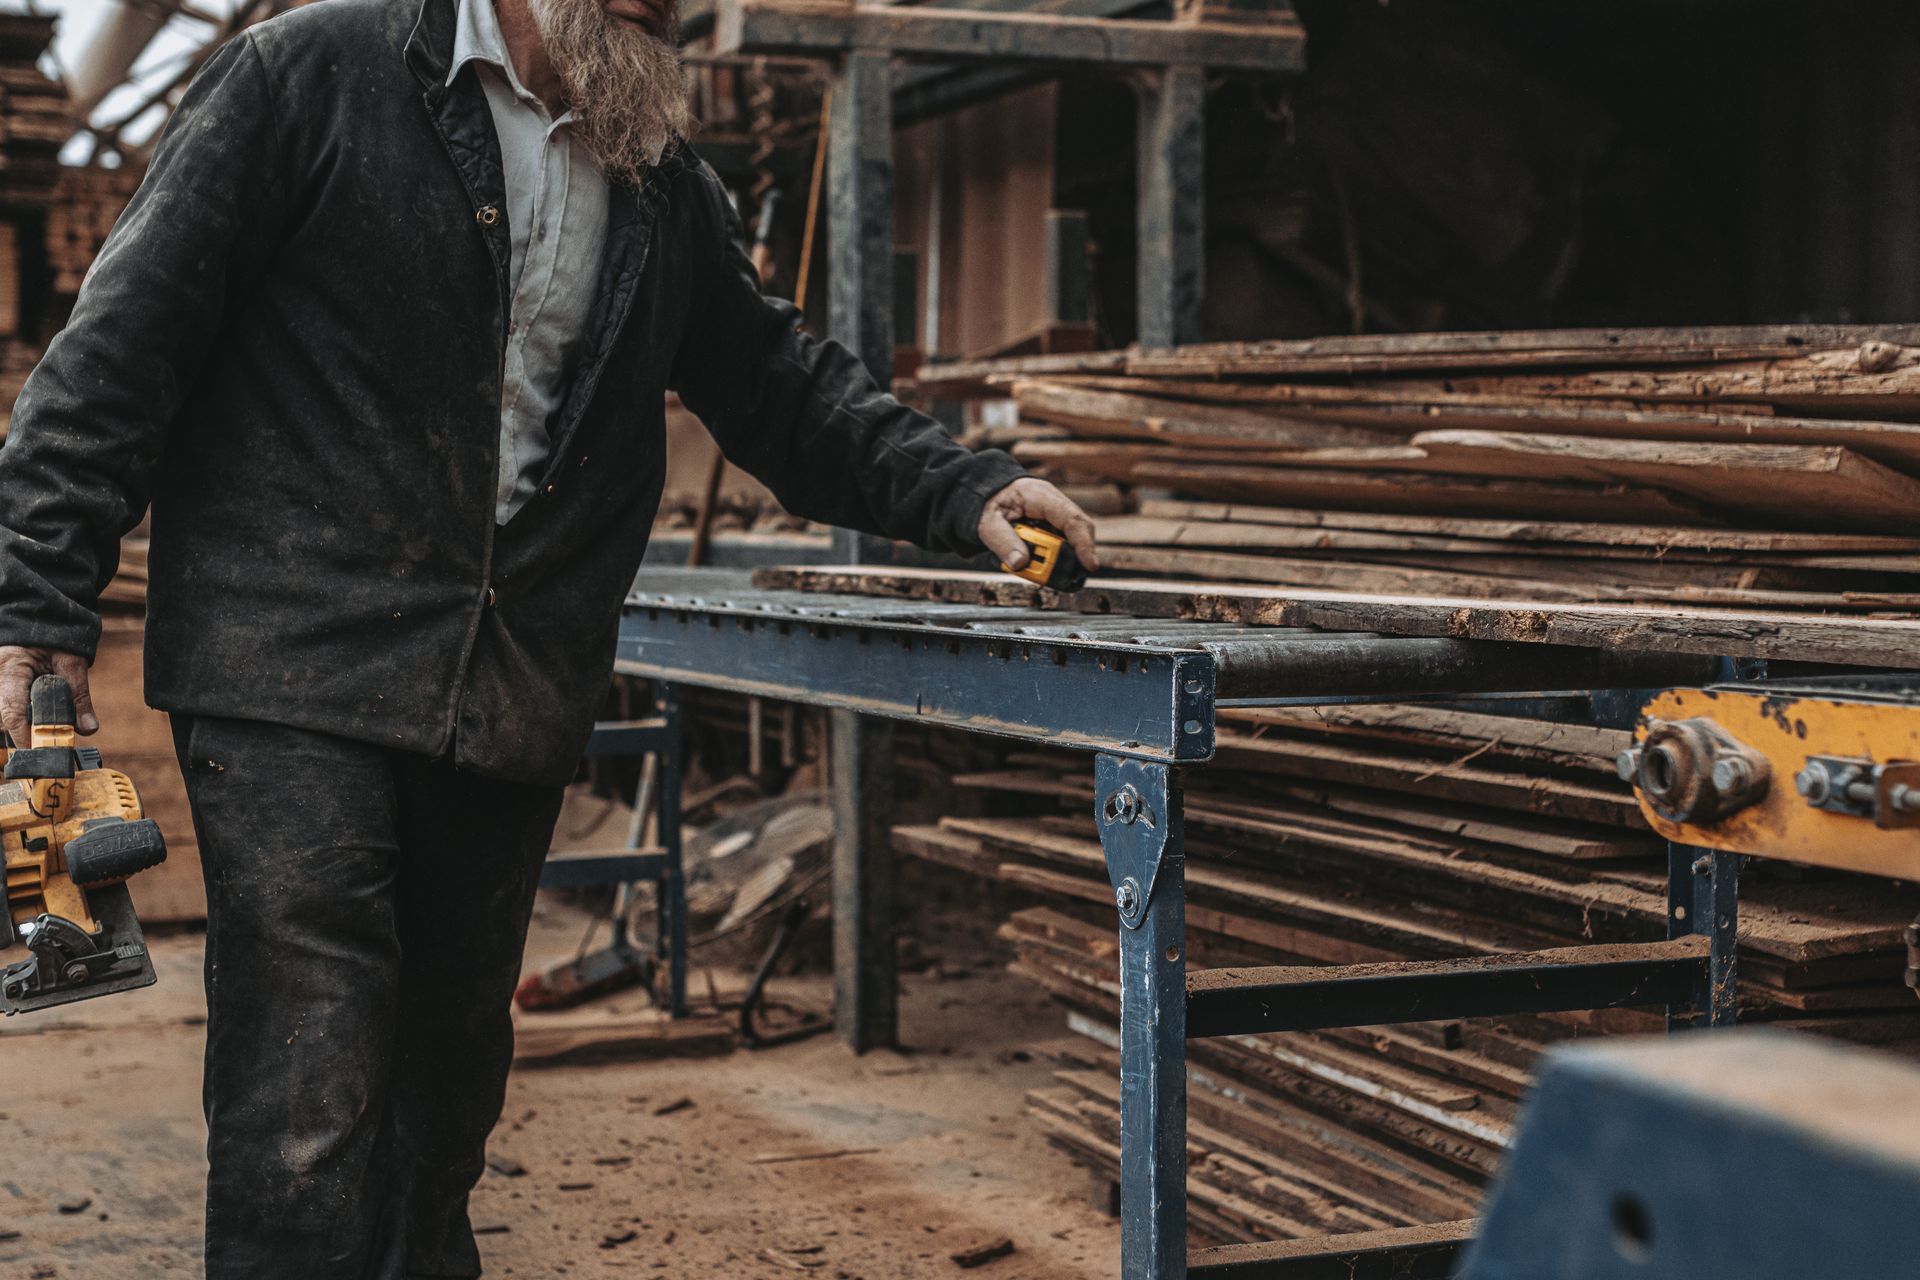
- Material Prep: Cleaning, sanding, and cutting reclaimed wood takes more time.
- Installation Challenges: Extra labor and tools are often needed.
- Structural Modifications: Your ceiling may require reinforcement to support the extra weight.
- Waste Material: Some boards may be too damaged to use, so you'll need to buy extra.
Get detailed quotes from contractors who specialize in reclaimed wood. An experienced installer can spot challenges ahead of time and save you stress later.
Decisions That Shape the Final Look
Preparing the Surface
Before installing, decide how you want the wood to look. Will you clean, sand, or leave its original patina? Once the boards are on the ceiling, changing your mind is difficult and costly.
Applying a Finish
Unfinished wood can shed dust or debris over time. Adding a clear finish will help preserve the look while reducing maintenance.
Choosing a Layout
How will the wood pieces be arranged? A random pattern creates visual interest but requires more cuts and often wastes material. Straight, uniform patterns are easier and less wasteful but may look less natural.
Lessons from Experience
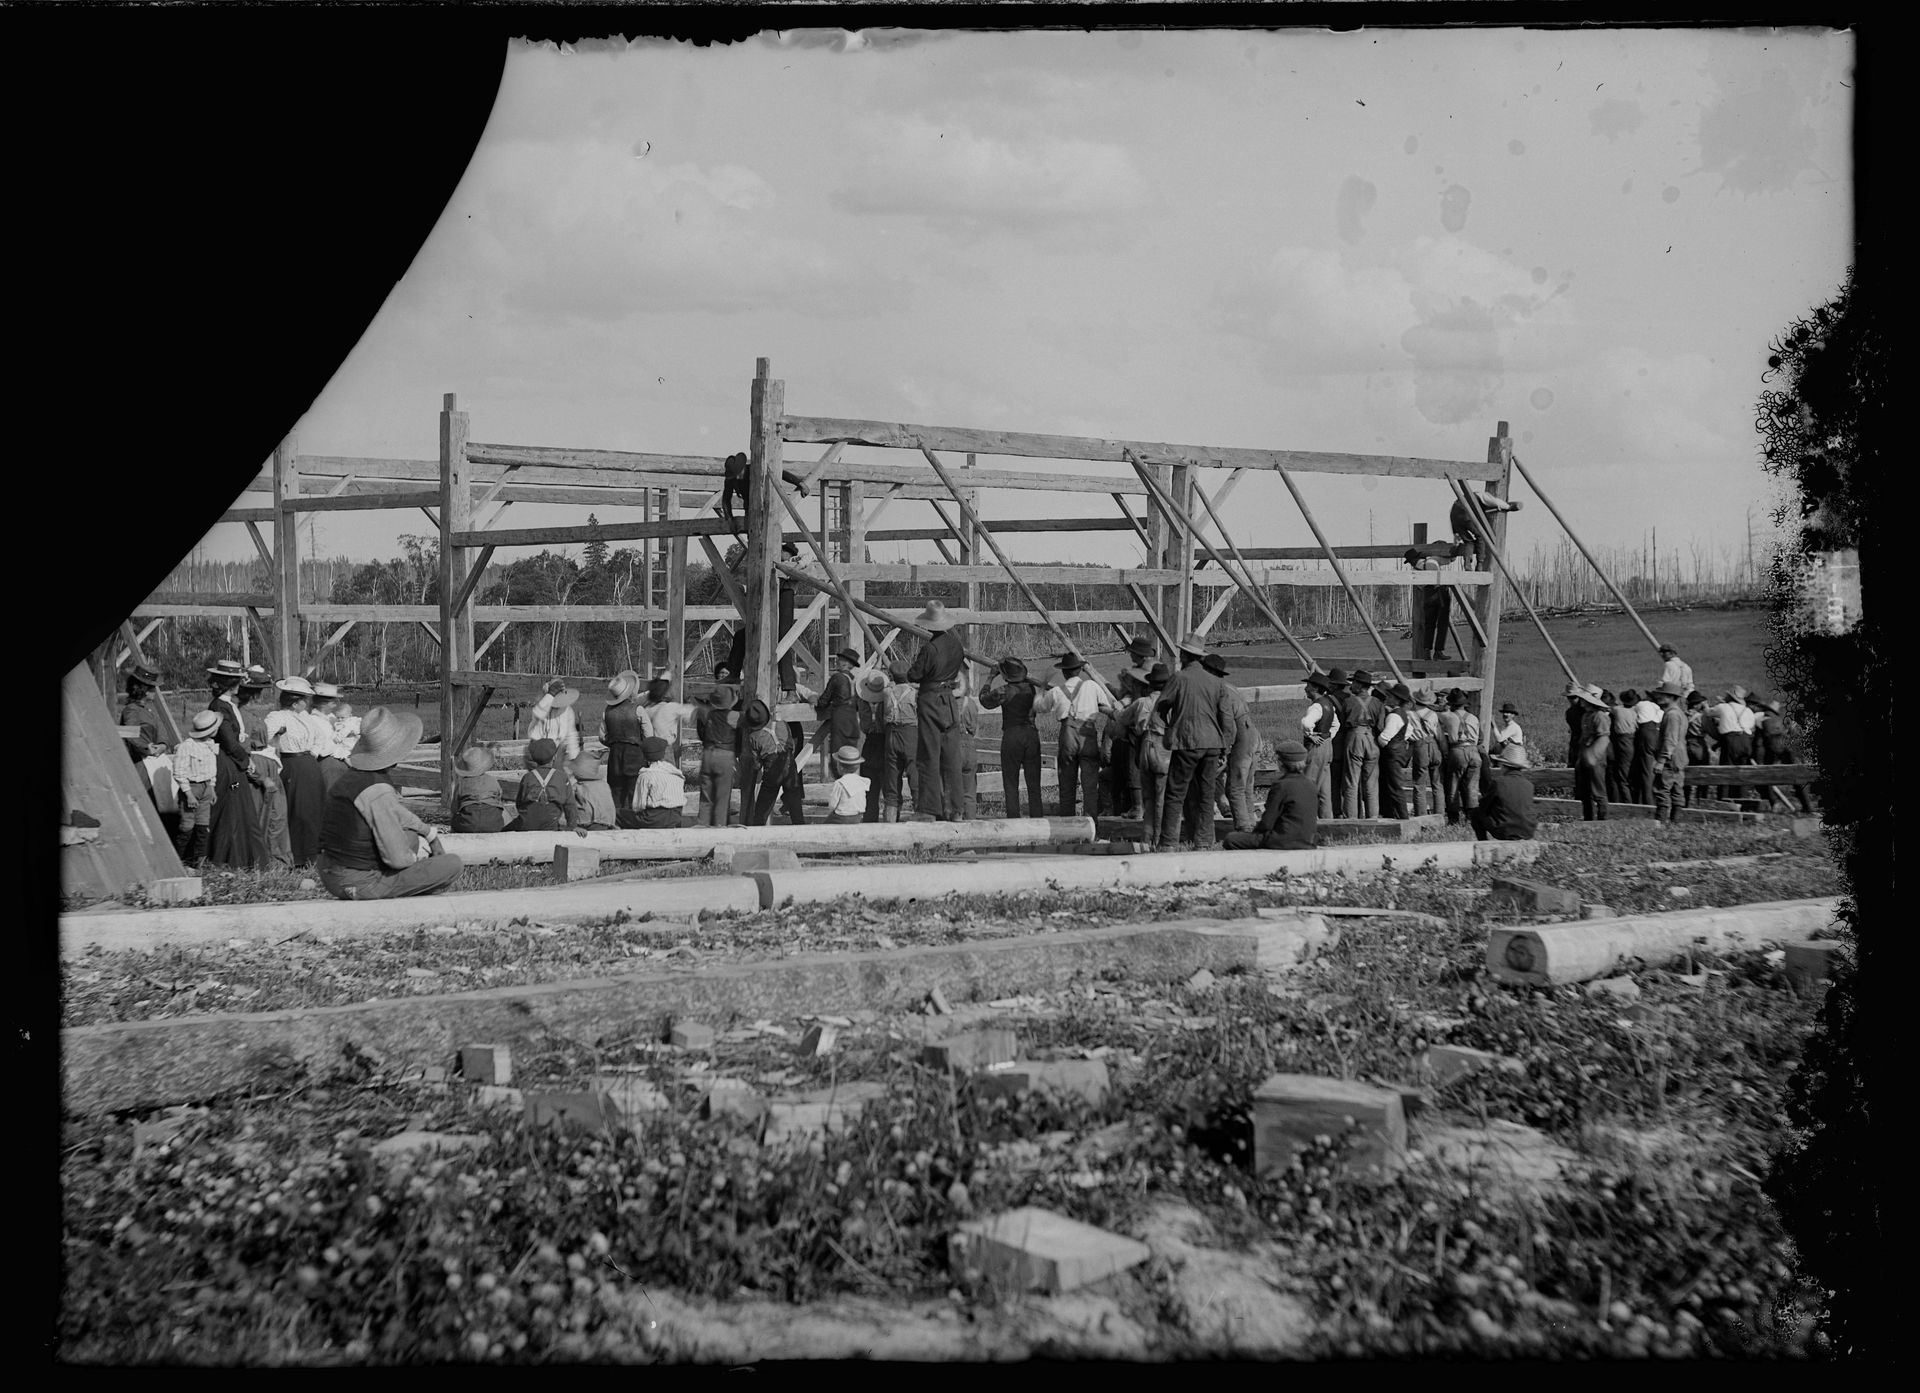
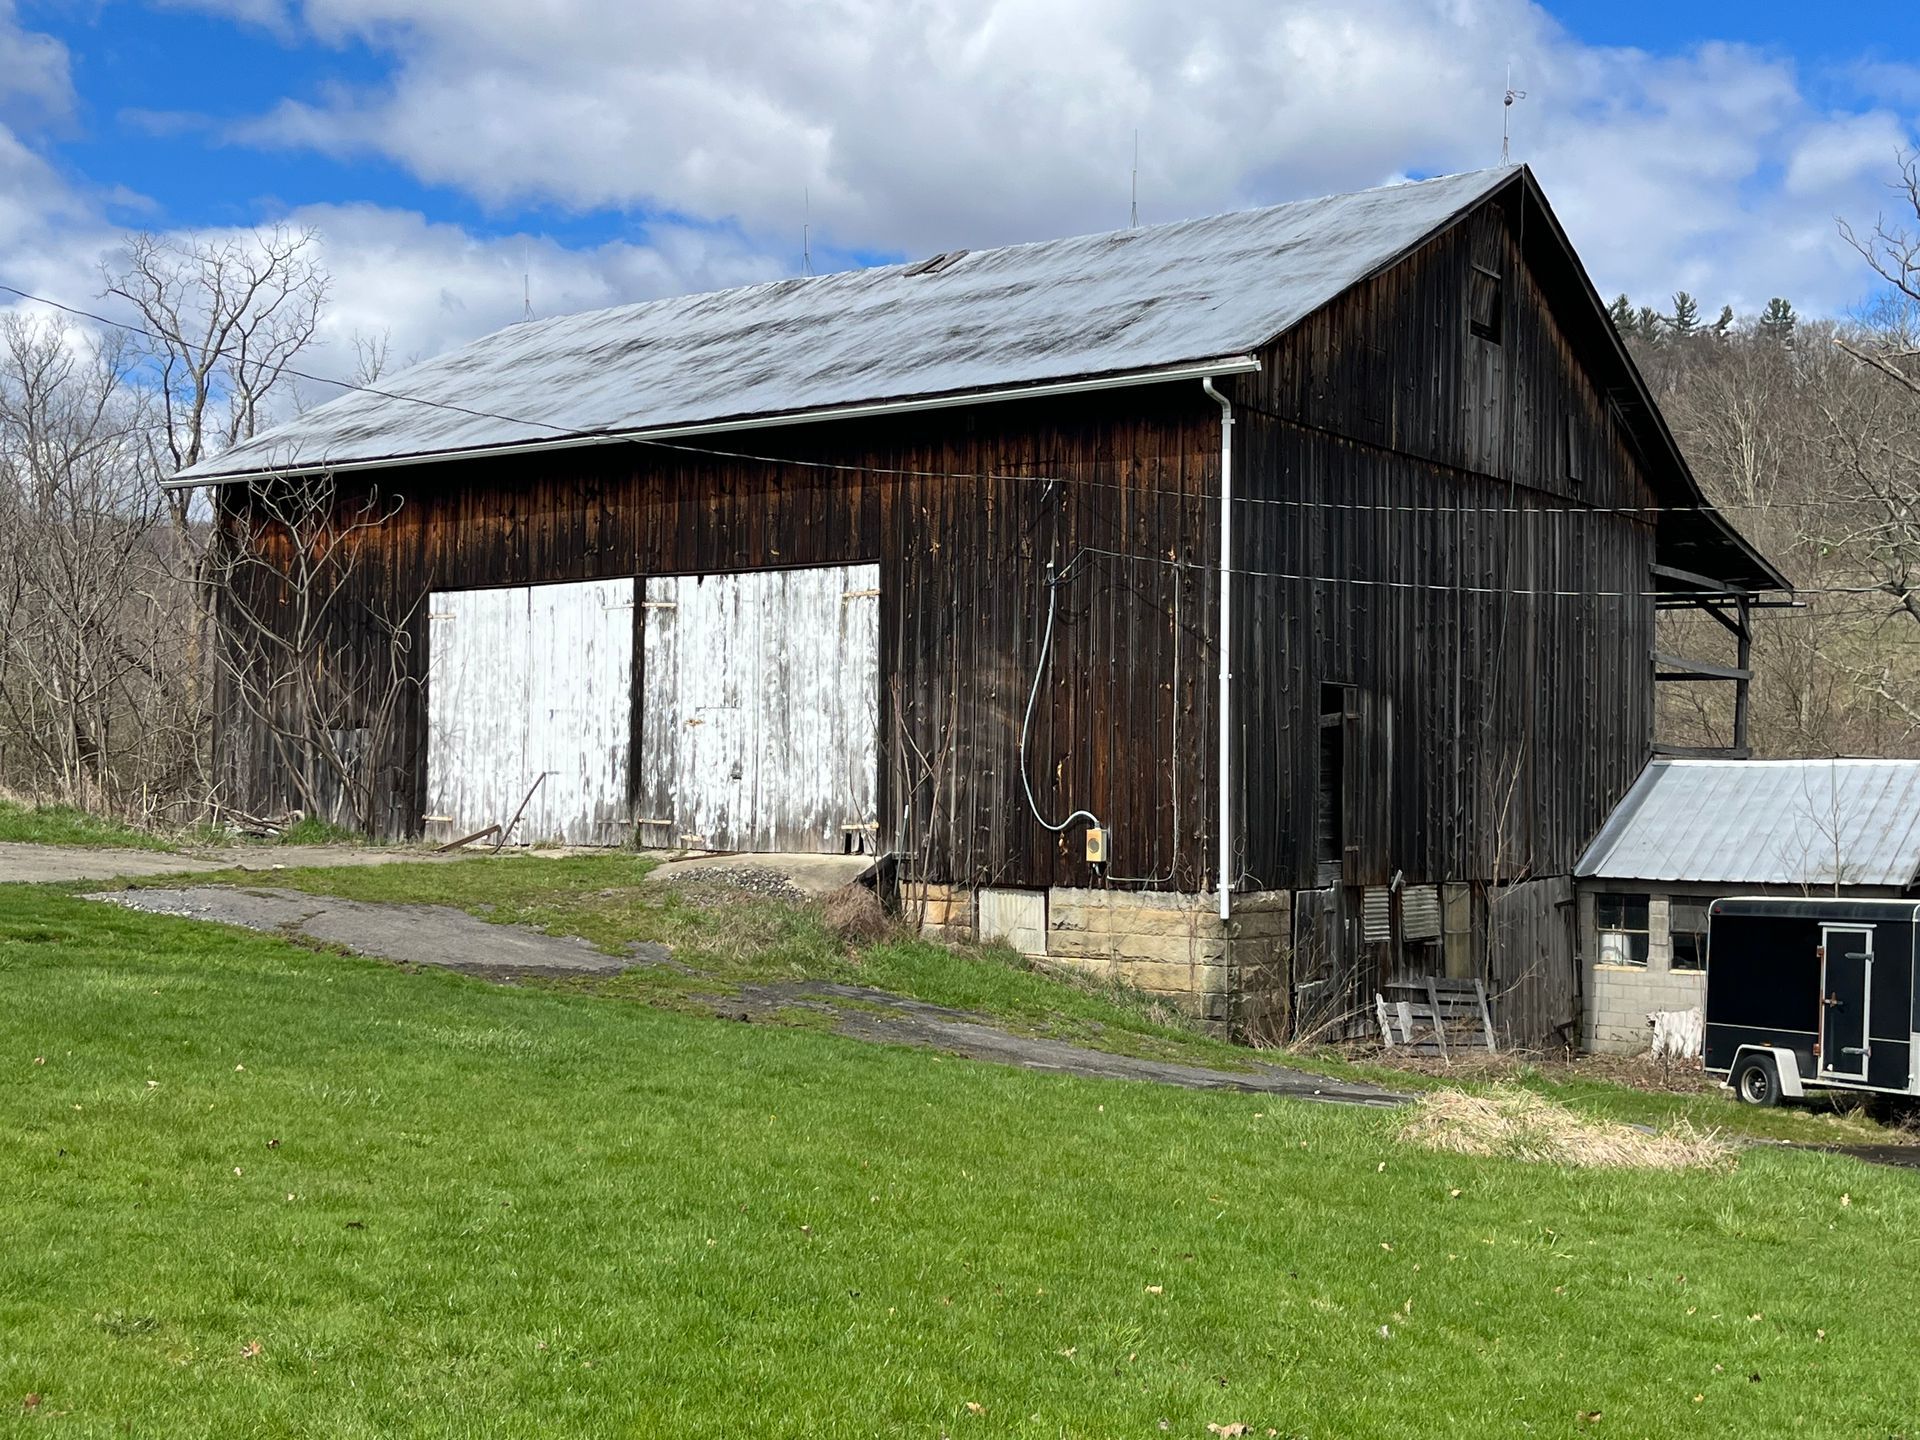
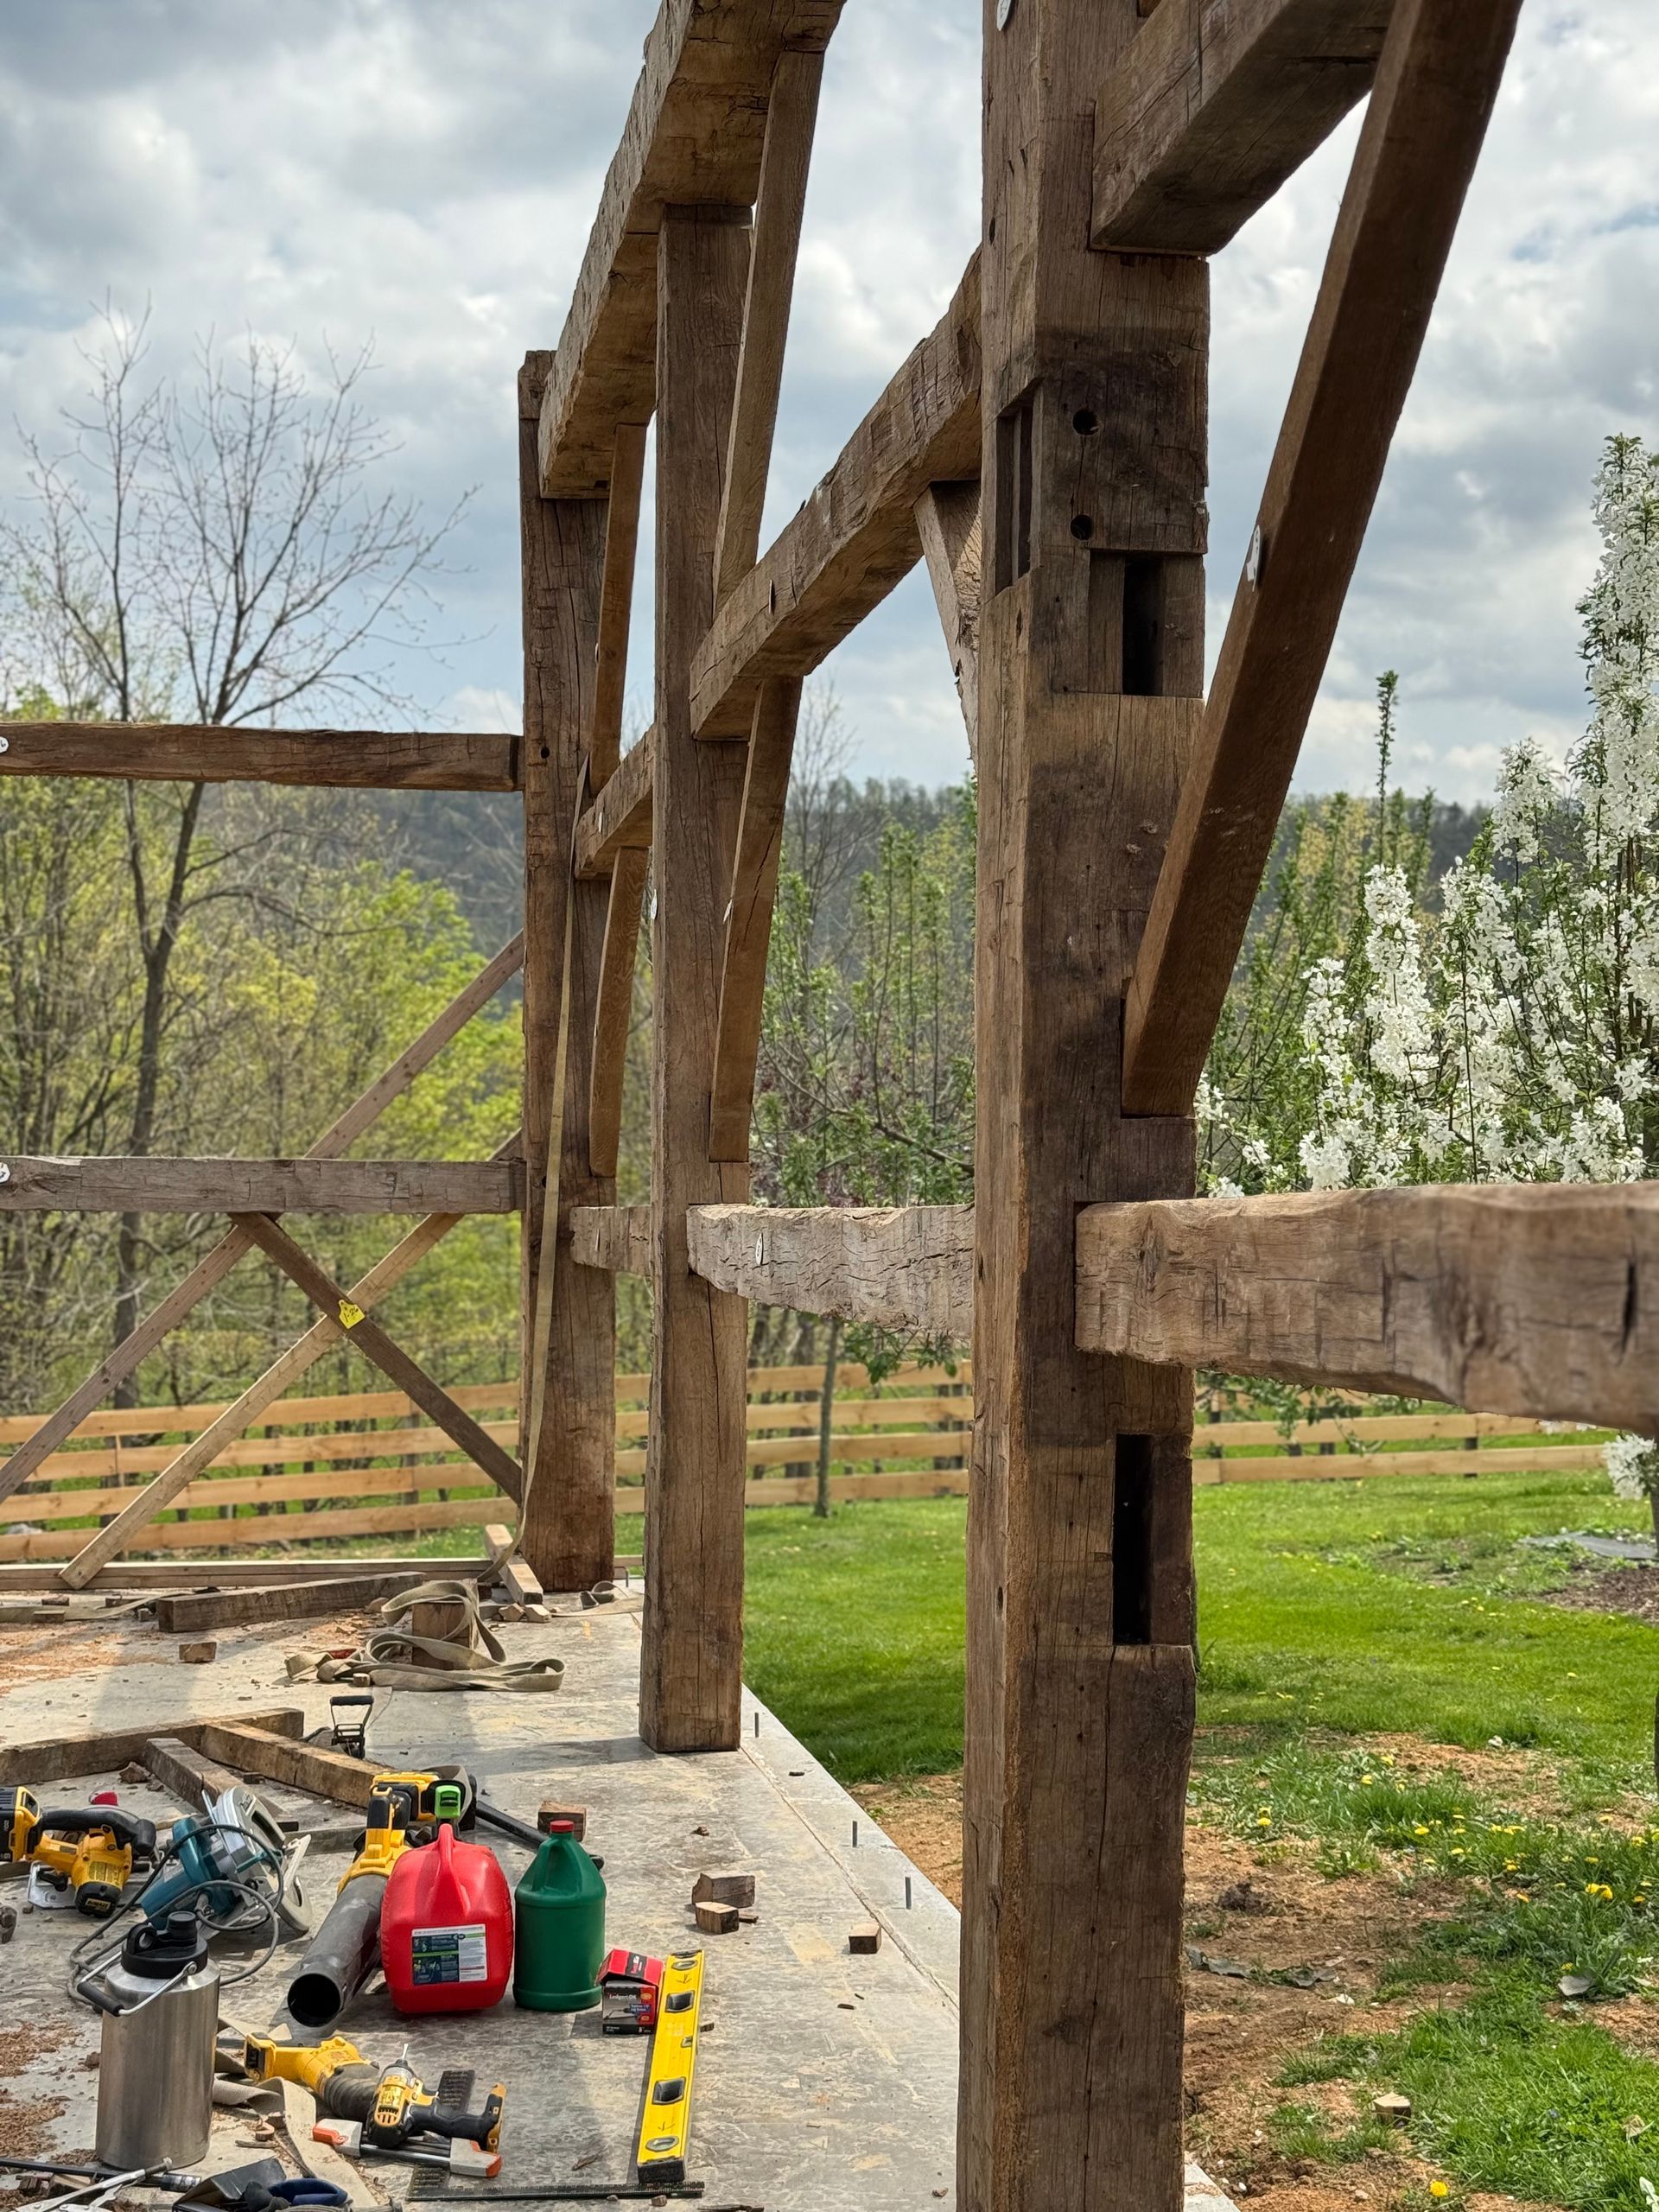
Many of the boards we salvage from historic barns have a rich history and character. With proper planning, they can transform rooms into stunning showcases. However, we’ve also seen DIY projects go wrong when people underestimate the challenges involved.
For instance, rushing into a project without careful planning leads to wasted material and extra costs. Choosing the wrong fasteners can result in ceilings that sag or fail over time. Every detail matters.
When to Call a Professional
DIY installation isn’t always the best choice. Hire a pro if:
- Your ceiling needs structural reinforcements.
- Electrical, HVAC, or plumbing work interferes with installation.
- You’re using rare or fragile reclaimed wood.
- The ceiling height poses safety risks.
- You’re on a tight timeline and can’t afford delays.
Professionals have the tools, skills, and experience to handle these challenges effectively.
Ongoing Maintenance
Reclaimed wood ceilings require regular upkeep. Dust collects in the crevices, and untreated wood may attract pests. Inspect and clean your ceiling yearly to stay on top of small issues before they become big problems.
Is It Worth It?
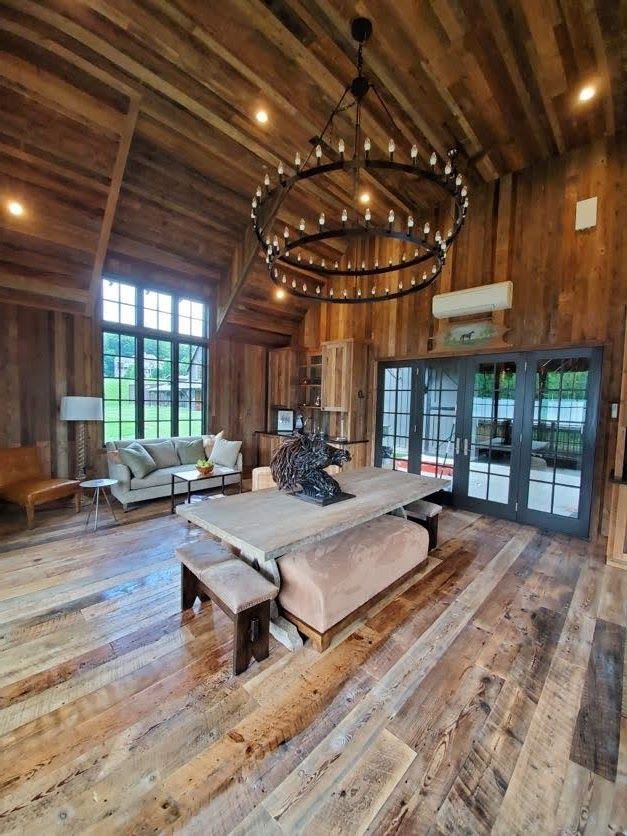
A reclaimed wood ceiling adds warmth, uniqueness, and value to a home. It’s a visual focal point and often sparks conversation. However, it requires serious planning, investment, and upkeep.
If you’re prepared for the costs and challenges, the result will be worth it. A reclaimed wood ceiling can bring lasting beauty and character to your space.
Your Action Plan
Before starting your project:
- Confirm your ceiling can support the extra weight.
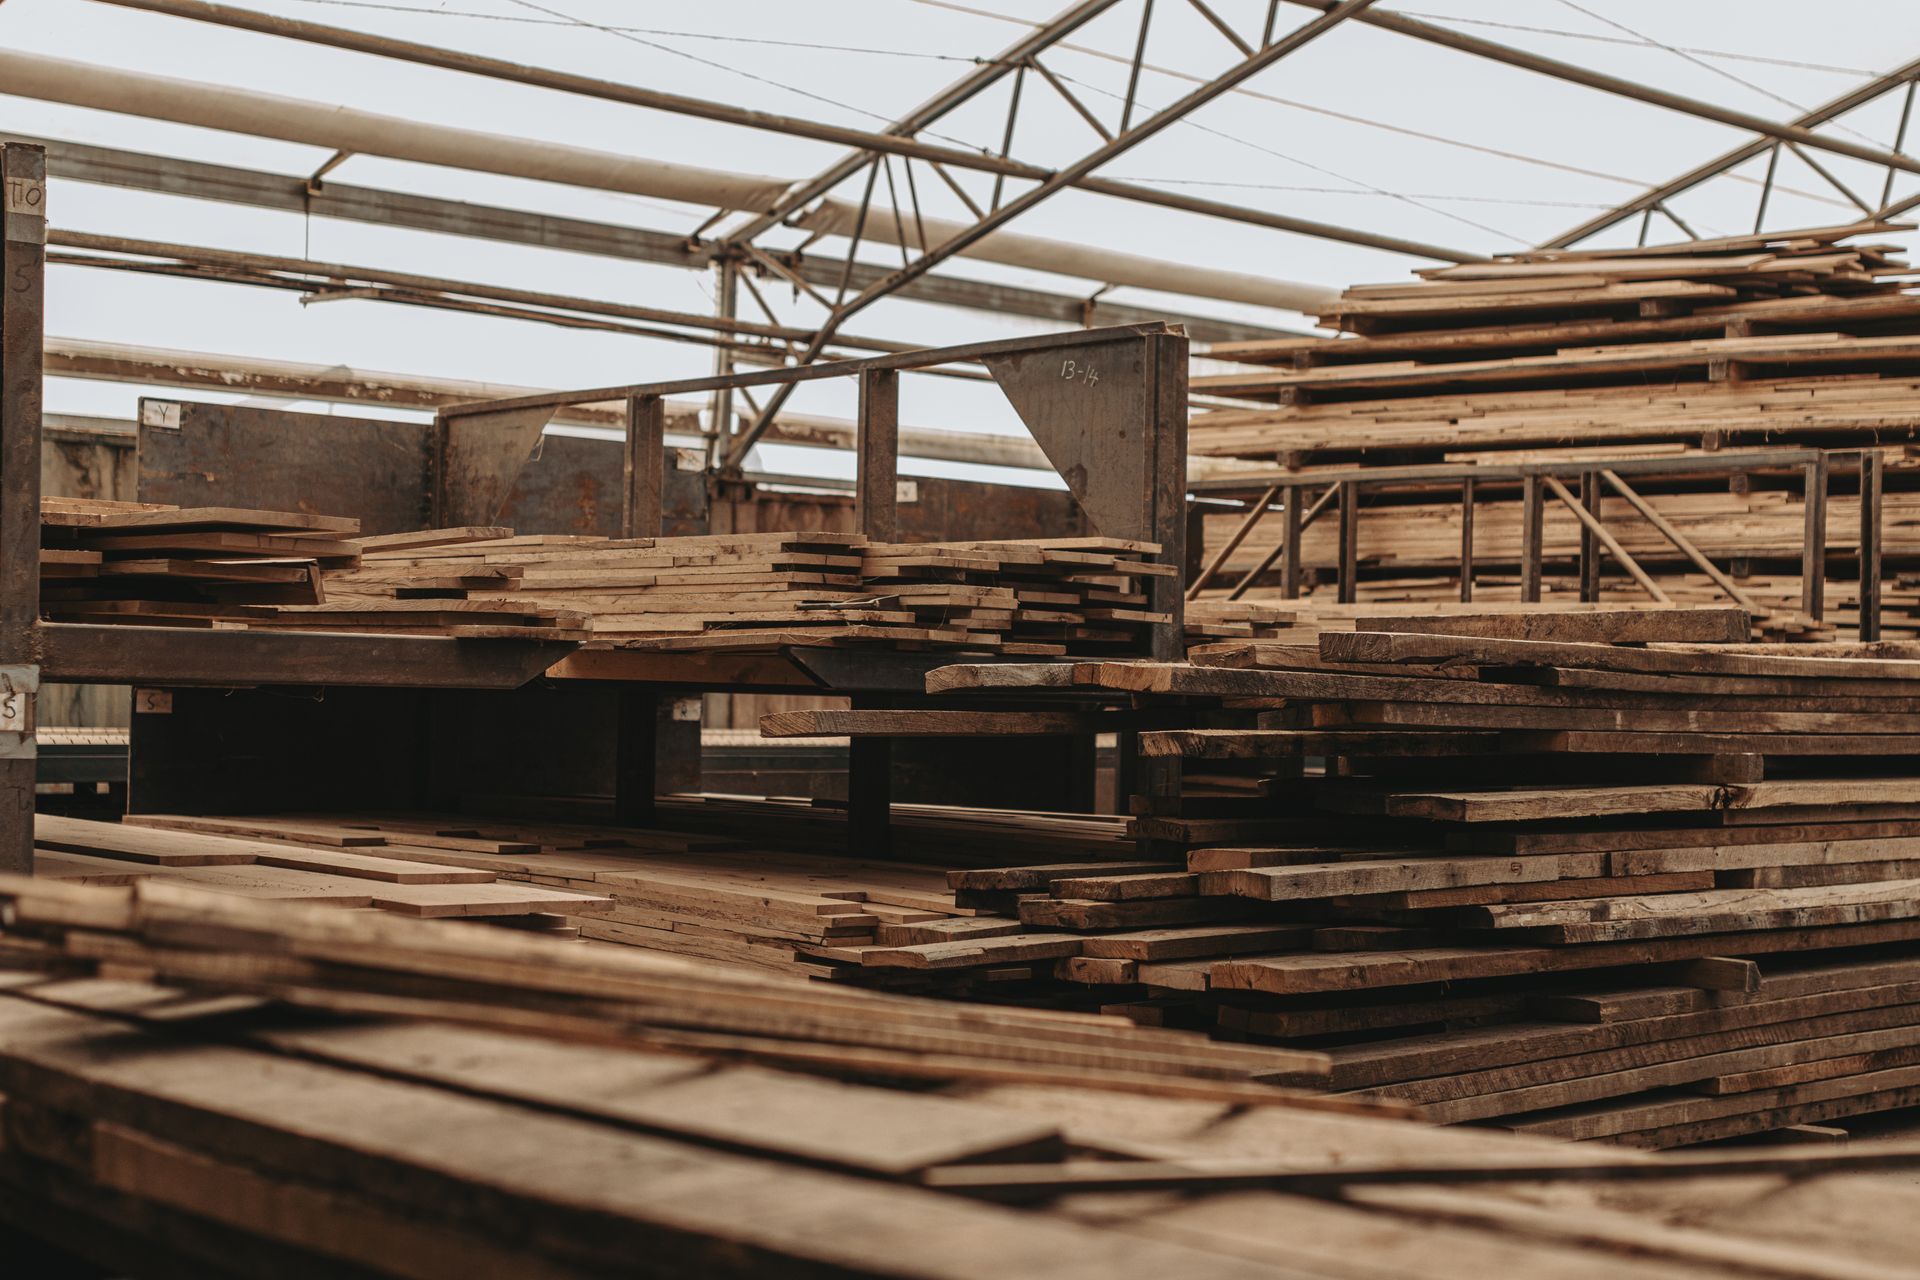
- Buy wood from a trusted supplier.
- Allow the wood to acclimate in your home.
- Plan for 20-30% extra material to account for waste.
- Get quotes from experienced contractors.
With the right prep, your reclaimed wood ceiling will become a highlight of your home for years to come.
Final Thoughts
A reclaimed wood ceiling can transform your space into something truly special, but success comes down to careful planning. With the right approach, the beauty and charm of reclaimed wood can become a lasting feature in your home.
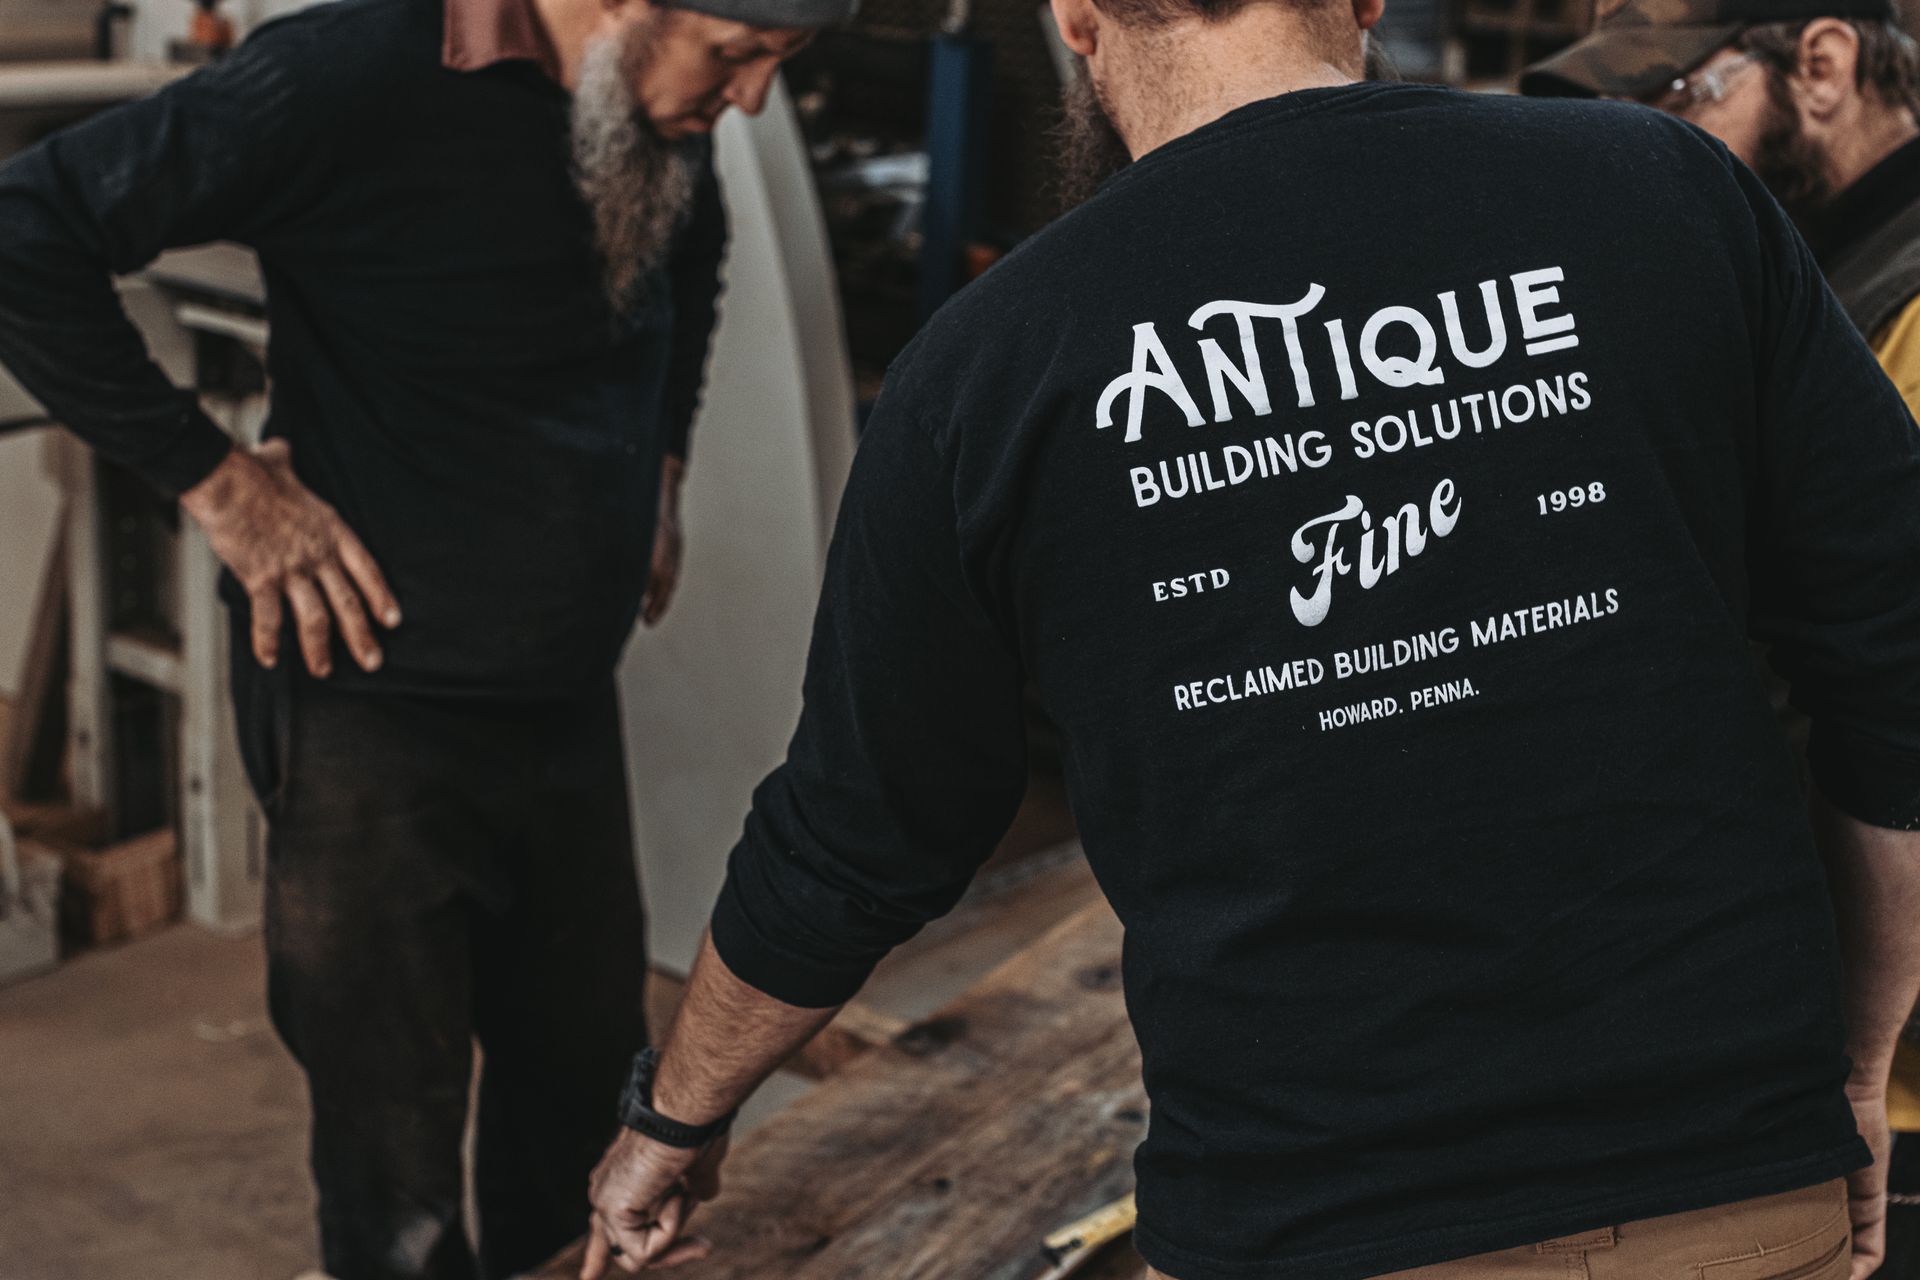
If you're looking for trusted partners with expertise in reclaimed materials, visit
Bay & Bent to learn more about the craftsmanship and care we bring to every project.