5 Amazing Reclaimed Wood Wall Paneling Patterns to Try
Wall Paneling Ideas with Reclaimed Wood Patterns
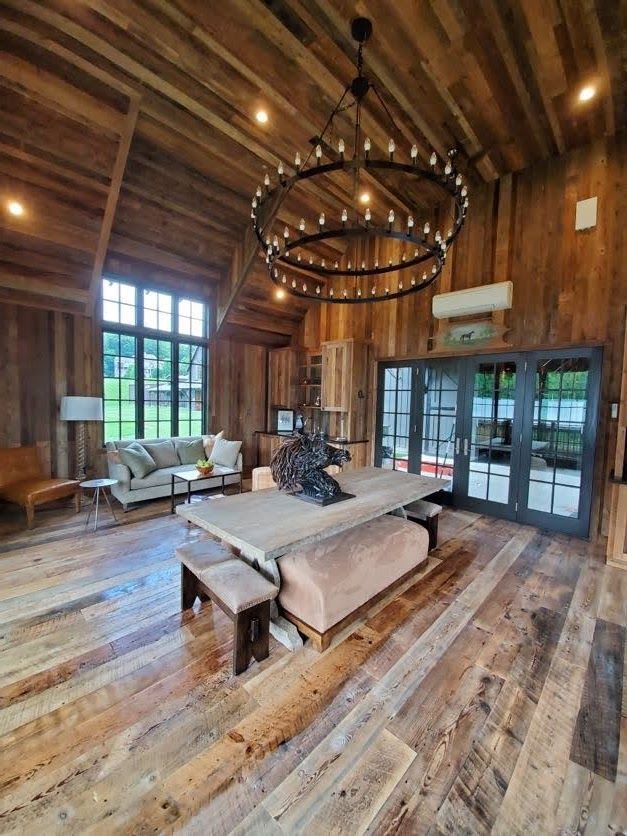
Reclaimed wood wall paneling adds character and warmth to any space. The pattern you choose can make the difference between a polished, professional design and one that falls flat.
To help you create a standout look, here are five paneling patterns that showcase the beauty of reclaimed wood while celebrating its uniqueness.
5 Amazing Reclaimed Wood Wall Paneling Patterns
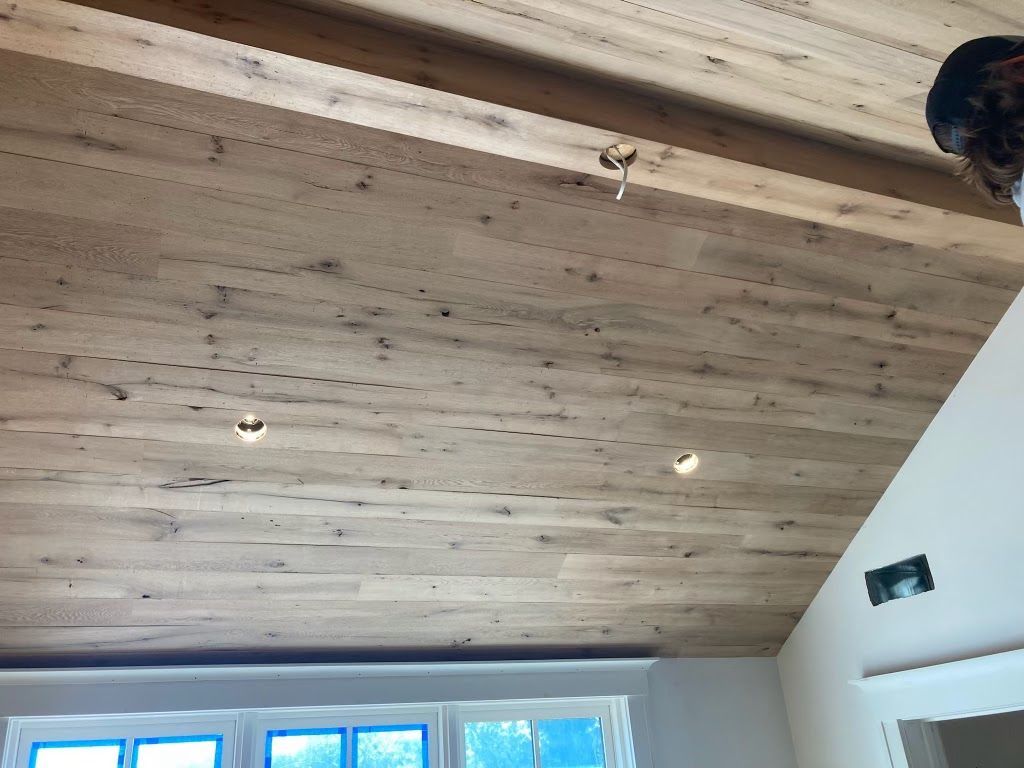
1. Horizontal Shiplap - The Traditional Favorite
Horizontal shiplap is a classic choice that suits almost any room. With its overlapping, horizontal boards, this pattern draws attention to the natural textures and imperfections of reclaimed wood.
Why It Works for Reclaimed Wood:
The design hides slight differences in board thickness or width. Meanwhile, color variations in the wood add depth and visual interest.
Best Areas to Use It:
- Living rooms and bedrooms for a cozy, farmhouse vibe
- Bathrooms where moisture resistance matters
- Accent walls to make a bold statement
Pro Tip: Start with the straightest boards at eye level. Small mistakes can add up if you're not careful, so using a level is key.
2. Vertical Board and Batten
Vertical board and batten uses wide boards with narrow strips (called battens) to cover the seams. This creates vertical lines that make rooms appear taller.
Perfect for Reclaimed Wood:
The battens disguise uneven edges, making this pattern forgiving of the natural quirks of reclaimed materials.
Where to Use It:
- Rooms with low ceilings needing a lift
- Entryways or feature walls for dramatic impact
Pro Tip: Install the wide boards first, then attach battens. This allows for small spacing adjustments while keeping lines straight.
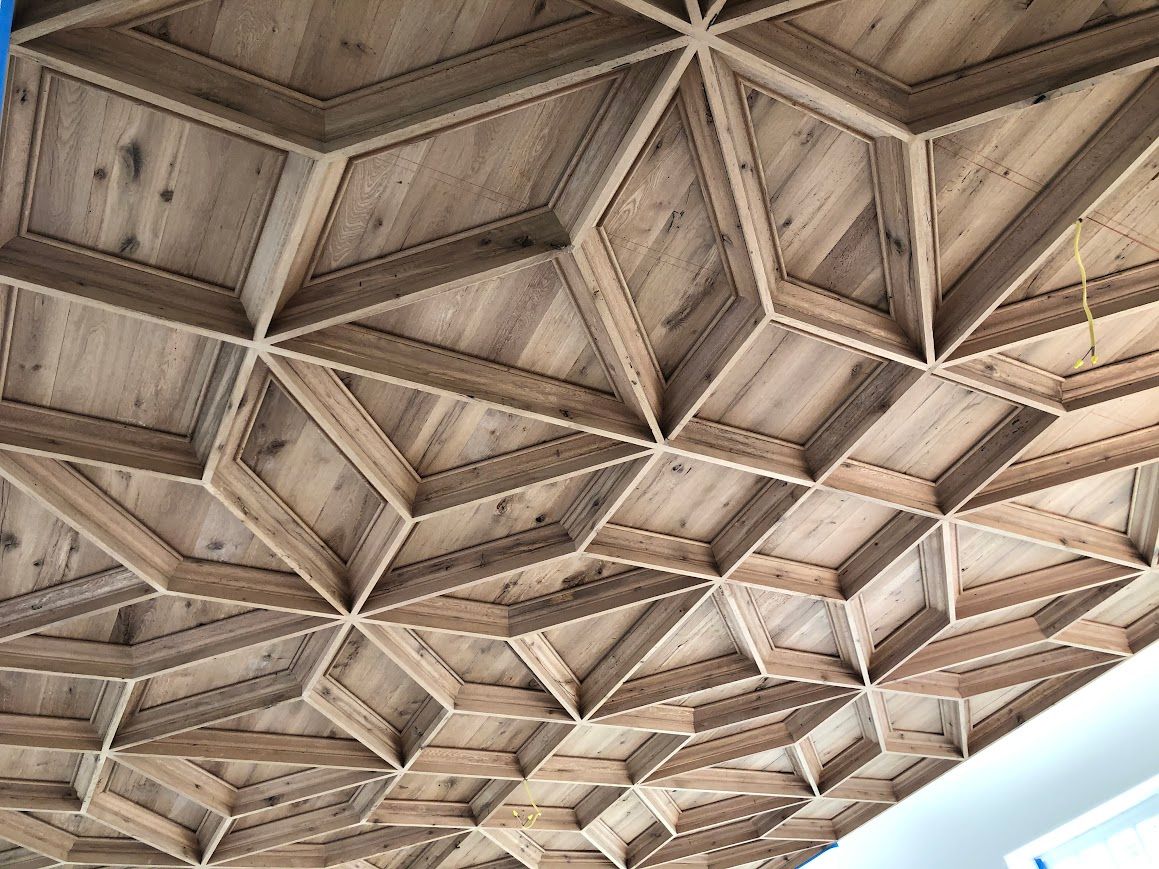
3. Diagonal Herringbone
Herringbone patterns add sophistication with their diagonal, interlocking design. This unique look highlights the grain and varied tones of salvaged wood.
Reclaimed Wood Considerations:
Choose boards of similar thickness for smoother installation. Minor color differences enhance the overall design.
Where It Shines:
- Dining room feature walls
- Bedrooms for a luxurious vibe
- Offices for a refined atmosphere
Planning Tip: Start your layout at the center and work outwards for an even pattern. Keep extra wood on hand in case you need to make adjustments.
4. Mixed Width Planks
Mixed width planks combine boards of various widths in a random arrangement, creating a natural, organic feel. Perfect for those who love a rustic aesthetic.
Why It Works for Reclaimed Wood:
This approach embraces the quirks of salvaged materials, like uneven edges and variable widths.
Best Spaces for It:
- Barn-inspired rooms
- Casual spaces like family rooms or game rooms
Pro Tip: Before attaching, lay out a few feet of boards to create a balanced look. Avoid repeating patterns that might seem forced.
5. Basket Weave
Basket weave patterns alternate horizontal and vertical boards to form square or rectangular shapes. This design brings depth and texture to any wall.
What You Need to Know:
Boards must be the same thickness for proper alignment. Subtle differences in color and grain add to the charm, but extreme variations might detract from the clean design.
Where to Use It:
- Modern or contemporary spaces
- Focal walls in living rooms or hallways
Install with Care:
This pattern takes time but results in a stunning textured finish. Allow for extra material to manage cut-offs and waste.
How to Choose the Right Pattern
Picking the best pattern depends on your skills, the size of the room, and the wood you’re working with.
Skill Level
If you’re new to DIY, start with simpler patterns like shiplap or mixed-width planking. Herringbone and basket weave are better for experienced installers.
Room Size and Shape
Horizontal patterns make spaces feel wider, while vertical ones add height. Diagonal patterns give walls movement and energy.
Wood Characteristics
If your materials are heavily weathered or uneven, stick with simpler designs. Cleaner, flatter boards can handle intricate patterns more easily.
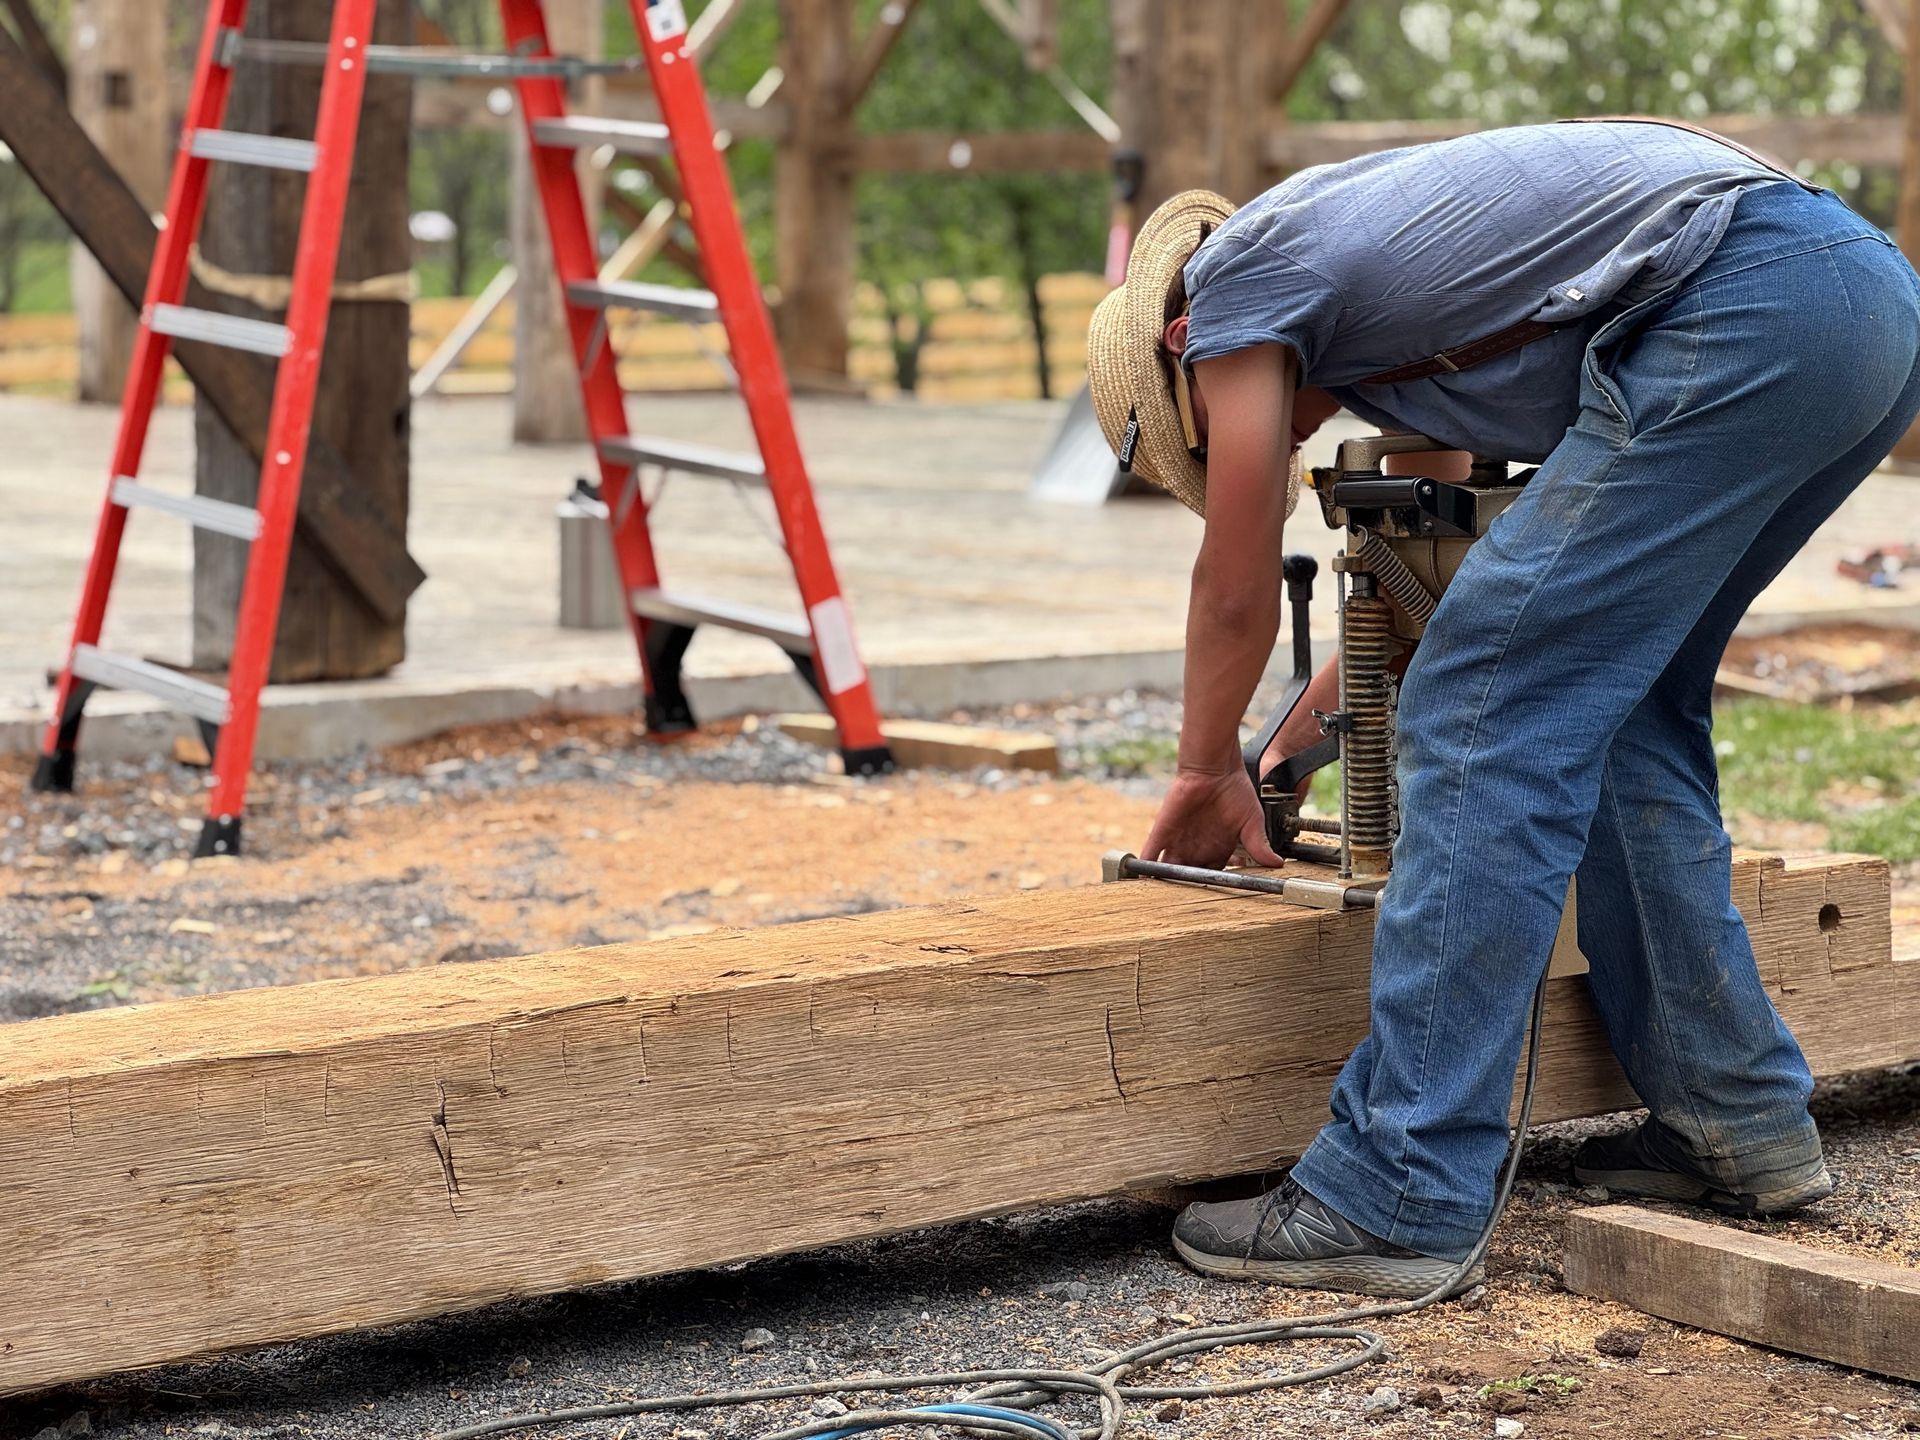
Installation Tips
Working with reclaimed wood requires preparation and patience. Follow these steps to ensure a smooth installation process.
Acclimate Your Wood
Leave the wood in your home for about a week before installation so it can adjust to your home’s humidity.
Sort by Appearance
Group boards by color and texture. Use your best pieces for eye-level areas and save flawed boards for less visible spots.
Plan Ahead
Consider where electrical outlets and switches will be. You don’t want to interrupt a beautiful pattern because of poor planning.
Buy Extra Material
Have 15-20% more wood than you think you’ll need. This covers waste and gives you matching boards for future repairs.
Avoid These Common Mistakes
Even the best designs can go wrong without careful attention to detail. Here’s what to watch out for.
Trying to Force Uniformity
Reclaimed wood is unique for a reason. Don’t stress about making every board look the same.
Skipping Measurements
Double-check your layout before cutting or nailing boards in place. Small errors can snowball quickly.
Using Weak Fasteners
Standard nails or screws may not hold up to dense, old wood. To avoid splitting or breaking, use materials designed for reclaimed timber.
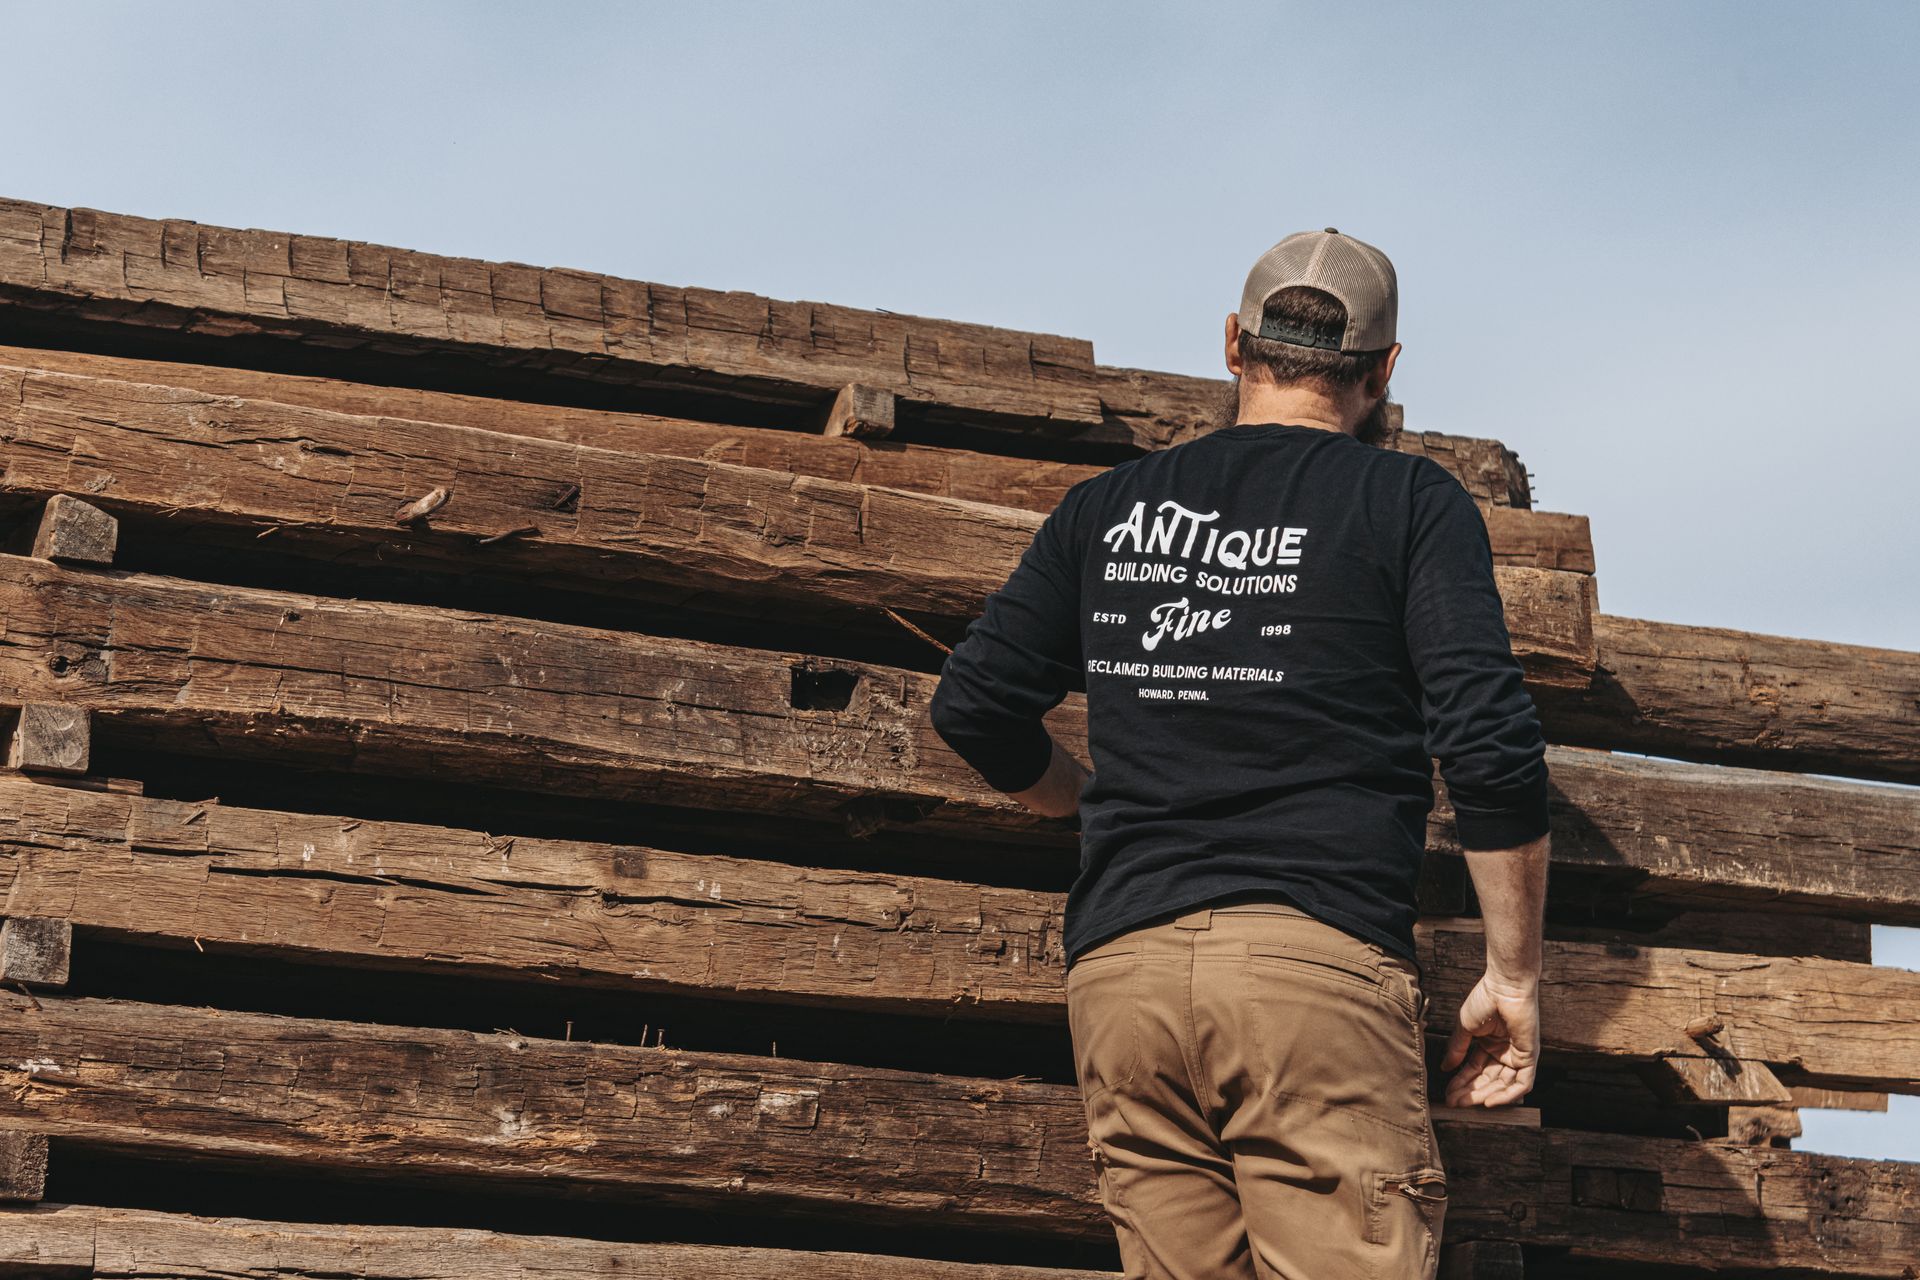
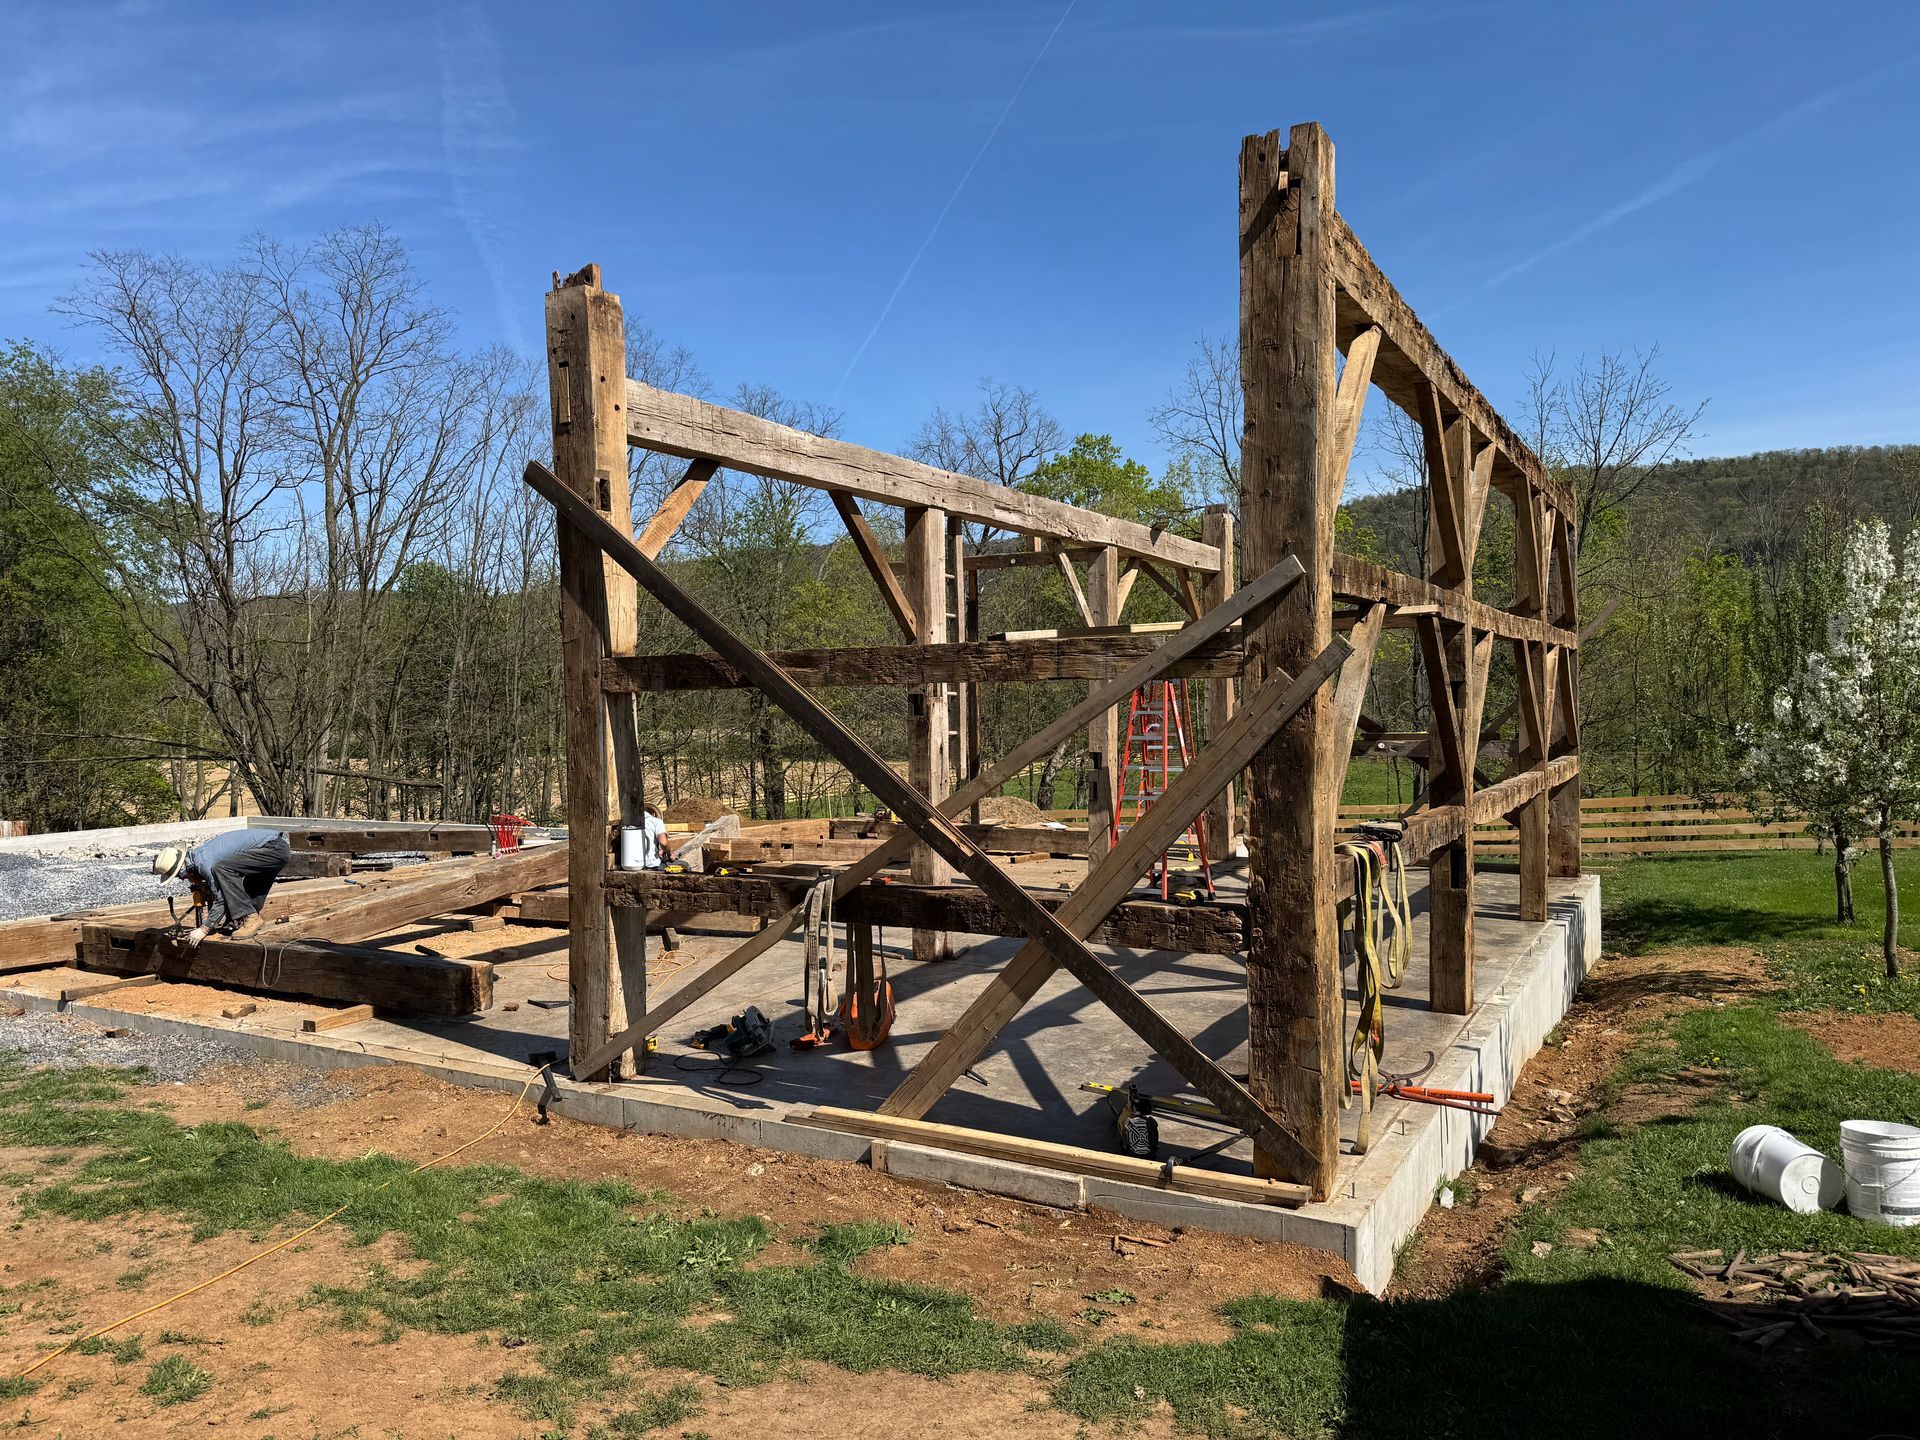
Why Reclaimed Wood is Worth It
Reclaimed wood wall paneling is an investment. It may cost more in both materials and labor, but the results are worth it. The history and unique look of aged wood bring unmatched character to your home. With careful planning and a little creativity, you can create a one-of-a-kind space that feels both timeless and personal.
Visit Bay & Bent to explore our reclaimed wood offerings. Learn about our commitment to preservation, sustainability, and exceptional craftsmanship while finding inspiration for your next project.