Reclaimed Wood Acclimation: Tips You Need to Know
Essential Tips for Reclaimed Wood Acclimation
If you’ve ever worked with reclaimed wood, you know it’s more than just material; it's history in your hands. Each worn plank or weathered beam has a story to tell, built over decades or even centuries. But before you jump into your next project, there's one crucial step you shouldn't skip: wood acclimation.
Acclimating reclaimed wood is the secret to making sure your project looks stunning and stands the test of time. Without it, you risk warped furniture, gaps in your flooring, or loosening joints in a timber frame. Don't worry, we’ll walk you through what wood acclimation means, why it matters, and how to do it right.
What Is Wood Acclimation?
Wood acclimation is the process of letting wood adjust to the humidity and temperature of its new environment. Think of it like giving your wood time to settle in and get comfortable before it’s put to work.
Wood naturally expands when it absorbs moisture and shrinks when it dries. This happens regardless, but the extent of the wood's movement depends on its moisture levels compared to the surrounding air. For reclaimed wood, this process becomes even more important because it’s often been exposed to wildly different conditions throughout its life.
For example:
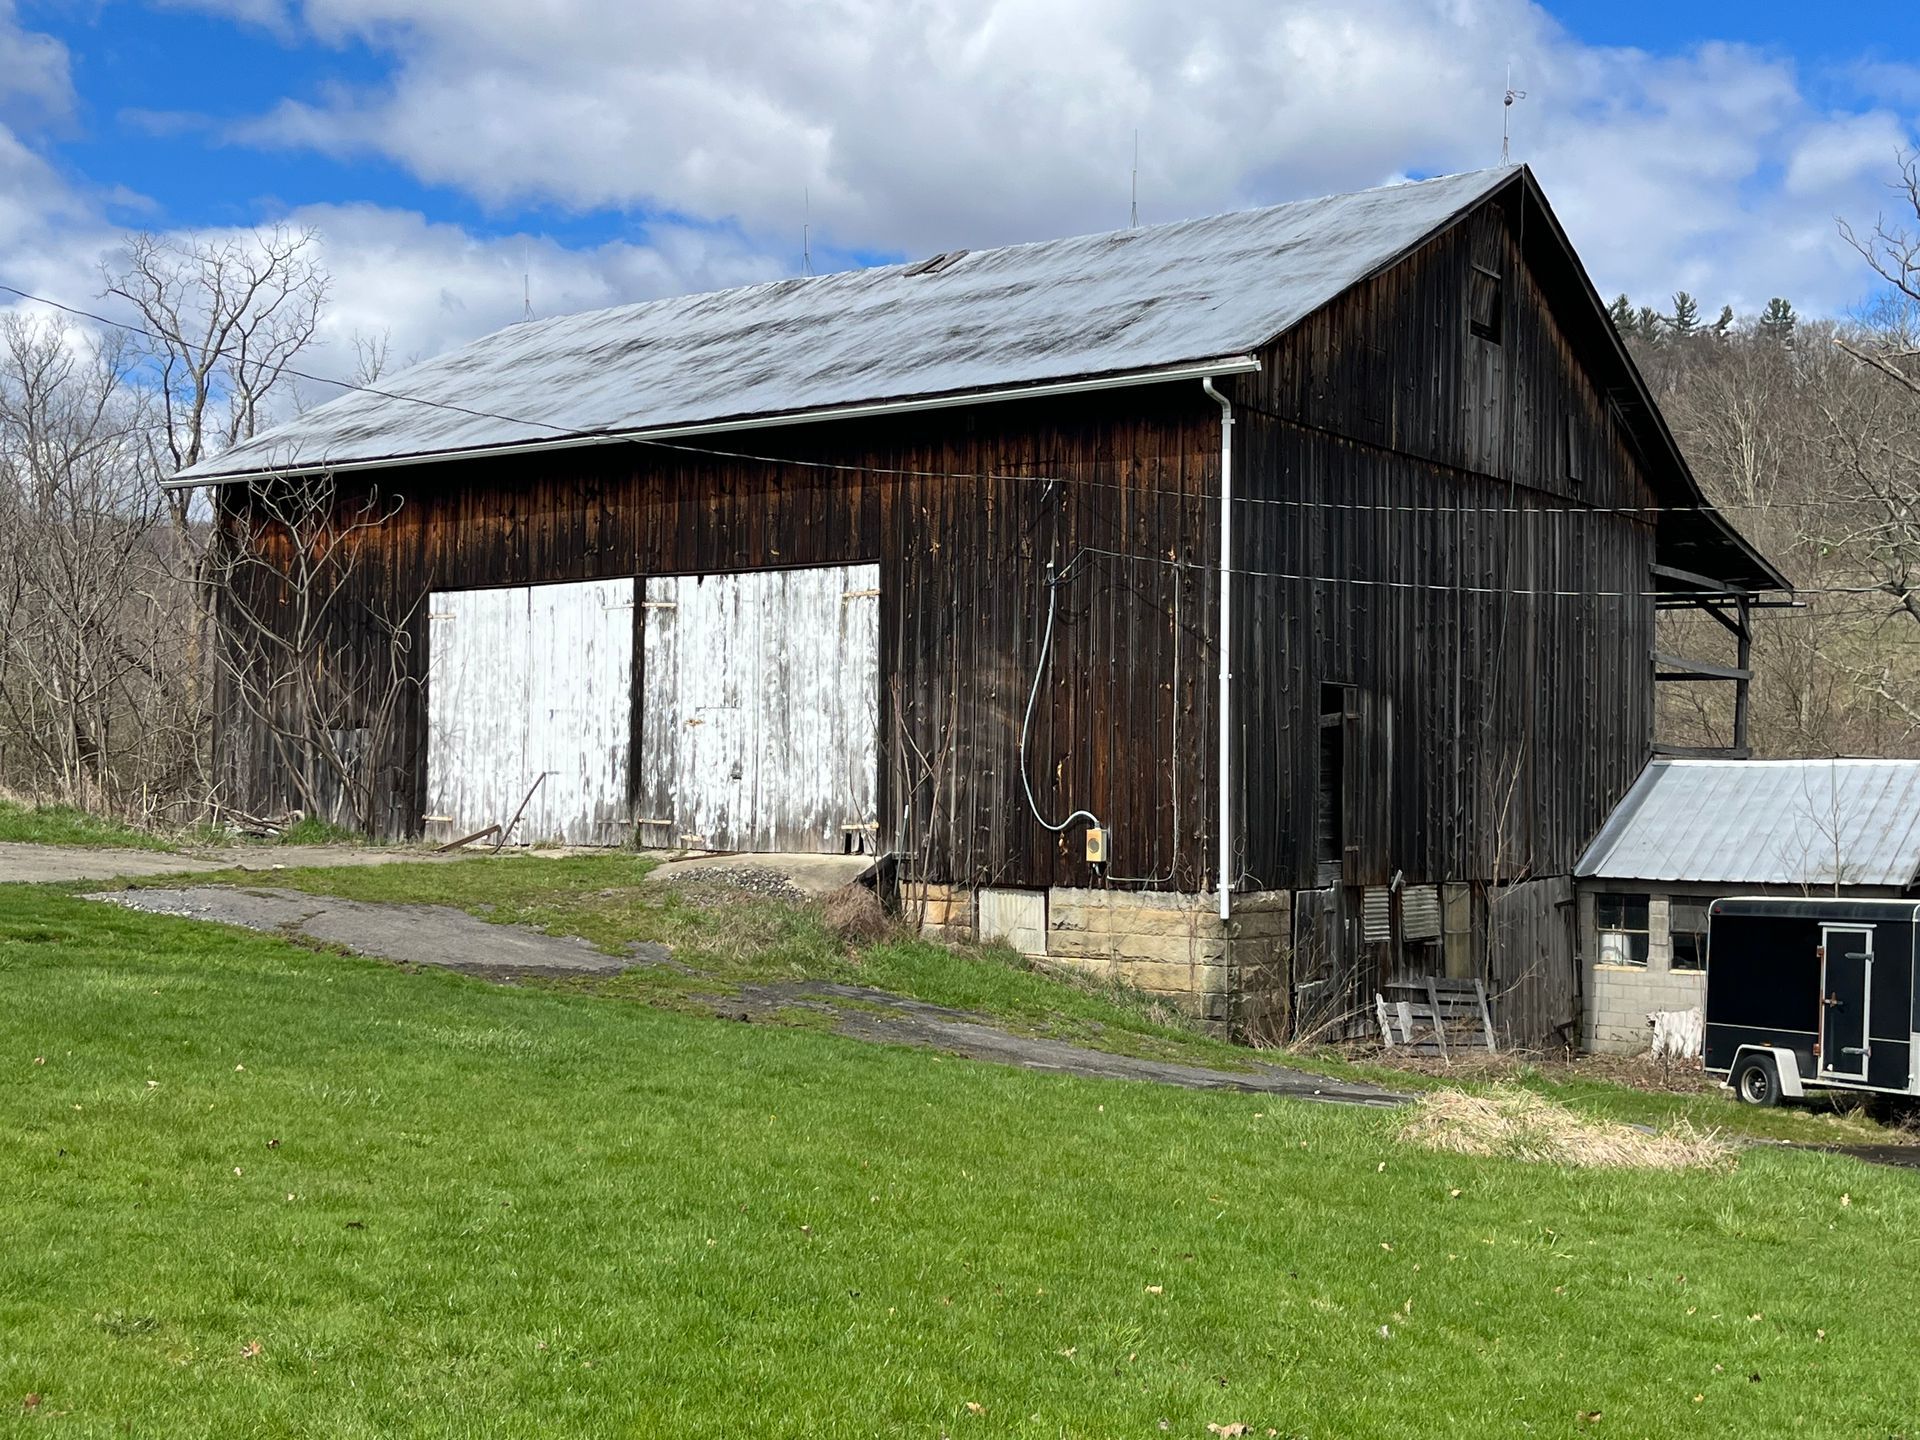
- A barn beam that sat outside in Vermont for 150 years will behave differently than planks from the floor of a Tennessee farmhouse.
- Without proper acclimation, this movement could cause your flooring to gap, your furniture to warp, or your entire project to look less than perfect.
Why Reclaimed Wood Needs Extra Attention
Unlike new lumber, reclaimed wood comes with quirks and challenges. Here’s why it requires a bit more TLC:
Uncertain Moisture Levels
A reclaimed board might come from a damp basement or a dry attic. Moisture levels can vary greatly, even within the same piece of wood.
Internal Stresses
Old wood has endured years of wear, weather, and use, creating natural tensions inside the material. These stresses can cause unexpected movement while acclimating.
Mix of Wood Species
Historic buildings often used a mix of wood types. Since different species expand and contract at different rates, you could end up with uneven movement during acclimation.
Old Paints and Finishes
Layers of paint, oil, or finishes on reclaimed wood can slow or block moisture exchange, making the acclimation process tricky.
What Happens if You Skip Acclimation?
Skipping wood acclimation might save time upfront, but it can lead to long-term headaches. Here are some common issues people run into:
Gaps Between Boards
If the wood starts too wet, it will shrink as it dries, leaving gaps in the flooring or joints.
Warping and Buckling
Wood that's too dry will absorb moisture and expand, causing it to bow, cup, or even buckle.
Loose Joints
For timber frames, untreated movement can loosen connections, threatening the structure’s stability.
Finish Issues
Stains and coatings may crack or peel as the wood moves underneath, ruining your project's finish.
How to Acclimate Reclaimed Wood the Right Way
To avoid these pitfalls, follow these simple acclimation best practices:
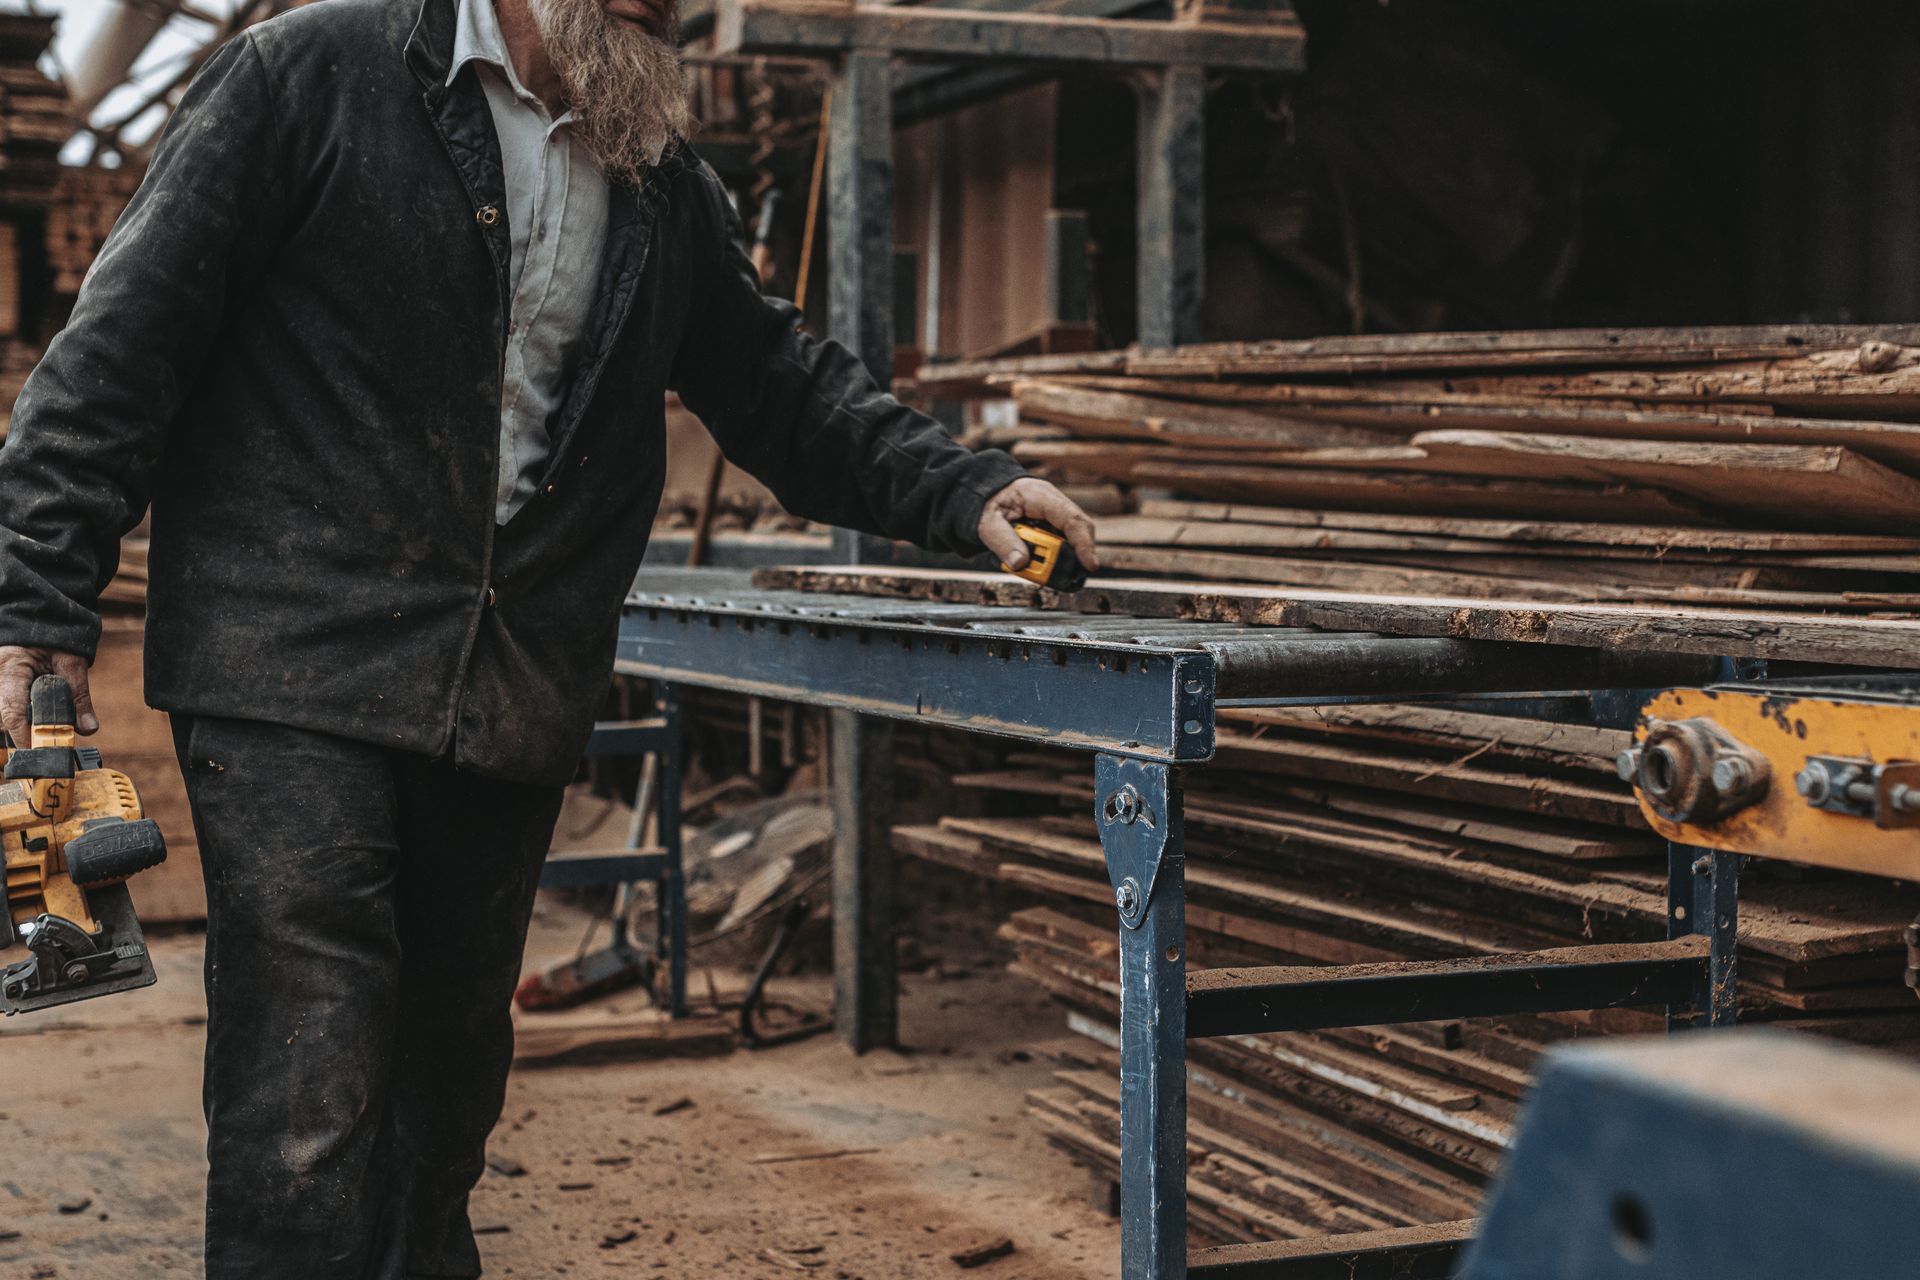
1. Start with a Moisture Check
- Use a pin-type moisture meter to measure the wood’s moisture content.
- Check multiple pieces and test at several spots on each board to account for variations.
2. Give It Time
- Standard lumber usually needs 7-10 days to acclimate, but reclaimed wood may take 2-4 weeks or even longer.
- Allow extra time if there’s a big difference between the wood’s starting moisture content and the environment where it will be installed.
3. Match the Environment
- Store the wood in the same space where it will be used. If you’re building furniture for an air-conditioned home, don’t acclimate the wood in a damp garage.
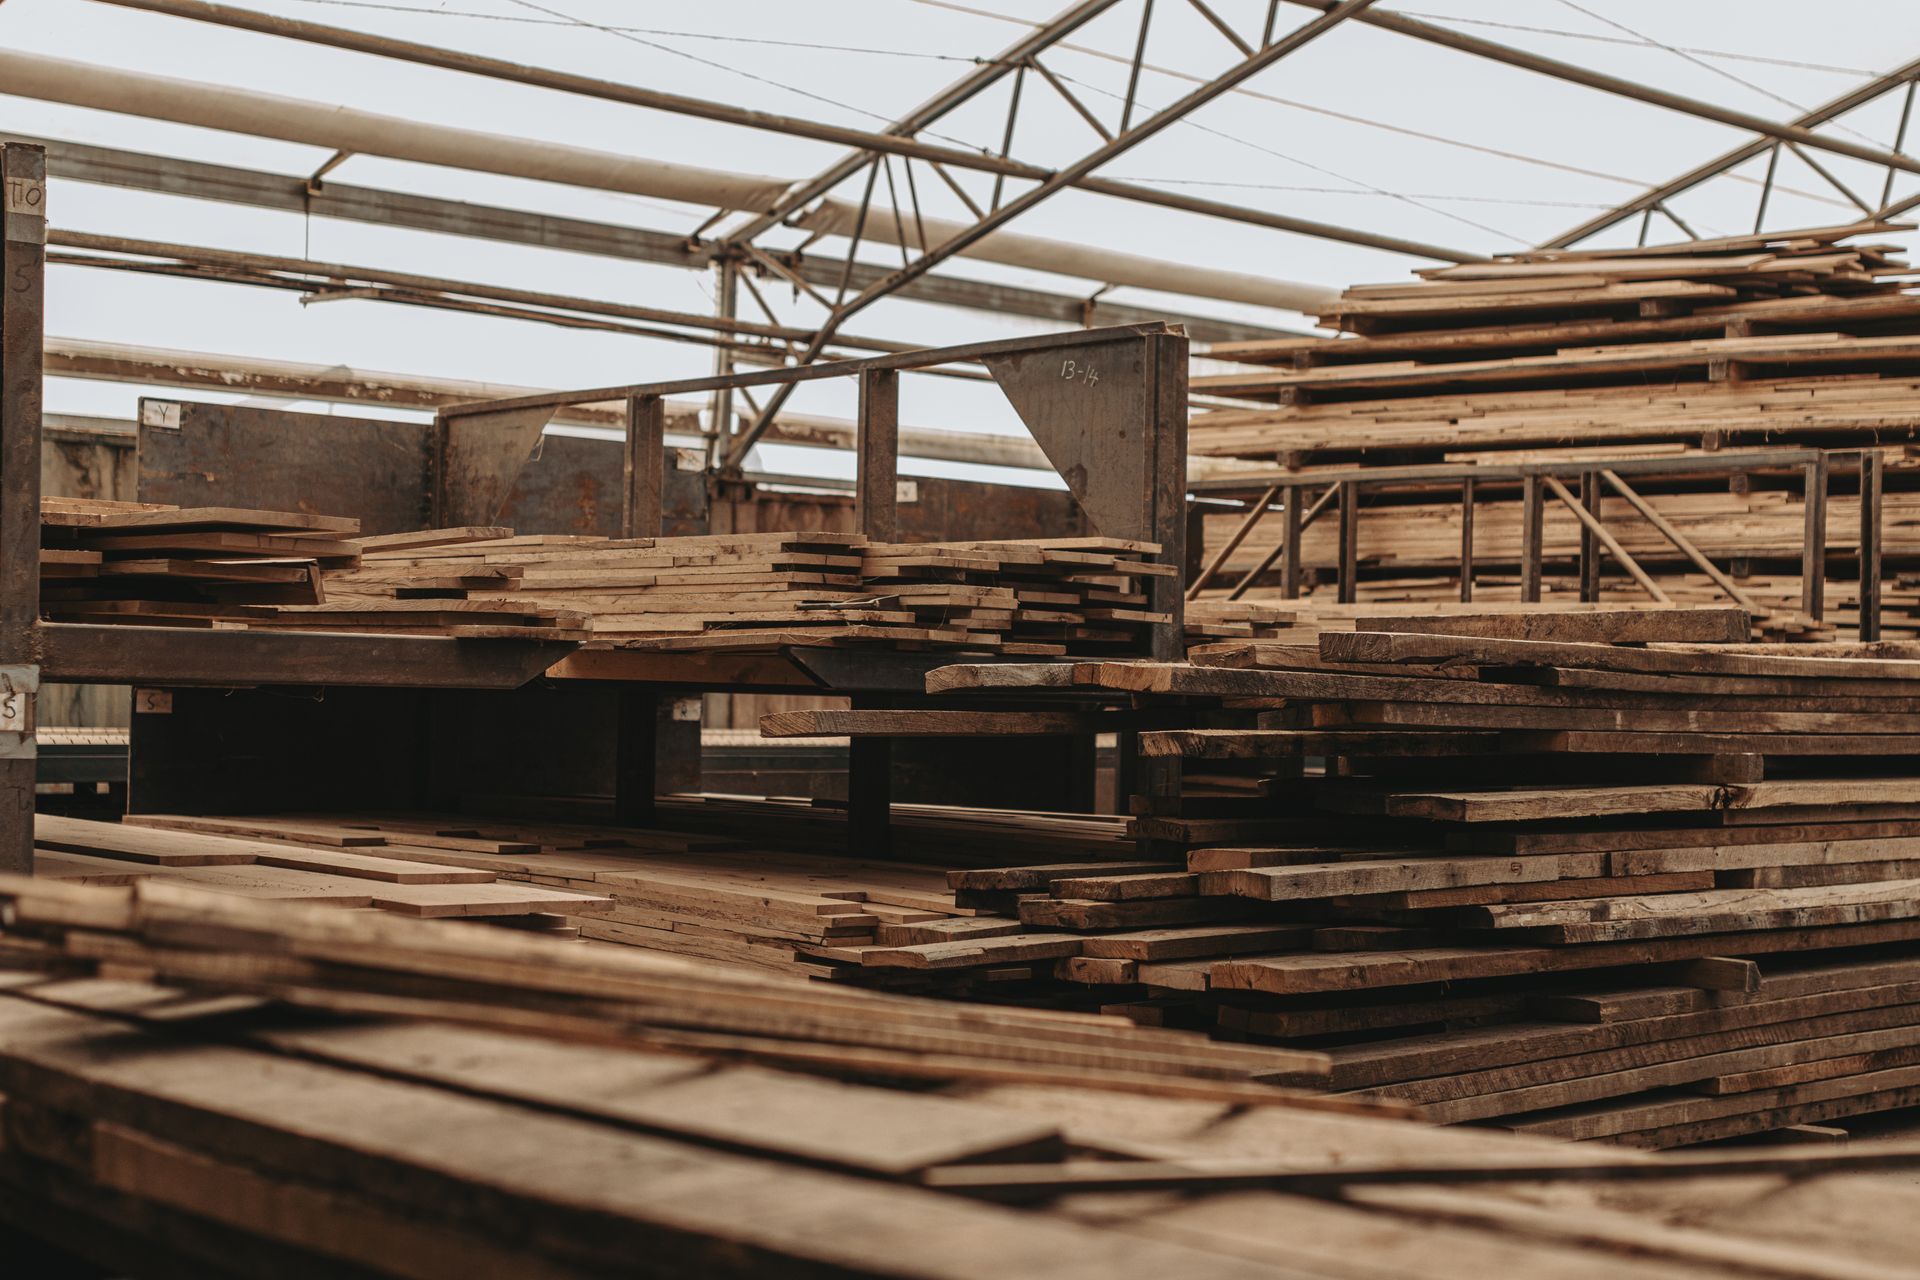
4. Stack Smartly
- Use wooden spacers (called stickers) between boards to allow air to flow evenly around each piece.
- Keep the stack off the ground to prevent moisture absorption from below.
5. Monitor Progress
- Check moisture levels every few days. Once the readings stabilize, the wood is ready to use.
6. Consider Local Climate
- Target moisture levels should suit your region. For example:
- Homes in humid areas like Florida may require higher moisture thresholds.
- Arid climates like Colorado demand lower moisture levels to avoid issues.
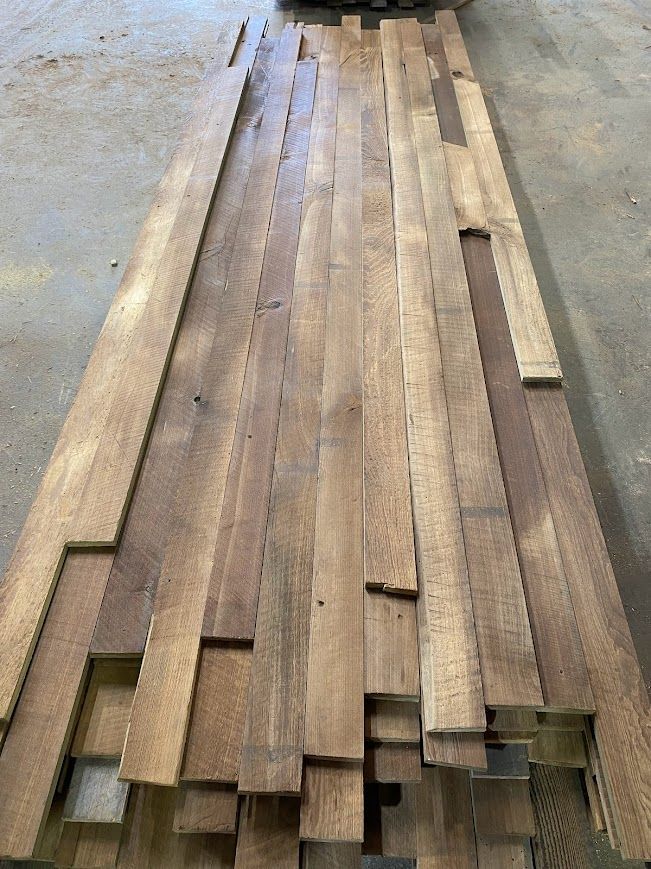
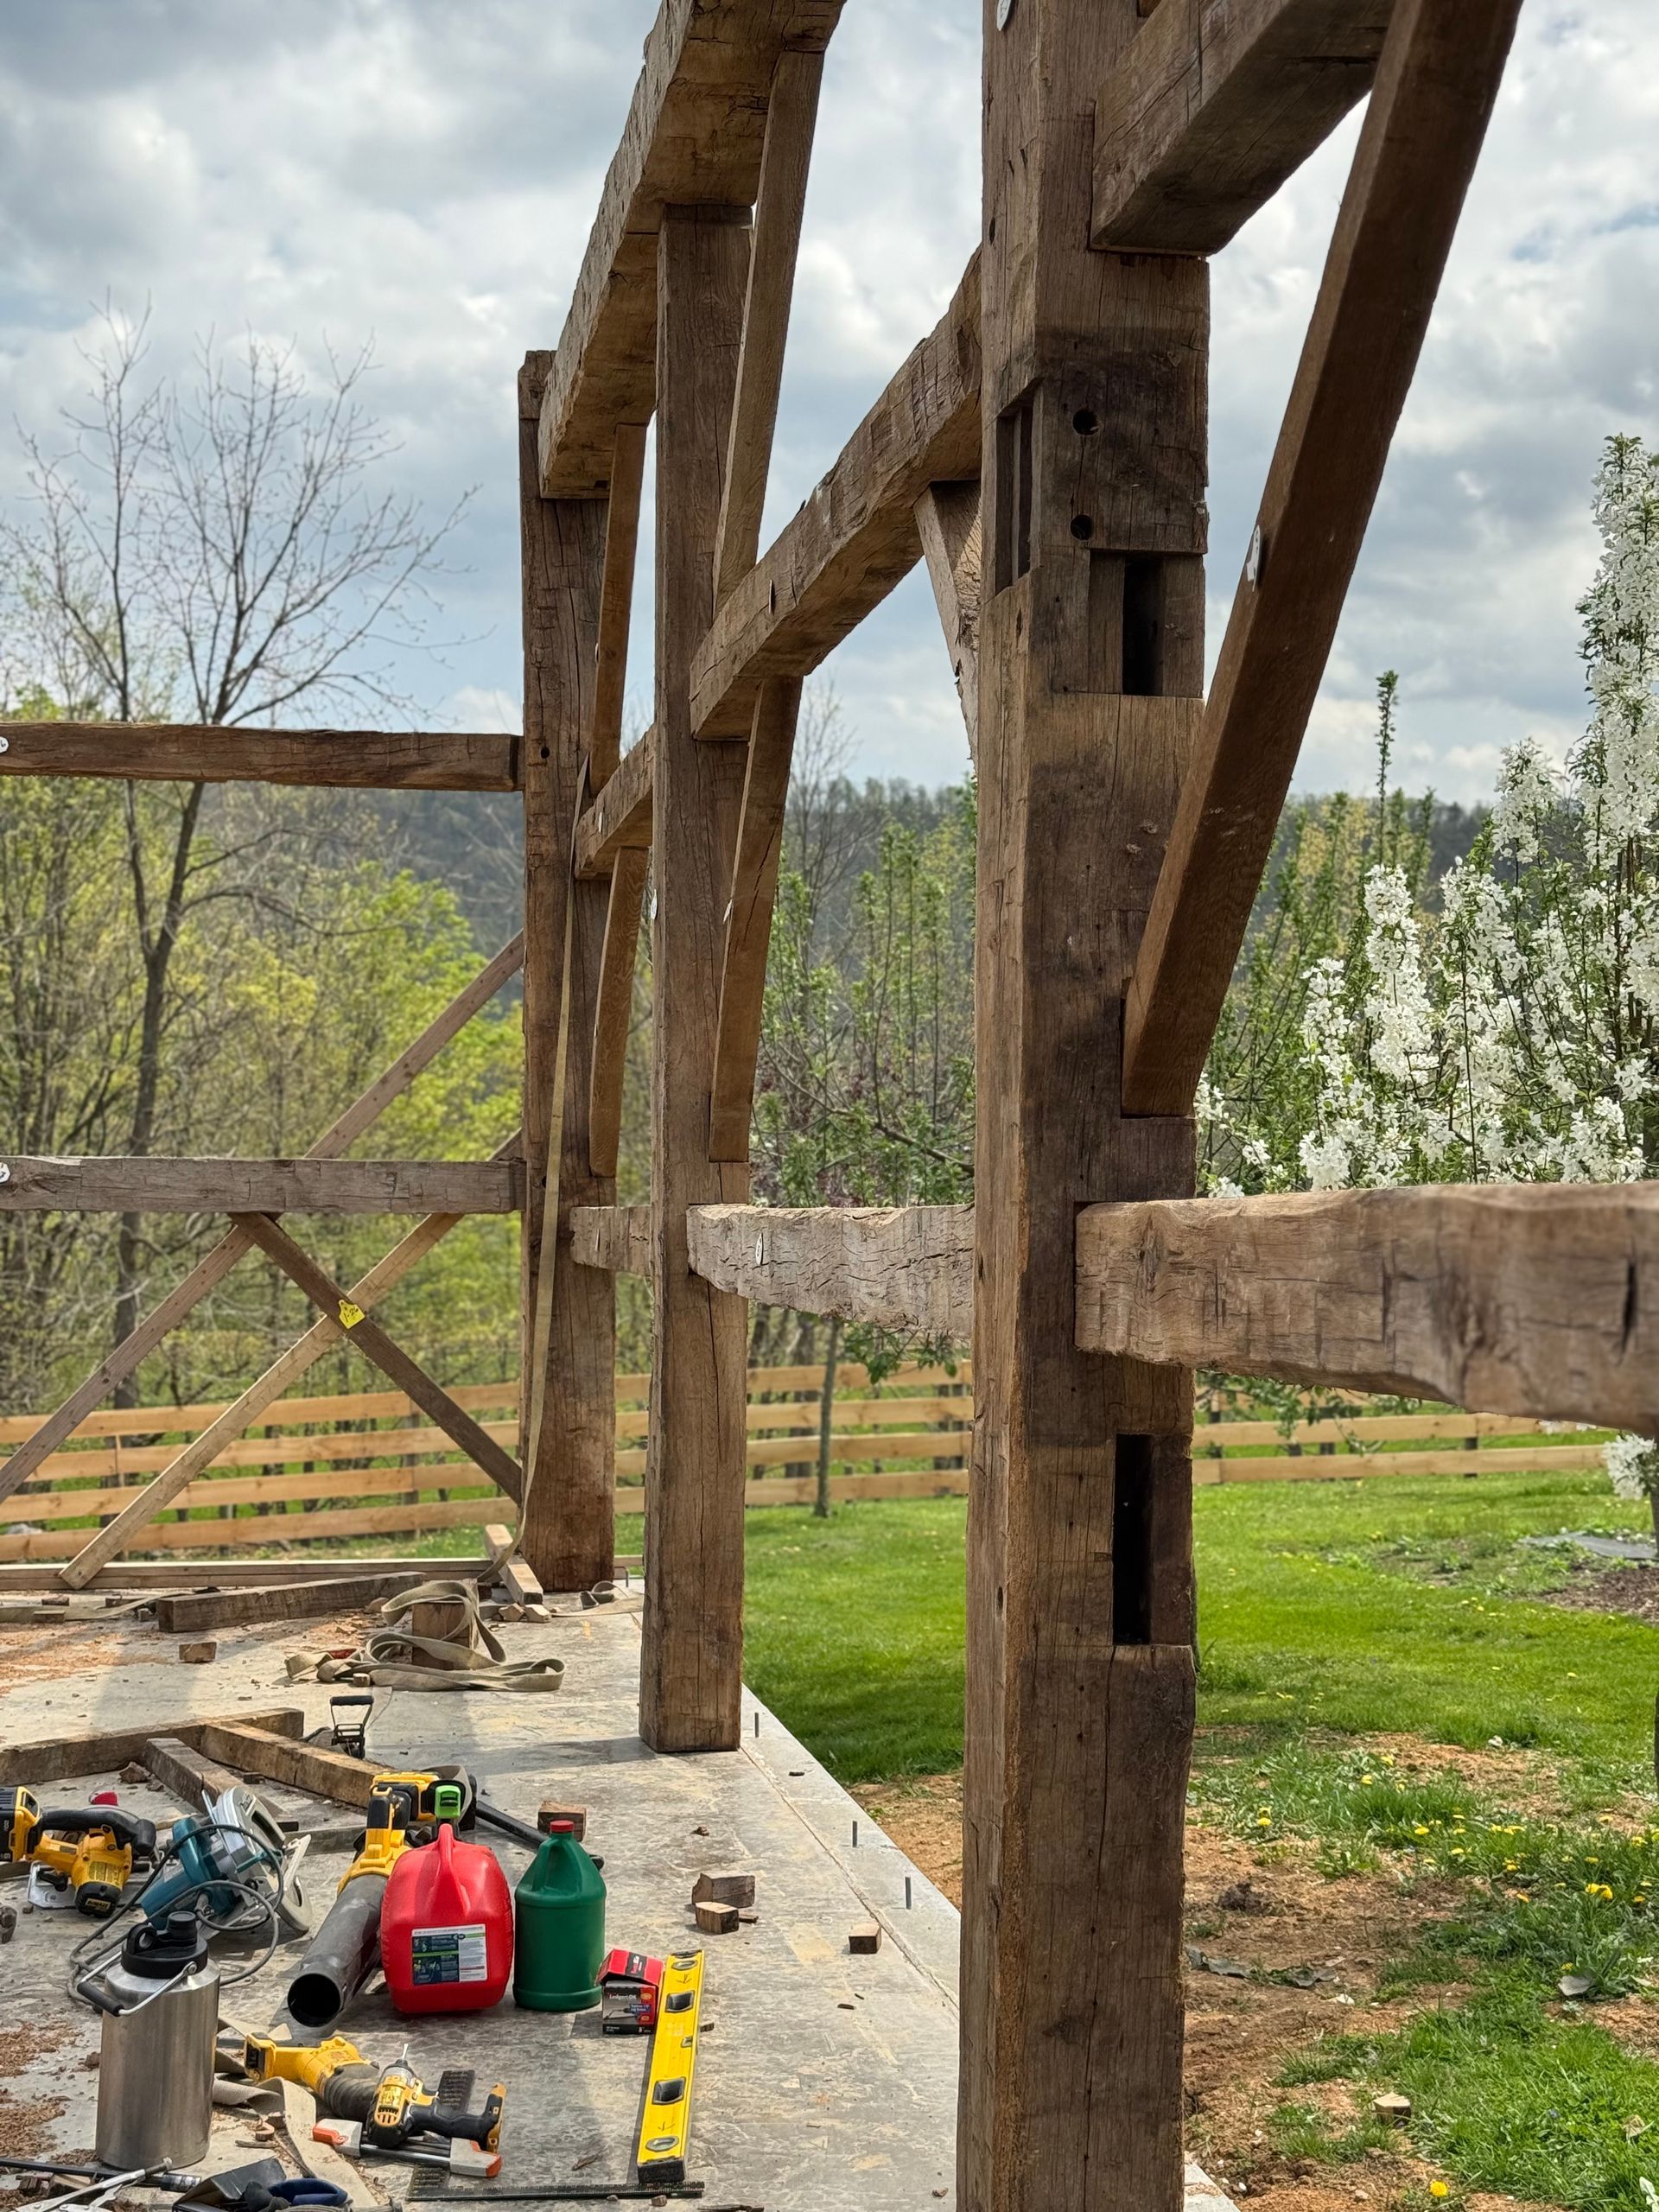
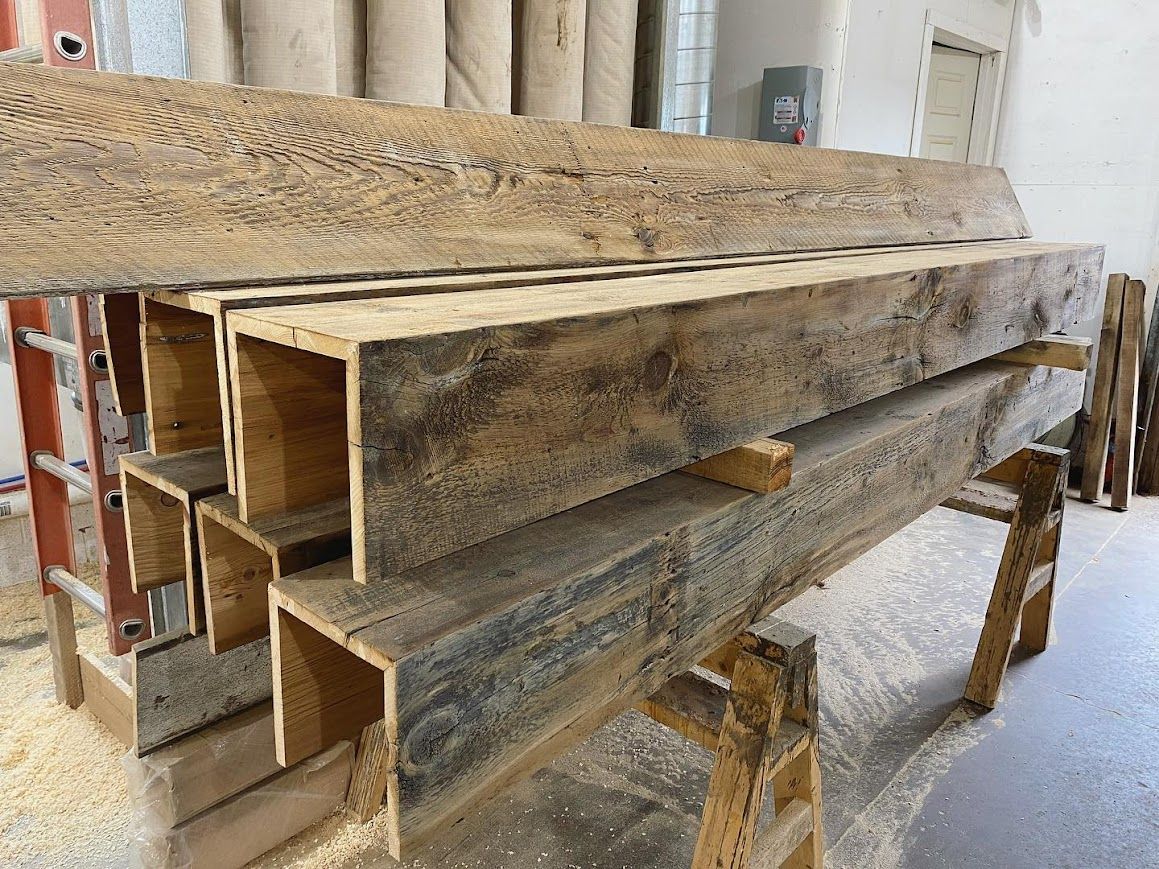
Real Experience with Historic Timber
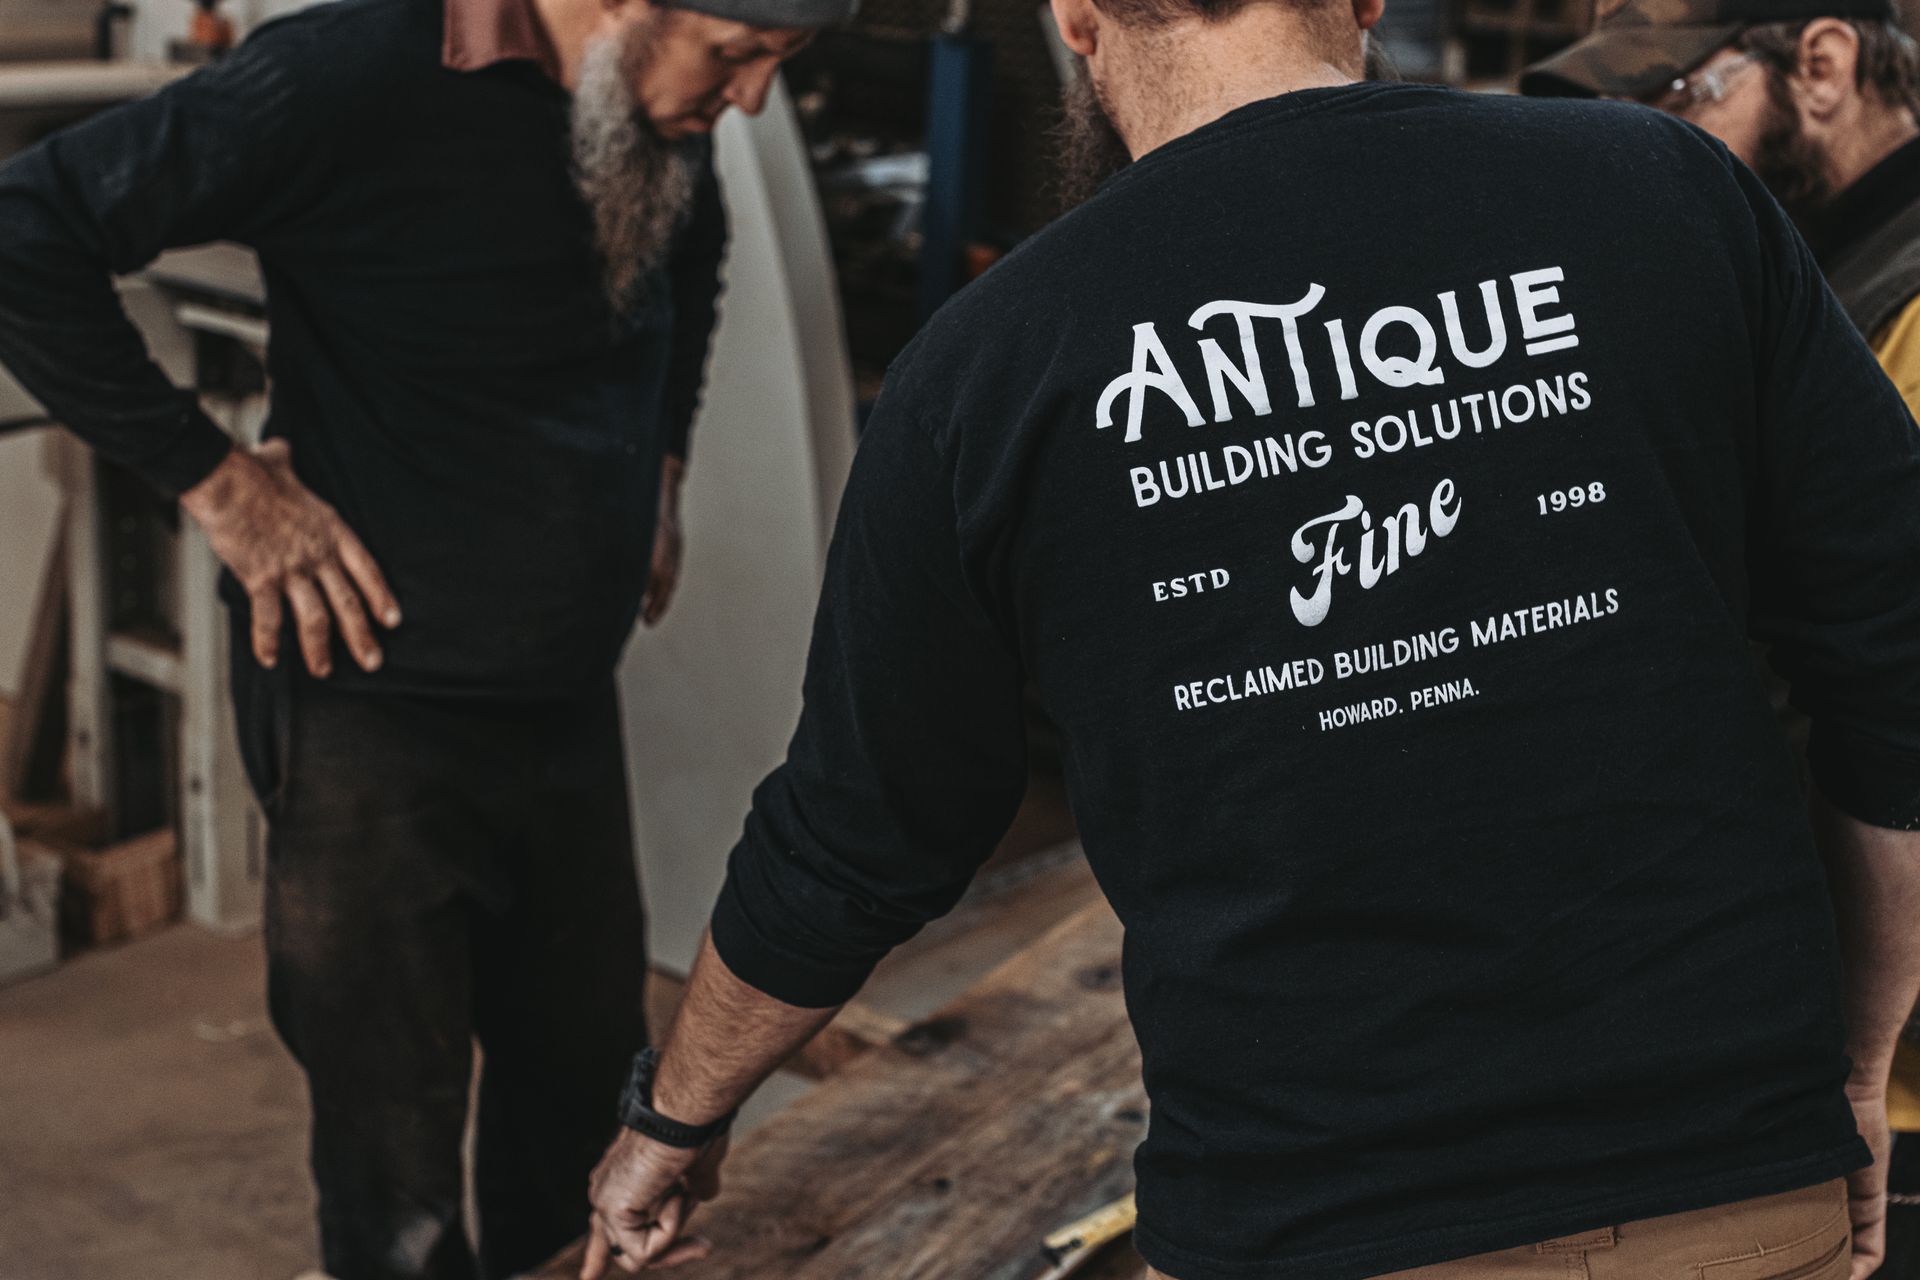
At Bay & Bent, we’ve spent years perfecting the art of working with reclaimed wood. Every piece of historic timber we handle, from barn frames to wide-plank flooring, is unique, so we tailor our acclimation process to each project.
We’ve seen it all:
- Beams with layers of old paint that slowed acclimation.
- Structures with mixed wood species require careful preparation.
- And even wood that needed months of acclimation to reach proper moisture levels.
We’ve developed a step-by-step approach to make sure our historic timbers and boards arrive ready to shine in your project, without any surprises down the road.
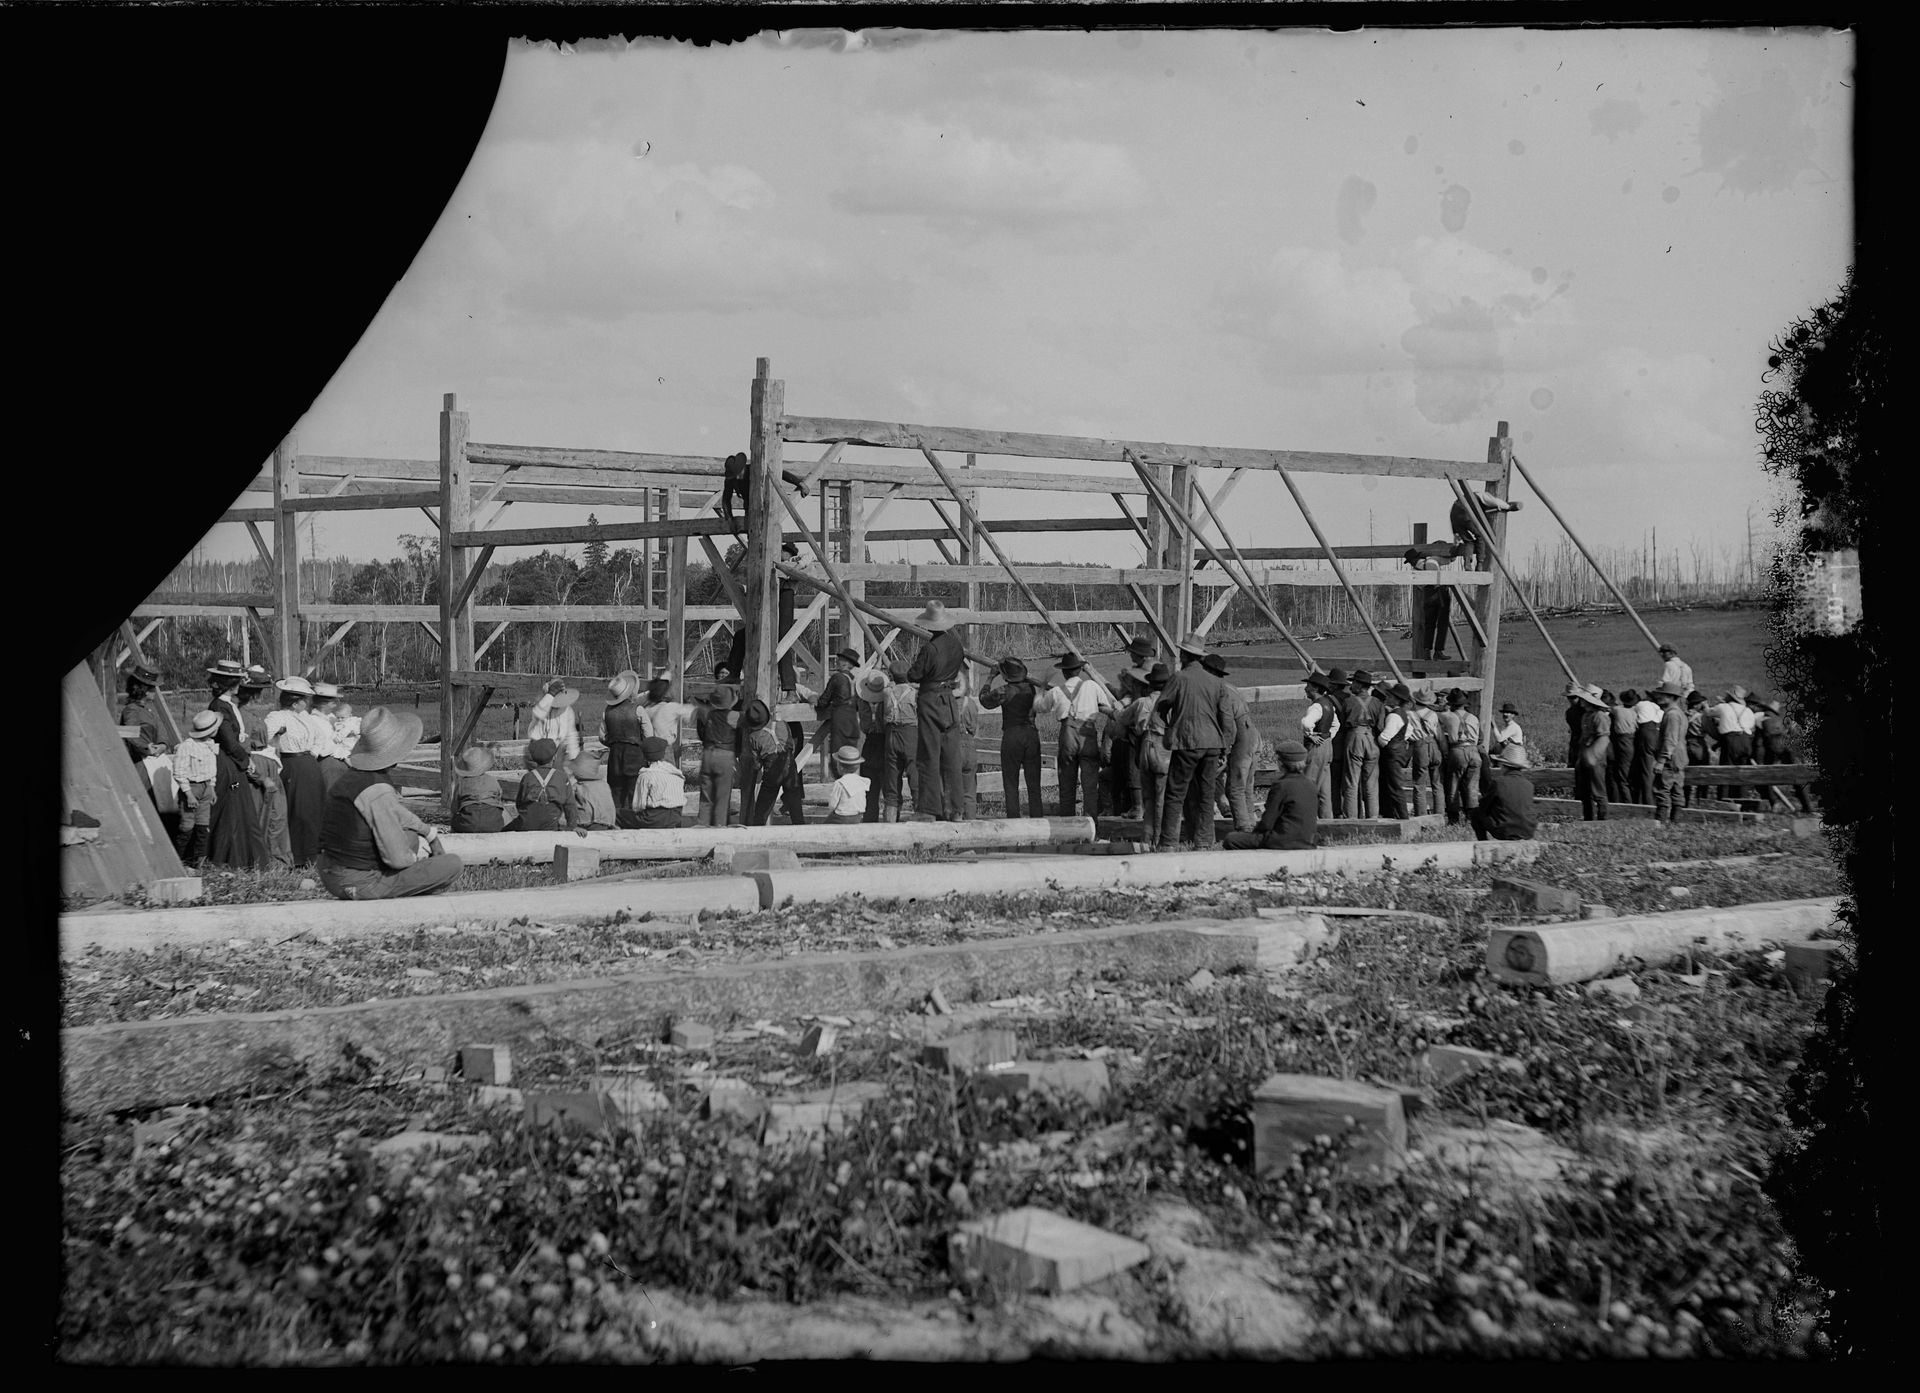
Related: Historic Barn Restoration: Breathing New Life Into the Past
Climate Matters
Where you live plays a big role in wood acclimation. Here’s how climate can impact the process:
- Humid Areas
Places with high humidity, like the Southeast, need longer acclimation periods and extra steps to prevent mold growth during storage. - Dry Climates
Arid regions, like the Southwest, can dry wood too quickly, leading to cracks or splits. Slowing the process with plastic sheeting or careful airflow is key. - Seasonal Swings
Seasonal changes also matter. Wood acclimated in a humid summer may shrink in winter as indoor heating dries out the air.
Tools You’ll Need
You don’t need a fancy setup to acclimate reclaimed wood properly. These are the essentials:
- Moisture Meter
Use a pin-type model to measure internal moisture levels accurately. - Hygrometer
Monitors humidity levels in your storage or workspace. - Fans for Airflow
Keeps air moving around your wood stack without drying it out too fast. - Plastic Sheeting
Useful for slowing moisture exchange if your wood starts acclimating too quickly.
When to Call the Pros
While you can tackle some acclimation at home, professional help might be a better option for:
- Projects involving structural elements, like timber frames.
- Priceless historic materials where mistakes aren’t an option.
- Tight deadlines that don’t leave time for learning as you go.
- Complex situations, like mixed species or extreme climate challenges.
Final Takeaway
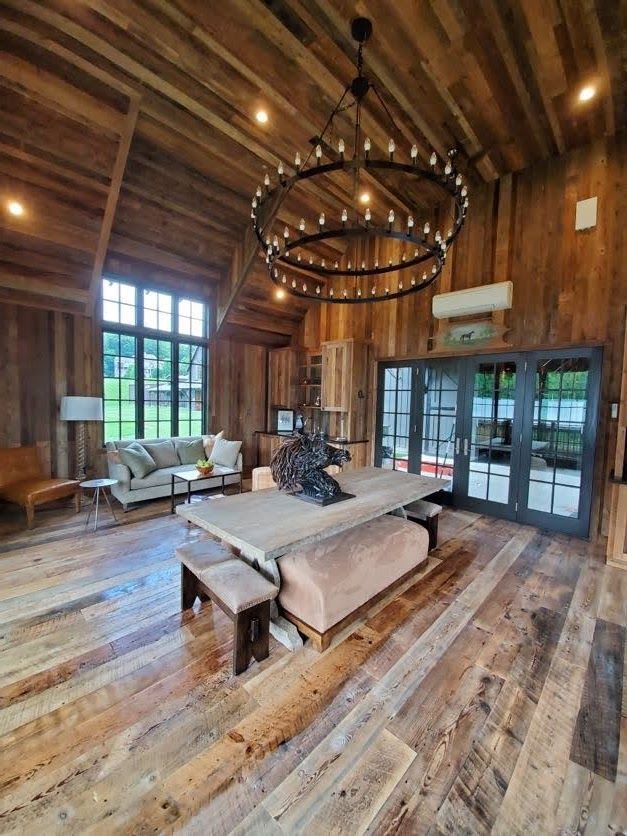
Properly acclimating reclaimed wood isn’t the most exciting part of a project, but it’s one of the most important. The time you invest now saves you from future headaches and ensures your work is as durable as it is beautiful.
These historic materials already carry so much character and charm. By taking the time to acclimate them properly, you honor their history and ensure they’ll be part of your future for years to come. Trust us, the results will be worth it.