A Professional Guide to Denailing Reclaimed Wood
Master the Art of Denailing Reclaimed Wood Like a Pro
Reclaimed wood is full of character and history, but before it can be reused, it needs proper preparation. A key part of that preparation is the denailing process, where nails, screws, and other metal fasteners are carefully removed. This step makes the wood safe to work with while keeping its natural beauty intact.
In this guide, we’ll walk you through the tools, techniques, and tips for professionally denailing reclaimed wood, so you can use it confidently in your own projects.
Why Reclaimed Wood Contains Hidden Metal
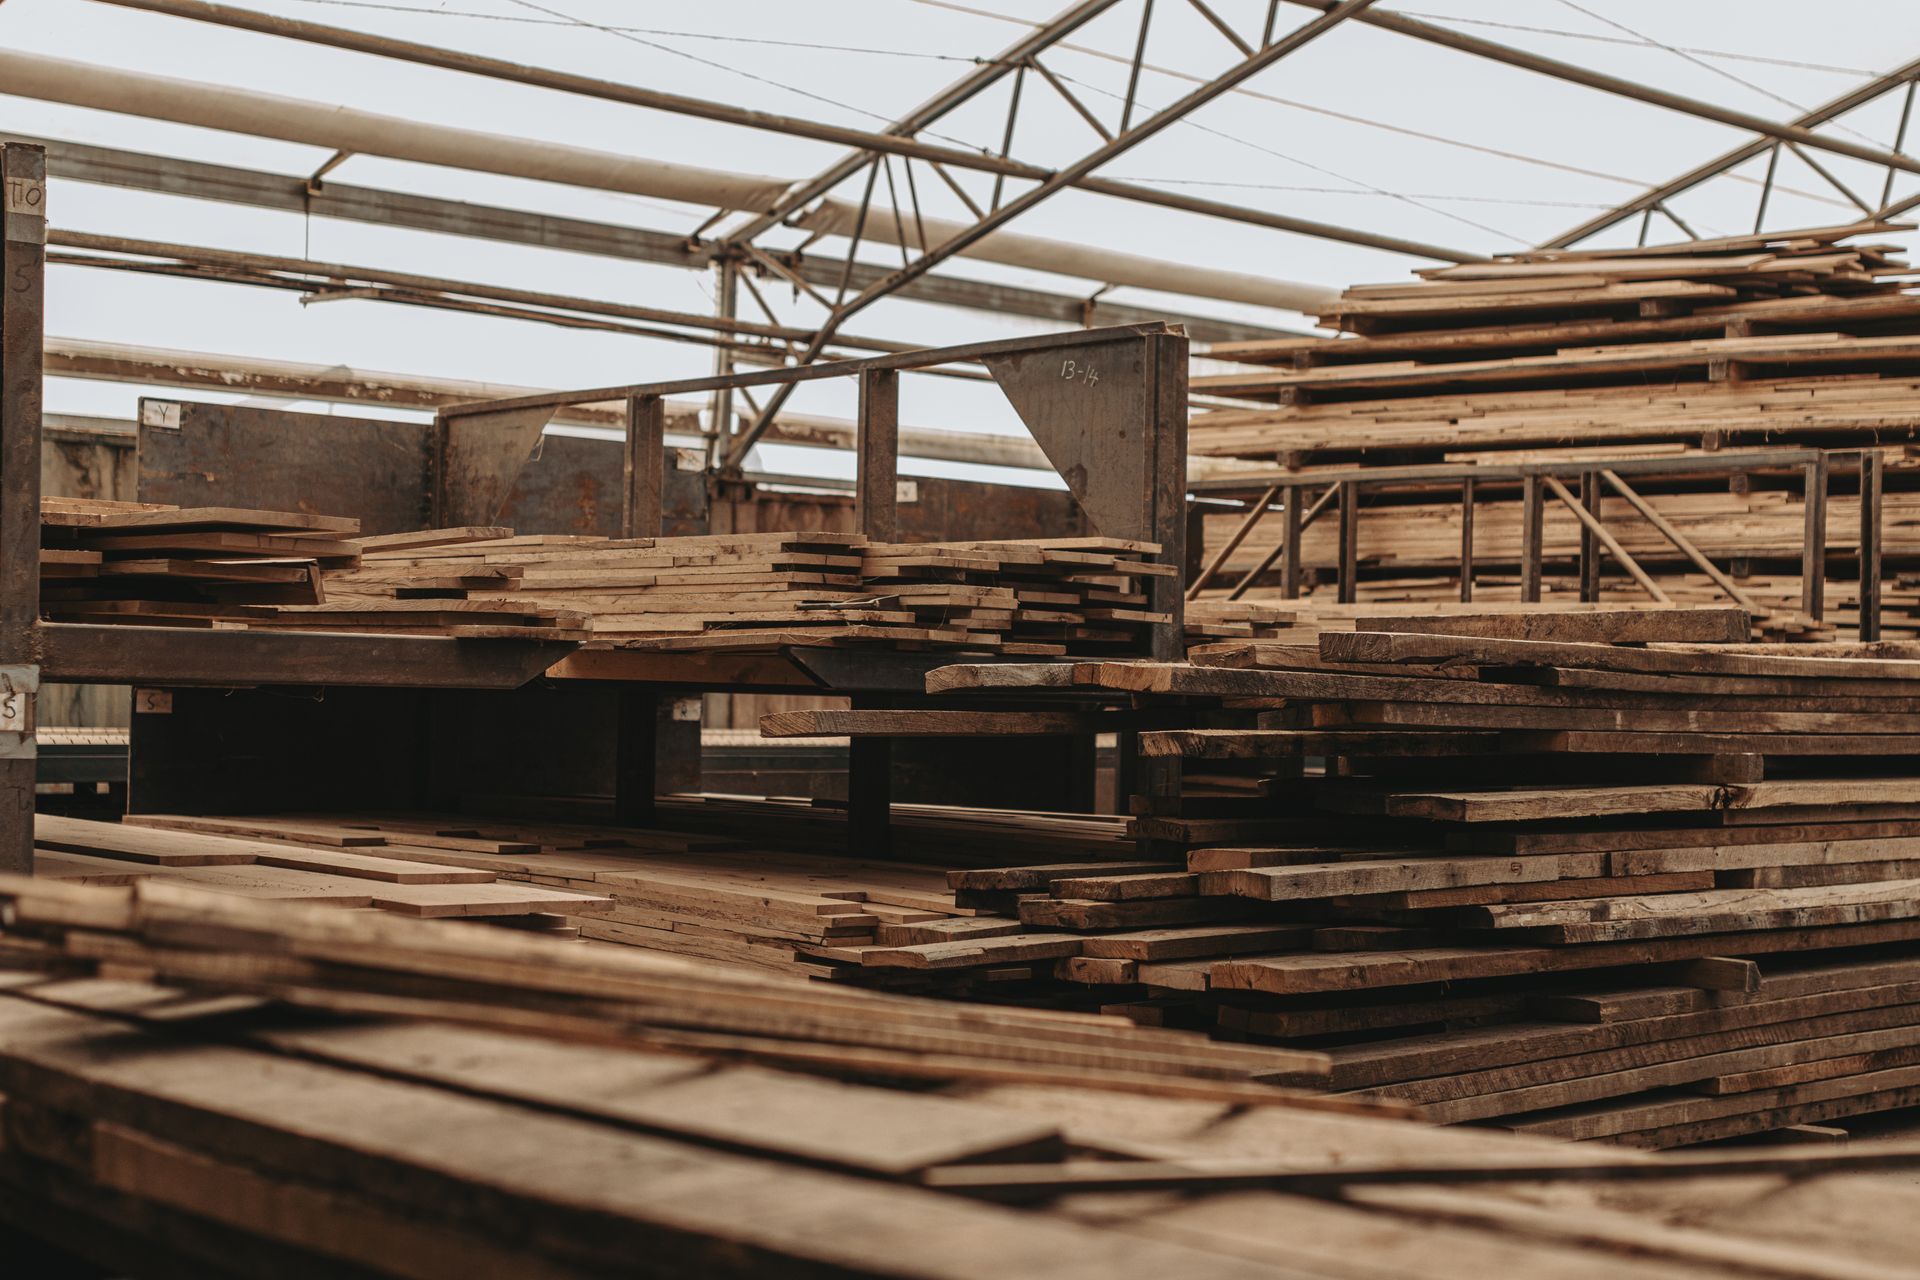
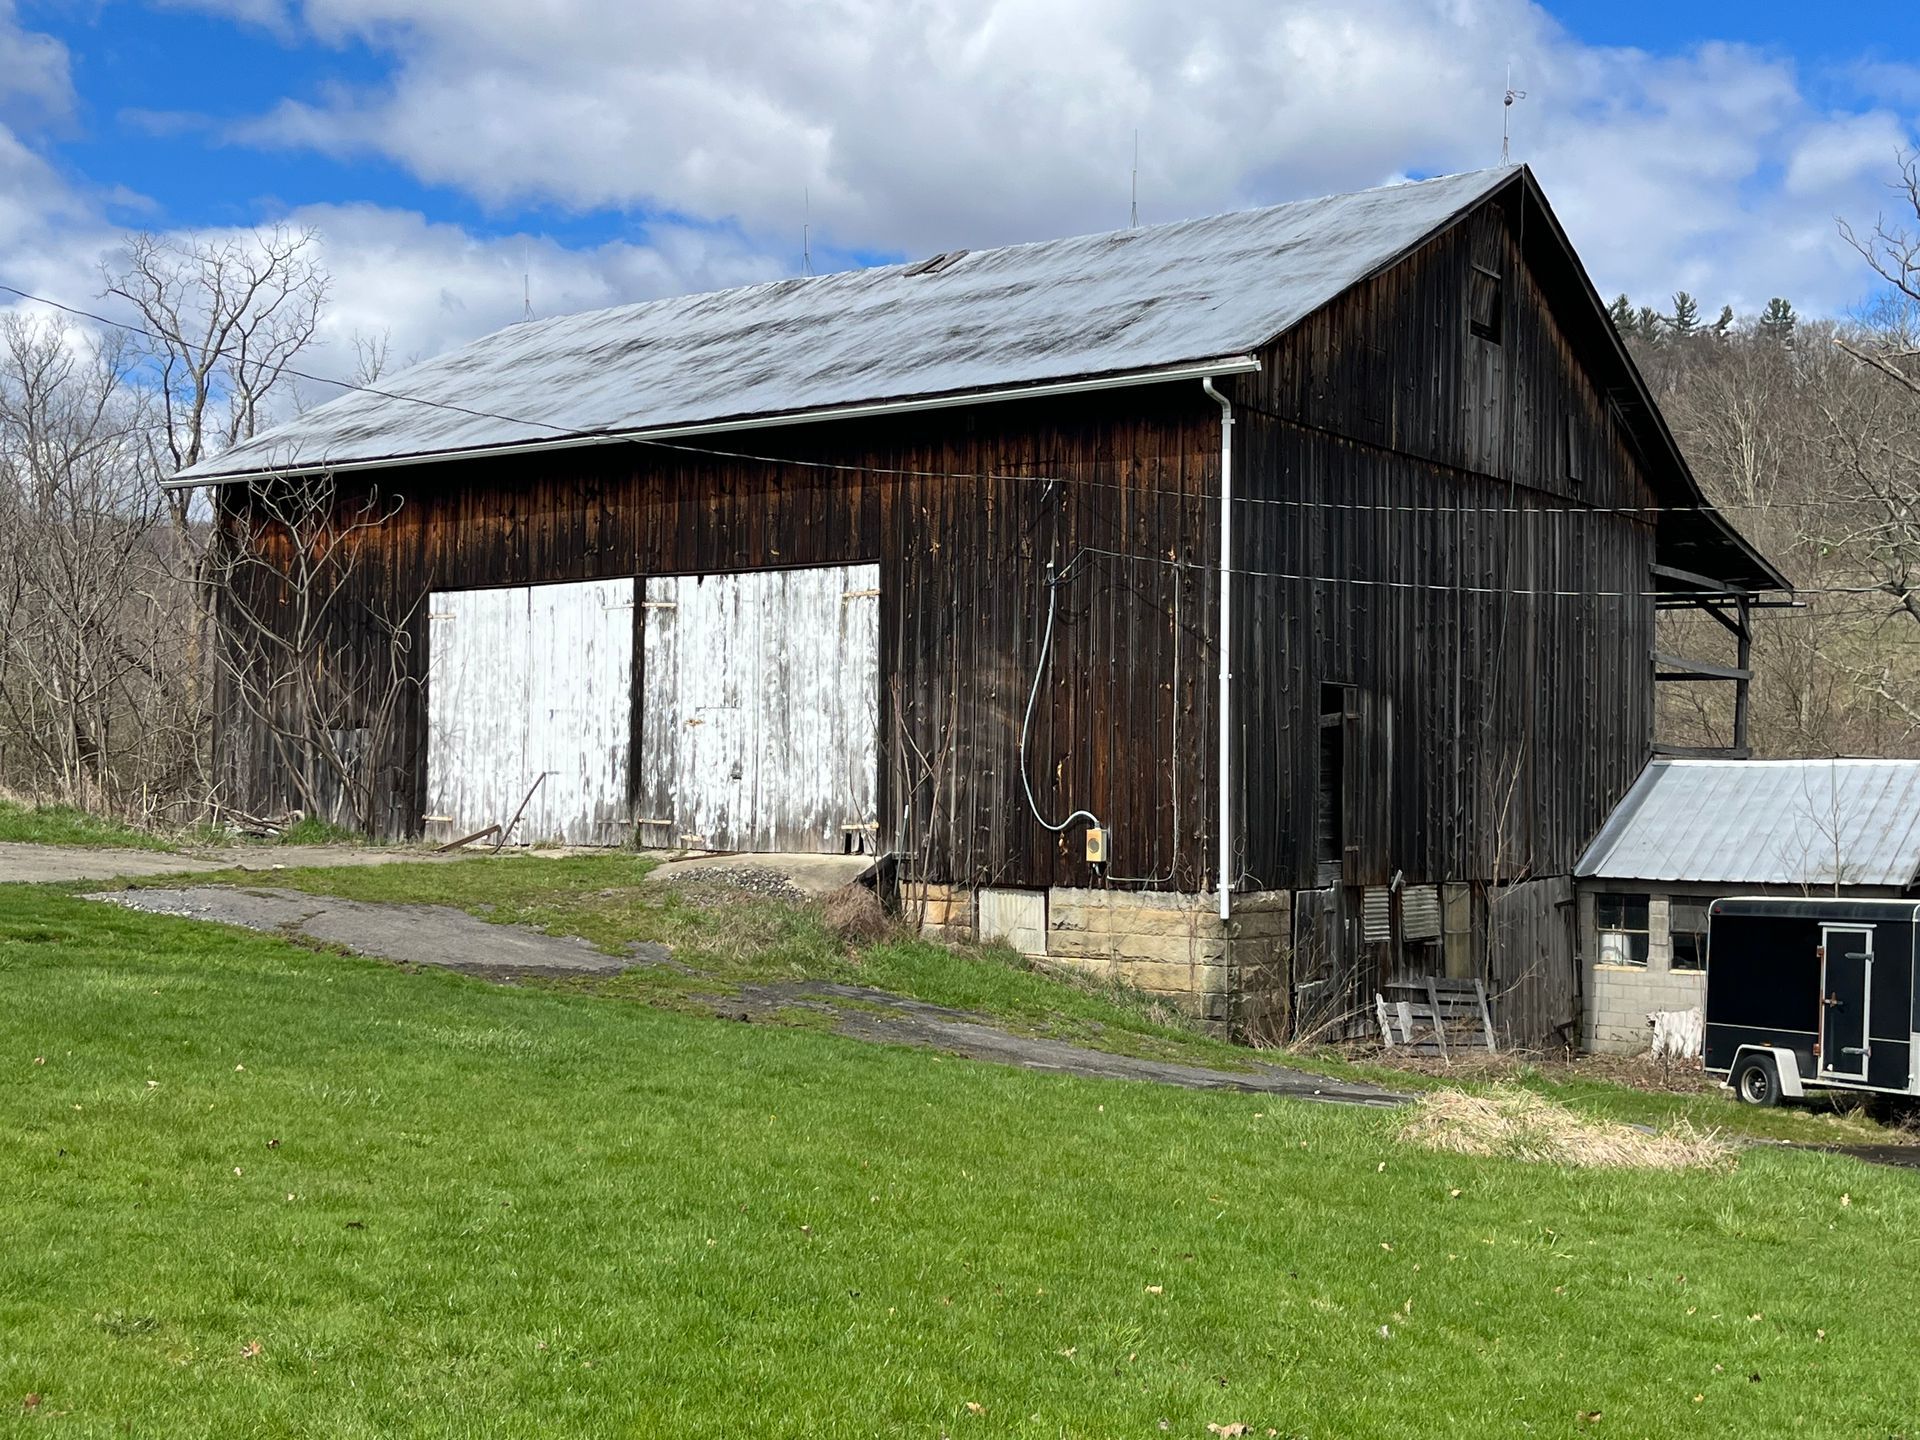
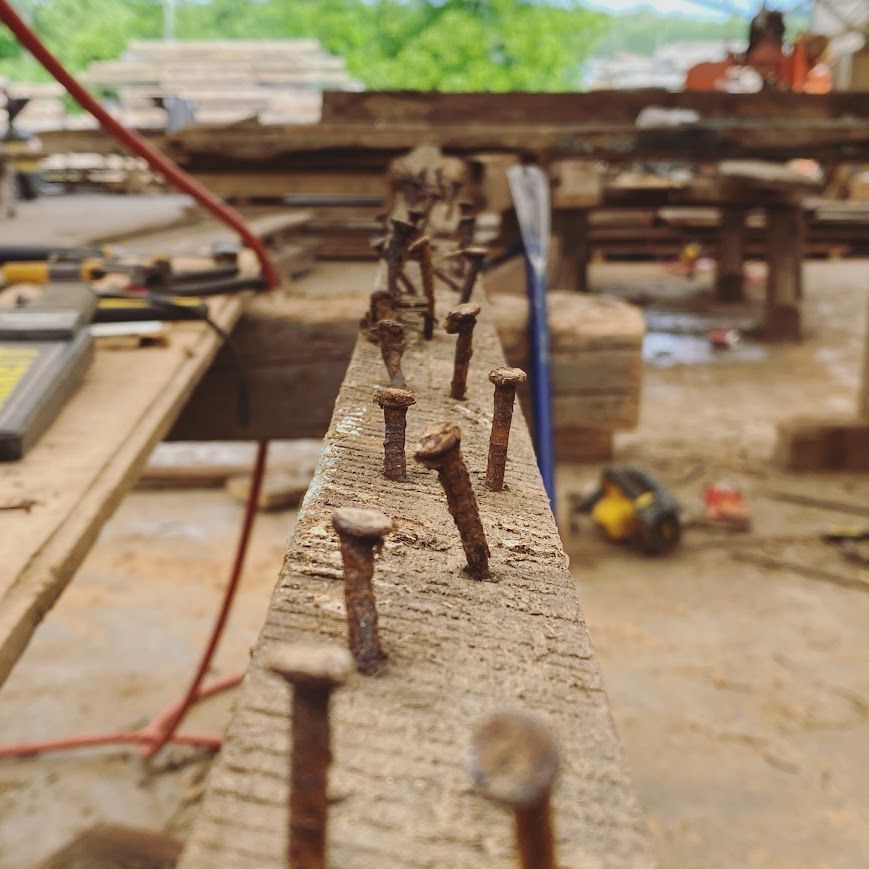
Reclaimed wood from old barns, factories, and historic buildings often contains more metal than you might expect. A single board can have dozens of nails, ranging from common wire nails to rare square nails from the 19th century.
Many of these fasteners are deeply embedded in the wood, hidden beneath its surface. Over time, they may have corroded, leaving rust stains or weakening the surrounding wood. Different sources of reclaimed wood present different challenges. For example, barn wood may contain heavy nails and iron hardware, while factory timbers might hold industrial bolts or screws.
Denailing Reclaimed Wood
Essential Tools
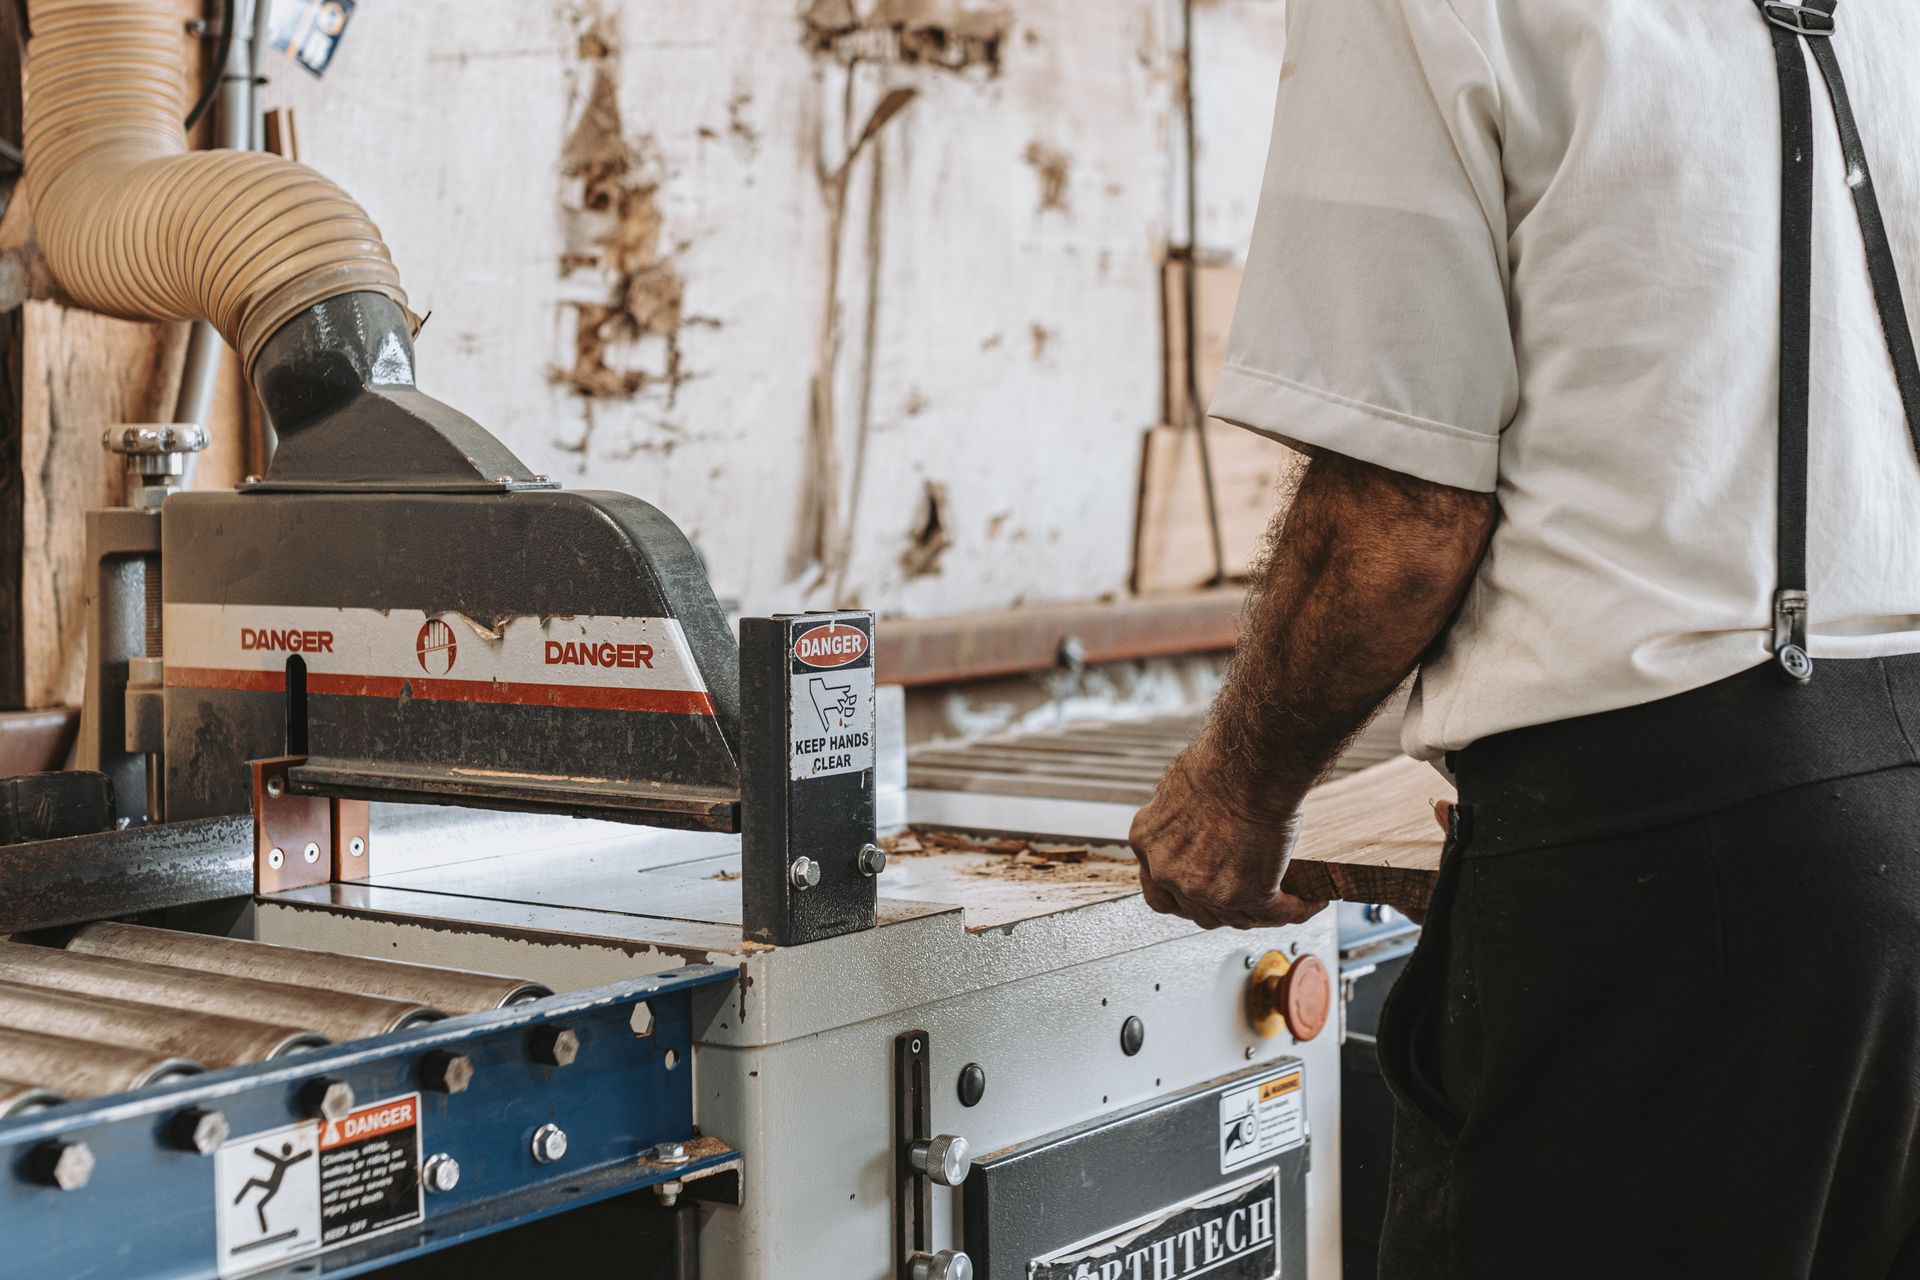
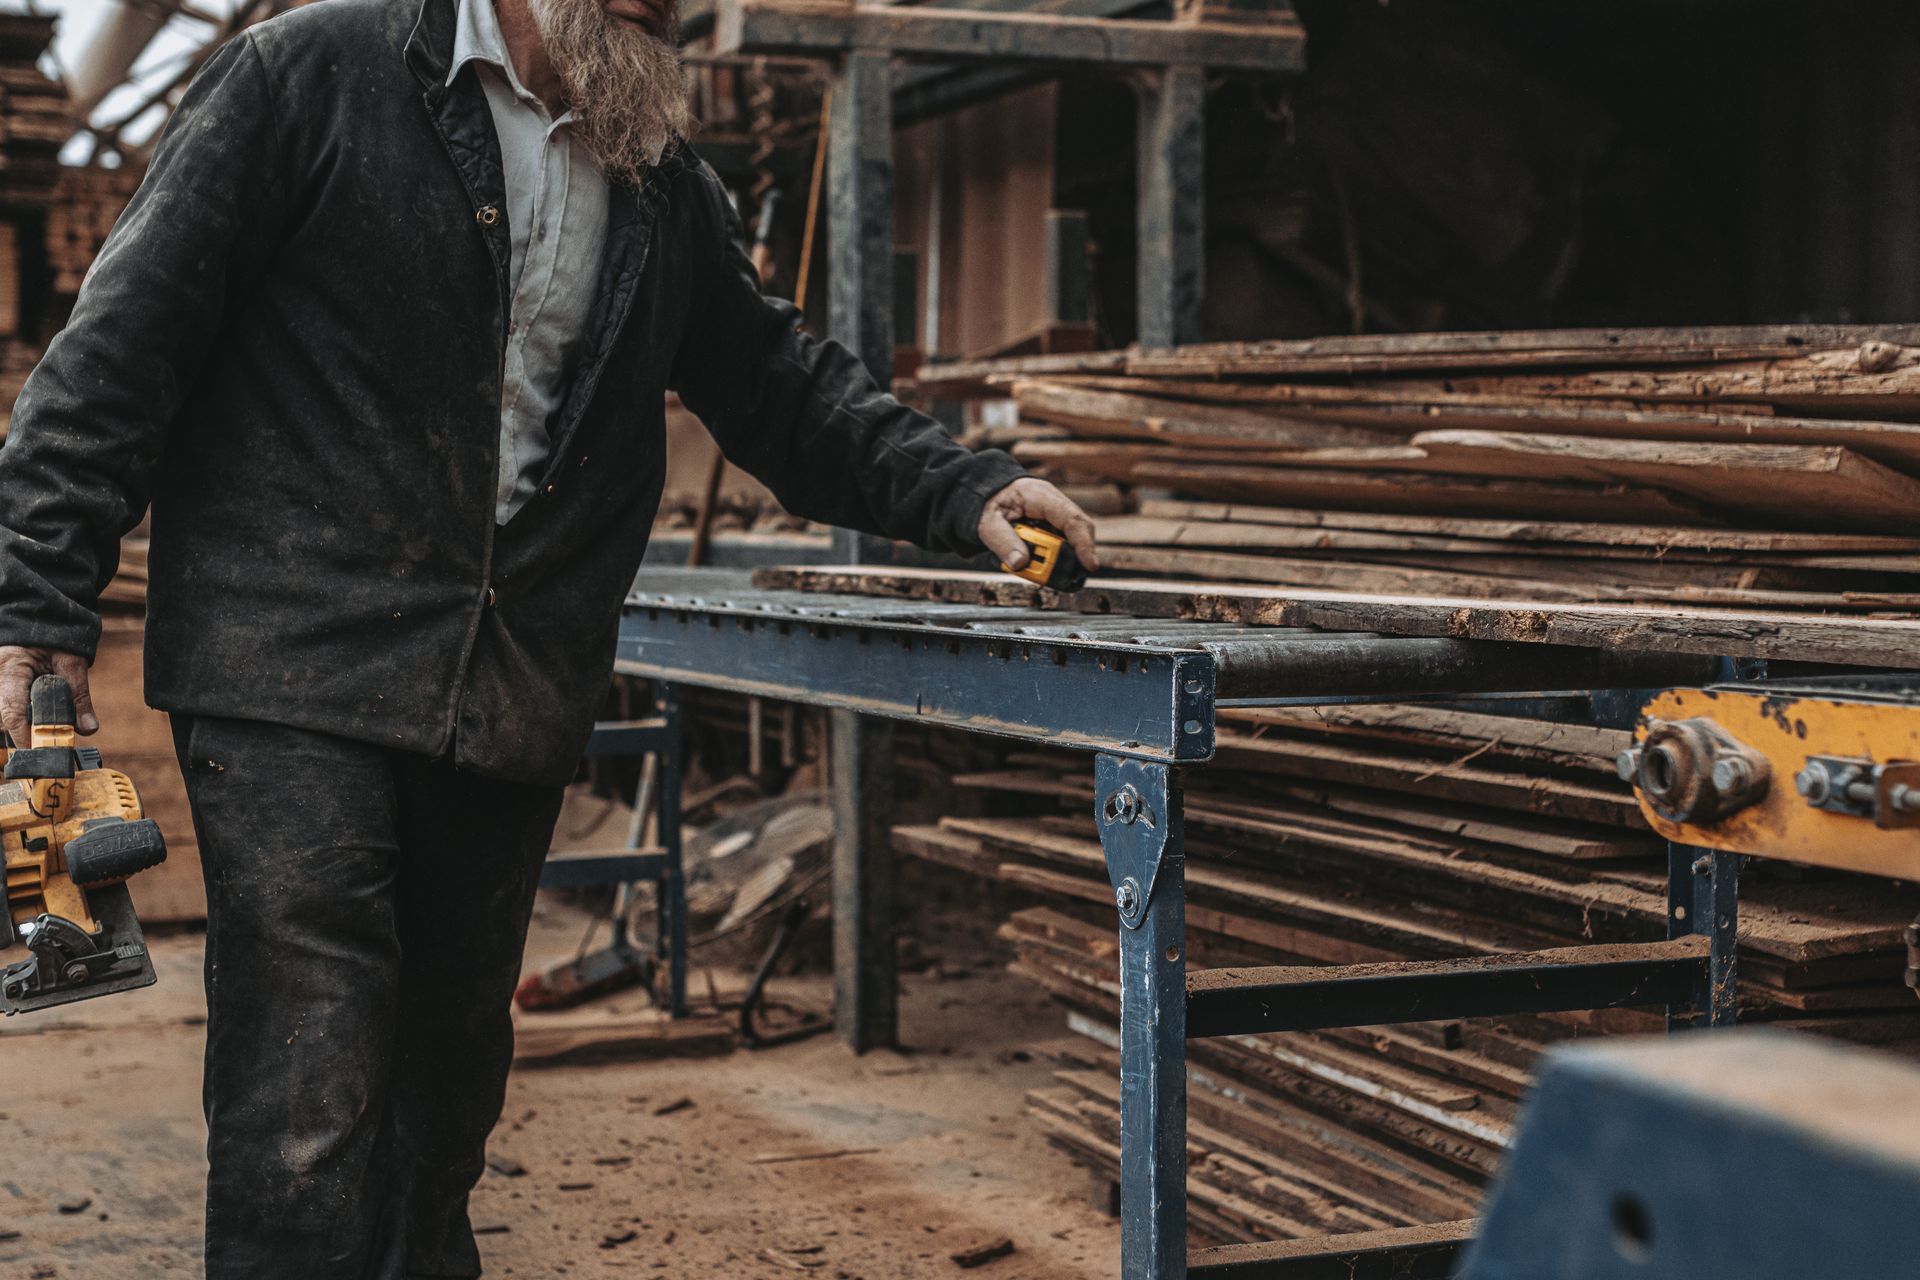
The success of the denailing process starts with having the right tools. Here’s what you’ll need:
- Nail Pullers: Use small cat's paw bars for finishing nails and heavy-duty pullers for larger fasteners.
- Metal Detectors: These find hidden nails deep inside the wood, preventing surprises during processing.
- Power Tools: Reciprocating saws and oscillating tools can cut through stubborn nails without harming the wood.
- Safety Gear: Wear protective goggles and gloves, and ensure your tetanus shot is up to date to guard against cuts and injuries from rusty metal.
Step by Step Guide
Step 1: Inspect the Wood
Start by thoroughly examining each piece of wood. Look for nail heads, rust stains, or small holes that indicate the presence of fasteners. Mark these spots so you don’t miss anything.
Step 2: Use a Metal Detector
Scan every piece with a metal detector designed for woodworking. This will help find deeply embedded fasteners that might not be visible on the surface.
Step 3: Remove Visible Nails First
Pull out nails that are already sticking out using nail pullers or pliers. Work carefully to avoid splitting the wood, especially around the edges.
Step 4: Handle Countersunk Nails
For nails that are flush or beneath the surface, use a small punch to push them slightly deeper. Then, pull them out from the opposite side, if possible.
What to Do with Stubborn Fasteners
Not all nails or fasteners will come out easily. Here are some strategies for handling tough cases:
Cutting Nails
When nails won’t budge, cut them flush with the surface using a reciprocating saw or a metal-cutting blade. Align the tool with the wood to avoid gouges.
Heating Metal
Heating stubborn fasteners with a small torch can help loosen their grip. Be cautious to avoid scorching the wood.
Drilling Out Bolts
For large bolts or screws, use a drill bit slightly smaller than the fastener. Work carefully to avoid damaging the surrounding wood.
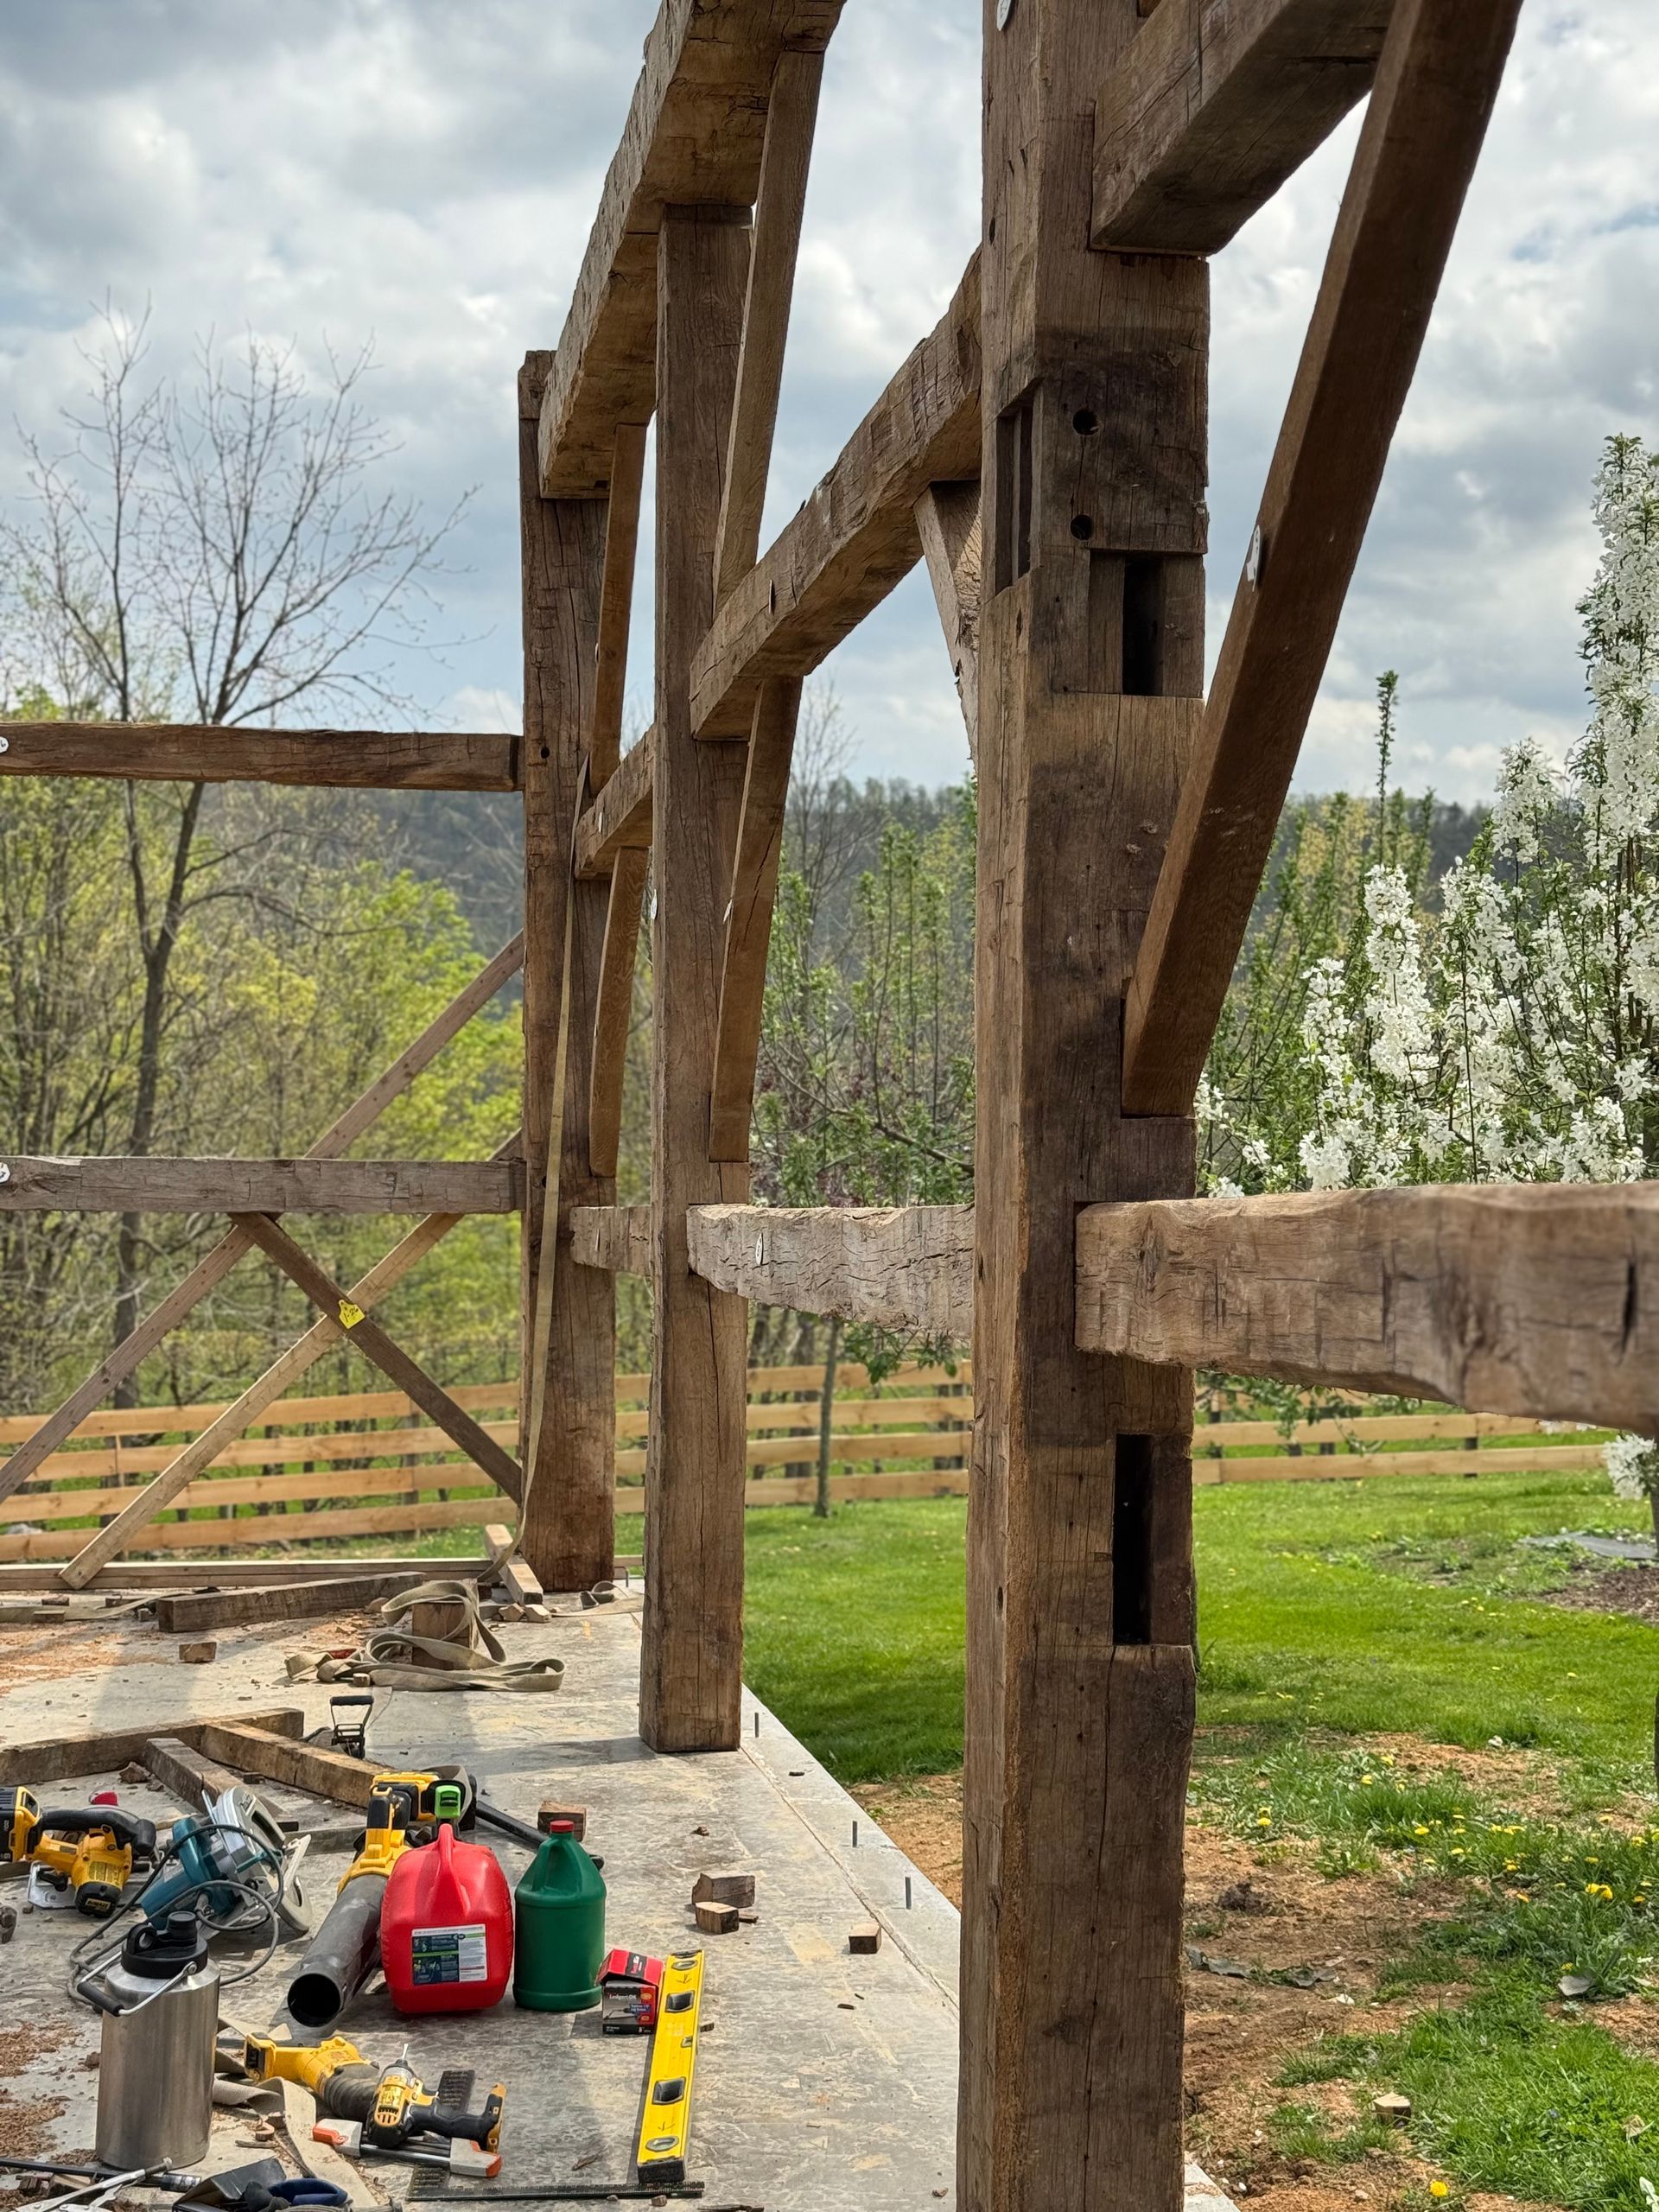
Preserving the Character of Reclaimed Wood
One of the joys of working with reclaimed wood is its history. Nail holes, rust marks, and other imperfections add character and authenticity to the material. Try to minimize any unnecessary damage during denailing to preserve this charm.
If the fastener isn’t a safety hazard and adds to the wood’s appeal, you might consider leaving it in place. For example, old carriage bolts or decorative hardware can enhance the wood’s story.
Safety Tips for Working with Reclaimed Wood
Using reclaimed wood comes with potential hazards. Here are key safety measures to keep in mind:
- Watch for Rusty Metal that can create sharp edges or break unexpectedly.
- Avoid contact with Lead Paint, which is often found on pre-1978 buildings, by wearing protective gear and disposing of fasteners properly.
- Ensure your Tetanus Vaccination is up-to-date before starting any denailing project.
Also, always work in well-ventilated areas when using power tools, as cutting metal can release harmful dust or fumes.
Final Steps and Quality Control
After completing the denailing process, give the wood a final inspection:
- Run your hands over all surfaces to check for missed fasteners or sharp edges.
- Use a metal detector again to ensure nothing was overlooked.
- Examine the wood for weaknesses where fasteners have been removed. If holes compromise the integrity of the wood, mark those areas for further evaluation.
Consider Cost and Time
Denailing is a labor-intensive process, so it’s essential to account for time and costs in your project budget. Expect delays when dealing with heavily fastened materials or corroded nails that require extra care and attention.
If your specific application allows for it, consider leaving small, flush-cut fasteners in place to save time without compromising safety. Additionally, tools and maintenance costs should also be factored into your overall plan.
Preserve the Past While Building the Future
Processing reclaimed wood, including professional denailing, is all about respecting its history and integrity while preparing it for a new purpose. By following this guide, you’ll not only clear the way for beautiful, reusable wood but also help write its next chapter in modern construction and design.
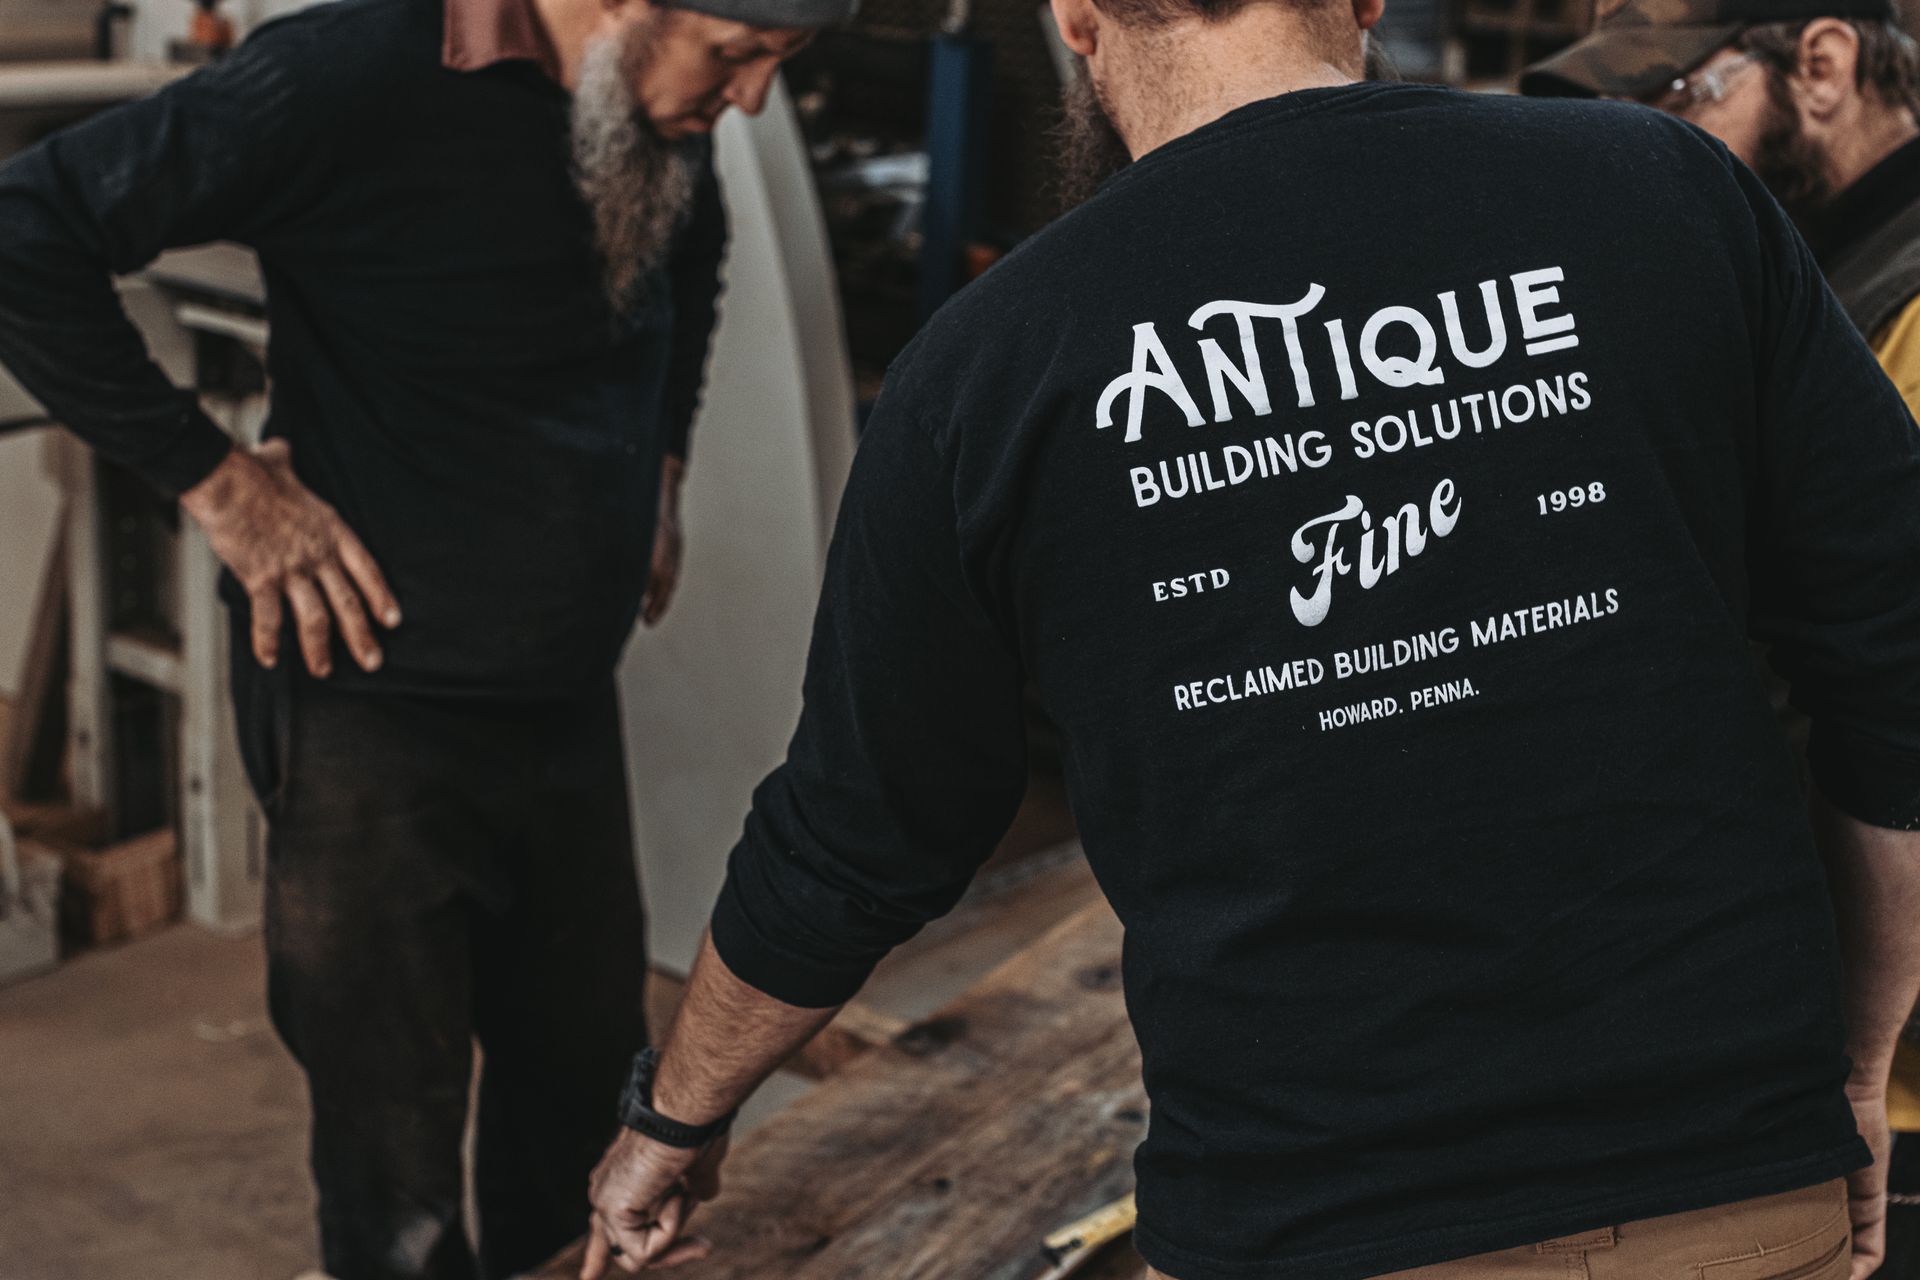
For more insights into our expertise with reclaimed materials, check out our work at Bay & Bent. Let us help you bring history into your next project!