Top Tips for Installing Reclaimed Boarding Like a Pro
Install reclaimed boards effortlessly with these expert pro tips
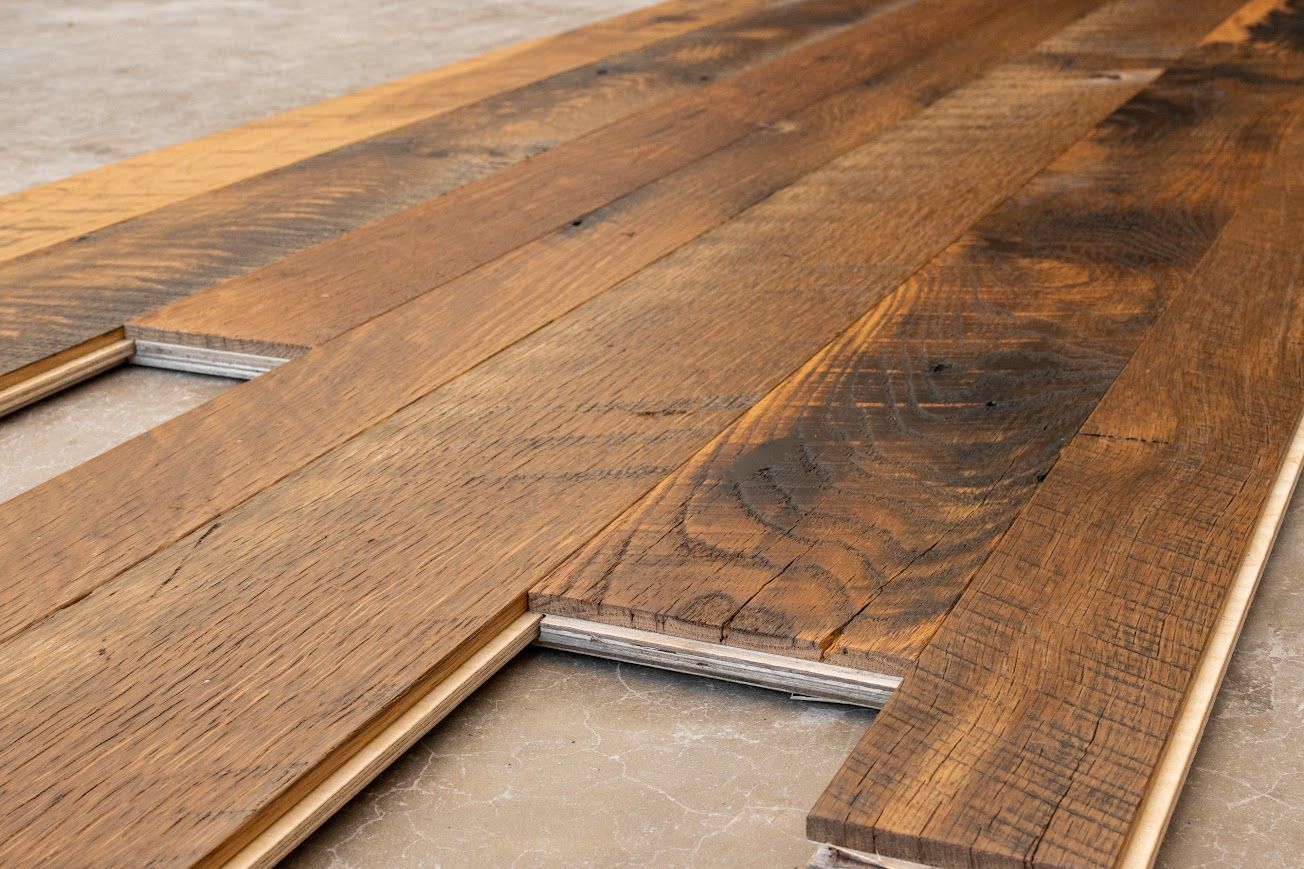
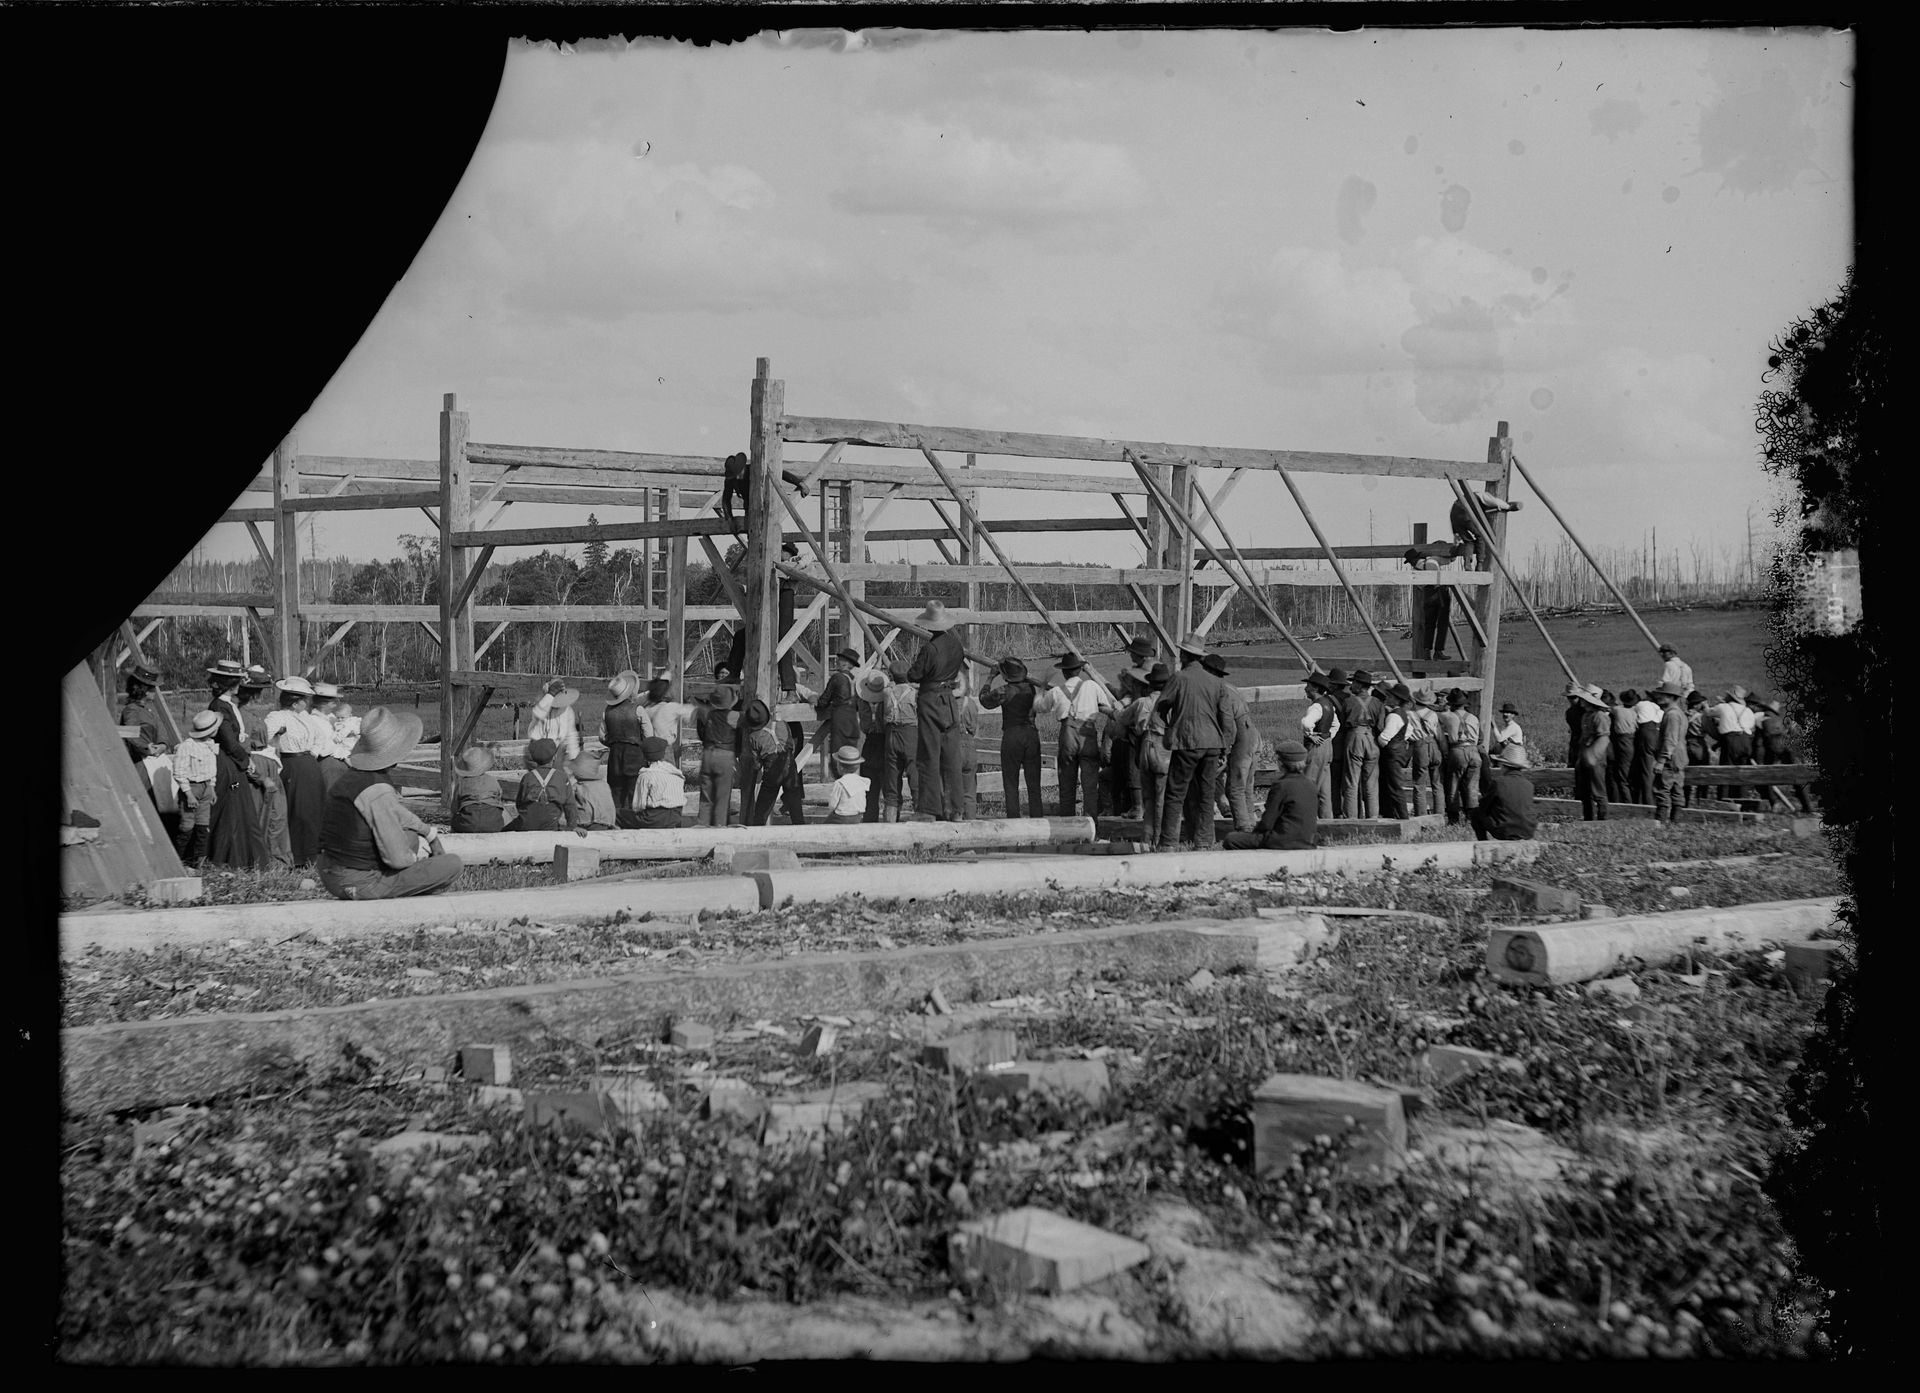
Reclaimed wood brings rich history, charm, and sustainability to any project. But working with these old, weathered boards is different from using new lumber. Each plank has its own unique story, marked by knots, nail holes, and distinctive grain patterns. To install reclaimed wood the right way, you need patience, skill, and some special techniques.
This guide will show you how to install reclaimed wood with professional results. From prepping your boards to planning your layout and adding finishing touches, you’ll learn how to make the most of this incredible material.
Know Your Reclaimed Wood
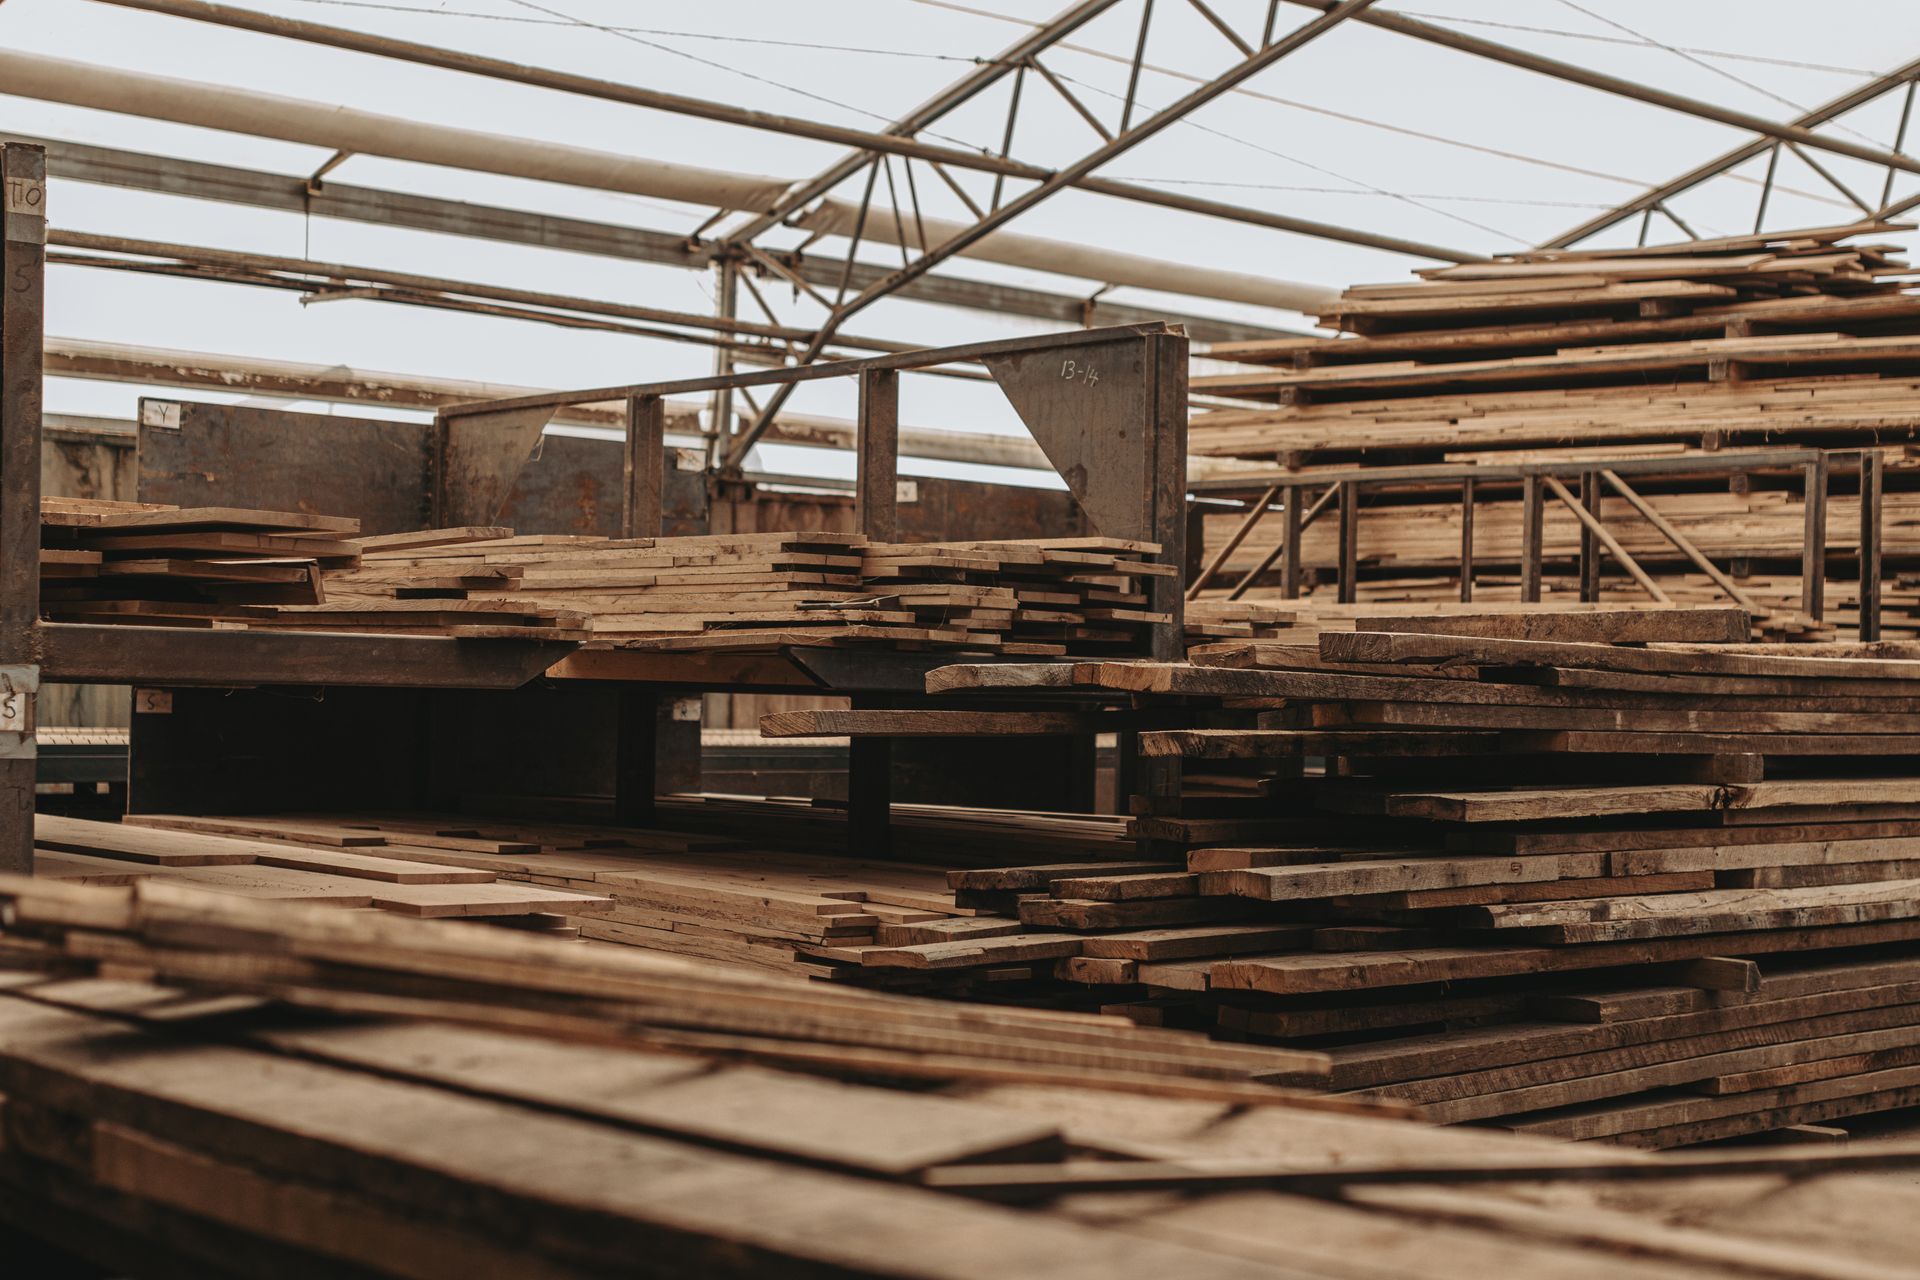
What to Look for in Quality Boards
High-quality reclaimed wood should feel solid and sturdy. Avoid boards with soft, rotten spots or signs of decay. While slight variations in thickness are normal, extreme inconsistencies can make installation harder.
Check the wood's moisture level. Ideally, it should be between 6% and 12% for indoor use. Boards that feel unusually heavy might still contain too much moisture and need more time to dry.
Common Problems to Watch For
Inspect your boards carefully. Look for loose knots, deep cracks, or areas where the wood fibers are separating. Fix these issues before installation to avoid trouble down the line.
Check for signs of insect activity, like tiny holes or sawdust. Old damage is usually okay, but treat the wood before you use it if you see active infestations.
Recognizing Wood Species and Their Traits
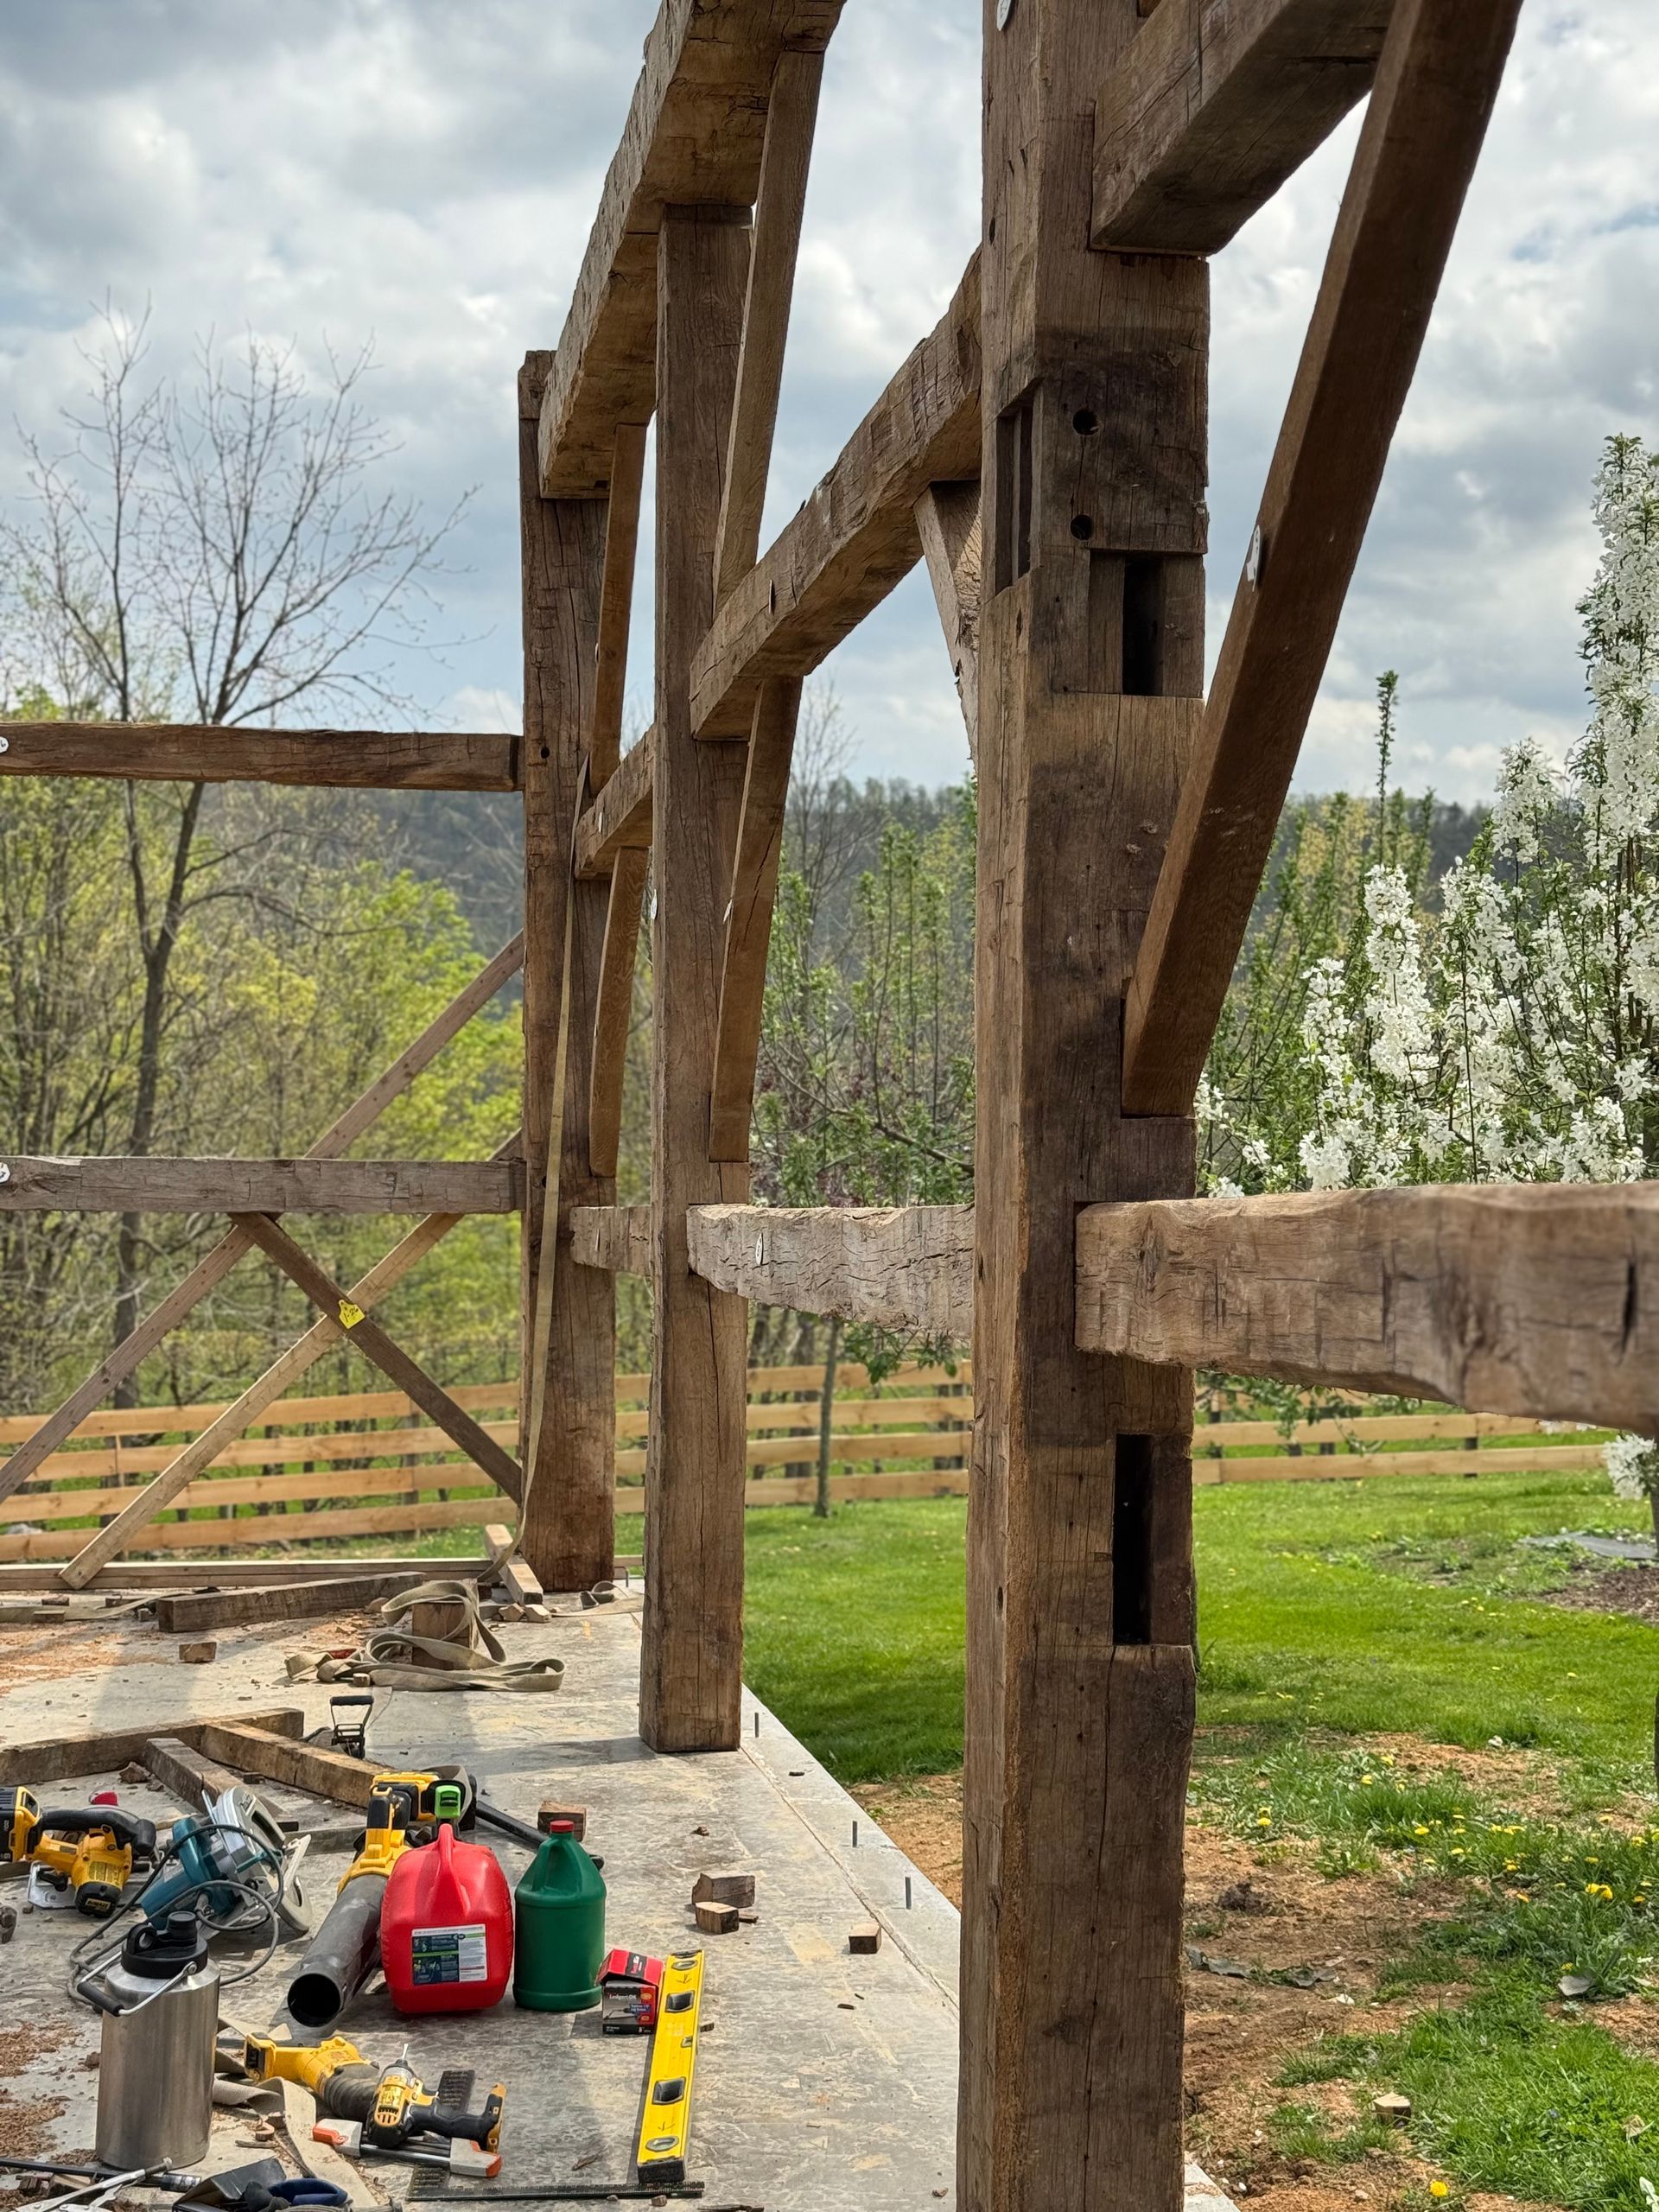
Knowing what type of wood you have makes a big difference. Hardwoods like oak or chestnut are tough and may need pre-drilling to prevent cracking. Softwoods like pine are easier to work with but can dent more easily. Understanding these characteristics will help you choose the right tools, fasteners, and techniques for the job.
Get Your Wood Installation-Ready
Acclimate the Wood to Its Environment
Reclaimed wood needs time to adjust to your space. Before installing, store the boards for at least a week in the room where they’ll be used. Stack them with spacers between each piece to allow air to circulate. This step helps prevent the wood from shrinking or expanding later, which can cause gaps or buckling.
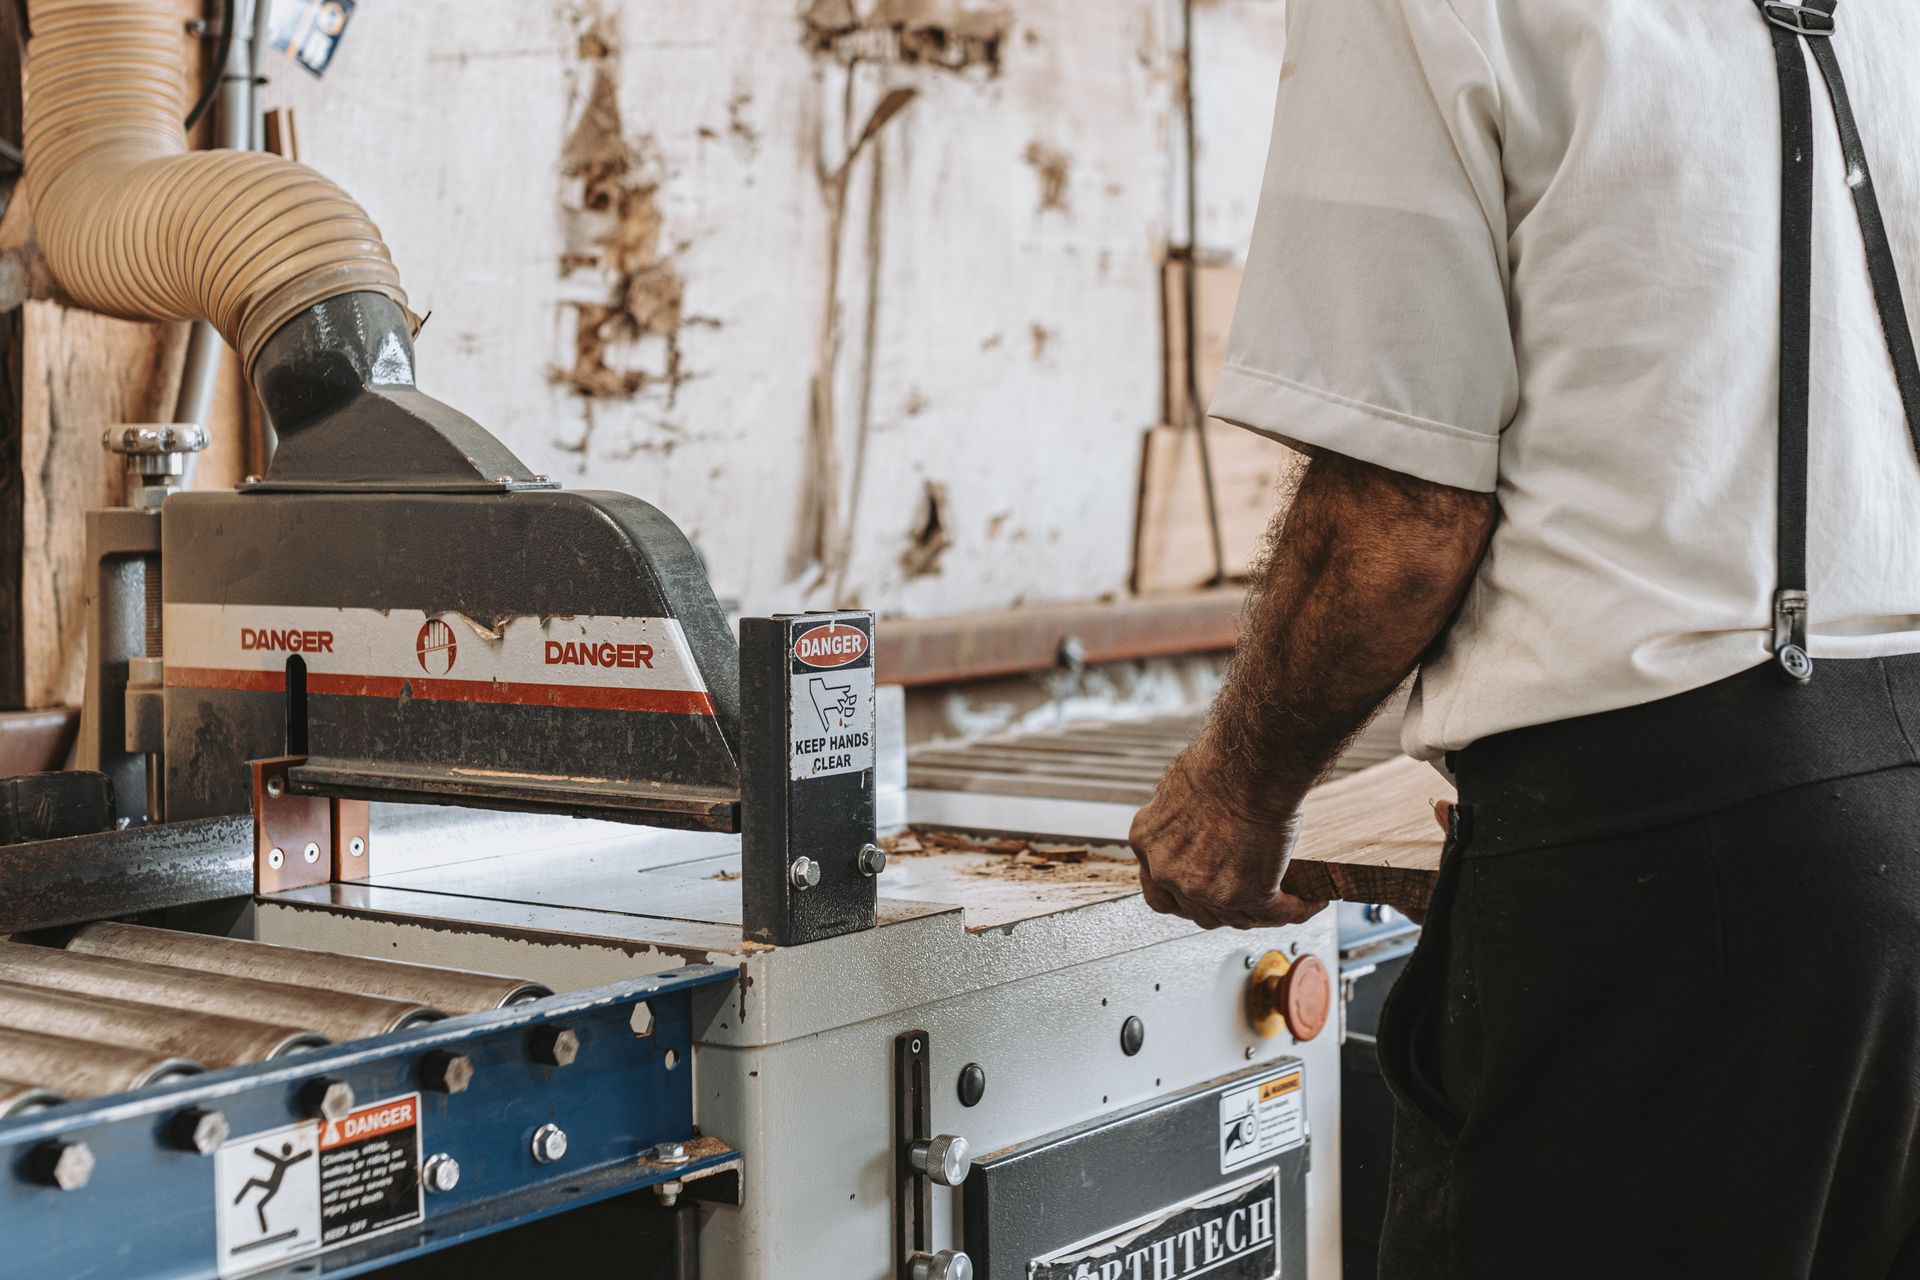
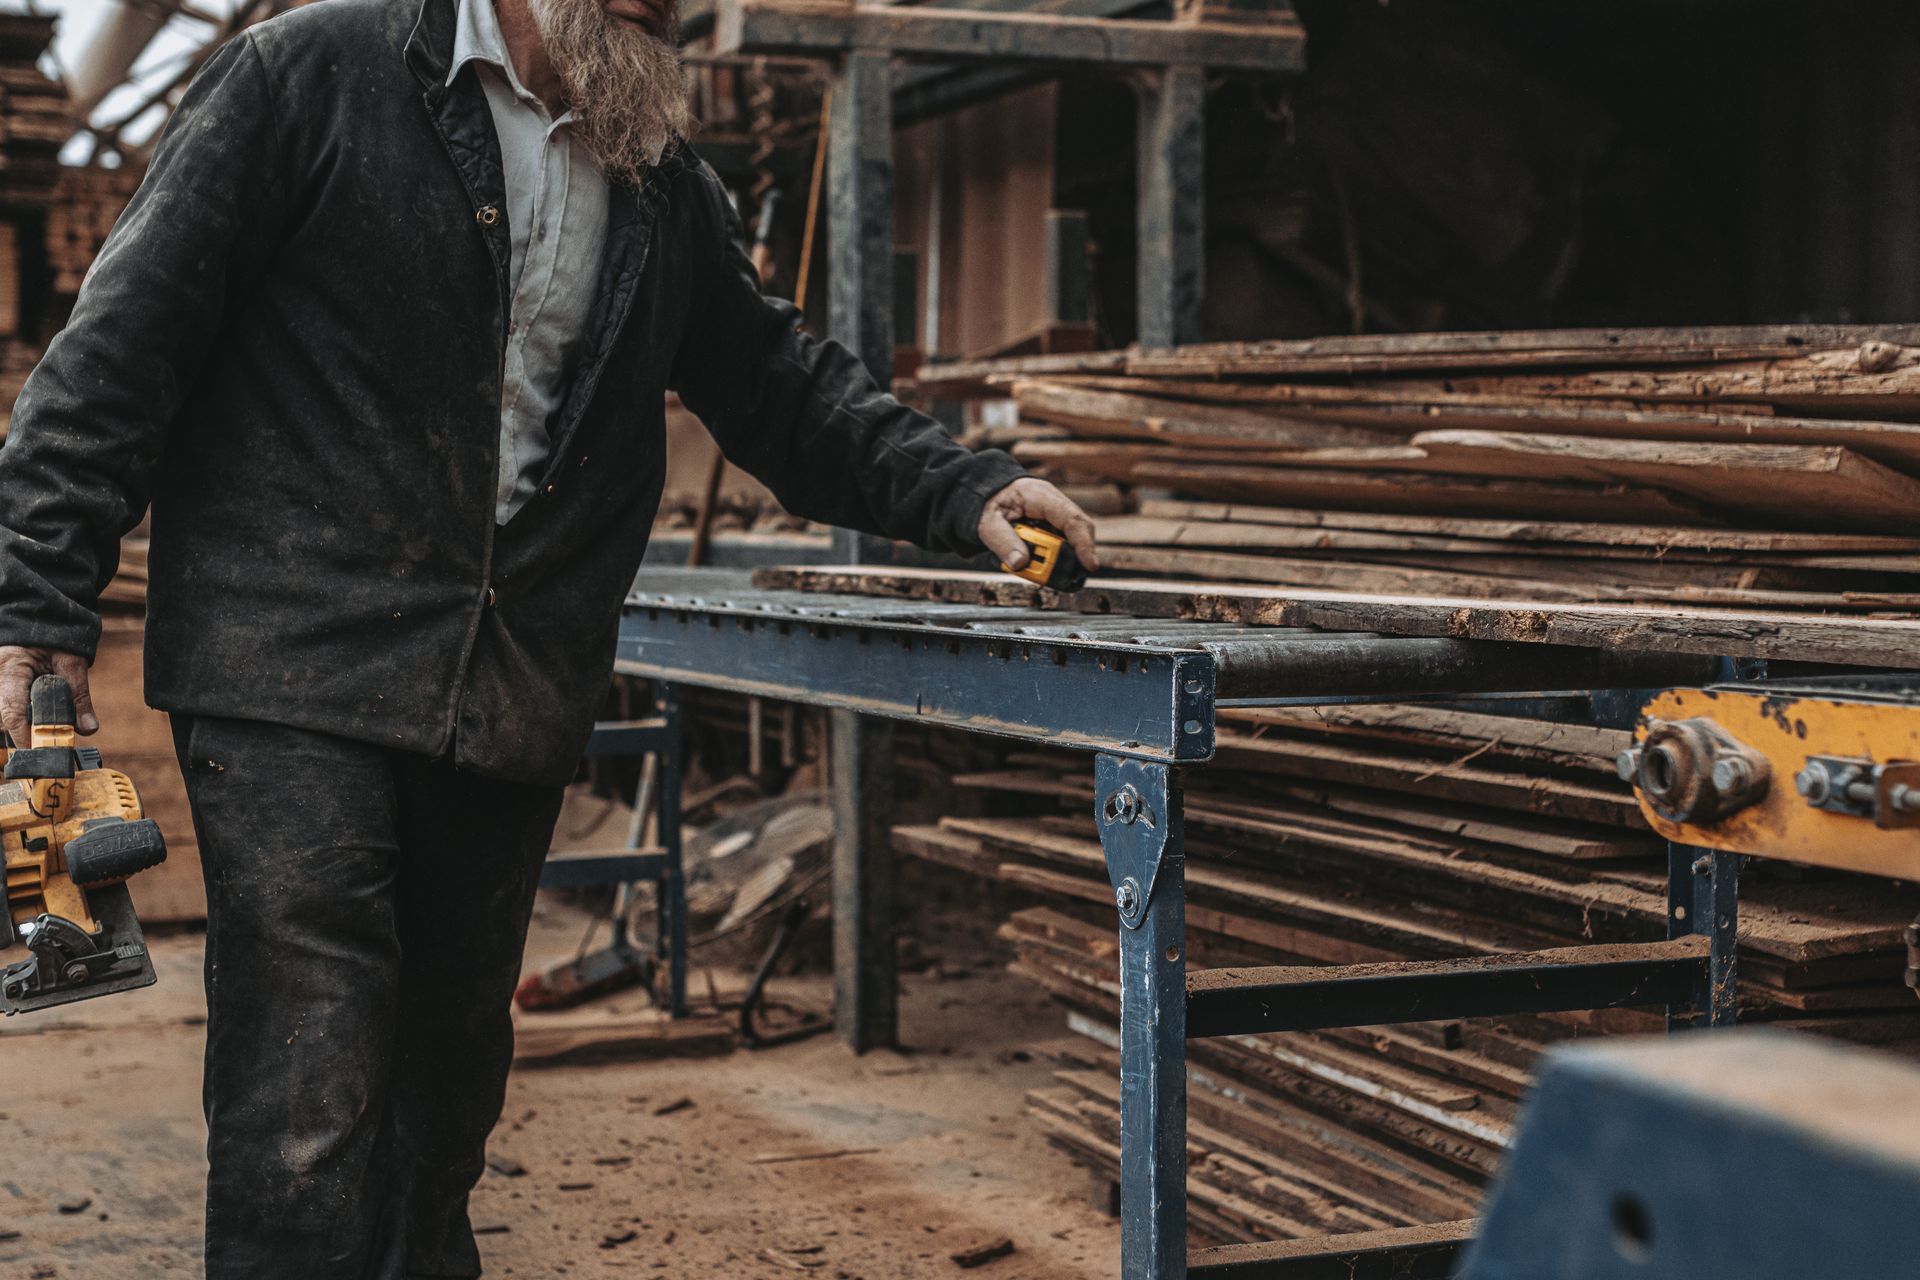
Clean and Prep the Boards
Reclaimed wood often has dirt, dust, or even old nails. To preserve its unique character, clean it gently using a soft brush or compressed air. Carefully remove any protruding nails or fasteners to avoid damaging the wood.
Sort Boards for a Beautiful Layout
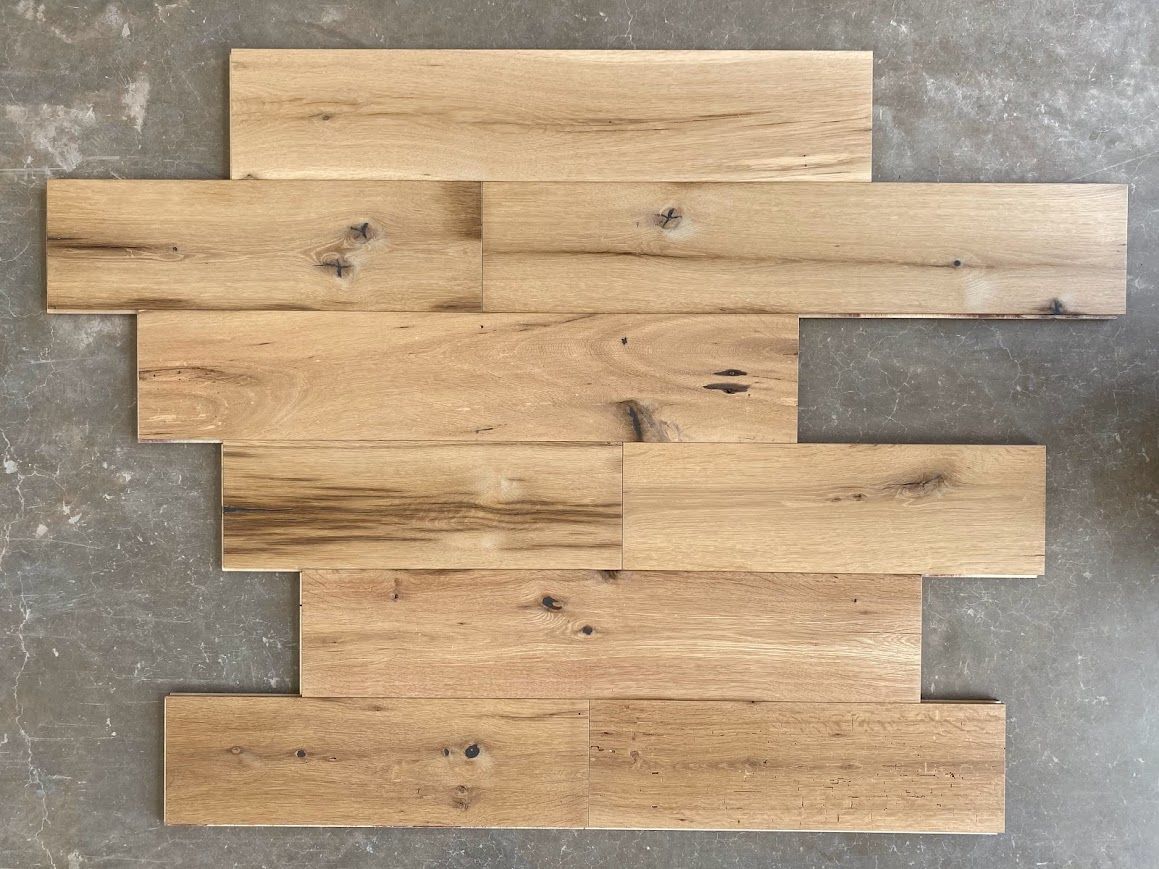
Group boards by size, color, and texture, then plan how you’ll arrange them. Lay out the pieces in advance to create a balanced look. Mix boards with bold character throughout your design rather than clustering them in one area.
Plan Your Layout and Design
Achieve a Balanced Look
Instead of randomly arranging your boards, aim for controlled variety. Place the most visually interesting boards in noticeable spots, like eye-level walls, and save the simpler boards for less prominent areas.
Mix Board Lengths
Using boards of different lengths creates a natural, dynamic pattern. Make sure all boards connect to a solid surface for support. Stagger joints between rows to avoid forming straight, vertical lines.
Match Colors and Textures Thoughtfully
Mix weathered and less-weathered boards evenly to add visual depth. Keep lighting in mind. Place boards with dramatic grains where they’ll be well-lit to enhance their appearance.
Professional Installation Techniques
Choose the Right Fasteners
Use screws made of stainless steel or galvanized metal to avoid rust stains. For an invisible look, consider hidden clips ortongue-and-groove systems. Always pre-drill holes near the edges of boards to prevent splitting.
Handle Thickness Differences
It’s common for reclaimed boards to vary in thickness. To keep the surface even, use shims behind thinner boards. Gradually transition between thicknesses for a polished finish.
Celebrate the Wood's Story
Don’t hide checks, cracks, or nail holes. These marks are part of what makes reclaimed wood special. Use glue to stabilize larger cracks, or try decorative repairs like butterfly joints to make them part of the design.
Add Finishing Touches
Preserve the Patina
If you want to keep the wood’s aged look, use a clear, penetrating finish. Test the finish on a small piece first to make sure it doesn’t alter the color too much or create a shiny appearance.
Highlight the Grain
Lightly sand the boards with fine-grit sandpaper to bring out the grain while keeping the wood’s natural character intact. For a textured look, try wire brushing, which works especially well on softwoods.
Customize the Color
If you need to match a specific color, use a stain that soaks into the wood rather than sitting on the surface. Apply thin coats gradually to avoid an unnatural finish.
Overcome Common Challenges
Avoid Splits
Pre-drill holes for screws or nails to reduce the risk of splitting, especially near the ends of hardwood boards. If a split does occur, use wood glue to repair it quickly.
Handle Cupping and Warping
Reclaimed boards may warp or cup slightly over time. Use strong fasteners to secure them snugly to a sturdy backing. If the warping is significant, consider using the affected board in a less visible area.
Allow for Seasonal Changes
All wood expands and contracts with changes in humidity. To accommodate this movement without ruining your design, leave small gaps between boards in large installations.
Maintain and Protect Your Installation
Inspect and Clean Regularly
Dust regularly with a soft brush or vacuum using a brush attachment. Avoid harsh chemicals, as they can damage the finish. For deeper cleaning, use a minimally damp cloth and dry the surface completely afterward.
Refinish When Needed
Over the years, you may need to refresh the protective finish. Sand lightly with fine-grit paper to restore the surface without removing too much of its unique patina. Always test in a small, hidden area first.
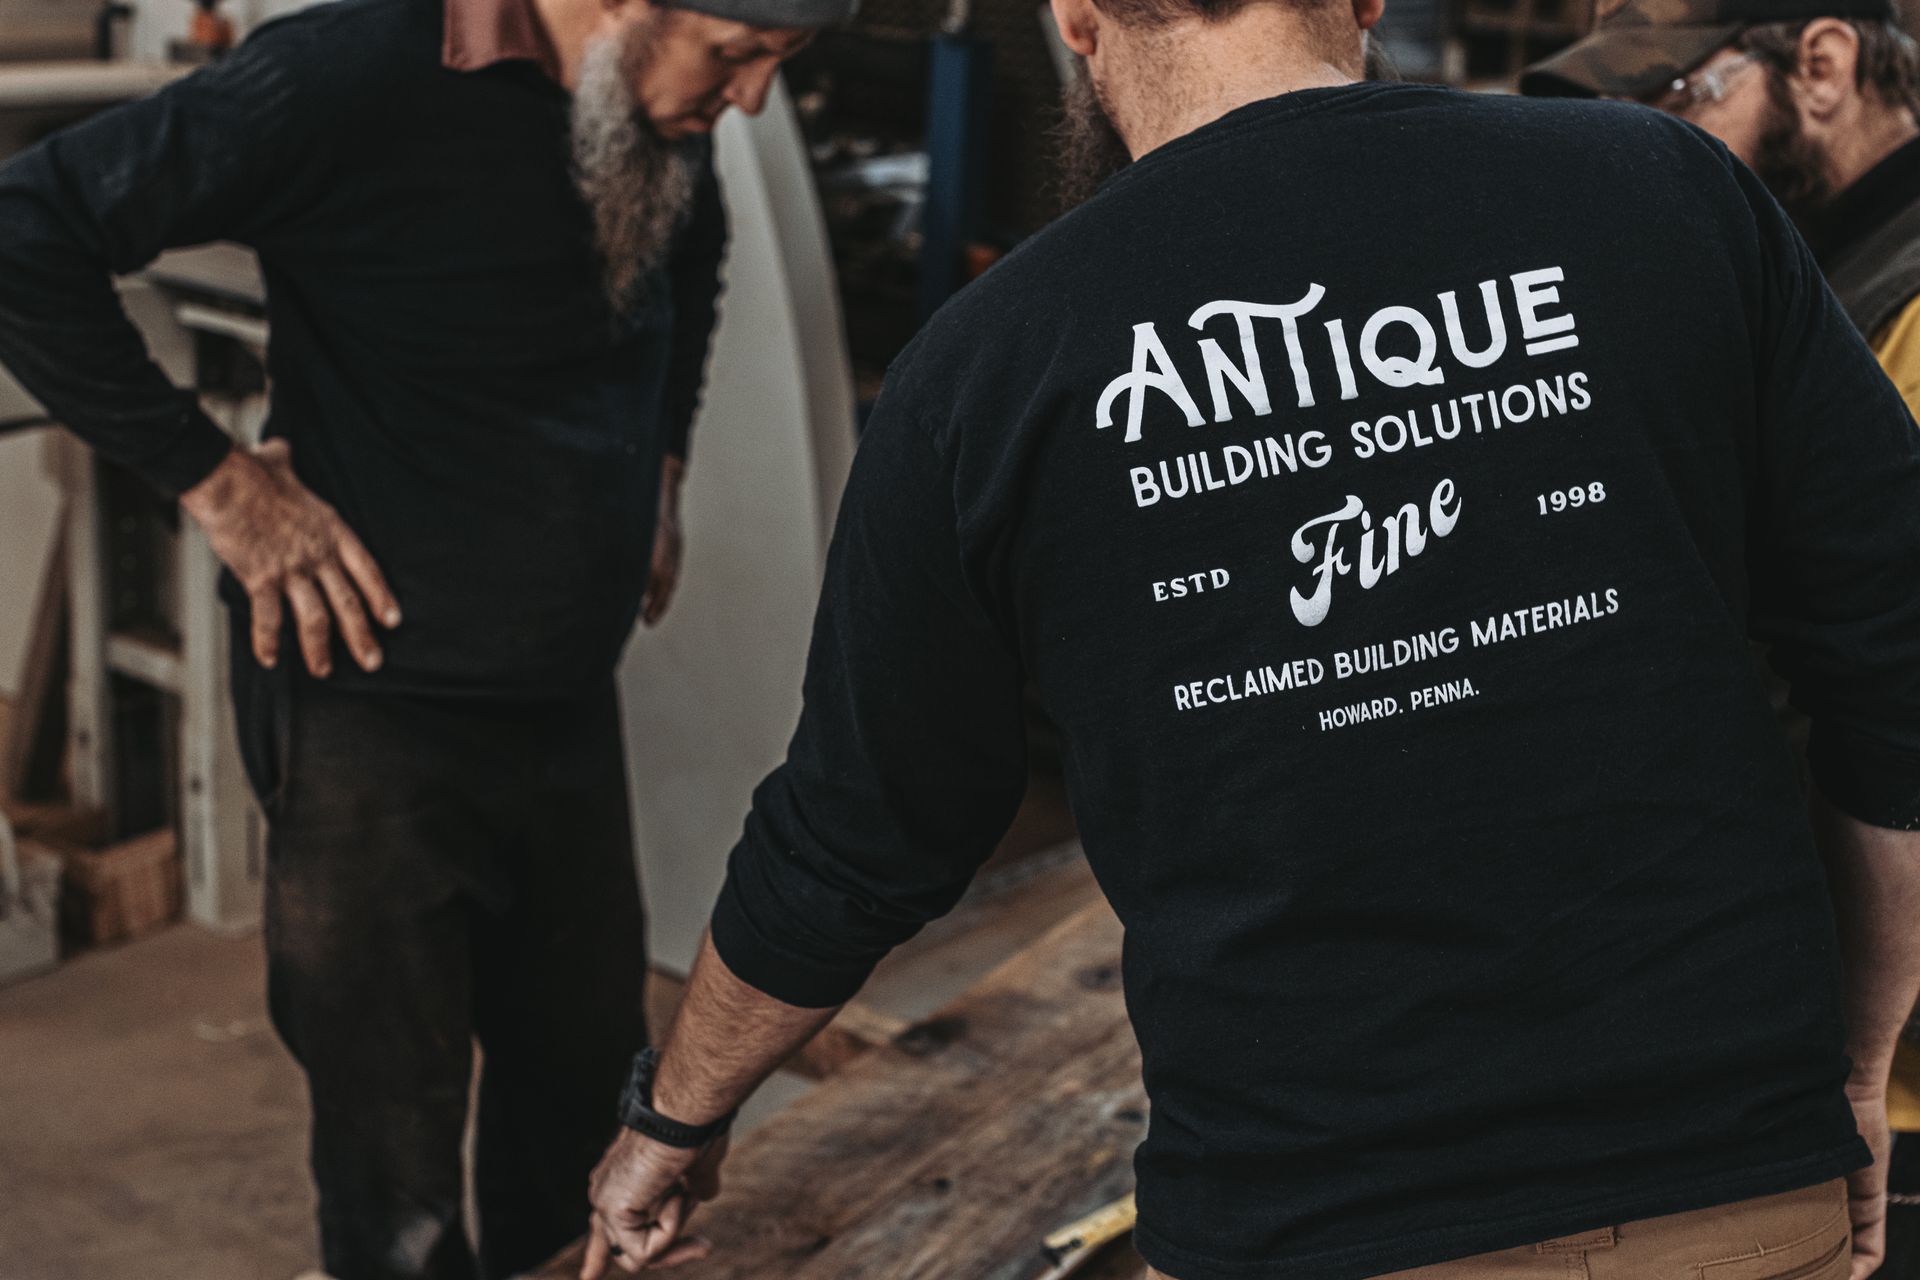
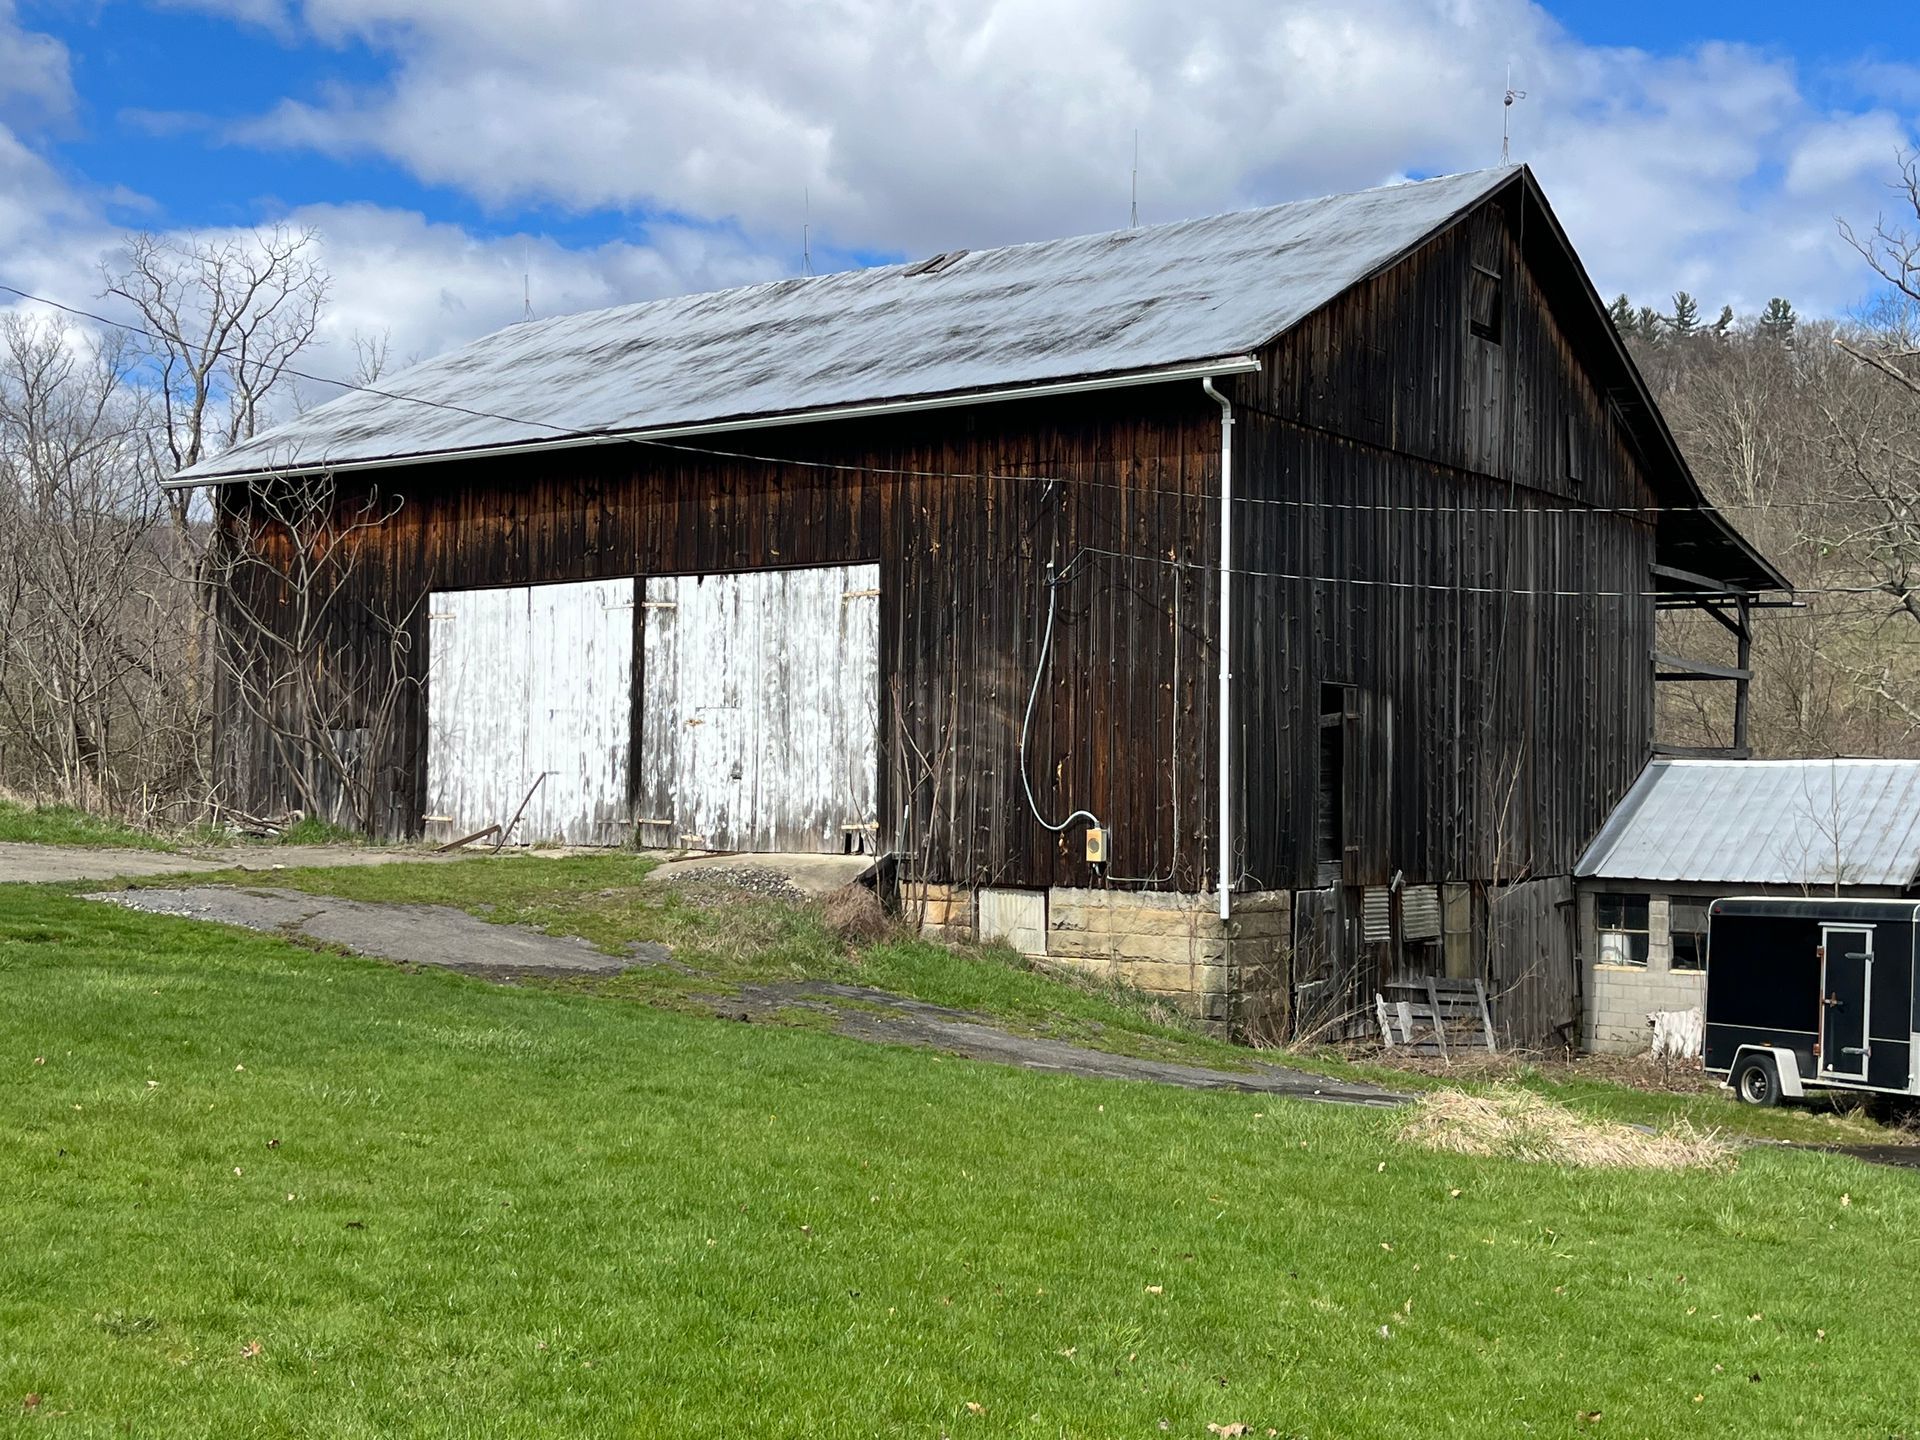
Why Choose Reclaimed Wood?
Reclaimed wood isn’t just about looks; it connects you to history. At Bay & Bent, we specialize in sourcing reclaimed materials that bring timeless character to modern projects. Each board has its own story, and when you include reclaimed wood in your designs, you’re preserving a piece of craftsmanship from the past.
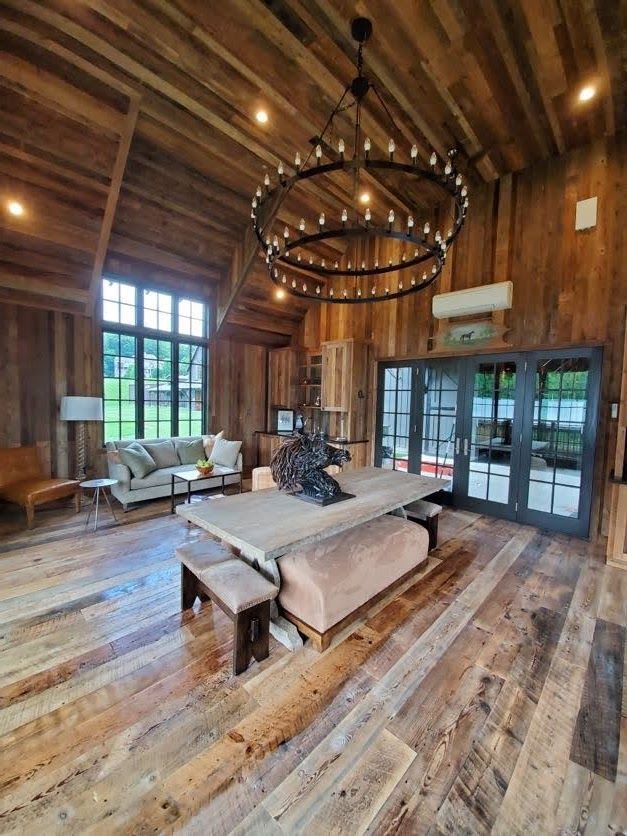
If you’re working on an accent wall, ceiling feature, or rustic flooring, reclaimed wood creates warmth and originality that factory-made materials can’t replicate. It’s a sustainable, meaningful choice for homeowners, builders, and designers alike. When you partner with us, you’re tapping into our years of expertise and a deep respect for the stories each piece of wood tells.
To learn more about our passion for reclaimed wood and the history behind it, visitBay & Bent. Together, we can create something extraordinary.