What Is the Ideal Moisture Level for Reclaimed Wood?
Discover the Perfect Moisture Levels in Wood for Reclaimed Projects
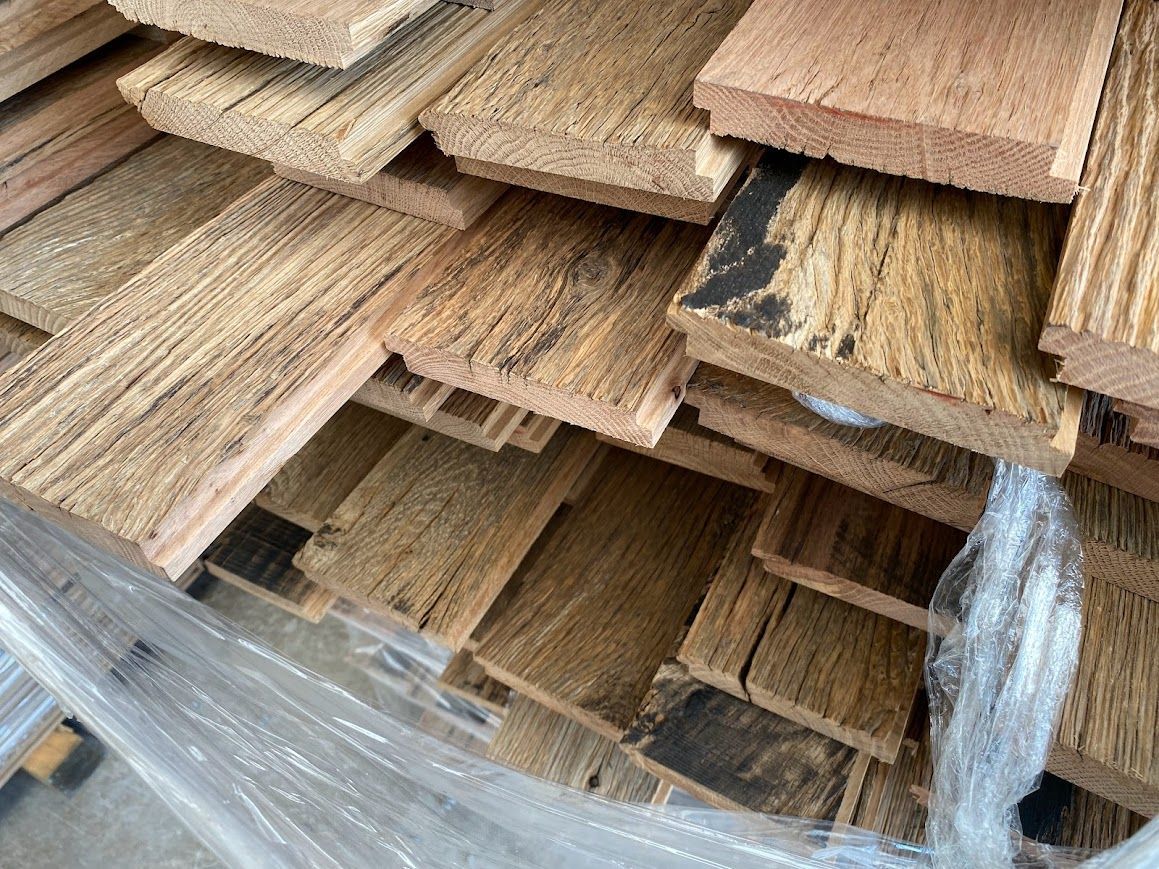
Reclaimed wood is more than just old timber; it’s a piece of history, filled with character and charm. But along with its rustic beauty, it comes with something less predictable, varying moisture levels. Unlike new lumber, reclaimed wood has gone through years of changing weather, humidity, and temperatures, which makes understanding and managing moisture content crucial.
Getting the moisture content right ensures your reclaimed wood looks great, performs well, and lasts for years. But what moisture level is "ideal"? That depends on where and how the wood will be used.
What Is Moisture Content?
Moisture content refers to the amount of water in the wood compared to its dry weight. For example, a board with 10% moisture content means that water makes up 10% of the wood’s weight when completely dry.
- Fresh construction lumber usually has a moisture content of 19% or lower.
- Interior wood, like flooring or furniture material, often aims for 6-8%.
- Reclaimed wood, though, can range from 5% to over 30%, depending on its history.
This inconsistency can create both opportunities and challenges. Some reclaimed pieces might be ready to use, while others may need conditioning to get them where they need to be.
Factors That Influence Moisture in Reclaimed Wood
Different elements impact the moisture content of reclaimed wood, such as:
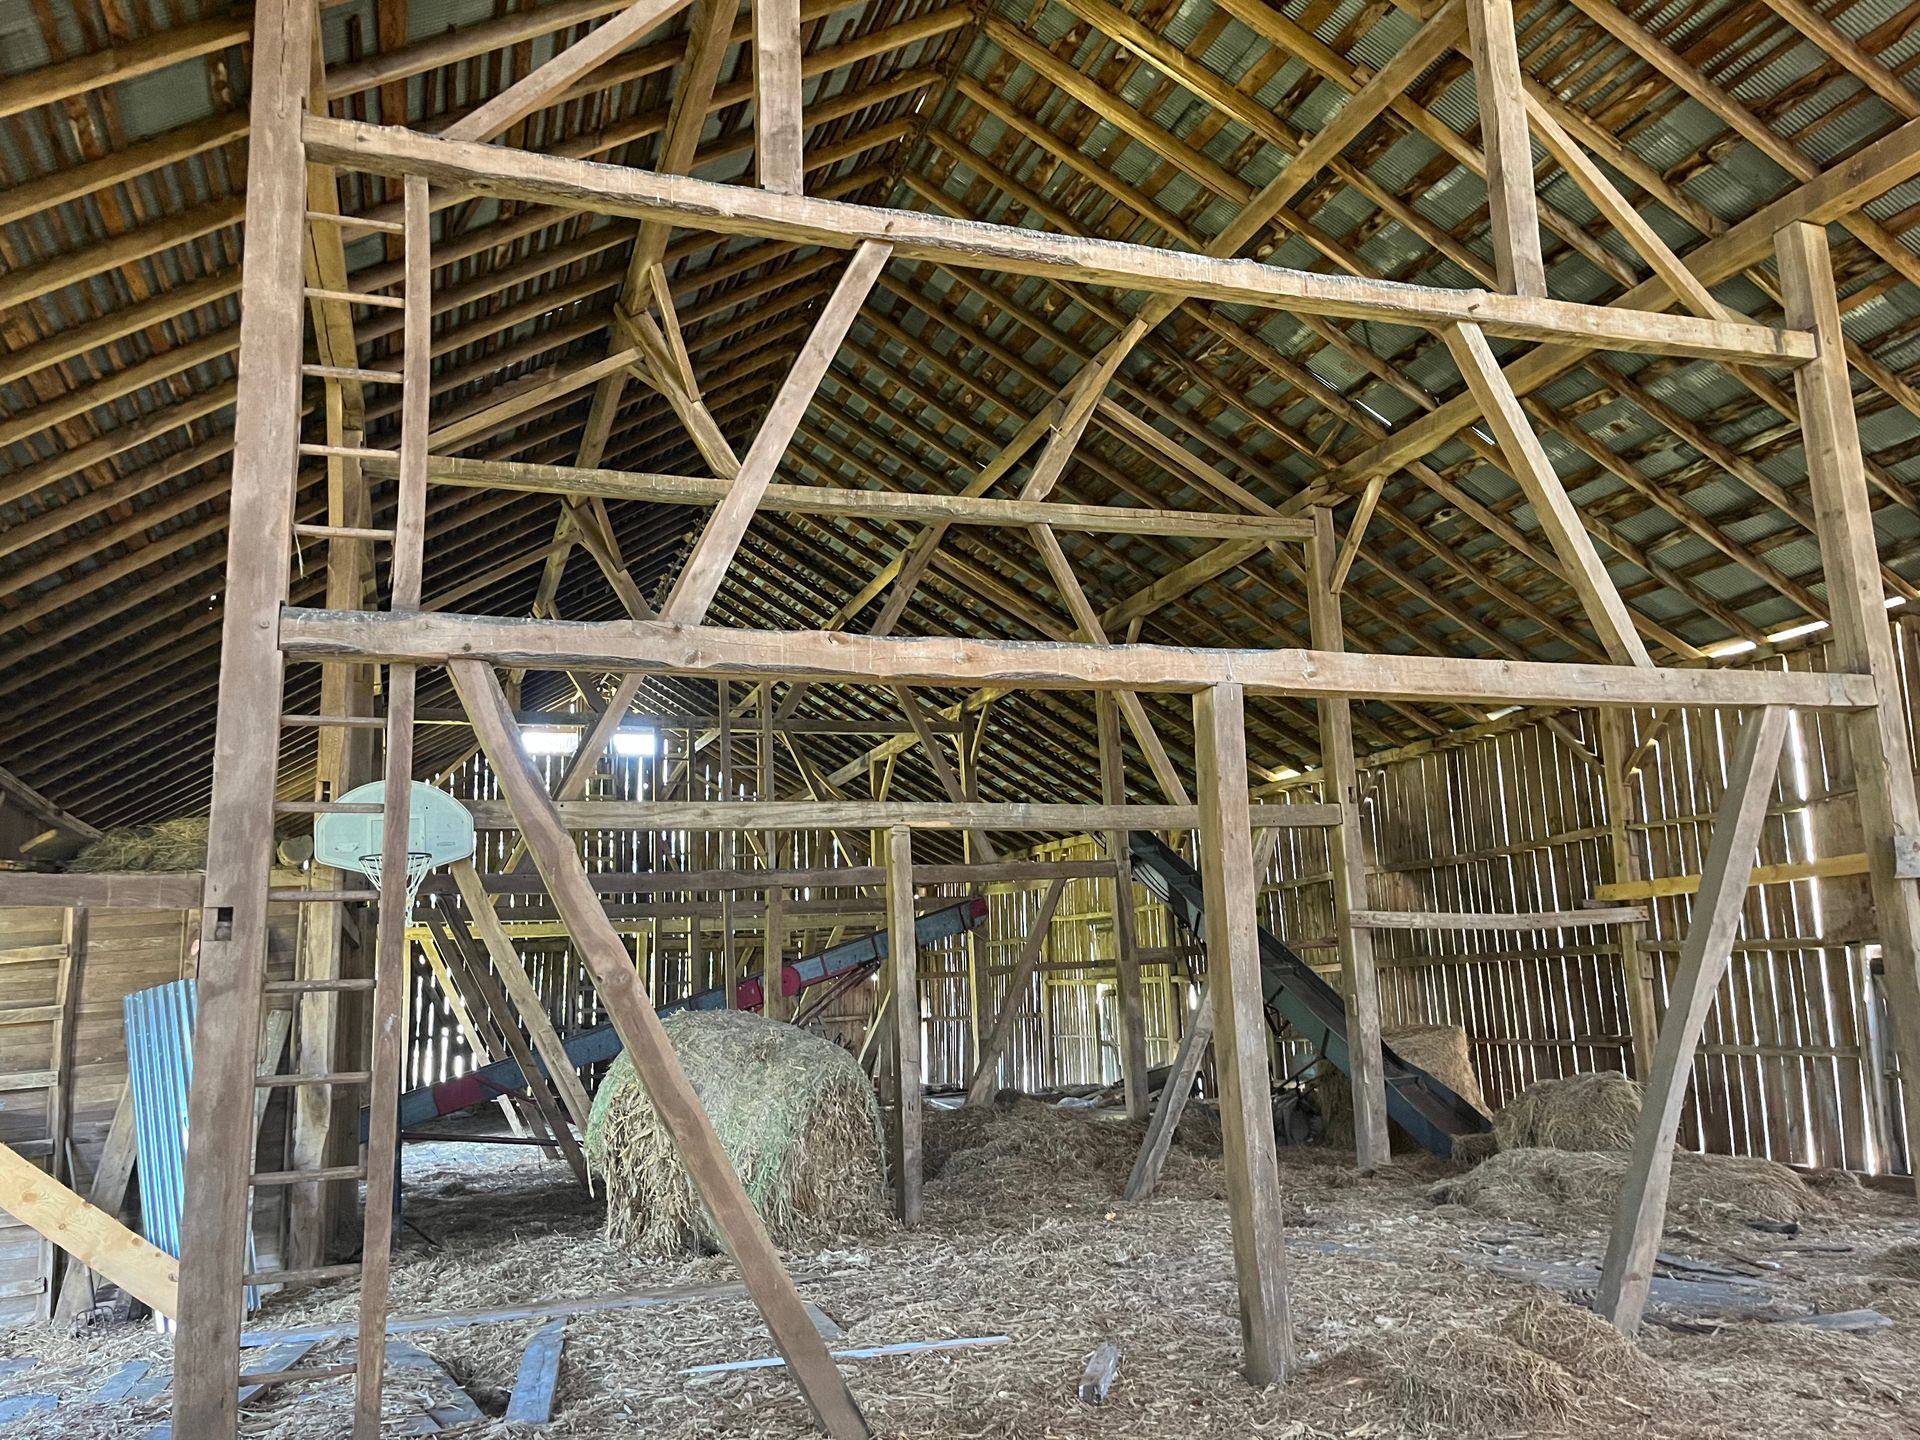
- Where it was used: Wood from damp environments, like barn basements, naturally holds more moisture than attic wood.
- Climate: Humid areas (like coastal regions) tend to add more moisture to wood than dry, inland areas.
- Wood species: Each type of wood absorbs and releases moisture differently. For instance, pine dries out faster than oak.
- Age: Older reclaimed wood is often more stable because it has spent years adapting to its environment.
- Storage: Once removed, the way reclaimed wood is stored greatly affects its current moisture level.
- Season: Wood reacts to seasonal changes in temperature and humidity, even indoors.
Moisture Levels Based on Project Type
The right moisture content depends on how the wood will be used. Here’s a quick guide:
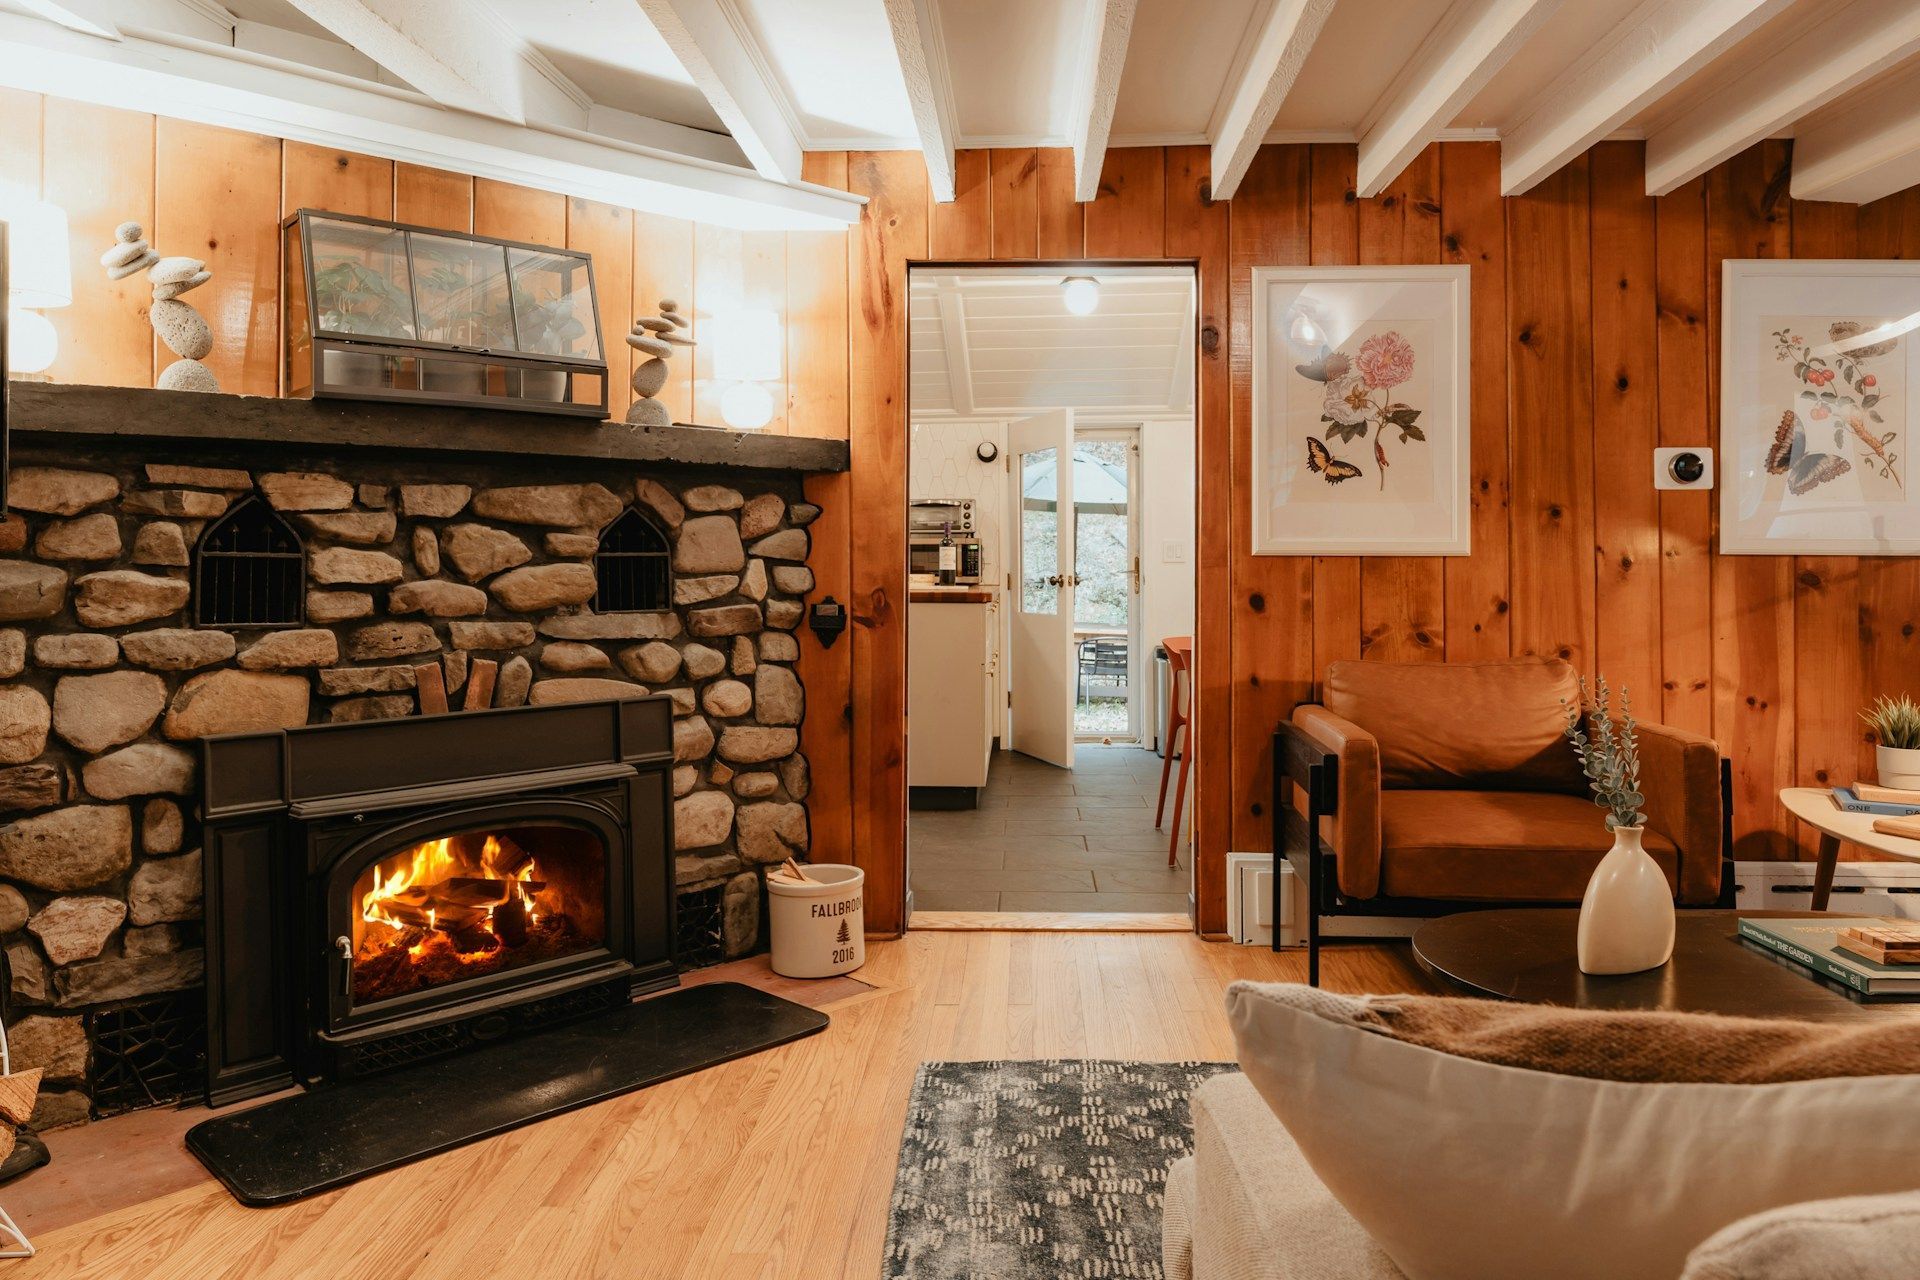
- Interior Flooring: 6-9% to match indoor humidity levels.
- Furniture and Millwork: 6-8%, though this may vary based on your location.
- Structural Framing: 19% or less (the lower, the better for stability).
- Exterior Projects: 12-15% to account for outdoor exposure.
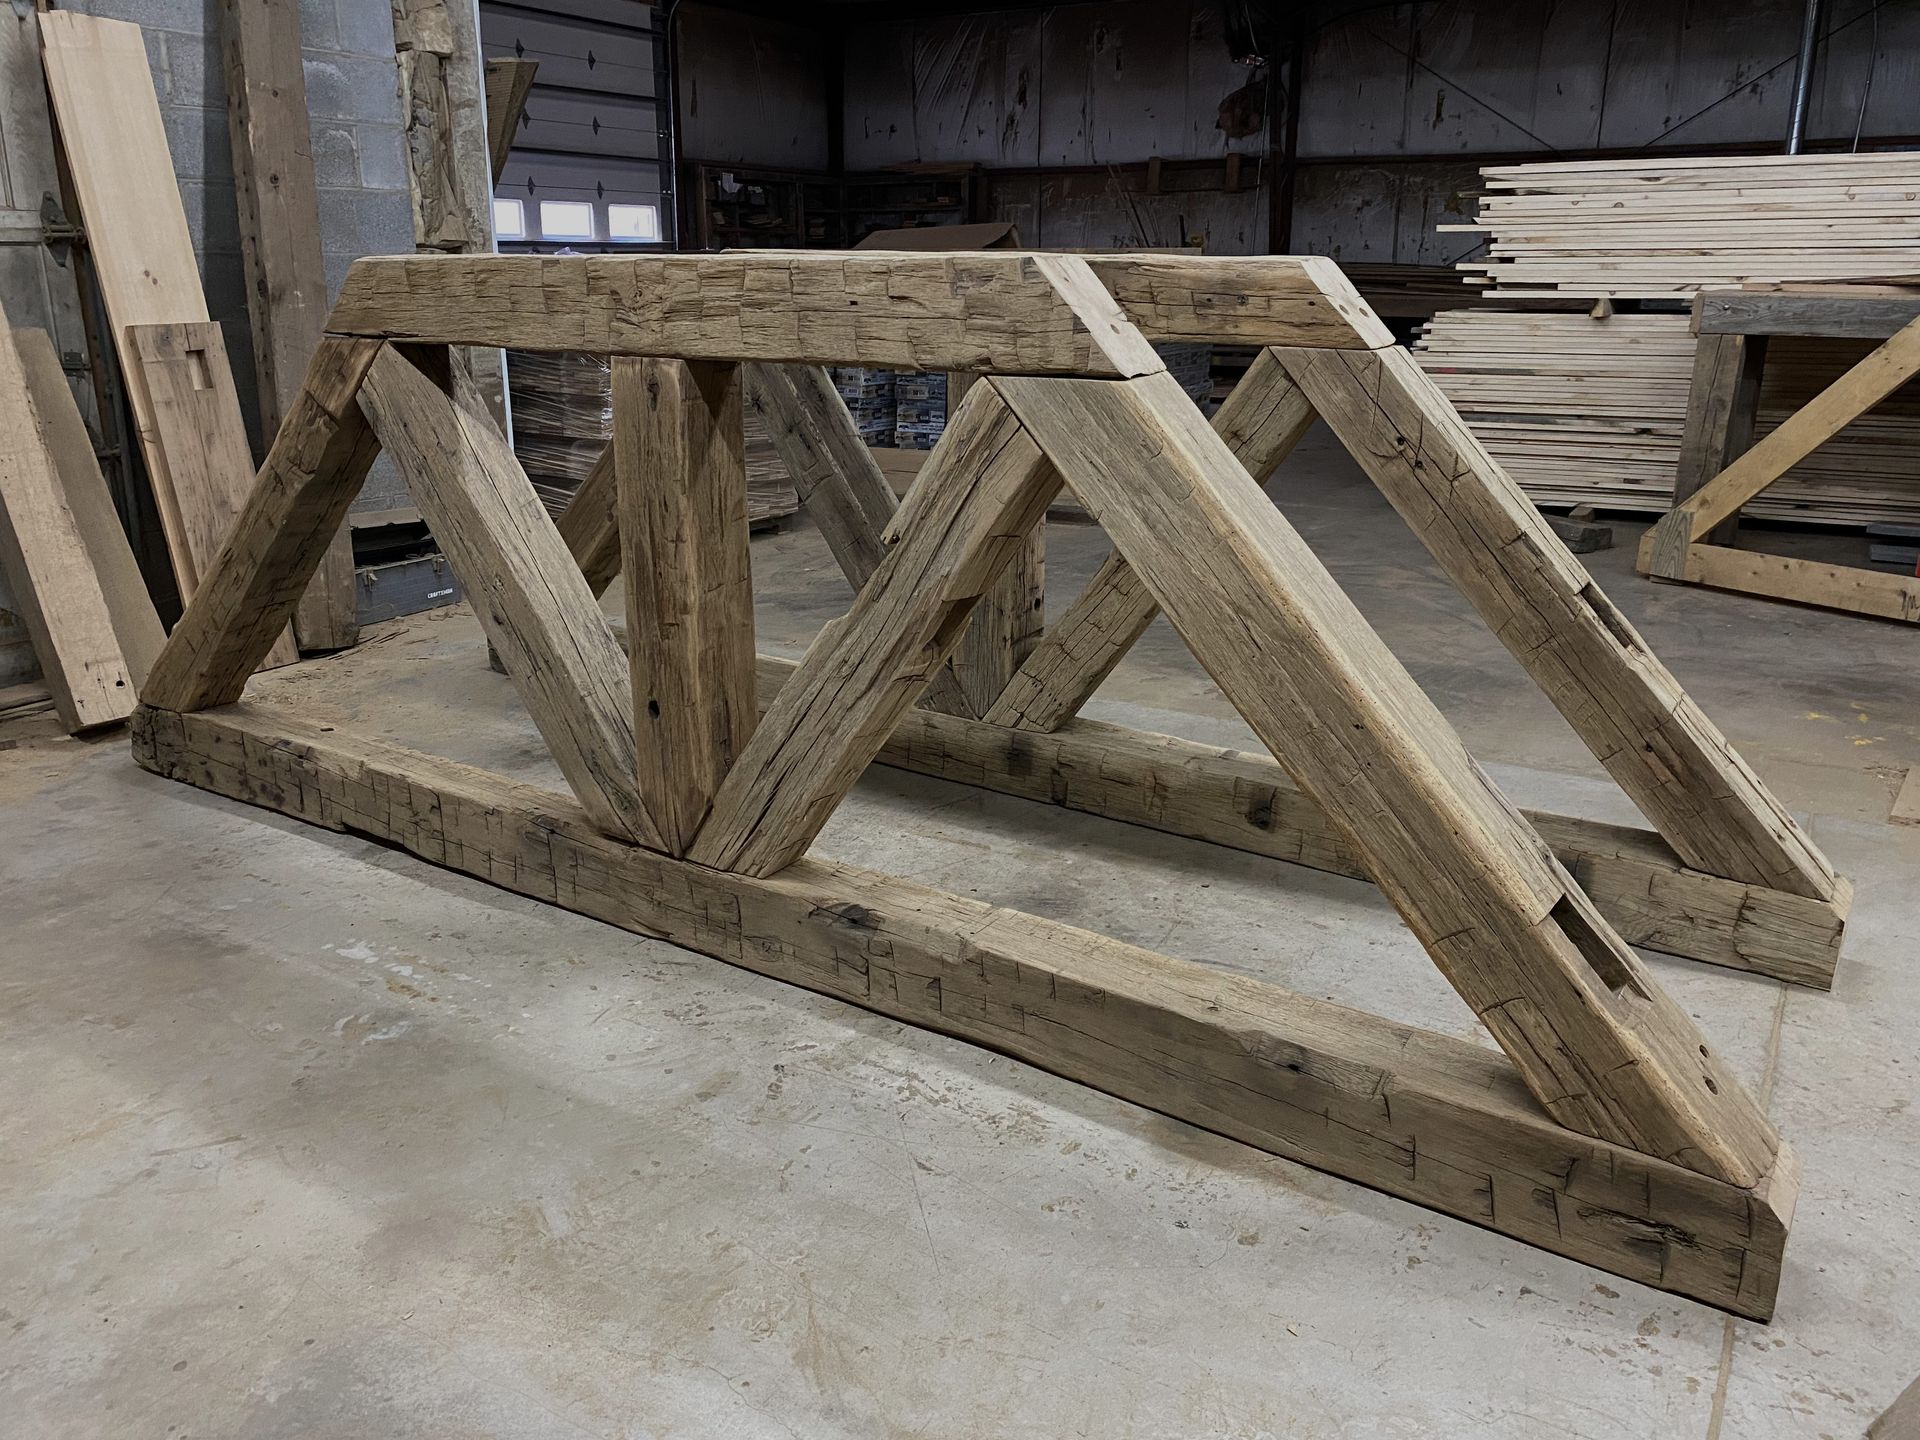
- Timber Framing: Often higher (15-20%) since traditional joints allow for movement.
How to Measure Moisture Content
Accurate testing is essential to work successfully with reclaimed wood. Common options include:
- Pin Meters: These tools insert small pins into the wood and measure electrical resistance to determine moisture content. They’re precise and great for most uses.
- Pinless Meters: These use electromagnetic signals to check moisture without damaging the wood’s surface. They’re faster but less accurate.
- Oven-Dry Method: This involves weighing a sample, drying it in an oven, and weighing it again to find the exact moisture level. It’s the most precise method, but it destroys the sample.
- Multiple Measurements: Always take readings from several spots on a board, as moisture can vary within a single piece.
Problems Caused by Improper Moisture Levels
If the moisture content isn’t right, you could face issues like:
- Warping: Uneven drying can cause boards to bend or twist.
- Loose Joints: Furniture or structural joints may fail as the wood expands or shrinks.
- Finish Failures: Paints and stains might peel or crack when applied to wood with unstable moisture levels.
- Mold: Wood with over 20% moisture, combined with warmth, can develop mold or rot.
- Cracking: Rapid drying can cause surface cracks, especially in thick pieces.
Conditioning Reclaimed Wood
To get reclaimed wood to the right moisture level, you’ll need to condition it carefully. Here are some methods:
- Air Drying: Stack wood with spacers between layers in a covered, ventilated area. This slow method is gentle but time-consuming.
- Kiln Drying: A faster option involving professional kilns that heat wood to reduce moisture. It’s effective but requires access to facilities.
- Dehumidification: For smaller quantities, this gradual process can reduce moisture without damaging the wood.
- Room Conditioning: Before installing wood indoors, store it in the same environment for a few weeks so it adjusts naturally.
Adapting to Your Climate
Your local climate plays a big part in determining the right moisture level:
- Humid Areas (e.g., Southeast): Keep moisture levels slightly higher (around 8-12%) to match the environment.
- Dry Areas (e.g., Southwest): Target the lower range (6-8%) to avoid shrinkage.
- Seasonal Regions (e.g., Midwest): Keep levels moderate (7-10%) to handle temperature and humidity swings.
- Coastal Regions: Account for salt air and high humidity by aiming for slightly higher moisture levels.
Tips from Bay & Bent
At Bay & Bent, we’ve had the privilege of working with centuries-old reclaimed wood. Each piece tells a story of its past environment, and we treat these timbers with the care they deserve. Through careful testing and conditioning, we ensure our wood is stable and ready for its new purpose.
We’ve learned that success comes from patience and attention to detail. Rushing to use your wood without understanding its moisture level can lead to costly mistakes. That’s why we handle everything from moisture testing to gentle drying so these historic materials can thrive in their new homes.
Seasonal and Species Considerations
Wood changes with the seasons:
- Winter: Reduced indoor humidity from heating can cause wood to shrink.
- Summer: Higher humidity leads to swelling and expansion.
- Spring/Fall: Moisture levels may change rapidly during these transitional periods.
Different wood species also behave uniquely:
- Oak: A stable, dense hardwood that takes time to dry but holds moisture well once conditioned.
- Pine: A softer wood that adjusts quickly to changes but may move after installation.
- Chestnut: Naturally stable and often requires minimal adjustment.
- Hemlock: Can crack easily, so it needs slow, careful drying.
Tools to Help You
Setting up for success requires the right tools:
- A good moisture meter for accurate testing.
- A hygrometer to monitor air humidity.
- Fans for gentle air circulation during drying.
- Weights to keep boards flat during drying.
- Plastic Sheeting to slow drying if it’s happening too fast.
When to Call a Professional
Sometimes, it’s best to bring in the experts, especially when:
- You’re working with unique or valuable reclaimed wood.
- You have large quantities that need conditioning.
- You’re short on time or don’t have drying equipment.
- You’re dealing with tricky climates or wood types.
Bringing It All Together
There’s no one-size-fits-all answer for the best moisture level for reclaimed wood. It depends on your project, location, and the wood itself. Following these tips will help:
- Test and condition wood thoroughly before starting.
- Match moisture levels to the wood’s final environment.
- Account for seasonal changes.
- Take your time – rushing the process can lead to problems.
Reclaimed wood has already proven its durability, standing the test of time. With proper moisture management, it can retain its beauty and functionality for generations to come.