How to Master the Historic Barn Dry-In Phase Like a Pro
Master essential tips for success in the barn dry-in phase.
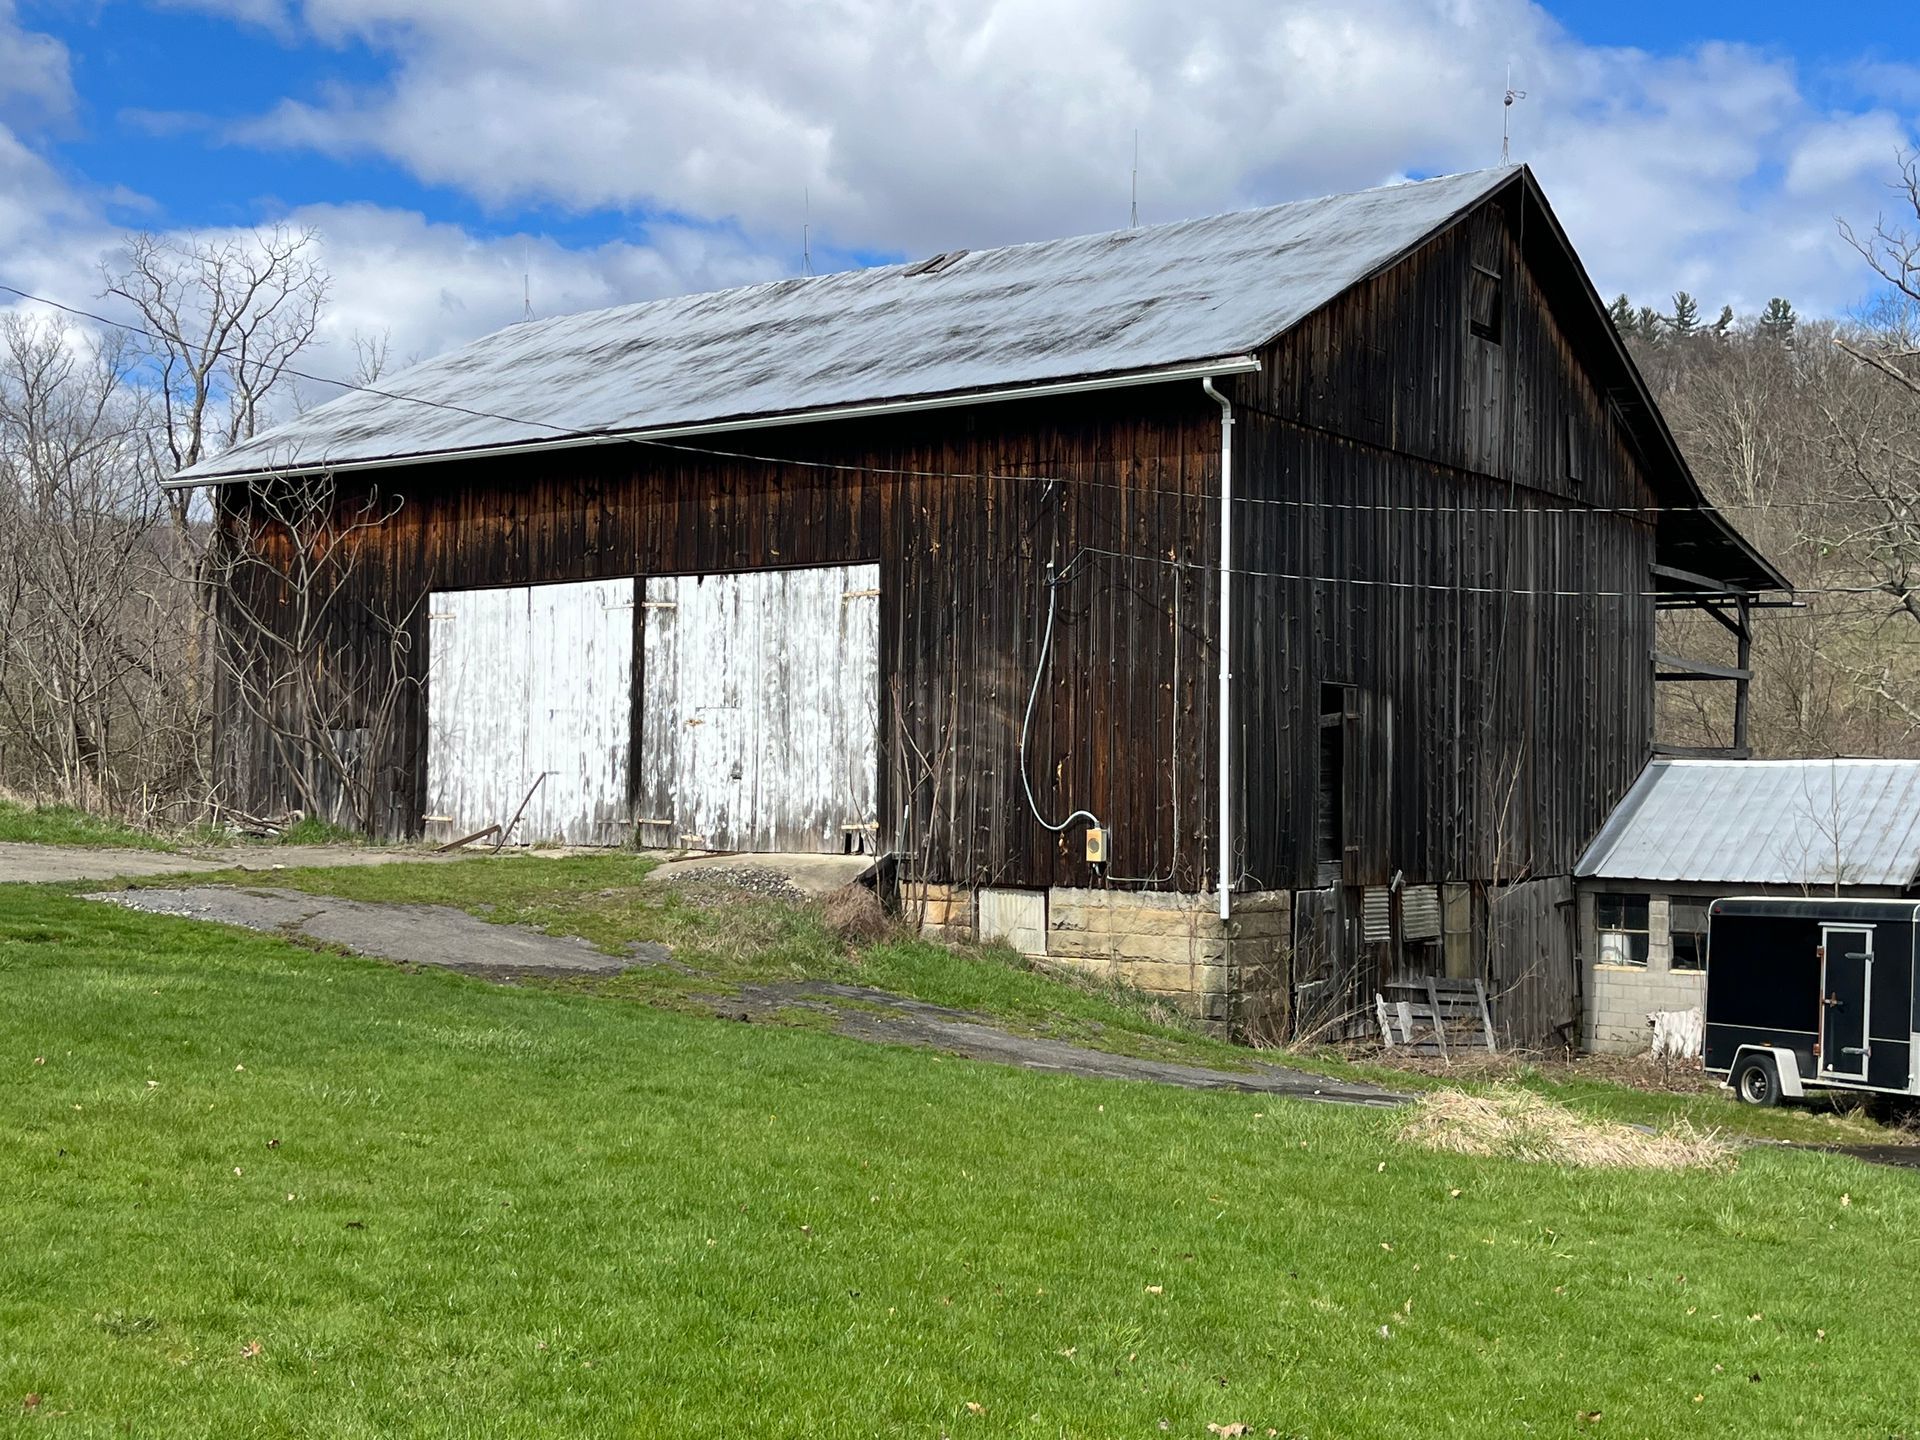
If you've admired a beautifully restored historic barn, you might not know its success depends on one key step before any stunning details get added. This step is called the dry-in phase and is the unsung hero of any barn restoration.
Mastering this phase can determine whether the barn stands strong for another hundred years or starts to fall apart.
What is the Dry-In Phase?
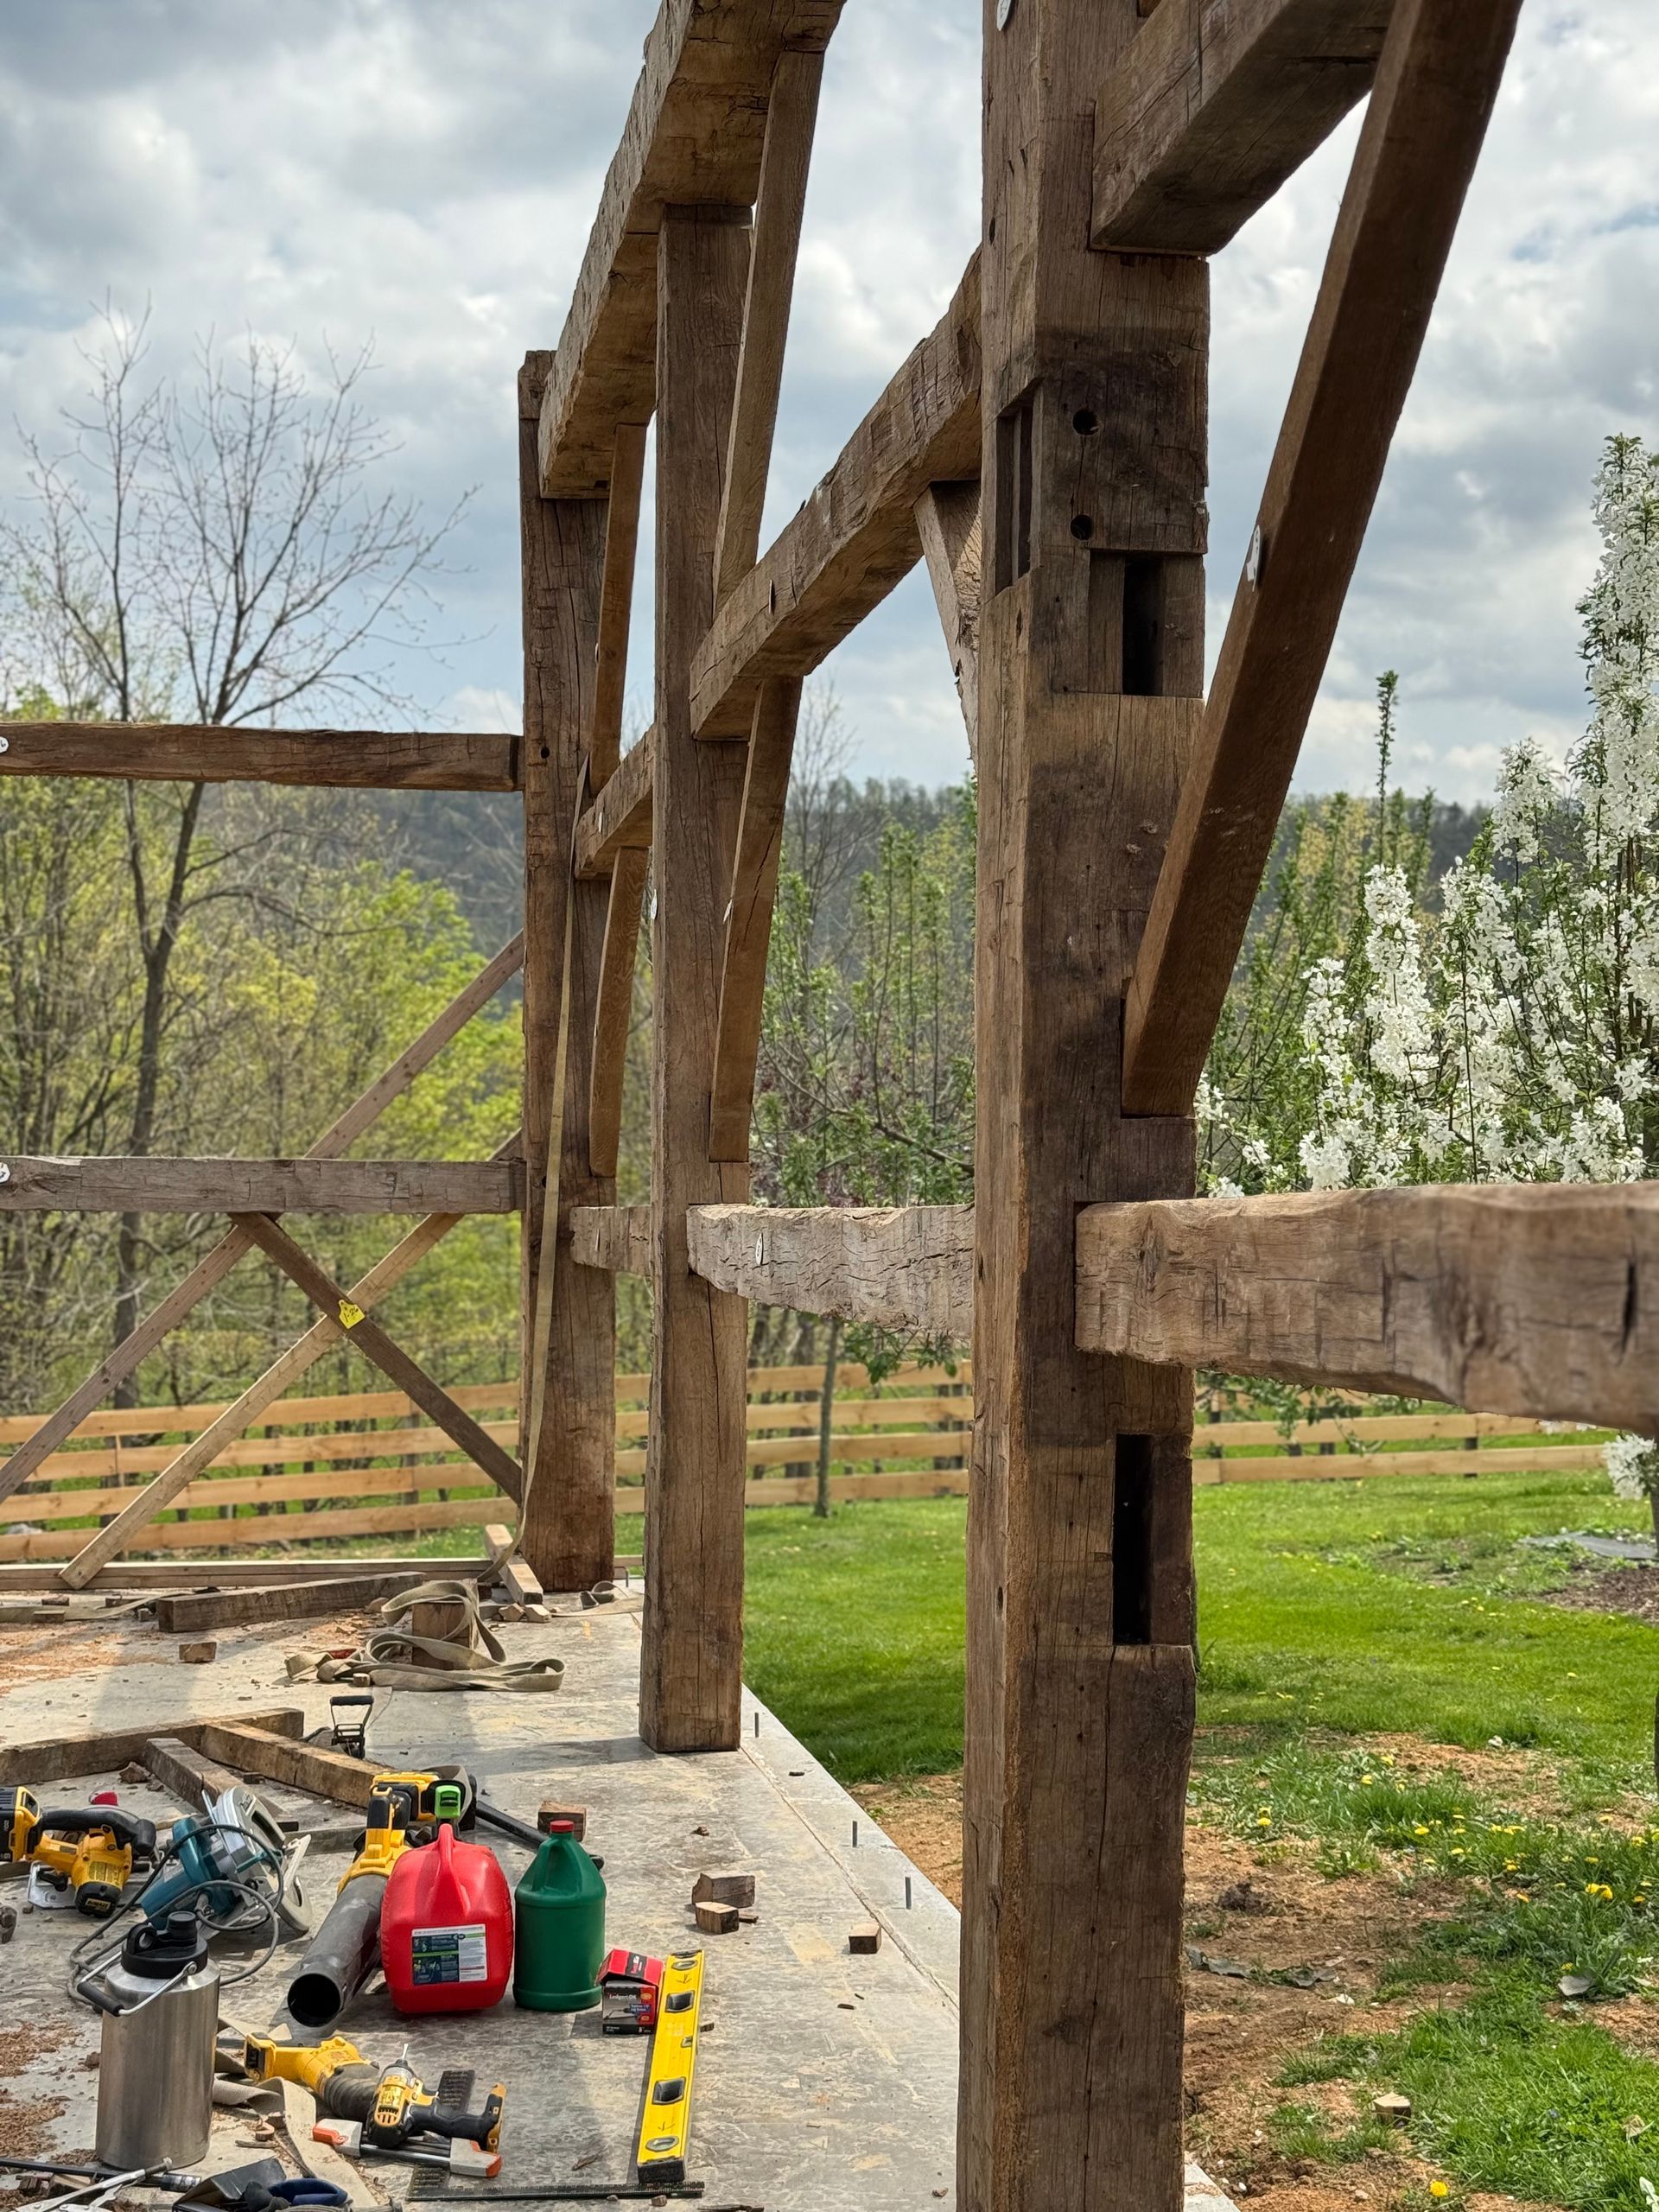
The dry-in phase is when you protect your barn’s timber frame from the weather. It’s all about sealing it off by installing a roof, adding wall sheathing, and installing either temporary or permanent windows and doors. This step is essential because it stops rain, wind, and snow from damaging the barn while you finish the rest of the restoration.
Why Does the Dry-In Phase Matter?
Water is wood’s worst enemy. If you don’t protect the timber frame fast, it can run into serious trouble:
- Rot that eats away at beams
- Warping, which means key timbers bend out of shape
- Mold and mildew, which can spread quickly
- Pests like termites that love damp wood
- Freeze-thaw cycles in cold areas that cause cracks
Sealing the barn and keeping it dry protects all your hard work and keeps these problems at bay.
How to Handle the Dry-In Phase Step by Step
1. Start With the Roof
Covering the barn with a roof is the first step. Here's what you’ll need to do:
- Add roof purlins (horizontal pieces that support the roof)
- Put down the roof decking (usually plywood or boards)
- Lay a waterproof layer beneath the final roof material
- Finish with a roof that fits the barn’s history, like metal, slate, or wood shingles
Pro Tip: Even if you plan to use traditional wood shingles later, start with a waterproof modern layer to protect the barn in the meantime.
2. Protect the Walls
Once the roof is done, move on to the walls:
- Add wall sheathing (wood boards or newer materials)
- Cover big openings with temporary weather barriers
- Use house wrap or building paper to shed water away from the wood
- Make sure materials overlap correctly so rain runs off instead of inside
3. Manage Water Runoff
Dealing with drainage is critical during this phase. Here’s how you can do it:
- Set up temporary gutters and downspouts
- Adjust the ground around the barn to steer rainwater away
- Think about installing French drains if your site tends to collect water
4. Control Interior Conditions
Once the barn is sealed, you might need to take care of the interior climate:
- Use dehumidifiers to dry out damp wood
- Add ventilation to avoid moisture buildup
- Keep an eye on humidity levels to ensure the barn adjusts safely to its new environment

Common Challenges & How to Solve Them
Challenge #1: Keeping It Historically Accurate
Modern materials work great for weatherproofing, but may not match the barn’s historic style.
Solution: Partner with preservation experts. They can help you balance traditional materials, which they show, with modern options underneath for better protection.
Challenge #2: Weather Interruptions
Rain or snow can delay your work.
Solution: Schedule your project during dry months and have emergency coverings on hand for surprise bad weather.
Challenge #3: Tricky Roof Designs
Many historic barns have roofs with complex shapes and angles.
Solution: Create detailed plans for how to seal joints, valleys, and intersections. These spots need extra care to prevent leaks.
Why Choose Bay & Bent for Historic Barn Frames?
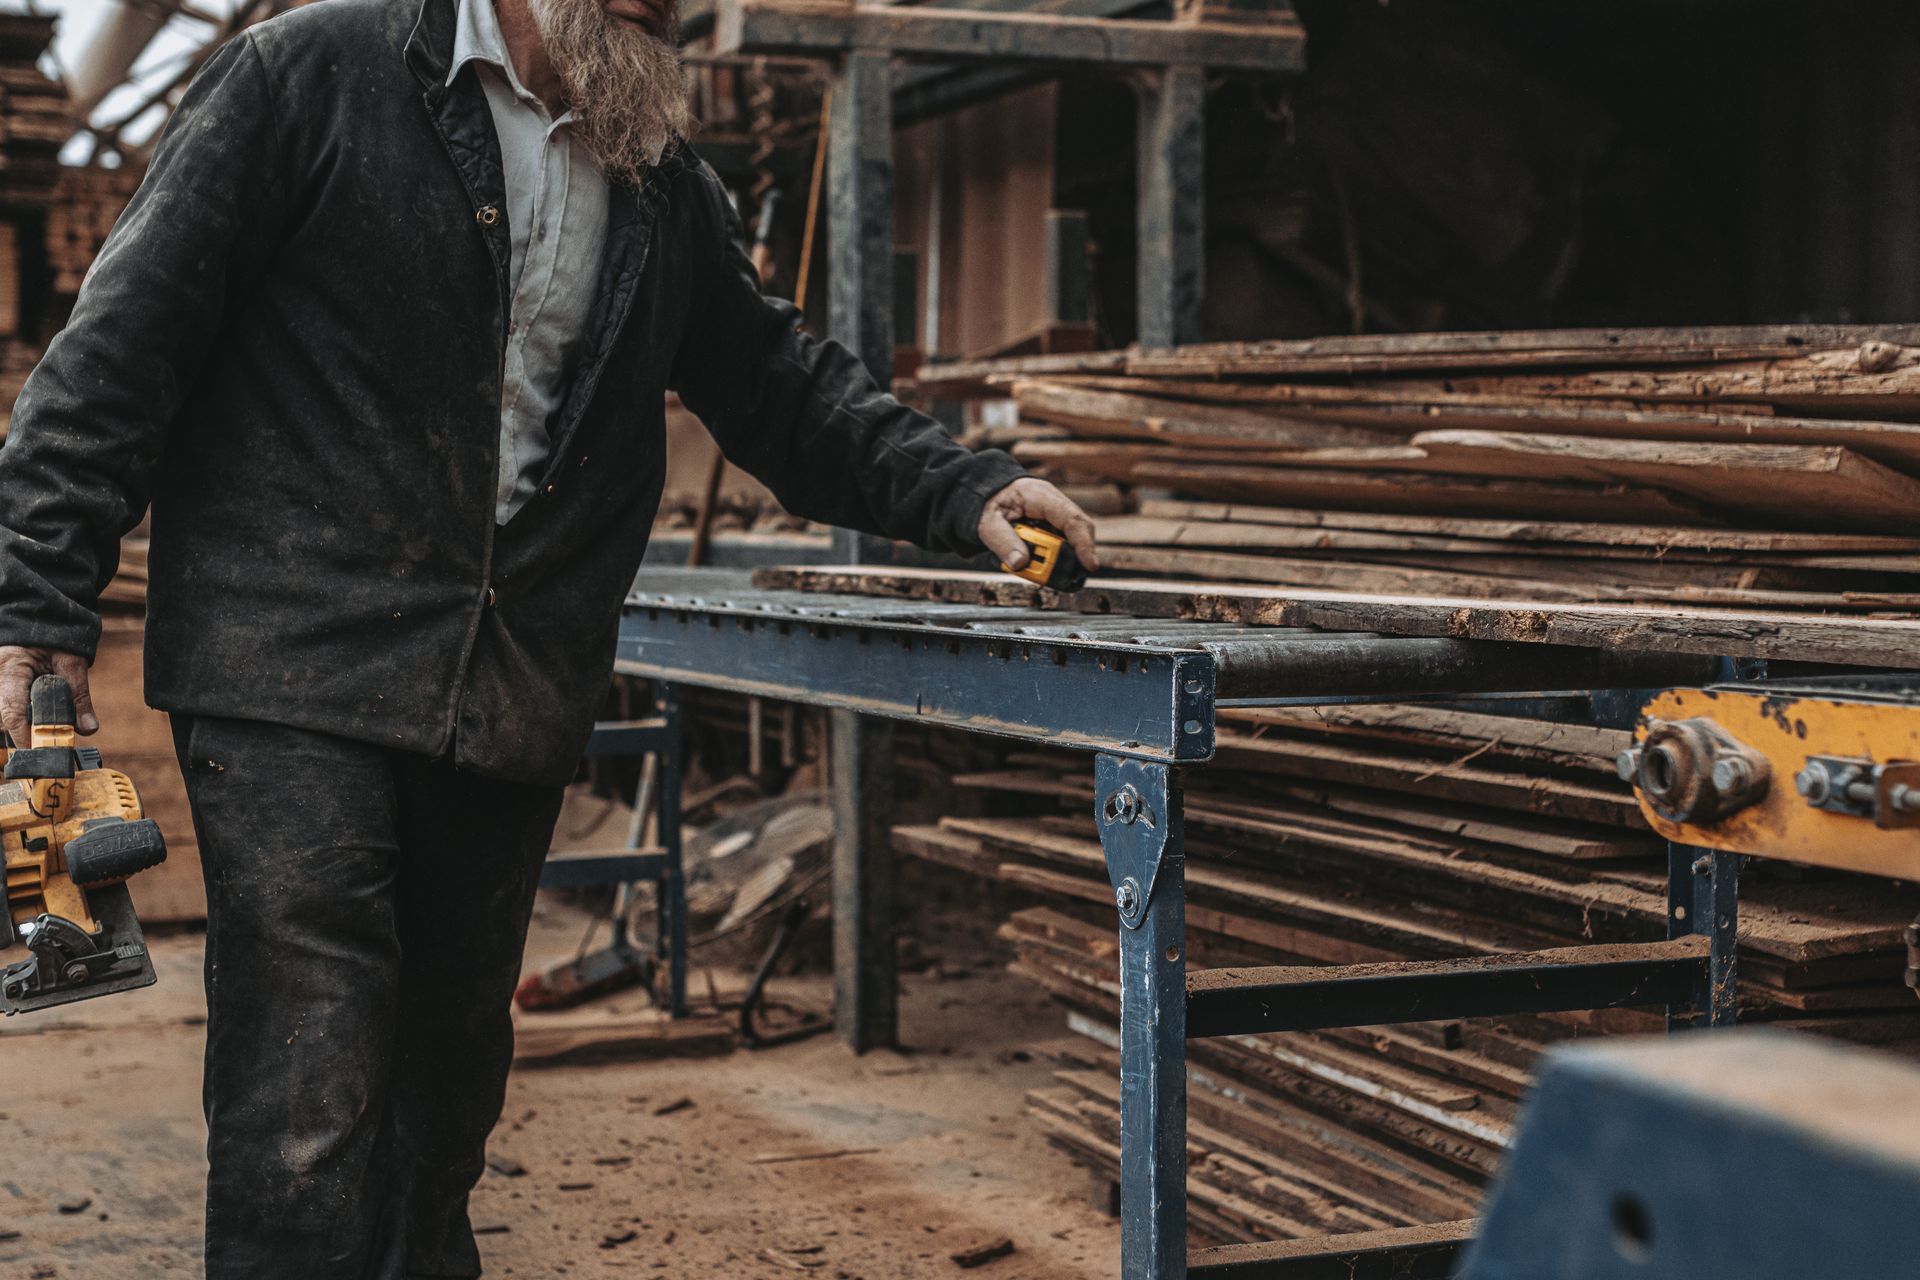
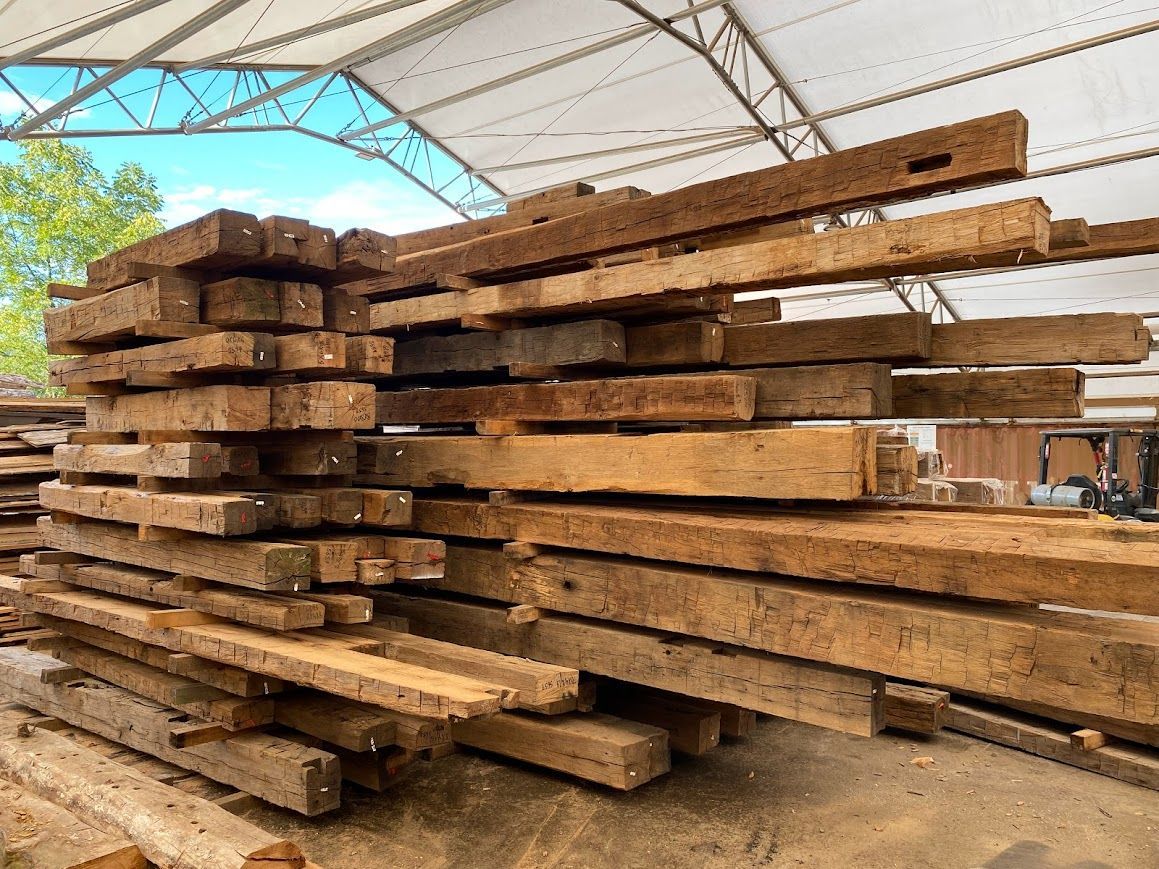
At Bay & Bent, we know historic barn frames like no one else. Our team focuses on finding the best old timber frames, carefully disassembling them, fixing any damage at our workshop, and delivering them ready to rebuild on your property.
We make sure every barn we prepare is set up for a smooth dry-in phase. This includes detailed instructions for sealing and protecting the frame quickly. With our skilled team specializing in historic joinery, you can trust your barn will stay solid once it’s weatherproofed.
Take Your Dry-In Phase to the Next Level
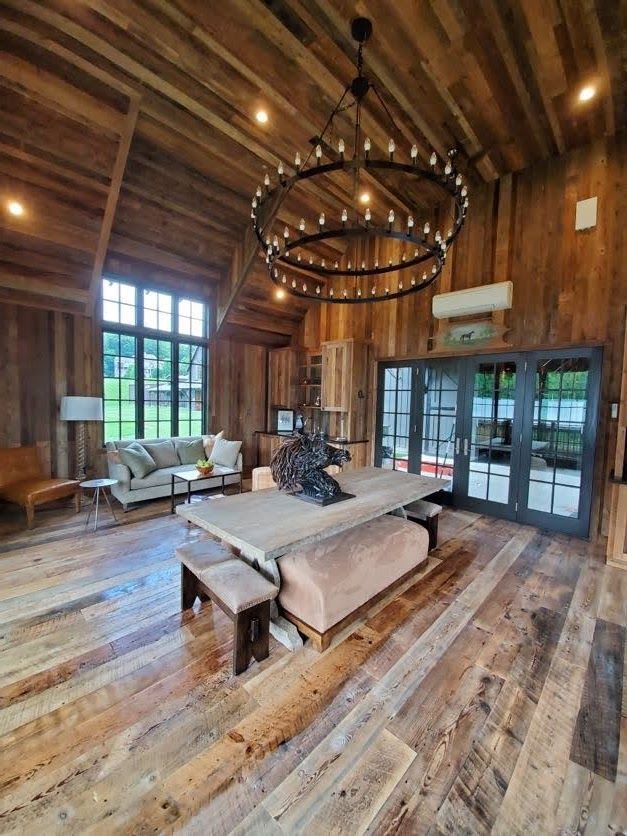
Getting the dry-in phase right does more than protect your barn. It lays the foundation for a successful restoration that will last for years. By planning ahead, using quality materials, and working with professionals, you’ll save money, time, and headaches in the long run.
Your investment in drying in your barn ensures it’s ready for a fresh start. Whether you’re just starting your barn restoration or already in the middle of it, understanding this step can help preserve these amazing structures for generations to come.