Tips for Working with Softwood (Perfect for Beginners)
Master softwood basics with confidence and ease
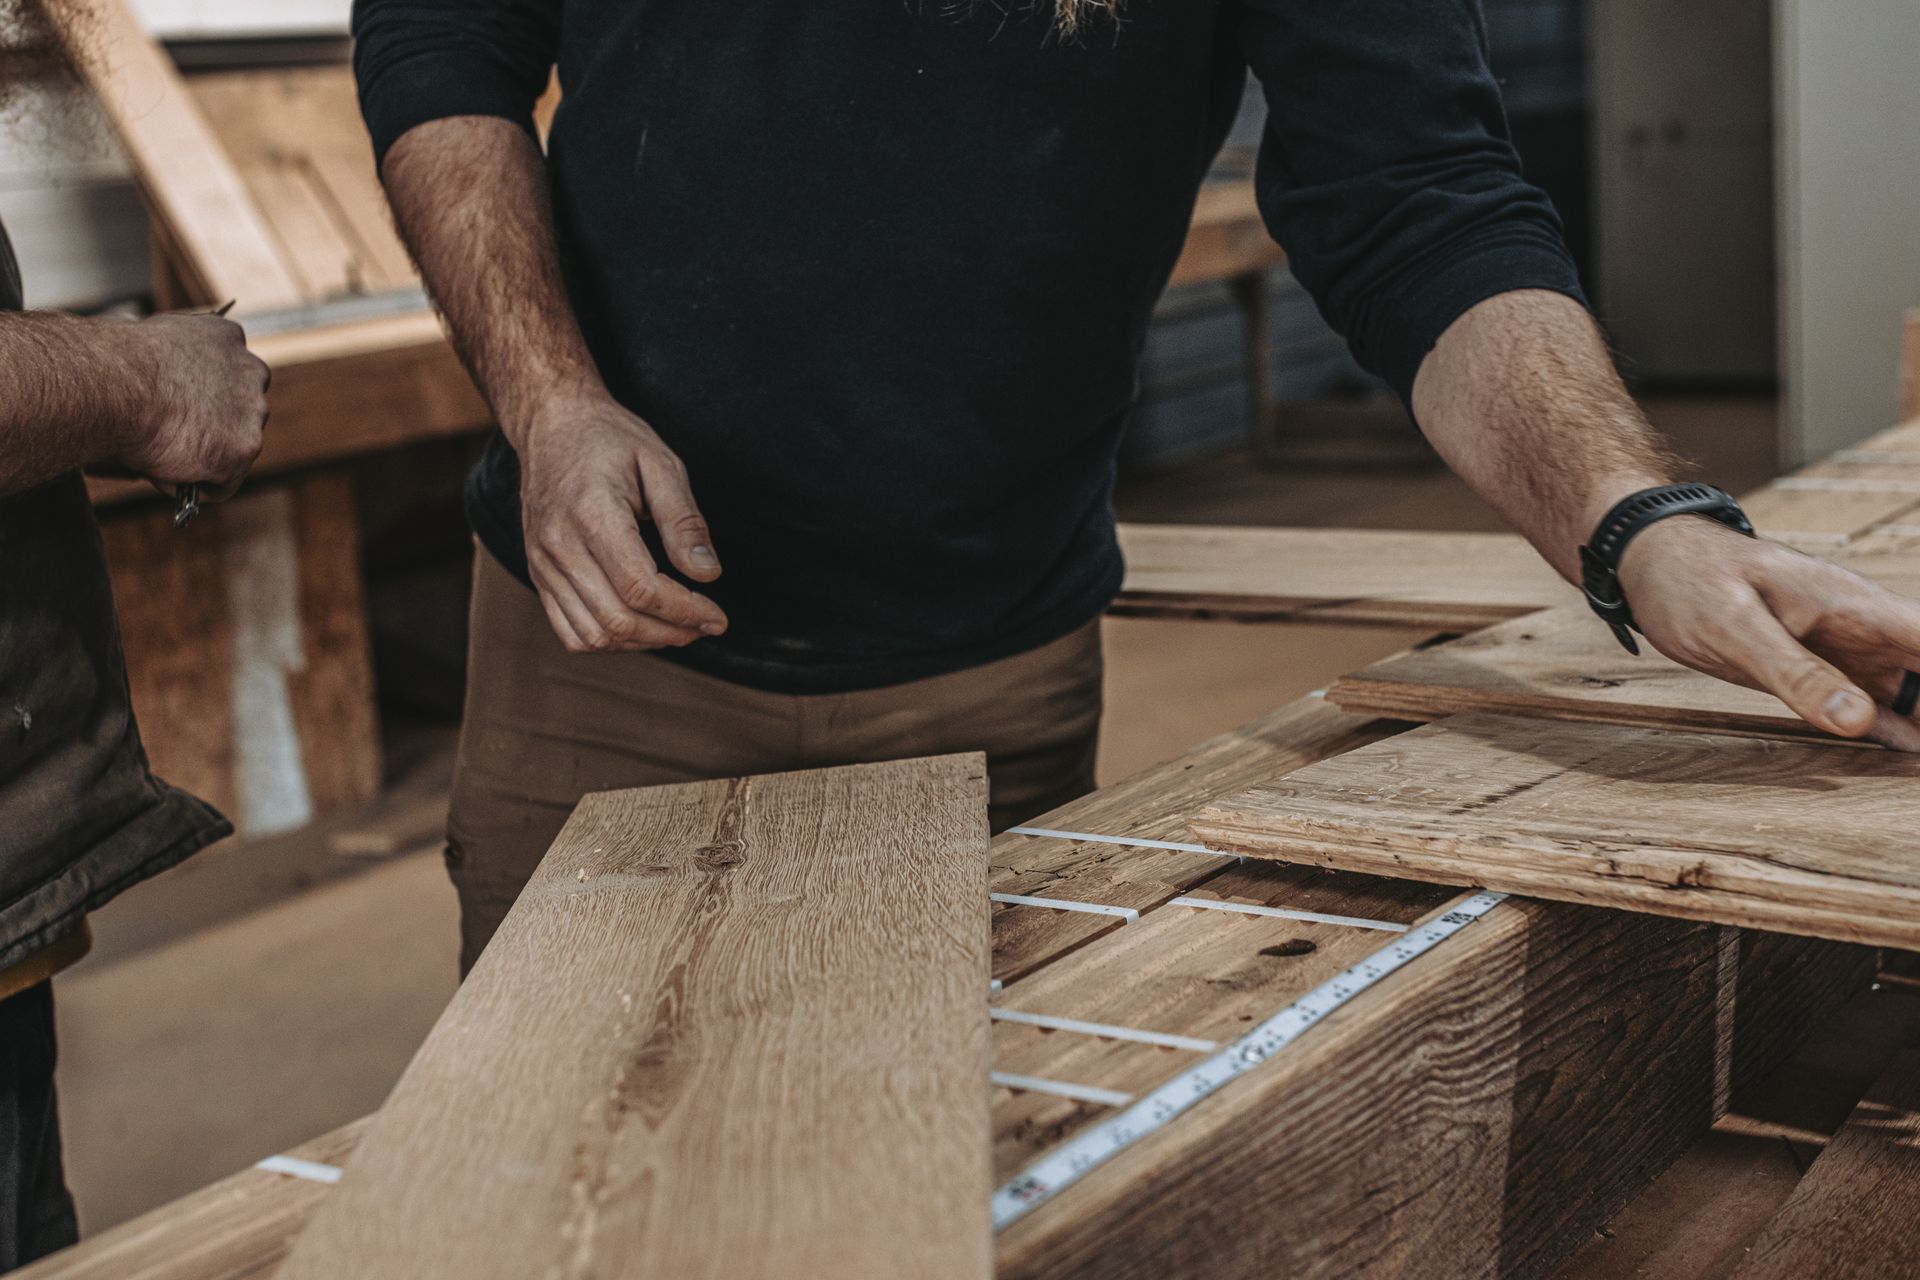
Working with wood for the first time? Softwood is a great place to start. It’s affordable, easier to handle, and perfect for learning basic woodworking skills. But like any material, it has its quirks. By understanding how to work with softwood, you can avoid common headaches and enjoy the process of creating something special.
Whether you’re building a simple shelf or practicing cuts, this guide will walk you through everything you need to know to get started.
Why Choose Softwood for Your First Projects?
Softwood comes from evergreen trees like pine, fir, and cedar. Here’s why it’s ideal for beginners:
- Easier to Work With: Softwood is less dense than hardwood, so it’s simpler to cut, shape, and sand.
- Forgiving Material: Mistakes won’t ruin your project, and replacing a piece won’t cost a fortune.
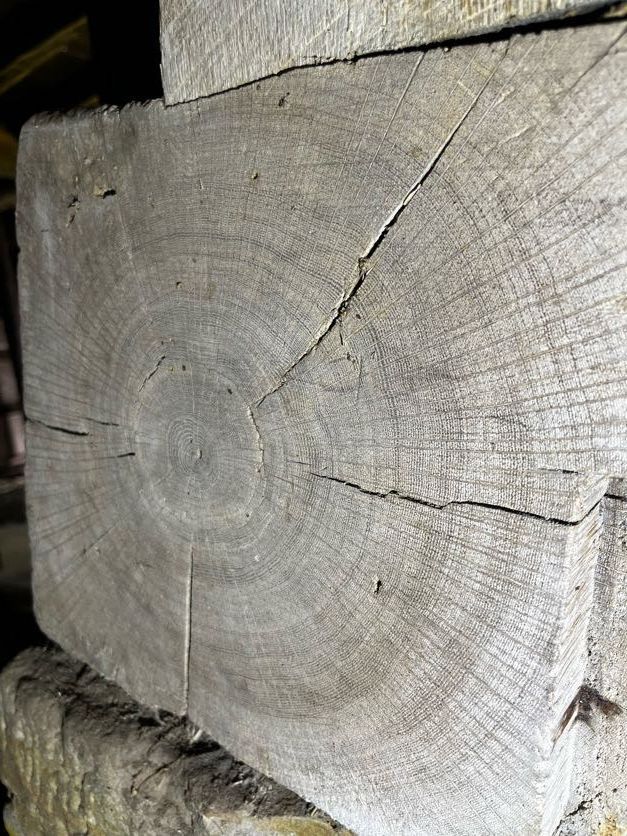
- Beginner-Friendly Grain: Softwood has simpler grain patterns, so you’re less likely to deal with splinters or tricky tear-out when cutting.
These qualities make softwood the perfect starting point for anyone taking their first steps into woodworking.
Types of Softwood (And How to Choose the Right One)
Not all softwoods are the same. Each type has unique qualities that affect how it performs in different projects. Here’s a quick overview:
1. Pine
Pine is the softwood most beginners start with. It’s cheap, easy to find at local hardware stores, and simple to cut. However, it can dent easily and sometimes oozes sticky resin (called pitch).
2. Douglas Fir
Looking for something tougher? Try Douglas fir. It’s stronger than pine and has a straight grain that’s easier to work with. It also holds screws well, which is helpful for furniture projects.
3. Cedar
Cedar stands out for its rich color and natural resistance to rot and insects. This makes it a favorite for outdoor projects like planter boxes or garden benches.
4. Spruce
Spruce is light, easy to cut, and ideal for crafts or smaller projects. It usually has fewer knots than pine, giving it a clean, uniform look.
Tools You’ll Need
One of the best things about softwood is that it doesn’t require fancy tools. Here’s what you’ll need:
Hand Tools
- Handsaw: Perfect for clean cuts.
- Chisels: Stay sharp longer with softwood. Great for carving or fine details.
- Sanding Block: Smooth out rough edges without needing a power sander.
Power Tools
- Circular or Miter Saw: Ideal for making quick, precise cuts.
- Random Orbital Sander: Gentle enough for softwood but fast enough to save time.
- Drill/Driver: Makes screwing and drilling effortless.
Tip: Keep your tools sharp. Softwood can dull blades faster than you’d think because of its resin content.
Cutting and Shaping
Cutting softwood is easier than cutting hardwood, but it still takes some finesse. Here’s how to get the best results:
1. Support Your Cuts
Softwood can splinter, especially near the ends. Use a backing board when making crosscuts to prevent tear-out.
2. Choose the Right Blade
- For crosscuts (cutting across the grain), use a fine-tooth blade with 60–80 teeth.
- For ripping (cutting along the grain), use a coarser blade with 24–40 teeth.
3. Don’t Rush
Feed the wood steadily into the blade. Going too fast can cause burn marks or uneven cuts.
Dealing with Resin
Resin is a sticky, natural substance that some softwoods, like pine, produce. It can make your tools gummy and affect your cuts. Here’s how to handle it:
- Prevent Buildup: Use sharp blades and avoid overheating the wood by cutting slowly.
- Clean Your Tools: Wipe tools with mineral spirits or resin cleaner to remove any buildup.
- Plan Ahead: If a piece has visible resin, avoid using it for critical parts of your project.
Joining Softwood Pieces
Softwood behaves differently from hardwood when it comes to joinery. Follow these tips for sturdy, reliable joints:
Screwing
Softwood holds screws well, so pre-drilling isn’t always necessary. However, pre-drill near edges to avoid splitting.
Gluing
Since softwood absorbs glue quickly, apply it evenly to both surfaces. Work quickly before it sets.
Traditional Joinery
Techniques like dovetails and mortise-and-tenon work well with softwood. Just take extra care to avoid crushing the softer fibers.
Finishing Softwood for a Professional Look
The final finish can make or break your project. Softwoods can be tricky because they absorb stains unevenly, but here’s how to get it right:
1. Sand Carefully
- Use 120-grit sandpaper to start and finish with 220-grit for a smooth surface.
- Always sand in the direction of the grain to avoid visible scratches.
2. Prevent Stain Blotching
- Apply a wood conditioner or a thin coat of shellac before staining to ensure even absorption.
3. Pick the Right Finish
- Stains: Water-based stains minimize blotching, but oil-based stains offer richer color. Always test on a scrap piece first.
- Protective Coats: Clear polyurethane works well for durable surfaces. For a natural look, Danish oil or tung oil is an excellent option.
Common Mistakes to Avoid
Even with easy-to-use softwood, beginners can run into pitfalls. Avoid these common mistakes:
- Skipping Pre-Checks: Always inspect wood for knots, warping, or pitch pockets before starting.
- Over-Sanding: Softwood scratches easily, so don’t use sandpaper that’s too coarse.
- Rushing Drying Time: If you’re using green wood (not fully dried), give it time to adapt to your space so it doesn’t warp later.
Beginner-Friendly Project Ideas
Softwood is perfect for simple, rewarding projects. Here are some ideas to get you started:
- Simple Shelves: Great for learning basic cutting and assembly.
- Planter Boxes: Easy to build and perfect for outdoor spaces.
- Small Storage Crates: Practice making joints and cuts while creating something functional.
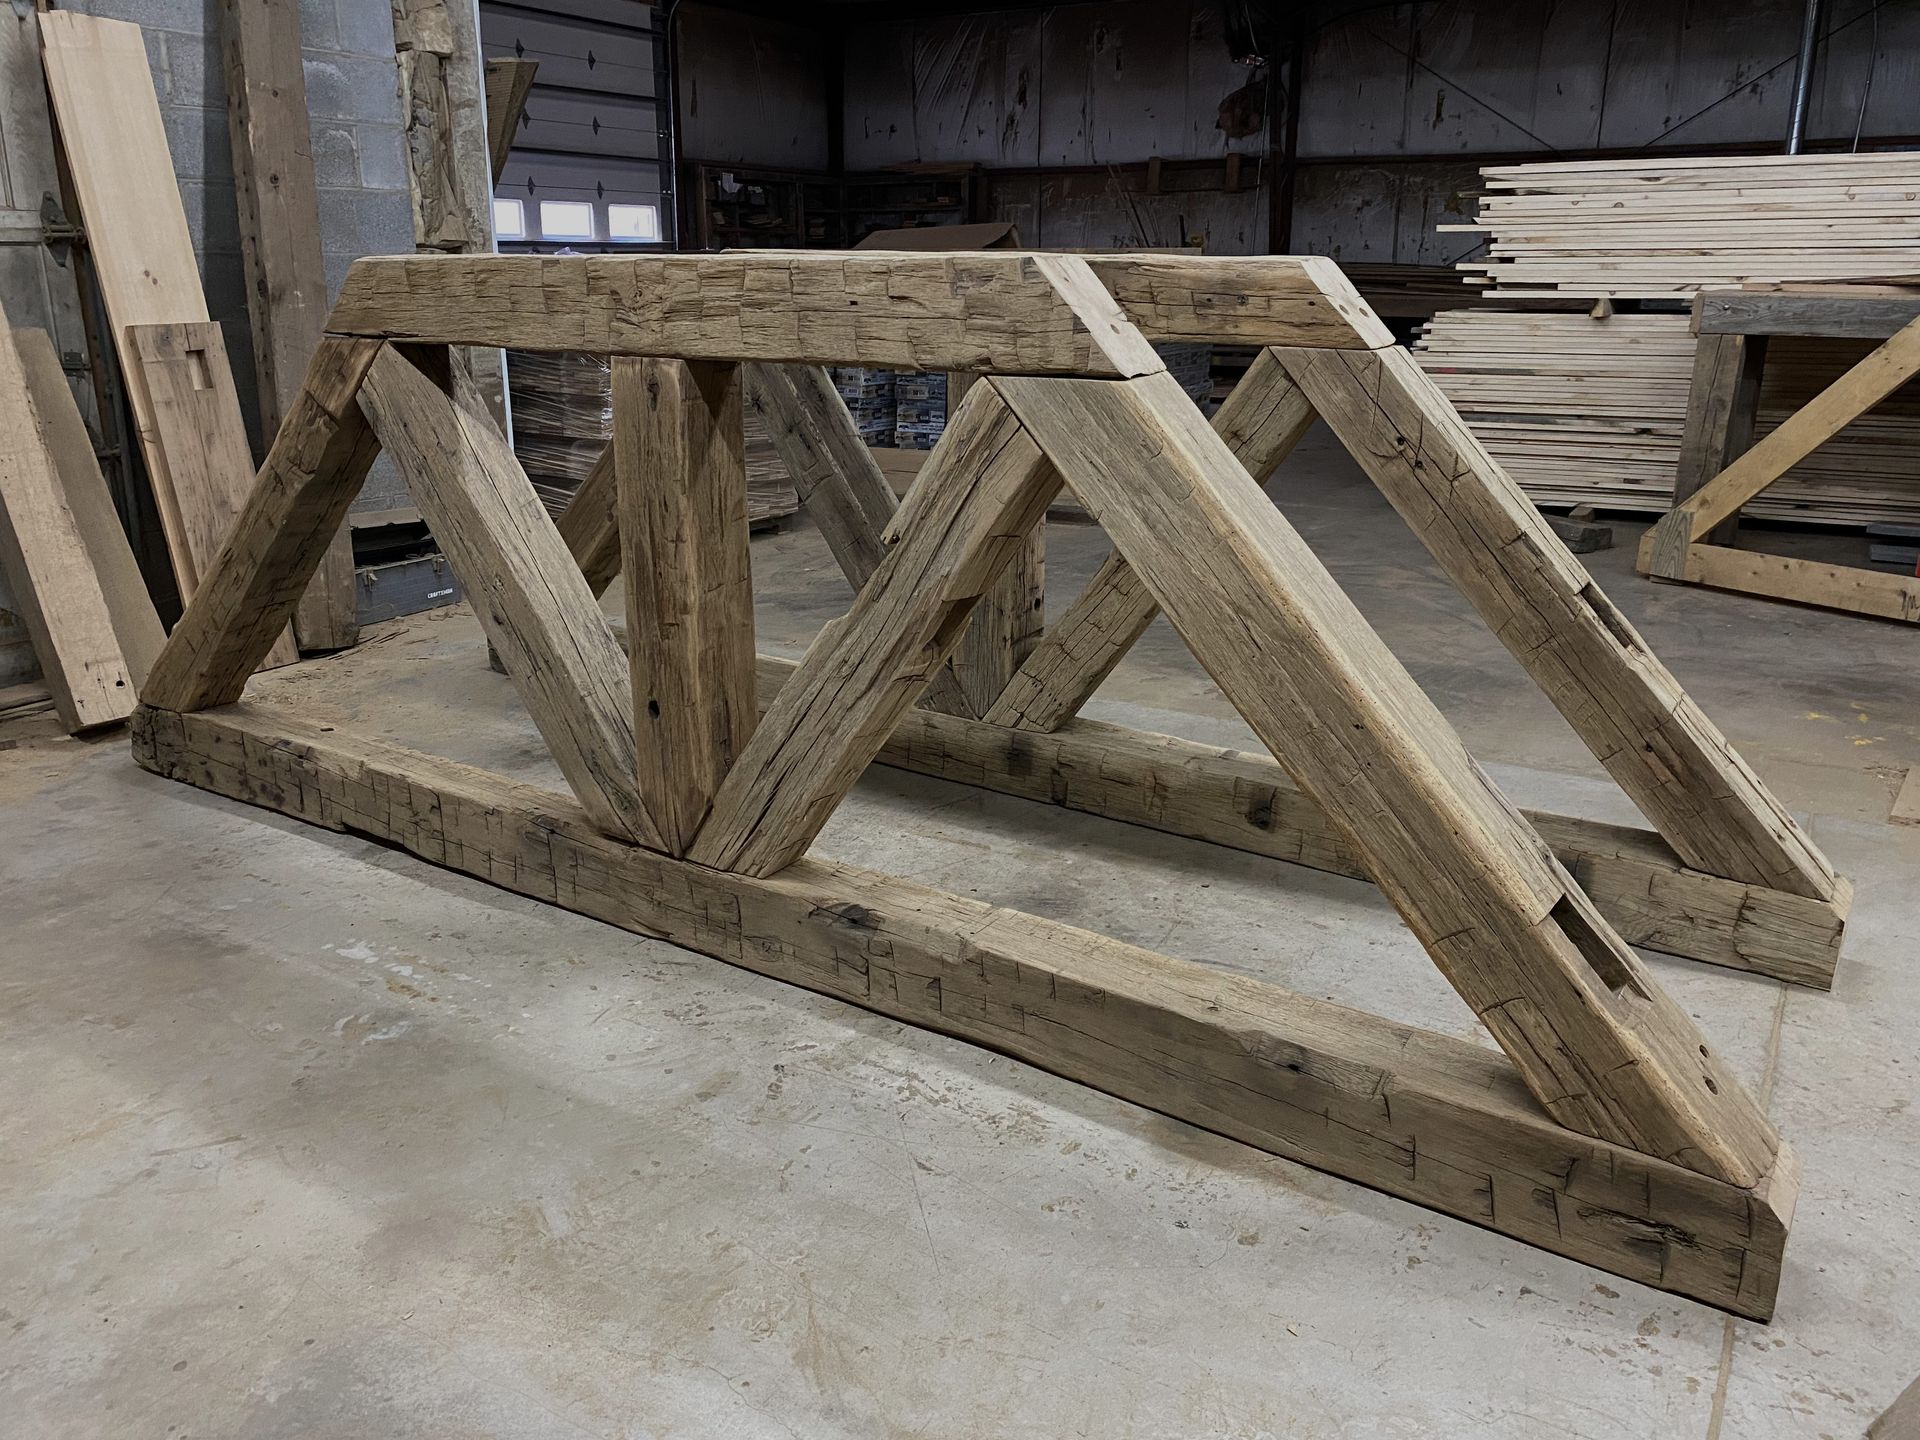
Once you gain confidence, you can try more advanced builds like furniture or even timber framing!
A Historic Perspective on Softwood
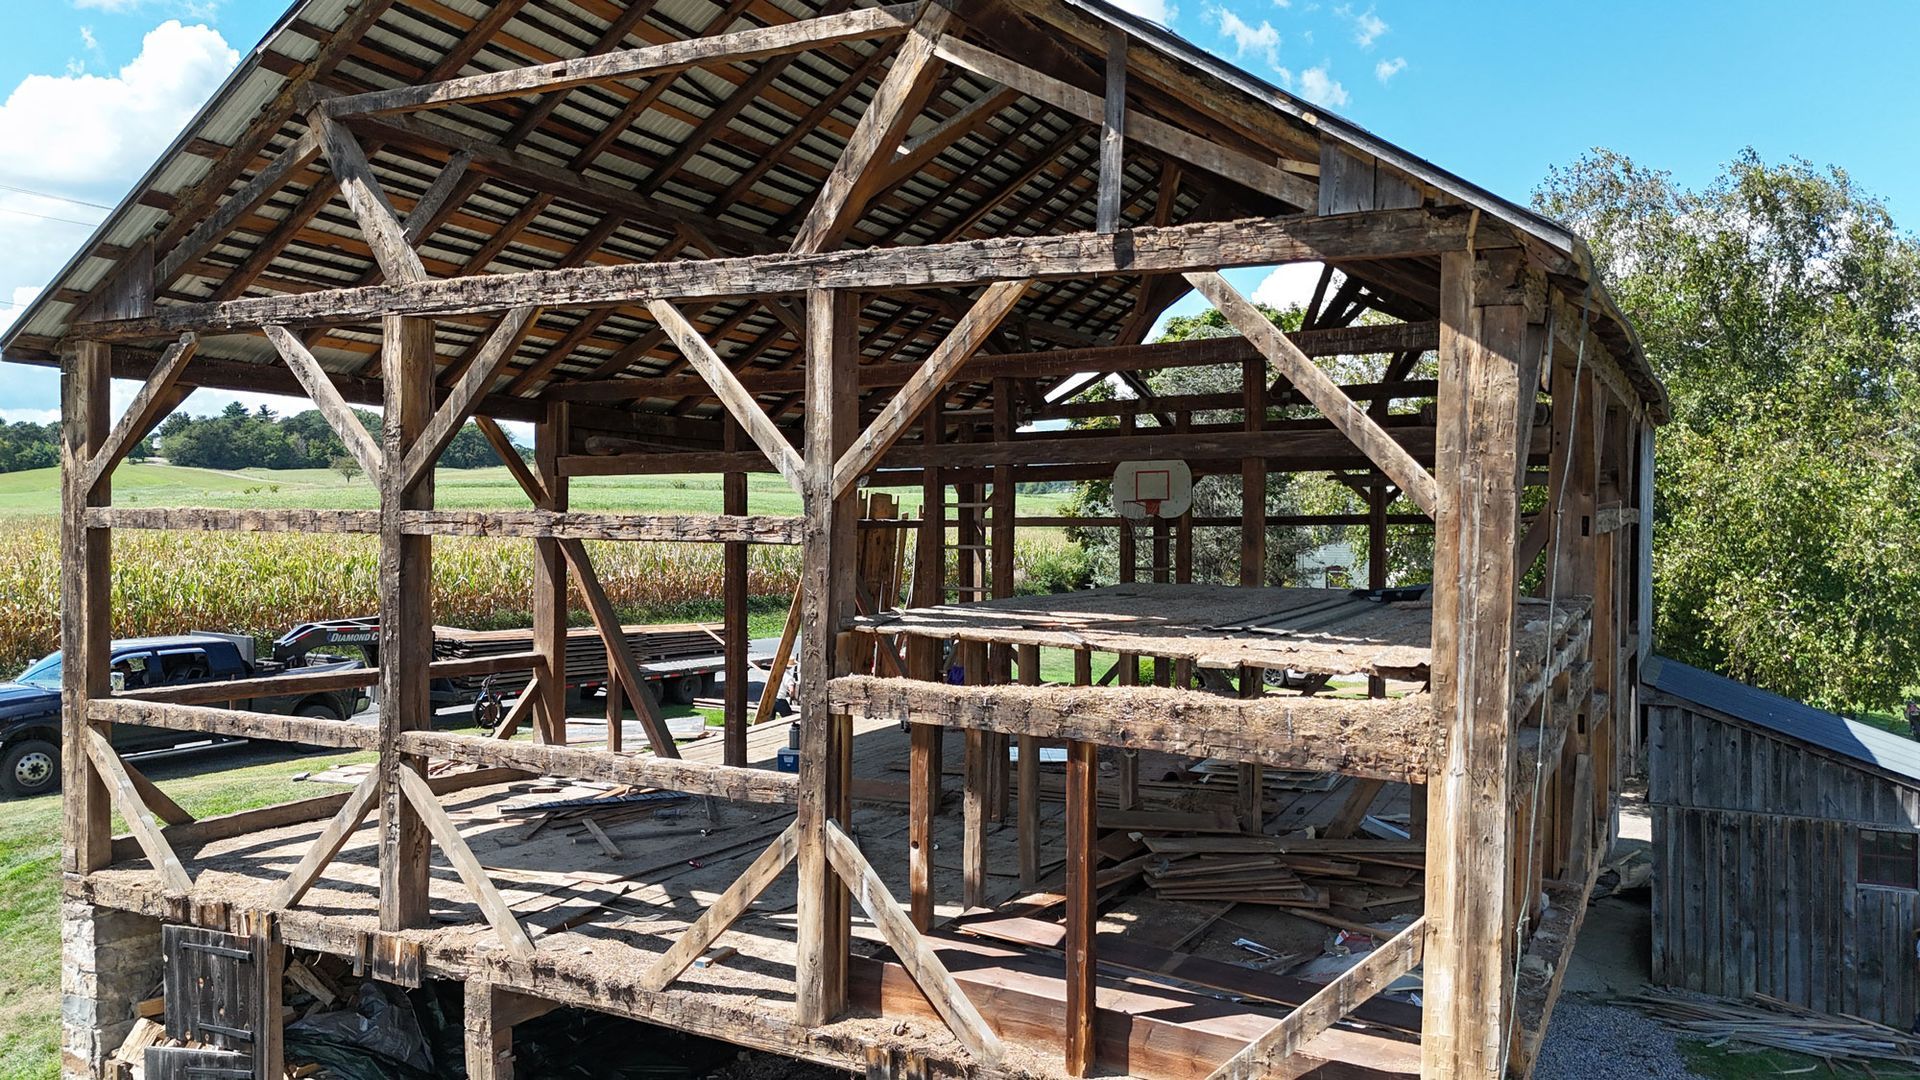
At Bay & Bent, we’ve worked with plenty of softwood in historic buildings. Old-growth softwood, often chosen for its workability and availability, boasts tighter grain patterns and remarkable durability.
When carefully used, softwood can last for centuries. Historic builders used its lightweight nature and ease of shaping to their advantage, blending it with hardwood for structural balance. This reminds us that even “basic” materials like softwood have timeless value when used wisely.
Wrapping It Up
Softwood is a beginner’s best bet for learning woodworking. It’s affordable, forgiving, and versatile enough to handle everything from simple crafts to bigger furniture projects. With the right tools and techniques, you can turn this humble material into something extraordinary.
Take your time, experiment, and give yourself room to learn. Mistakes are part of the process, but softwood makes them easy to fix. Use those lessons to grow your skills and build confidence. Who knows? That first pine project might just lead to a lifelong love of woodworking.