How to Use Wood Filler Effectively: Dos and Don’ts
Master wood filler techniques for flawless woodworking results
When it comes to repairing and restoring wood, wood filler is a handy tool. Whether you’re fixing scratches, dents, or even deeper damage, this material can make the wood look smooth and polished again.
However, getting great results depends on knowing how to choose and use it properly. Follow these simple tips, and you’ll soon master how to work with wood filler like a pro.
Choosing the Right Wood Filler for Your Project
Before you jump into using wood filler, you need to pick the right kind for the job. Different fillers have different purposes, so making the right choice can save you time and frustration.
Water-Based Wood Fillers
Water-based fillers are easy to clean up and have little to no odor, making them perfect for indoor projects. They’re good for small repairs and sanding, but they don’t handle moisture well. Avoid using them for outdoor projects where they’ll be exposed to rain or humidity.
Solvent-Based Fillers
These fillers are more durable and resist water, so they’re a good choice for outdoor or high-use areas. However, they have a strong smell and require solvent for cleanup. They also cure harder than water-based fillers, which is great for long-lasting repairs, but can make sanding more challenging.
Two-Part Epoxy Fillers
Epoxy fillers are the go-tos for heavy-duty repairs. They are incredibly strong, making them ideal for big cracks, load-bearing parts, or antique restorations. They’re a bit tricky for beginners because they involve mixing and curing, but they provide repairs that last for years.
Pro Tip: Always check the label! Some fillers work better on certain types of wood or under certain conditions. When in doubt, test a small amount on scrap wood.
The Dos of Using Wood Filler
To get great results, follow these essential tips when applying wood filler.
1. Clean the Area First
Before you apply wood filler, make sure the area is clean. Remove dust, old finishes, and debris; otherwise, the filler won’t stick properly. A vacuum or compressed air works well to remove particles, and a tack cloth can grab any fine dust.
2. Apply in Thin Layers
If you’re filling a deep crack or hole, don’t try to do it all in one go. Add the filler in thin layers, letting each one dry before adding more. This helps the filler dry evenly and prevents cracks or uneven spots later.
3. Overfill Slightly
Wood filler tends to shrink as it dries. Add a little extra filler so it rises slightly above the surface. Once it cures, you can sand it down for a seamless, smooth finish.
4. Match the Color
Choose a filler color that matches the lightest shade of the wood grain. Most fillers don’t stain exactly like wood, so starting with a close match gives you a better chance of blending repairs.
5. Wait for it to Dry
Be patient. If you sand or finish too soon, you’ll end up with uneven surfaces or dents. Follow the drying time listed on the filler’s label, and add extra time in humid weather.
The Don’ts of Using Wood Filler
Avoid these common mistakes to ensure your repairs last and look great.
1. Don’t Skip Prep on Oily Woods
Some woods, such as teak or rosewood, have oils that can stop the filler from sticking. Wipe the surface with a degreasing solvent first, and use a barrier coat if needed.
2. Don’t Expect Perfect Grain Matching
Wood filler is great for filling gaps, but it can’t recreate the natural grain of the wood. Use it sparingly on visible areas of high-quality lumber, or consider using patches of matching wood instead.
3. Don’t Apply to Wet Wood
Filler will never bond well to damp wood. Always check the moisture levels with a reliable meter, especially if you’re working on outdoor or freshly dried wood.
4. Don’t Sand Aggressively
Sanding too hard can tear out filler or even damage the surrounding wood. Start with fine-grit sandpaper (around 120-grit) and gently sand the surface. For delicate repairs, hand sanding is often better than power sanding.
5. Don’t Ignore the Weather
Most fillers cure best in moderate conditions, ideally between 65°F and 75°F with low humidity. Extreme temperatures or high humidity can cause poor adhesion, cracking, or discoloration.
Advanced Tips for Professional Results
If you want to take your wood filler skills to the next level, try these advanced techniques.
- Custom Color Matching: Mix different shades of filler or add compatible pigments to create a perfect color blend. Test your mix on scrap wood first to ensure it cures as expected.
- Use Backing Materials for Large Repairs: To save time and filler, use wood plugs, dowels, or crumpled paper to fill large gaps. Then top with filler for a smooth finish.
- Create Texture: Use tools like fine combs, steel wool, or even a toothpick to mimic the surrounding wood’s grain pattern.
Common Problems and How to Fix Them
Problem: Your filler cracked after drying.
Solution: This usually means you applied it too thick or the curing conditions weren’t right. Remove the filler and reapply in thinner layers. If cracking keeps happening, use a more flexible filler.
Problem: The stain doesn’t match.
Solution: Test stain on a scrap piece of wood with filler before applying it to the final project. You can also stain the filler before applying it to minimize differences in color.
Problem: The filler won’t stick.
Solution: Clean the area thoroughly. For oily woods, use a degreasing solvent or barrier primer.
Protecting Your Repairs
After using and sanding wood filler, it’s time to finish the surface. Most fillers work well with stains, paint, or clear coats, but always test your finish beforehand to ensure compatibility.
For outdoor projects, use fillers rated for exterior use and seal repairs with a primer and weatherproof topcoat. This protects the wood and filler from water and UV damage, making the repair last longer.
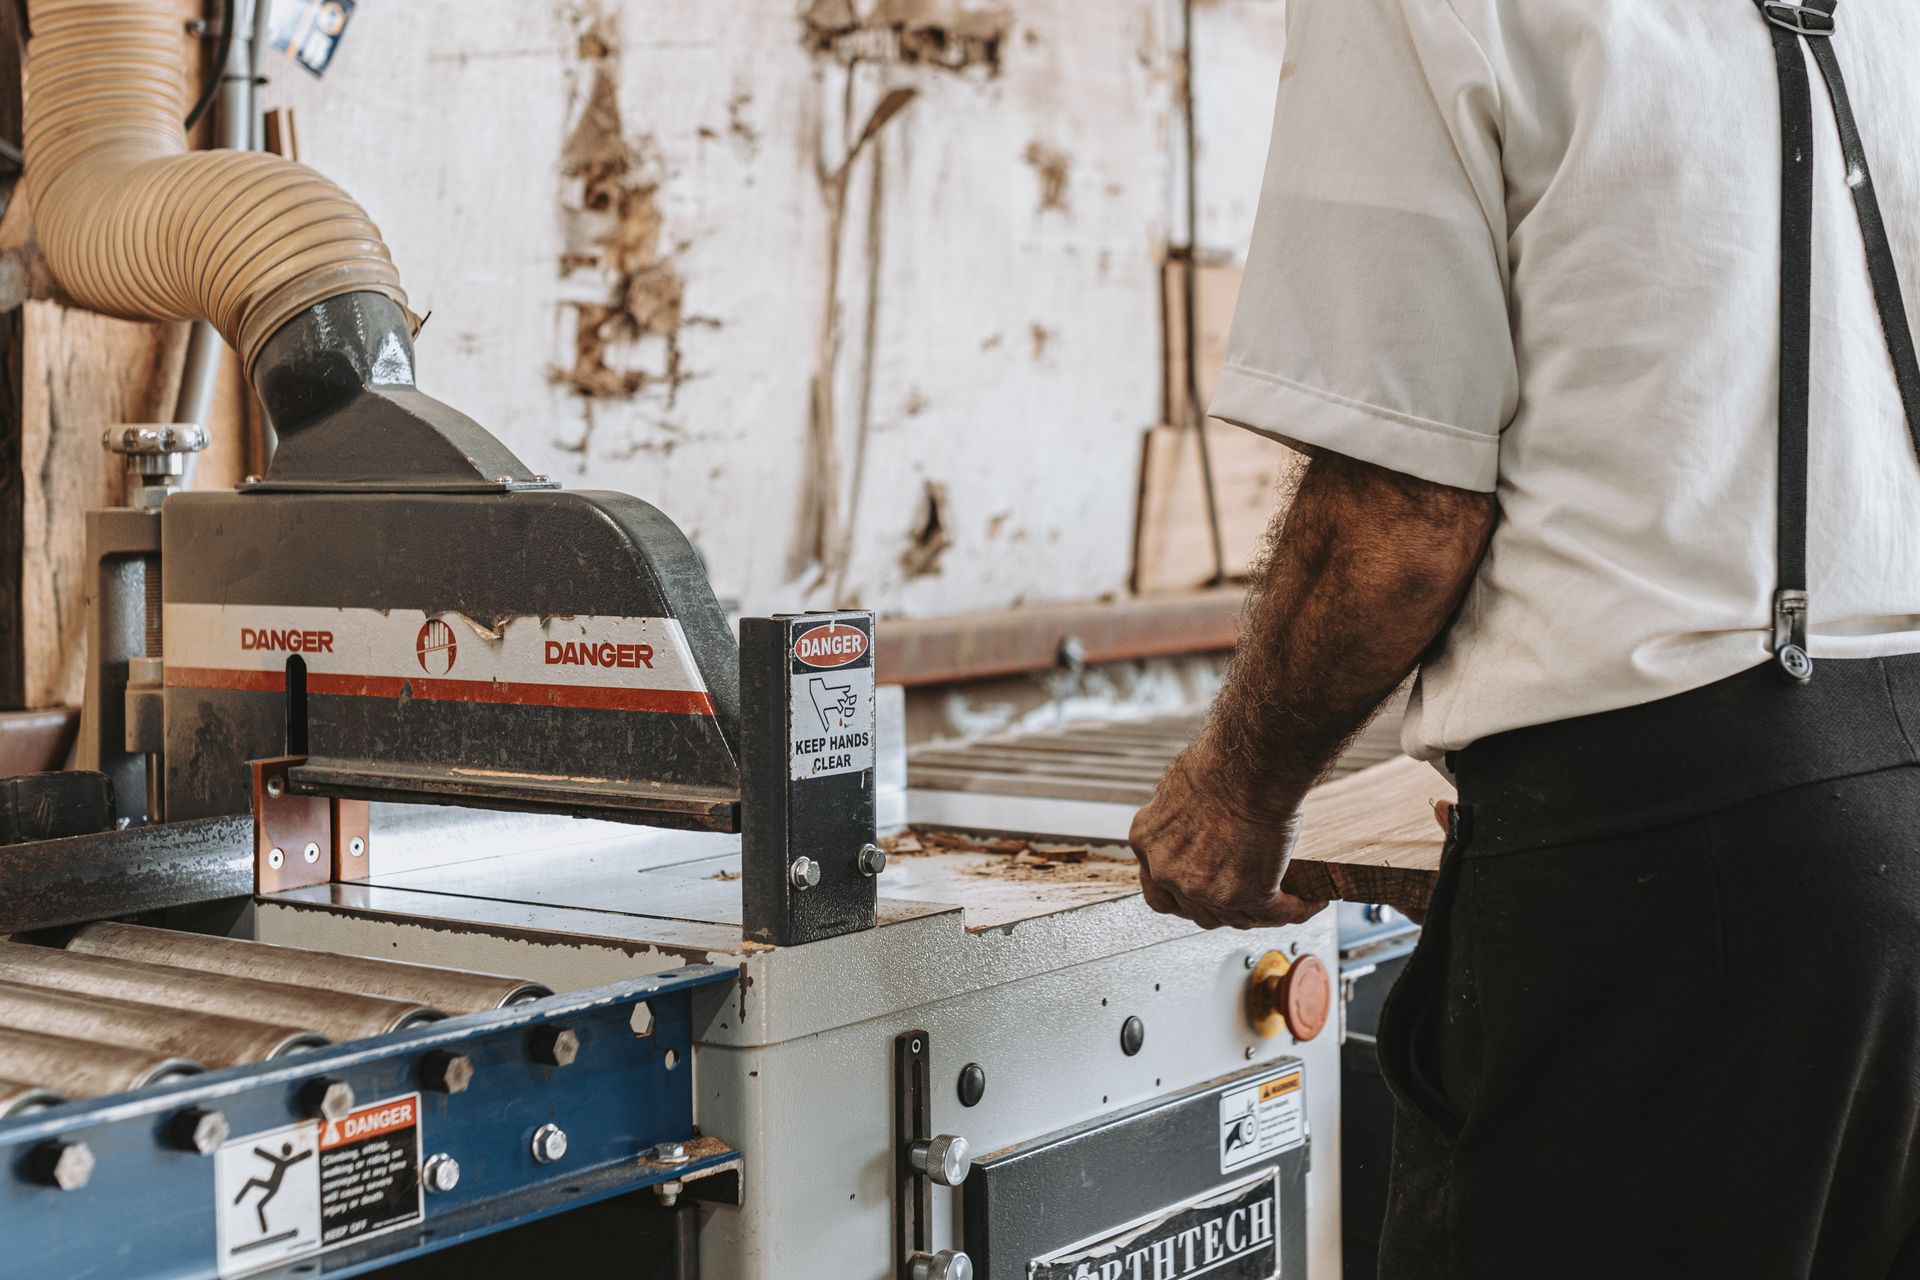
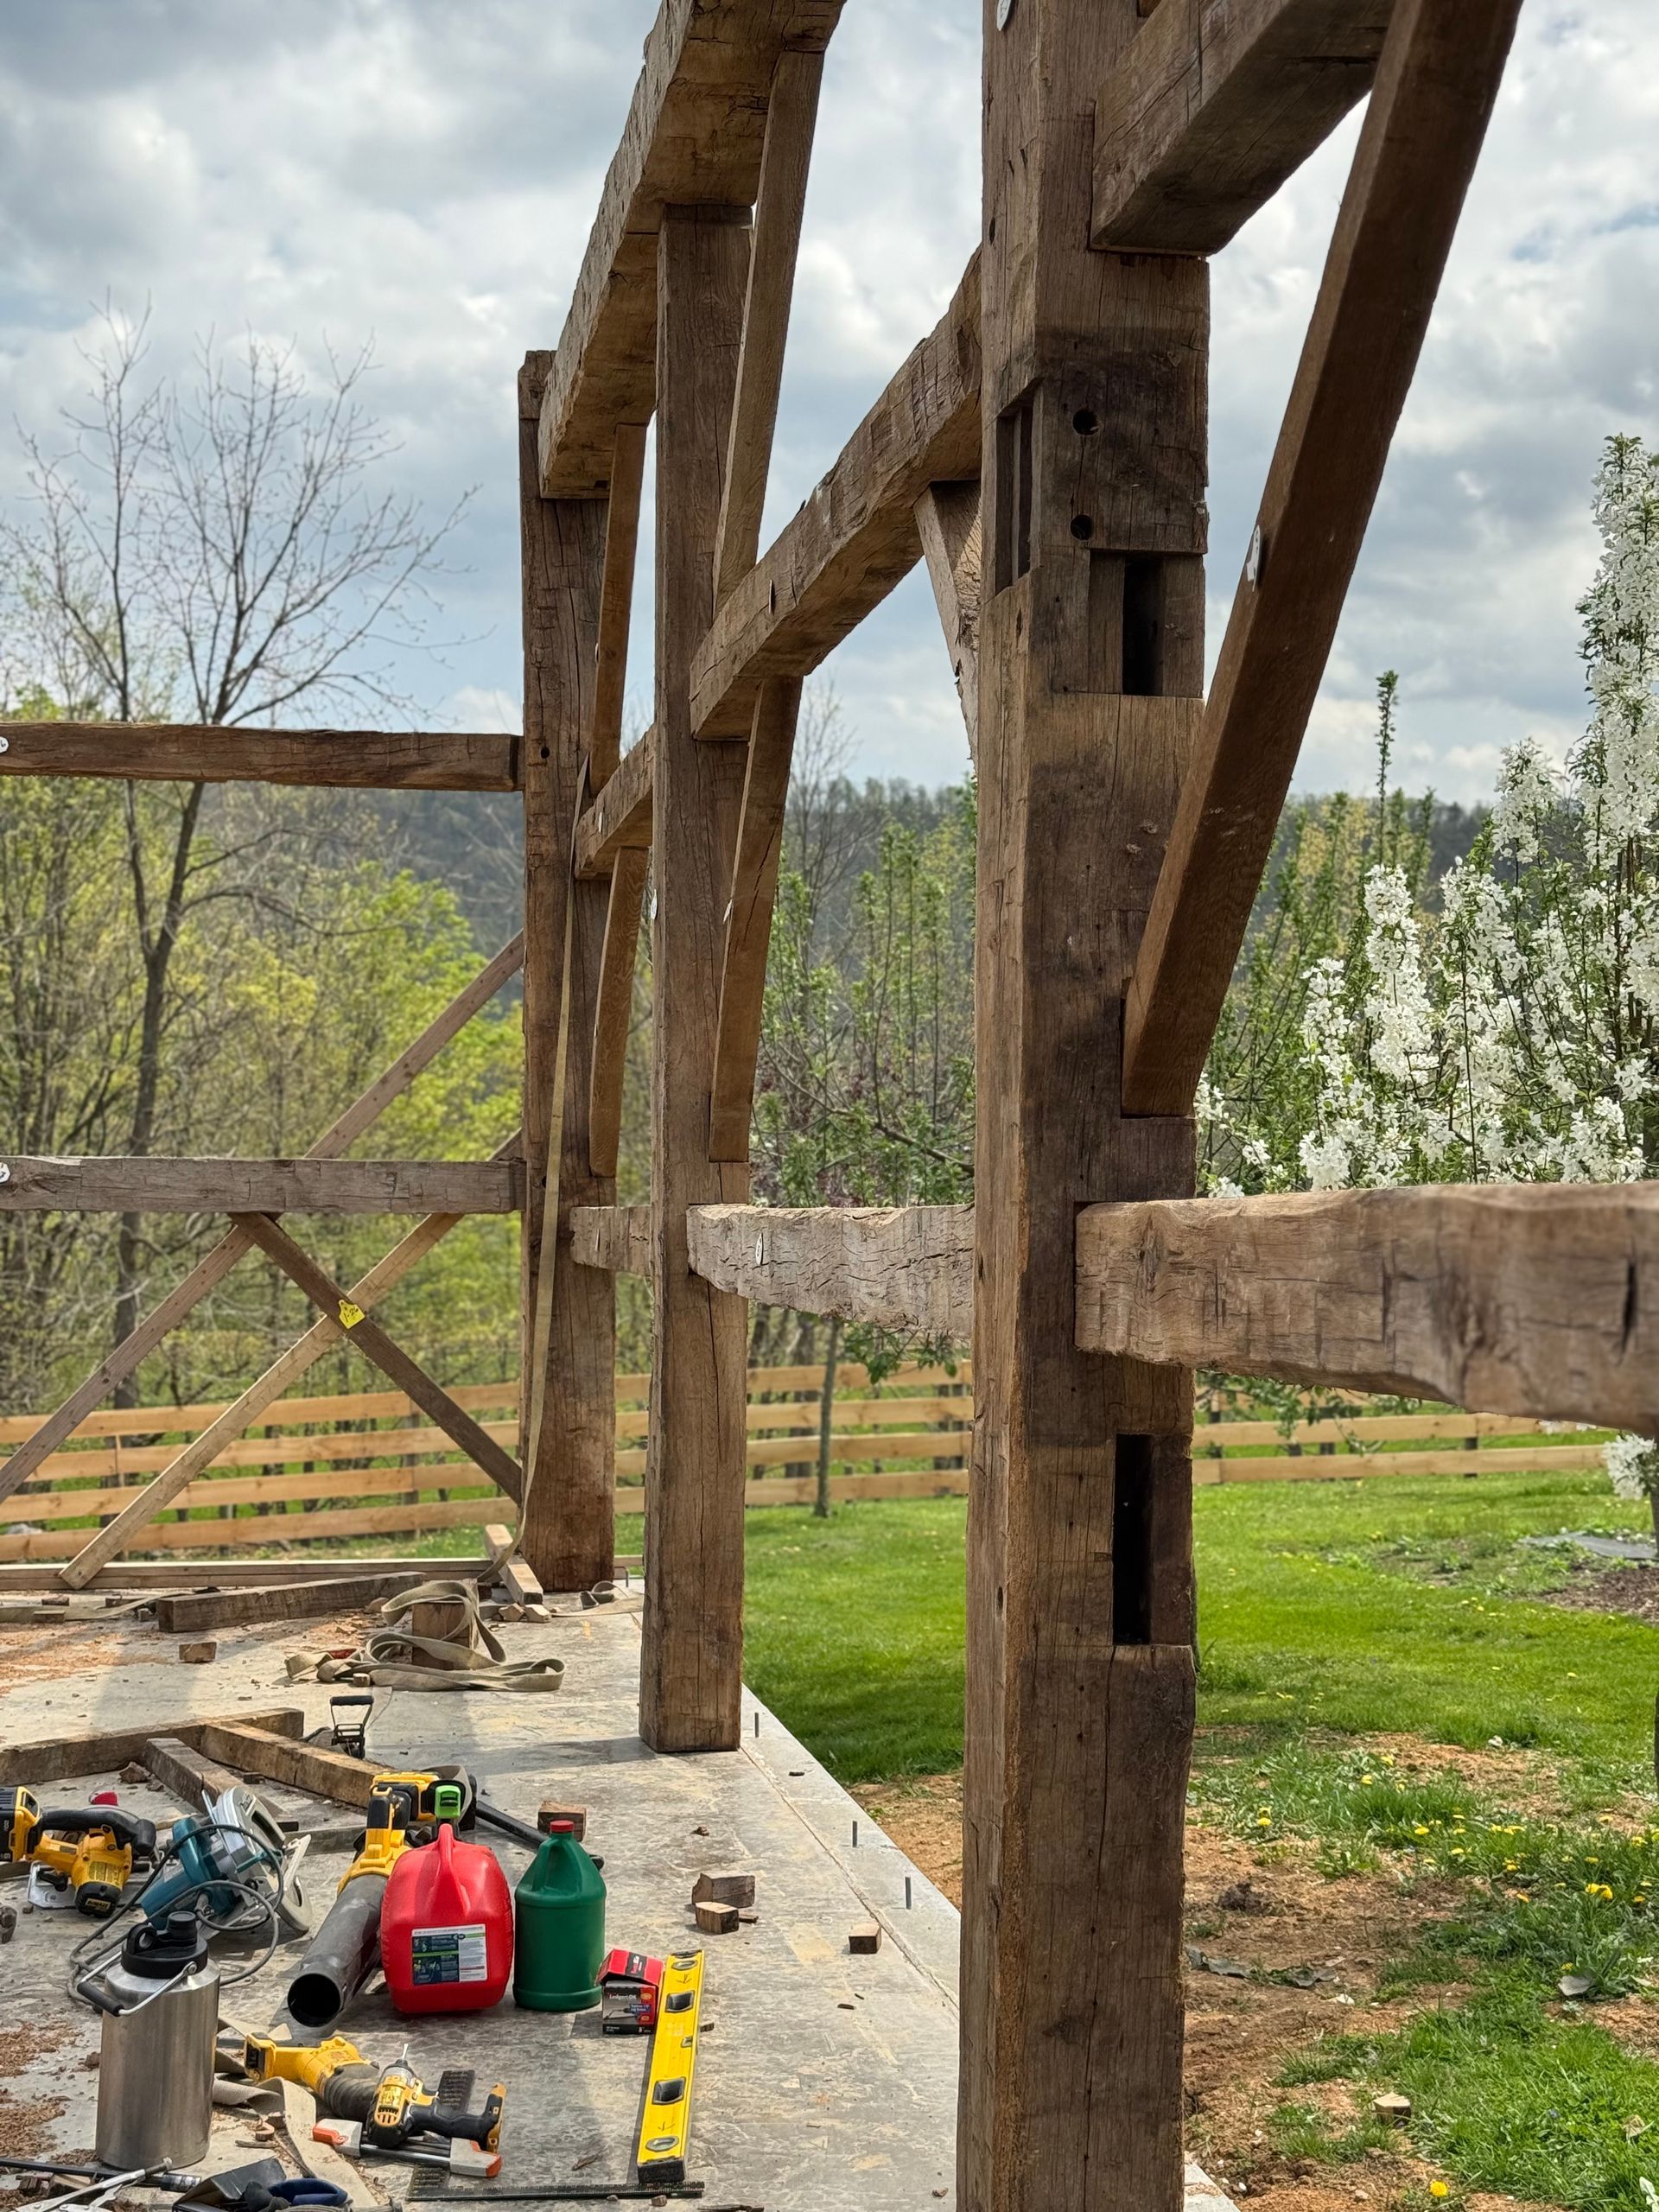
Work Like a Pro
At Bay & Bent, we’ve seen how proper wood repair can make all the difference. From restoring centuries-old barn frames to crafting custom timber pieces, we know the value of careful preparation and skilled repairs. By following these tips, you can achieve high-quality results that preserve the beauty and strength of your woodwork.
With a little patience and practice, you can transform scratches, dents, or even major damage into smooth, professional-looking surfaces. Whether you’re fixing an antique or adding the final touches to a DIY project, wood filler is a versatile tool that can help your work truly shine.