Common Types of Wood Joints and When to Avoid Them
Master the Basics: A Guide to Common Types of Wood Joints
When you’re building with wood, the joints you choose can make or break your project, literally. Pick the right joint, and you’ll have a strong, long-lasting piece to admire for years. Choose poorly, and you might end up with a wobbly, unreliable mess.
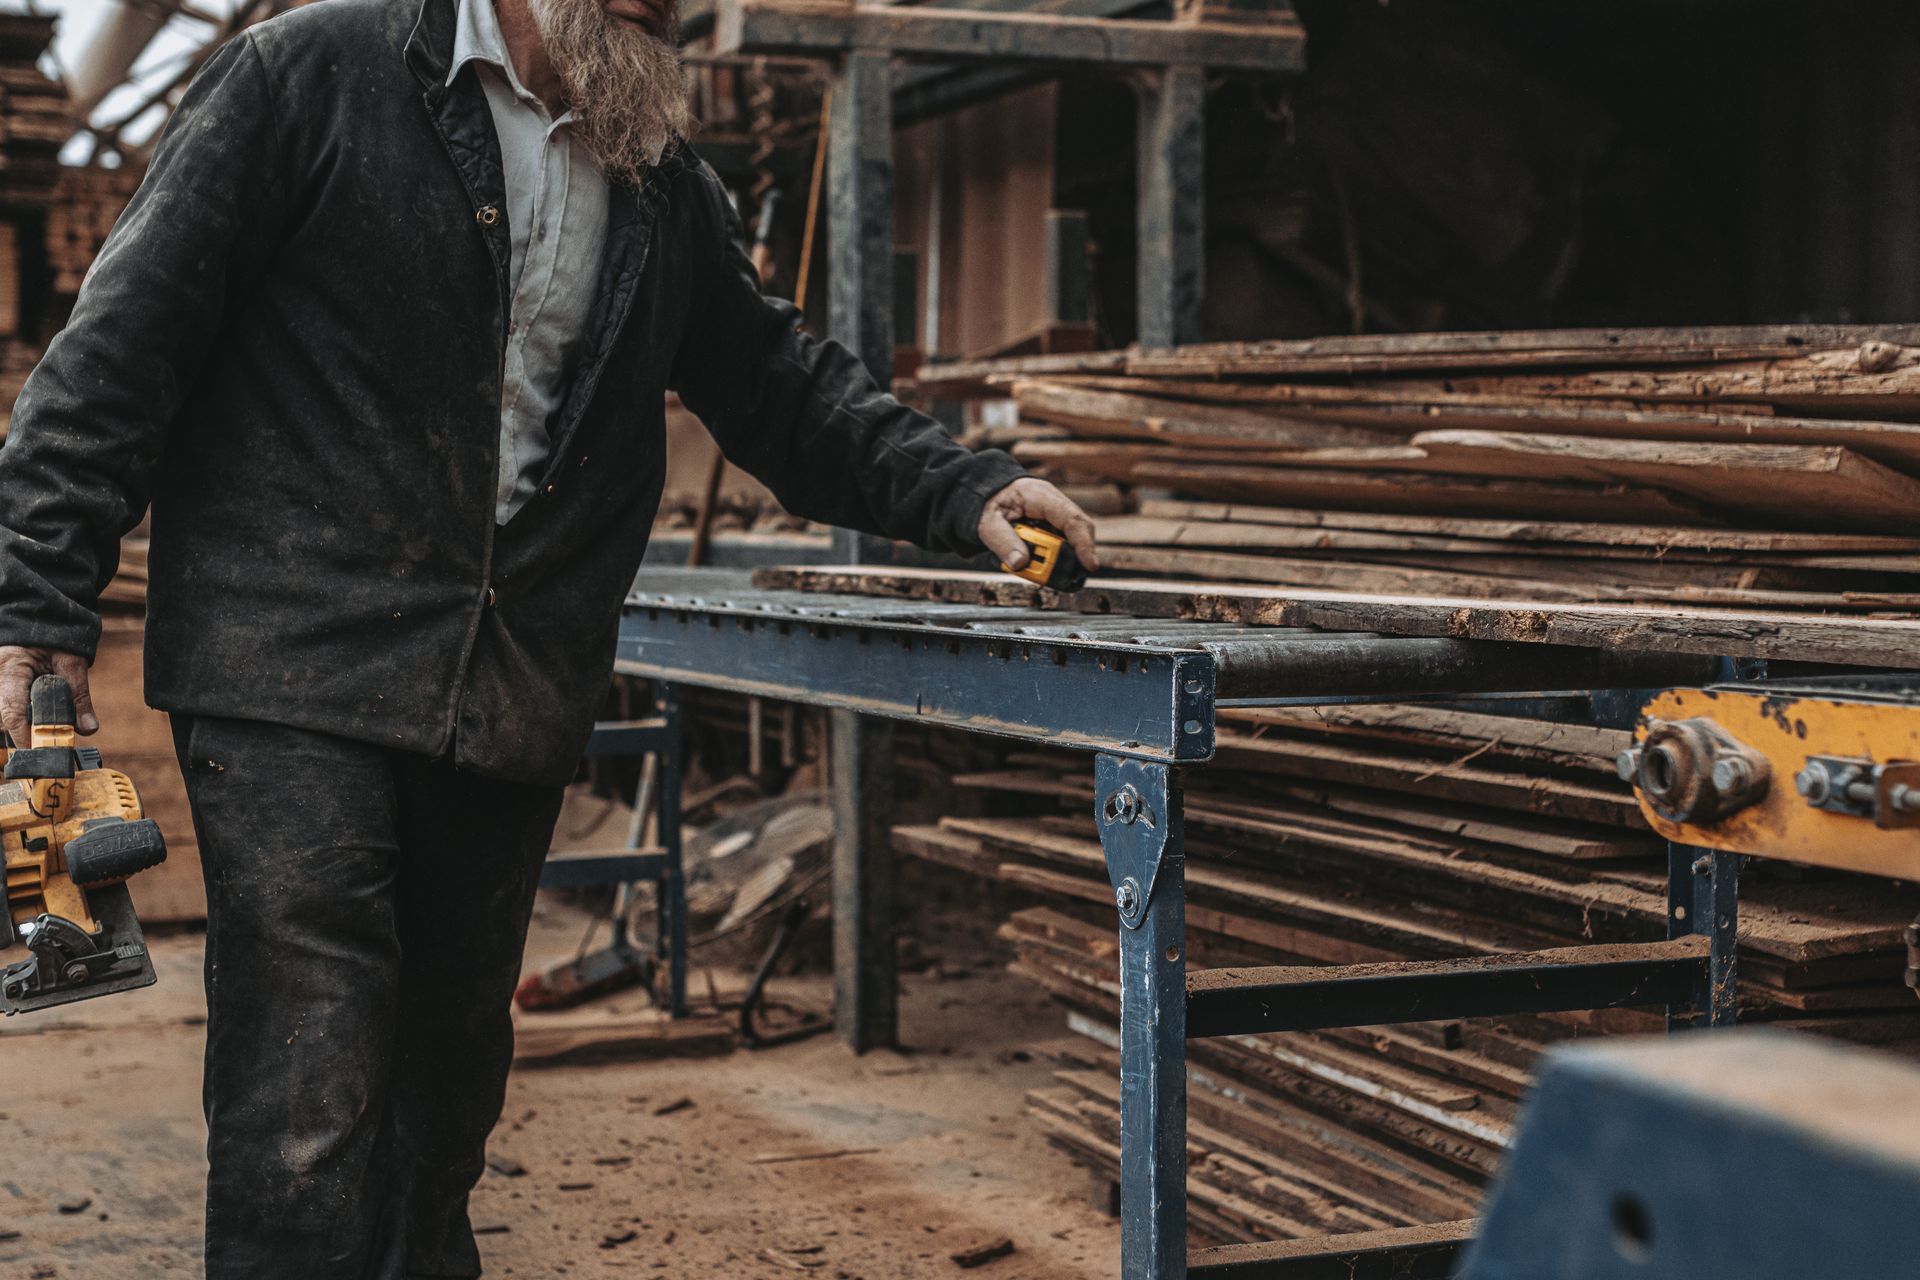
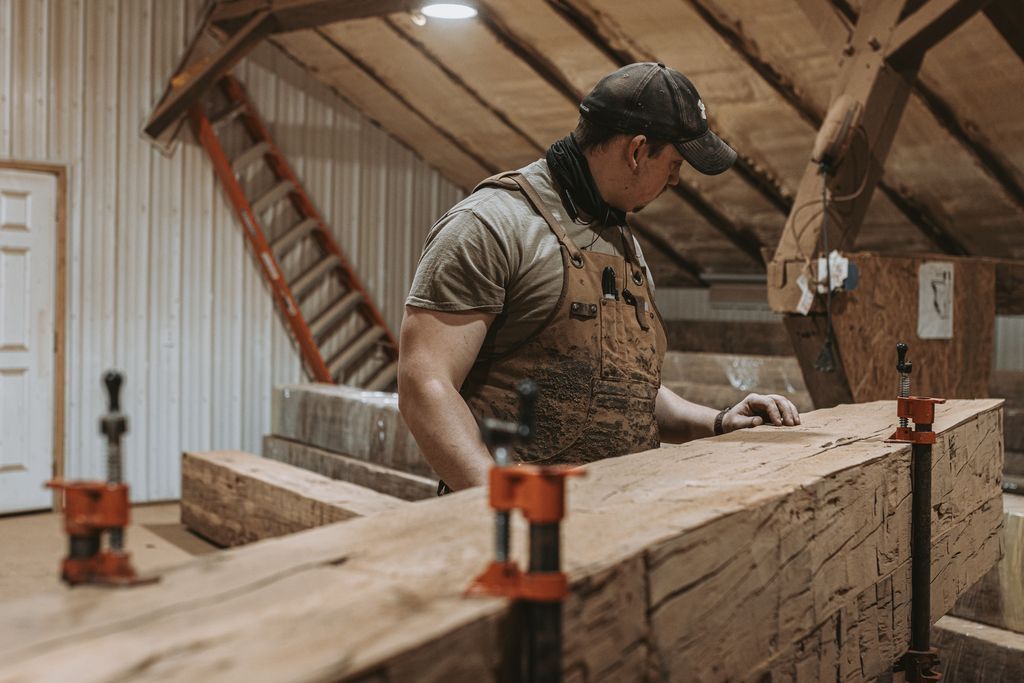
At Bay & Bent, we’ve worked on everything from modern furniture builds to restoring historic timber frames, so we’ve seen the beauty (and the disasters) different joints can bring. Whether you’re new to woodworking or honing your craft, understanding which wood joints to use and when to avoid them can save you time, money, and frustration.
Here’s a guide to the most common types of wood joints, their best uses, and the situations where they fall short.
What Are Wood Joints?
"Wood joints" are simply the ways two or more pieces of wood are joined together. Some rely on glue, others on screws or nails, and the best ones rely on precise cutting and mechanical strength. Each type of joint has its strengths and weaknesses, depending on the job it needs to do.
Now, let’s break them down.
1. Butt Joints: Simple But Weak
A butt joint is as basic as it sounds. You butt the ends of two boards together and secure them with glue, nails, or screws. It’s one of the easiest joints to make, perfect for beginners.
- Best uses:
- Interior trim or moldings.
- Temporary structures.
- Projects where other fasteners (brackets, screws, etc.) will carry most of the load.
- When to avoid:
- Structural projects. This joint isn’t strong enough on its own. The bond between pieces relies entirely on glue or fasteners.
- Anything that must last years (or bear significant weight). For example, don’t trust a butt joint for a bookshelf or table leg.
Fun fact? The glue bond in a butt joint often fails because the wood’s end grain acts like a sponge, soaking up the glue but providing little strength.
2. Lap Joints: Stronger, But Limited
A lap joint overlaps two boards to increase contact area for glue and add some mechanical strength. A "half-lap joint" goes a step further, removing material so the boards sit flush.
- Best uses:
- Cabinet face frames.
- Light structural work.
- Projects where pieces should align flush without adding extra thickness.
- When to avoid:
- Heavy loads. Lap joints are stronger than butt joints but still can’t handle major stress or weight.
- Outdoor projects. Moisture and wood movement can cause lap joints to fail over time.
3. Dado and Rabbet Joints: A Go-To Option
These are cuts made in one piece of wood to accept another. A dado is a groove cut across the grain, while a rabbet is similar but cut along the edge of a board. Both create great mechanical strength.
- Best uses:
- Shelving or cabinetry, where you need parts to fit snugly.
- Anywhere you need a precise, strong connection.
- When to avoid:
- Cutting too deep. A dado or rabbet shouldn’t be more than one-third the thickness of your material, or you risk weakening the entire board.
- Projects where free wood expansion is key, since these joints can restrict movement.
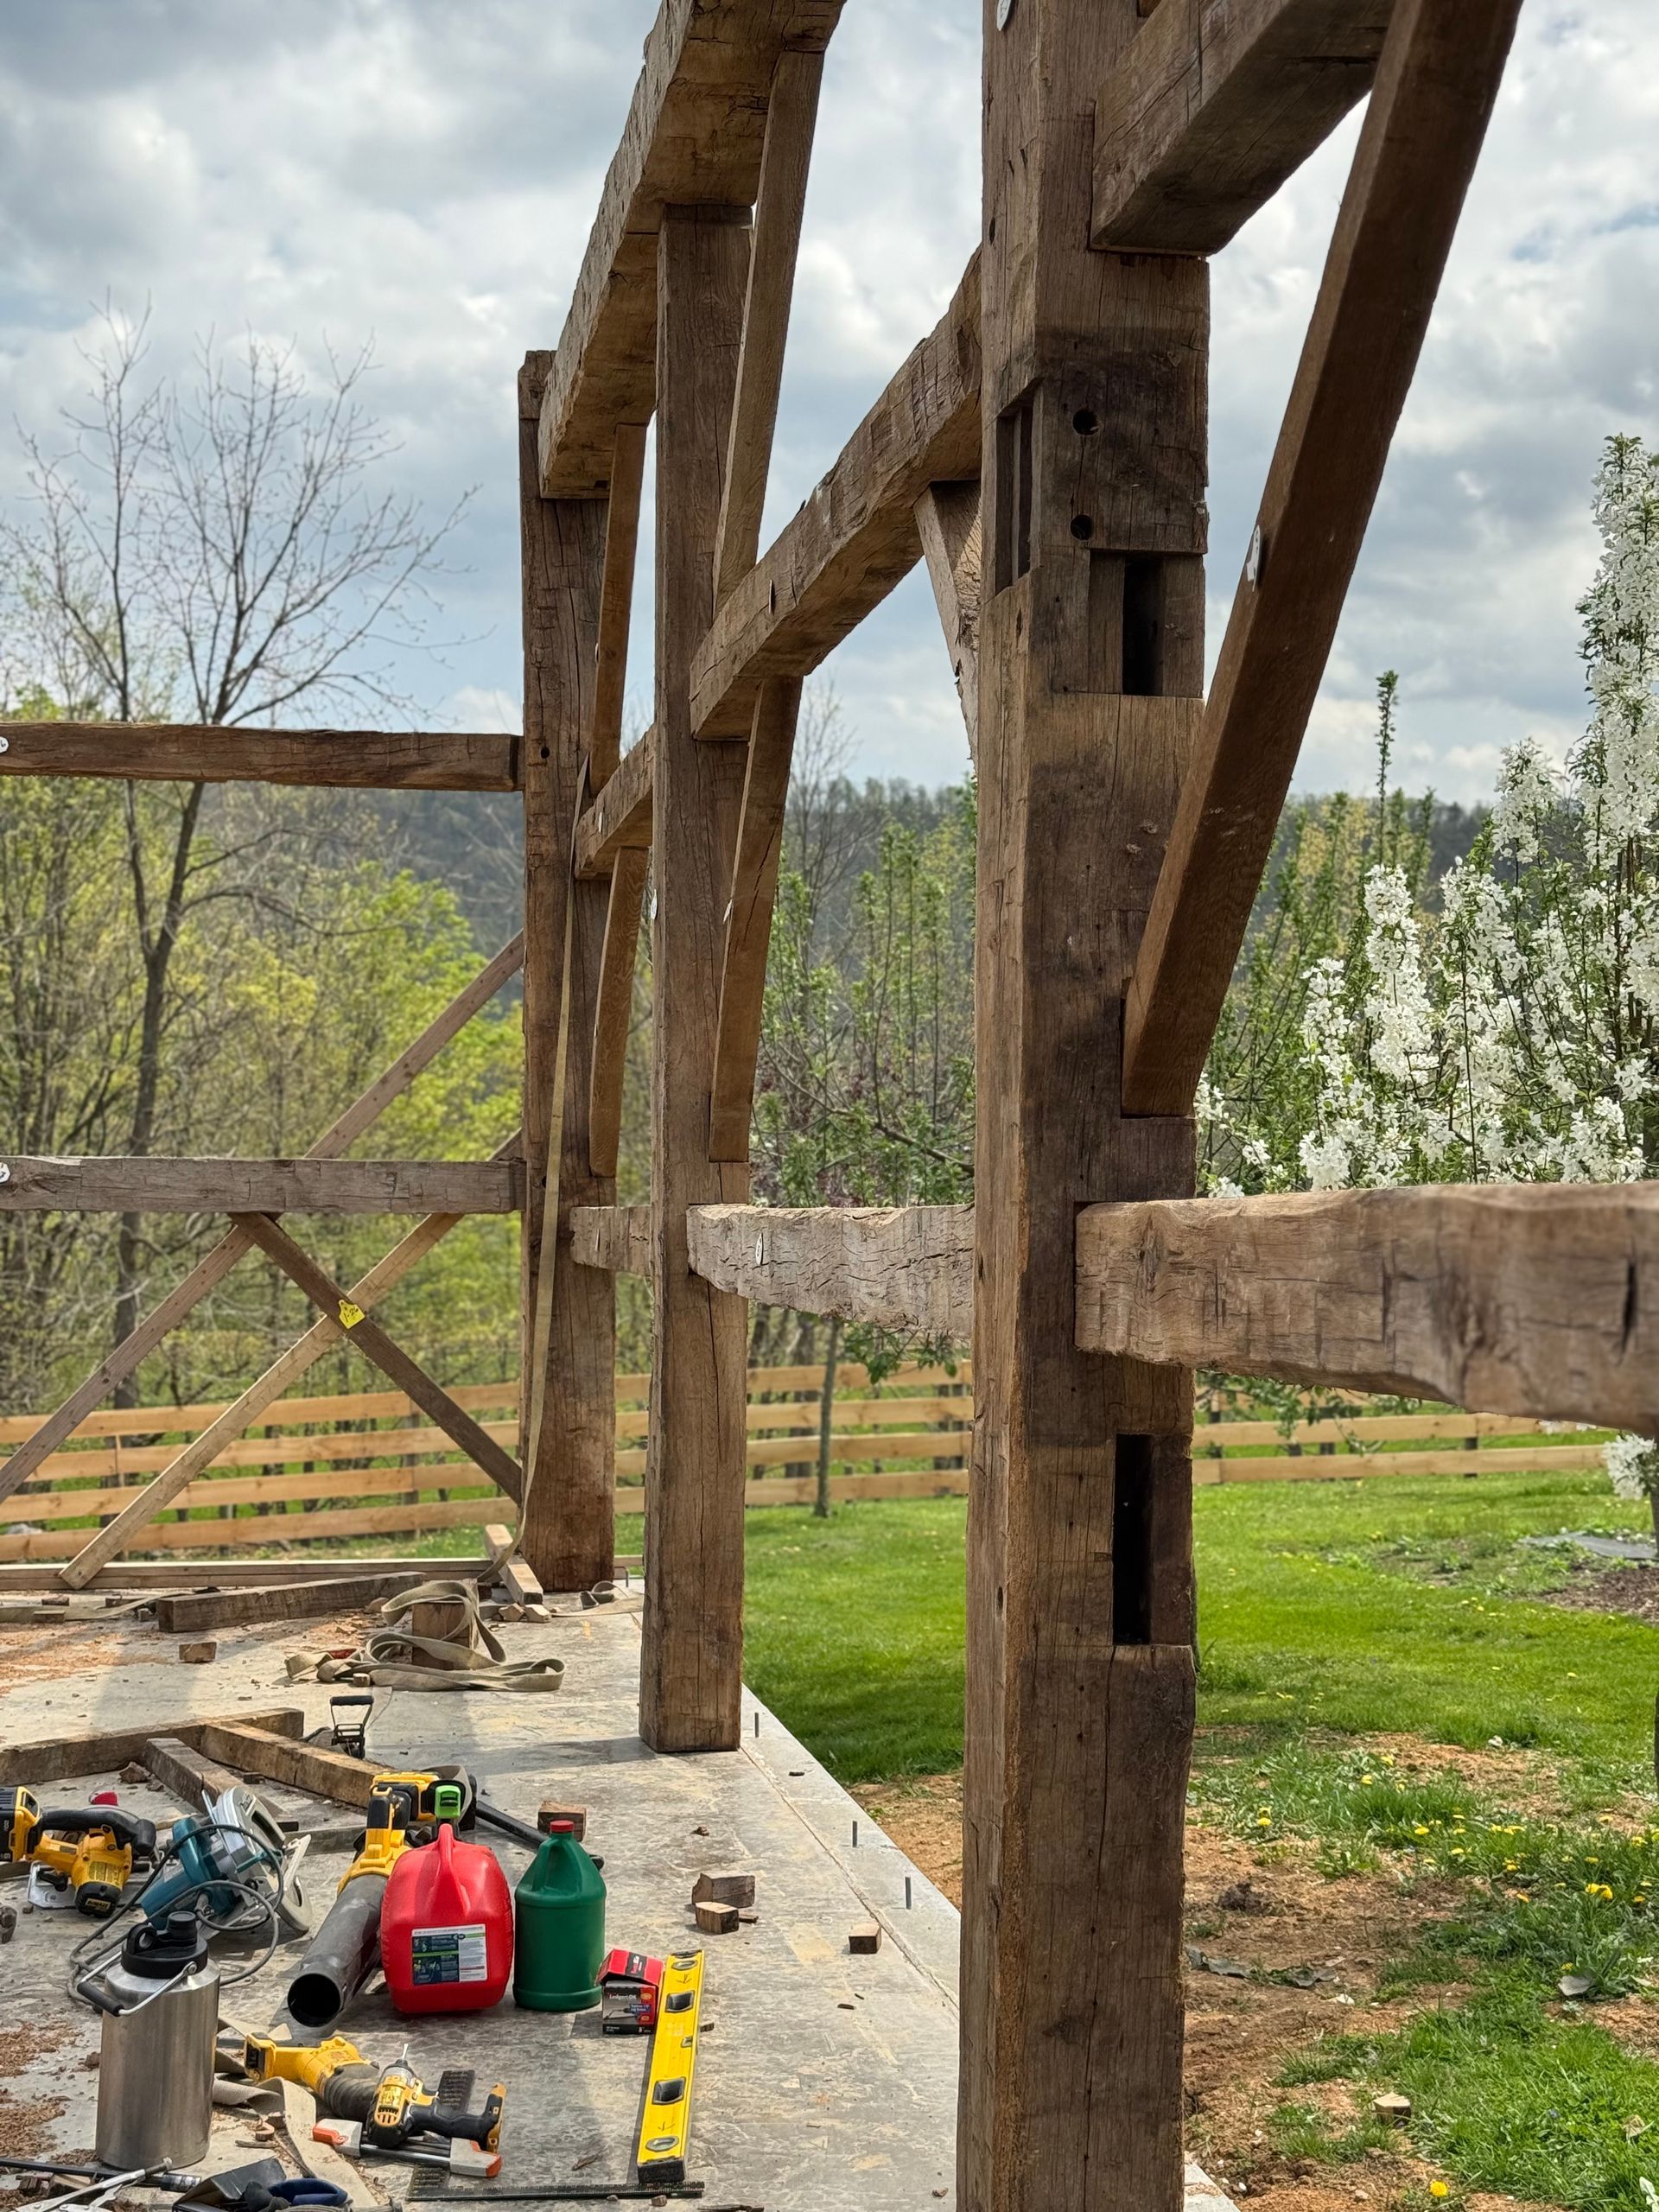
4. Mortise and Tenon Joints: The Gold Standard
This classic joint involves cutting a projecting tenon (a peg) on one piece to fit into a matching mortise (a hole) in another. For centuries, it’s been a top choice for strength and durability.
- Best uses:
- Chairs, tables, and furniture where strength is a must.
- Timber framing or anything requiring longevity under stress.
- When to avoid:
- Time-sensitive projects. Mortise and tenon joints take skill and precision to create properly. Rushing them can lead to weaker results.
This is the joint that has held up historic buildings for generations, proving that great craftsmanship never goes out of style.
5. Dovetail Joints: Strong and Stylish
Dovetail joints use wedge-shaped projections to interlock boards. They’re beautiful, durable, and a mark of true woodworking skill.
- Best uses:
- Drawers, jewelry boxes, and fine furniture where both strength and aesthetics matter.
- When to avoid:
- Beginners should avoid dovetails at first; they take practice to cut properly.
- Hidden parts of projects. If no one will see the joint, a simpler option may save you time without sacrificing strength.
6. Finger Joints: Simple and Efficient
Think of finger joints (or box joints) as dovetails’ simpler cousin. They interlock with square, boxy projections rather than angled wedges.
- Best uses:
- Cabinet corners and wooden boxes.
- Projects where you want decorative joinery without the complexity of dovetails.
- When to avoid:
- Projects that need high tension or a more elegant look. Finger joints can’t match dovetails in style or strength.
7. Biscuit Joints: Quick but Limited
A biscuit joint uses thin, oval wooden “biscuits” inserted into matching slots for alignment and slight strength boosts.
- Best uses:
- Edge-gluing boards for tabletops or panels.
- Aligning boards during assembly.
- When to avoid:
- Structural projects. Biscuit joints are mostly for alignment, not strength. They shouldn’t bear loads on their own.
8. Pocket Screw Joints: Convenient but Compromised
Pocket screws involve driving angled screws through one board into another. Quick, easy, and hidden!
- Best uses:
- Fast face-frame construction or cabinet assembly.
- When to avoid:
- Fine woodworking or longevity-focused projects. Screws can split wood over time, weakening the joint.
- Structural applications or furniture designed to last decades.
9. Dowel Joints: Classic but Tricky
Doweling involves drilling holes and inserting wooden pegs (dowels) to hold two pieces together. It’s a traditional yet tricky joint to master.
- Best uses:
- Chair construction or edge gluing boards.
- When you want joinery that feels classic and understated.
- When to avoid:
- Precision-dependent work, unless you're confident cutting straight, accurate holes.
- Stress-heavy applications. Misaligned dowels can lead to poor fits and weak connections.
Tips for Choosing the Right Joint
- Consider Your Project's Purpose
Structural projects? Go for mortise and tenon. Decorative furniture? Consider dovetails or finger joints. - Factor in Wood Movement
Wood expands and contracts with humidity. Avoid joints that will restrict natural movement and cause cracking. - Think About Tools and Time
If you’re short on time or equipment, don’t tackle intricate joints. Use reliable but simple options like lap or dado joints.
Final Thoughts
No single wood joint is "best" in every situation. The right choice depends on your project, materials, and experience. At Bay & Bent, we’ve learned that getting the basics right leads to better results than choosing flashy techniques you haven’t mastered.
Want to improve your woodworking skills? Check out our blogs at Bay &Bent.
Remember, the goal isn’t just to make something that looks good but to craft something built to last. By understanding wood joints and their strengths, you’ll be ready to tackle your next project with confidence!