Beginner Tips for Handling Medium-Density Fiberboard
Medium-Density Fiberboard essentials for new woodworkers
Ever felt overwhelmed by the thought of working with Medium-Density Fiberboard (MDF)? You're not alone. Many beginners find MDF a bit intimidating, but it’s actually one of the most versatile materials you can use in woodworking. If you're making cabinets, shelves, or custom furniture, MDF offers reliability and ease that’s hard to beat.
This blog is your go-to guide for learning the basics of MDF. From understanding what makes this material unique to practical tips for cutting, drilling, and finishing, we’ll help you master the essentials. You’ll also discover safety precautions, tips for handling MDF edges, and beginner-friendly project ideas to build your skills.
Ready to get started? Let's explore everything you need to know about working with MDF like a pro.
What Exactly Is MDF?
MDF is a type of engineered wood made from wood fibers combined with wax and resin, compressed under heat and pressure to form smooth, uniform panels. Unlike solid wood, it doesn’t have knots, grain lines, or other imperfections. This even texture makes it predictable to use, though it behaves differently from other wood.
MDF is denser than most softwoods and softer than hardwoods, which gives it unique benefits, but also requires special handling techniques. Once you understand its characteristics, MDF becomes a great material for beginner projects like furniture, shelving, or cabinetry.
Key Safety Tips
Before grabbing your tools, it’s important to know that working with MDF creates fine dust, which can be harmful if inhaled. MDF is also bound with formaldehyde, so safety precautions are a must.
- Wear a Dust Mask: Choose a mask rated for fine particles or a respirator to protect your lungs. This step is crucial while cutting, sanding, or routing MDF.
- Protect Your Eyes: MDF dust can irritate, so always wear safety glasses or goggles.
- Work in Ventilated Areas: Open a window, turn on a fan, or work outside if possible. Using a dust collection system can also help keep your workspace clean.
- Post-Project Cleanup: MDF dust settles easily, so wipe down your tools and surfaces after finishing your project.
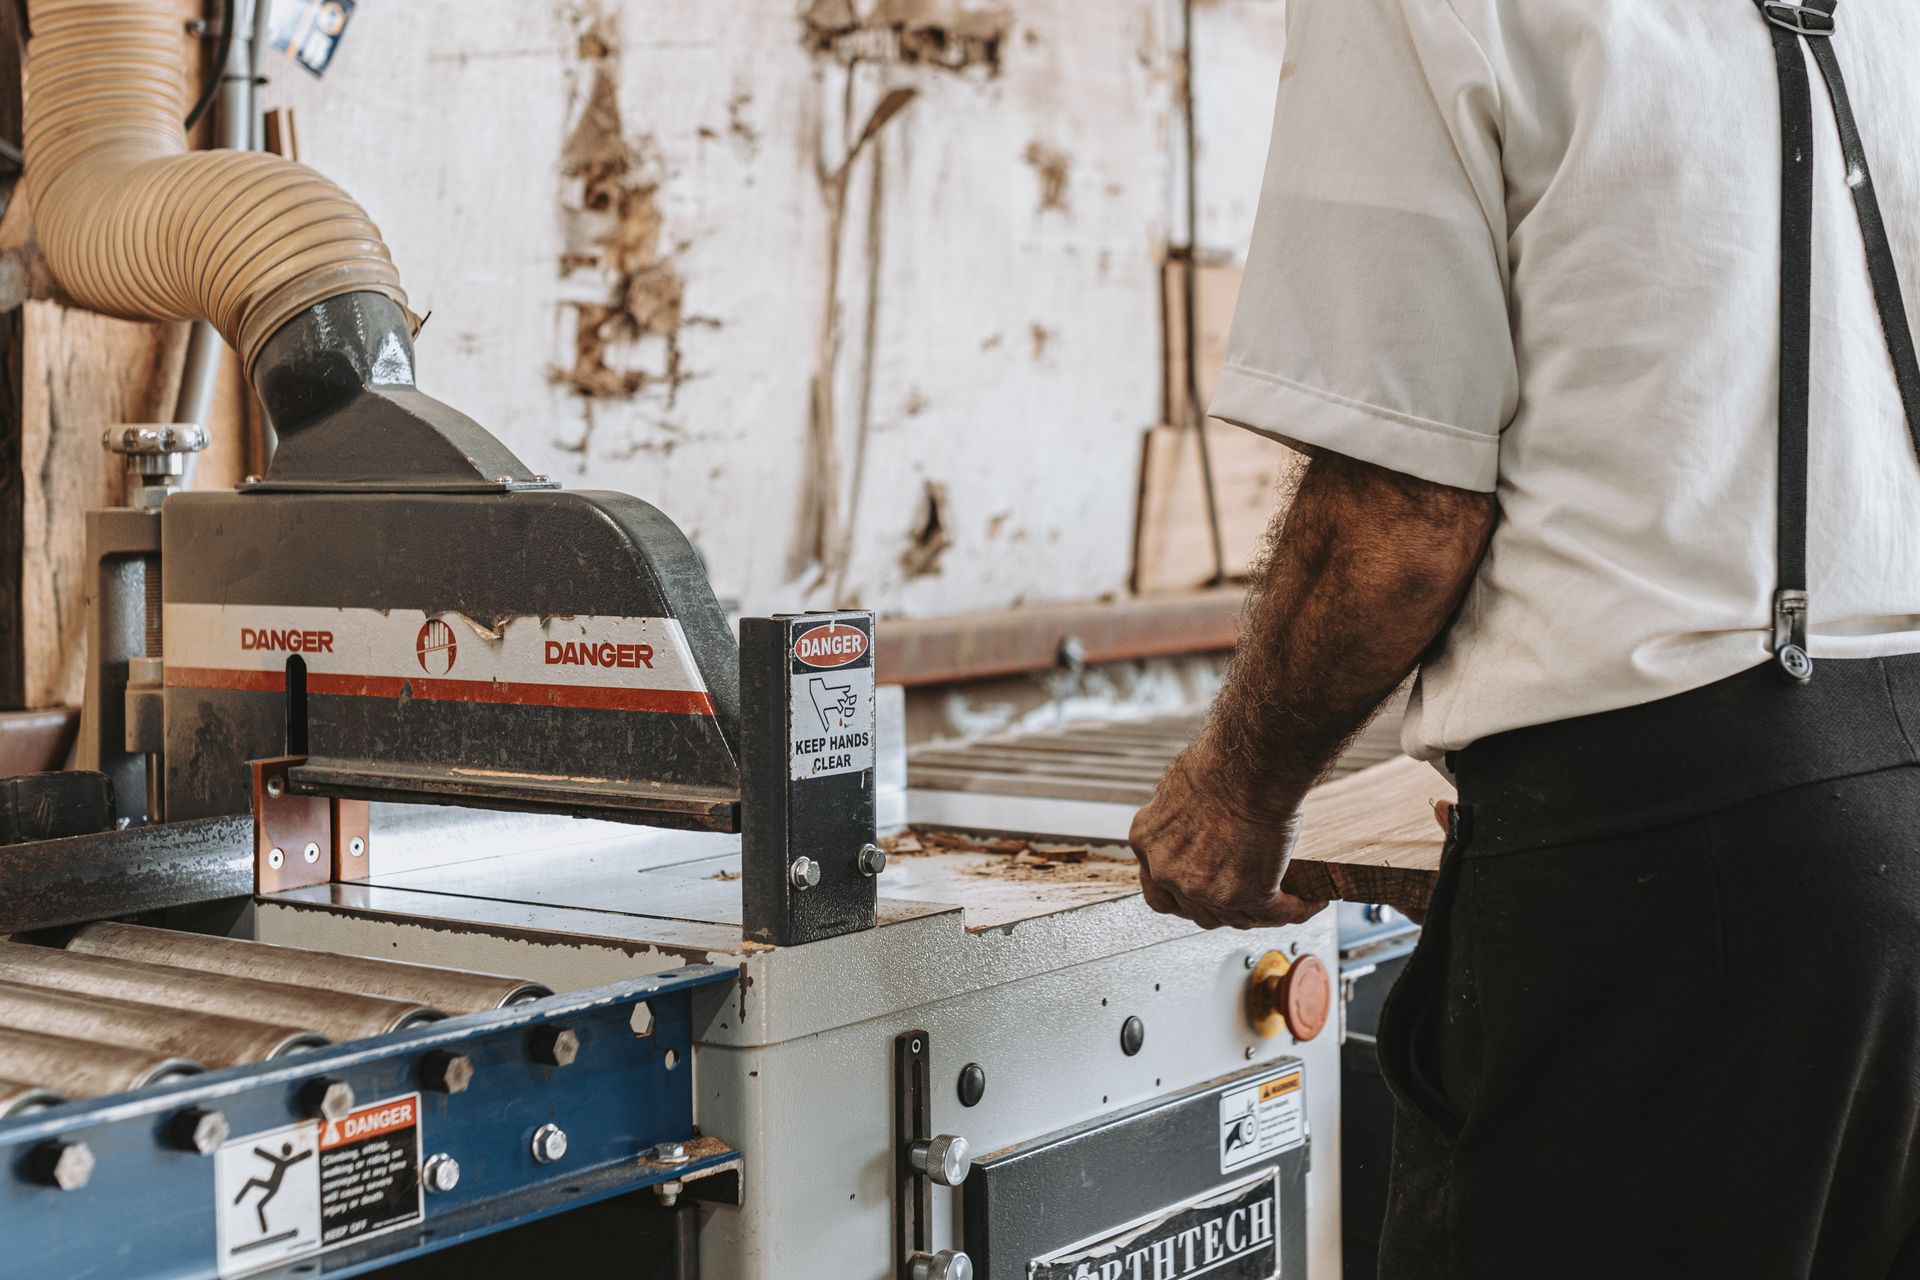
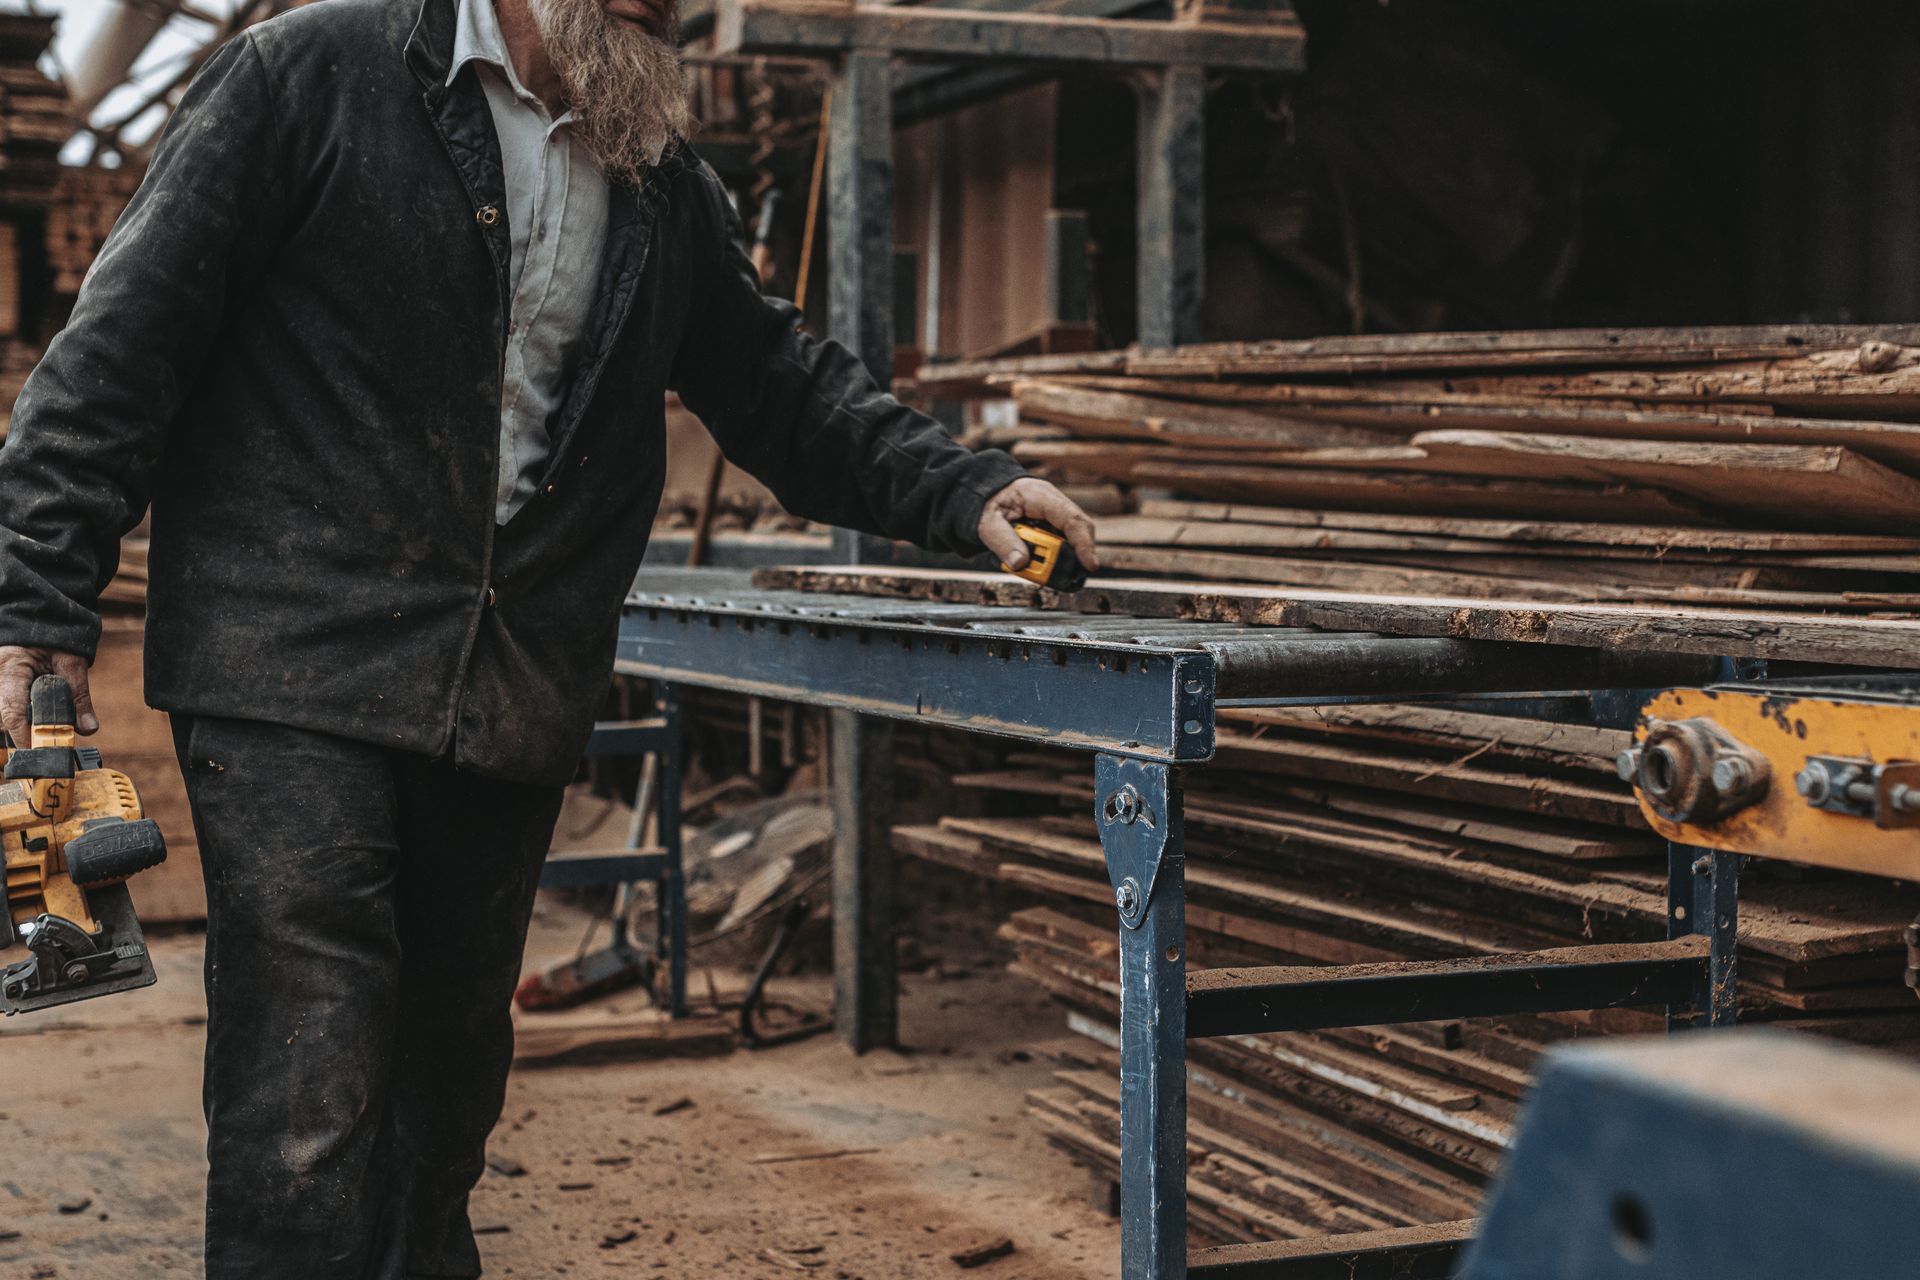
How to Cut MDF Cleanly and Safely
Cutting MDF is where many beginners get tripped up because it doesn’t behave like regular wood. Follow these MDF tips to achieve smooth, precise cuts.
Choosing the Right Blade
Using the right saw blade makes a huge difference:
- For table saws, go with a 60-tooth to 80-tooth blade.
- For circular saws, choose blades with 12 to 14 teeth.
Finer teeth produce cleaner cuts and create less dust.
Cutting Techniques
- Support the Panel: MDF panels are heavy and can sag. Use sawhorses or other supports to keep the panel steady.
- Cut Slightly Larger: Trim oversized cuts down to size rather than cutting to final dimensions right away. This improves accuracy.
- Take It Slow: Make light, multiple passes instead of cutting thick MDF in one go. This reduces chipping and dust.
Manage the Dust
- Use a vacuum or attach a dust collection hose near the cutting area.
- If possible, cut MDF outdoors to keep dust out of your workshop.
Drilling Holes and Installing Screws
MDF holds screws well but requires the right technique to avoid splitting or weakening the material.
Drill Pilot Holes
Always drill pilot holes before driving screws. Without them, screws can wander and damage the MDF. Aim for a drill bit slightly smaller than the screw’s core.
Use the Right Screws
Instead of standard wood screws:
- Use screws with deep, sharp threads to grip MDF better.
- Avoid overtightening screws, which can strip holes or create surface dimples.
Reinforce Edge Connections
MDF edges are more fragile than its surface. For stronger joints:
- Try pocket screws, biscuits, or dowels for edge connections.
- Avoid relying on screws alone for load-bearing joints.
Preparing and Finishing
One of the best things about MDF is how beautifully it takes paint, but proper preparation is crucial for a smooth finish.
Seal the Surface
MDF is porous and absorbs liquids unevenly. Use a high-quality primer or a sealer designed for MDF to create a uniform base. Pay special attention to edges, as they are more absorbent than the flat surface.
Sand Smoothly
Lightly sand with fine-grit sandpaper (220-320 grit) after priming to remove imperfections. Be gentle to avoid roughening the surface.
Choose the Right Finish
- Paint works great on MDF, creating a flawless look. Apply multiple thin coats for the best result.
- Stain doesn’t work well since MDF lacks a natural grain. For a wood-grain effect, consider veneer or grain-textured paint instead.
Tackling MDF Edges
MDF edges can be tricky since they’re rough and more fragile than the panel faces. Here’s how to deal with them:
- Seal and Paint: Apply extra coats of primer and paint to edges for consistency with the rest of the surface.
- Try Edge Banding: For exposed edges, use adhesive edge banding for a polished look.
- Reinforce Fragile Areas: Be gentle when handling MDF panels to avoid chipping or crumbling at the edges.
Storage
MDF’s weakness is its sensitivity to moisture. If it gets wet, it can swell or even break apart.
Storage Tips
- Store MDF panels flat, elevated off the ground, and in a dry place.
- Avoid leaning panels vertically for long periods, as this can cause bowing.
Consider the Environment
Avoid using MDF for outdoor or high-humidity projects unless sealed very carefully. It’s best for indoor use, like furniture or shelving.
Beginner-Friendly MDF Projects
If you’re new to woodworking, here are a few great projects to try with MDF:
- Cabinet Doors: MDF’s smooth surface makes it perfect for painted cabinetry.
- Shelving: Its uniform strength ensures stability.
- Workbenches or Jigs: MDF’s consistency is ideal for shop fixtures.
- Painted Furniture: Create stunning, professional-looking pieces without worrying about the high cost of mistakes.
Final Takeaway
MDF is a beginner-friendly material when you understand how to handle it. It’s affordable, versatile, and great for honing your woodworking skills. By following these tips for working with MDF, you can create projects that look polished and last for years.
At Bay & Bent, we’re passionate about innovative materials like MDF while staying rooted in the timeless quality of historic woods. If you’re crafting with real timber or trying out MDF, the key is to understand the material’s strengths and limitations. With proper techniques, careful planning, and a little practice, you’ll feel confident tackling your next MDF project.
Looking for more tips or ideas? Explore our site for guidance on materials, techniques, and project inspiration for every skill level.