Live Edge Wood: A Beginner’s Guide to Working with Slabs
This is a subtitle for your new post
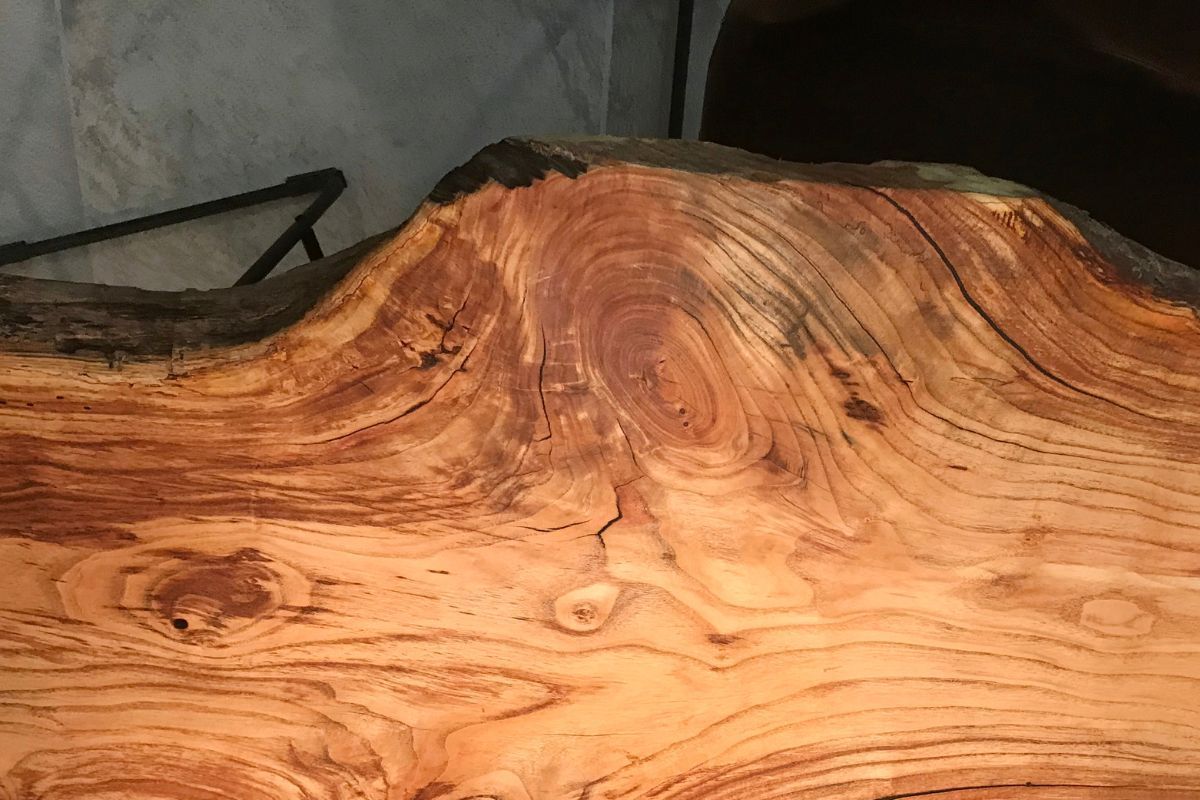
Live edge wood is a favorite among woodworkers, furniture makers, and designers who want to bring the beauty of nature into modern spaces. Unlike regular lumber with straight, uniform edges, live edge slabs keep the tree’s natural shape, bark, curves, and all. This style celebrates the tree’s unique character, turning it into stunning furniture or décor that feels both raw and refined.
If you’re new to live edge wood, don’t worry! While it takes a slightly different approach than working with traditional wood, the results are worth it. Let’s dive into the basics of choosing, preparing, and working with live edge slabs so you can create something truly special.
What Makes Live Edge Wood Unique?
Live edge wood keeps the natural edge of the tree intact, showing off its curves, bark, and patterns. These features tell the story of the tree’s life, how it grew, weathered storms, and adapted to its surroundings. No two slabs are the same, which makes every piece one-of-a-kind.
This style fits perfectly with today’s trends, where people love natural materials, sustainable choices, and unique designs. Live edge furniture is more than functional; it’s a conversation starter.
How to Choose the Right Slab
Picking the perfect slab is the first step to a successful project. Here’s what to look for:
- Shape and Size: Make sure the slab’s shape and dimensions fit your project. Think about how the natural edge will look in the space you’re designing for.
- Moisture Content: Wood that isn’t properly dried can warp or crack later. Look for slabs with a moisture level below 8-10% for indoor projects.
- The Edge: Decide if you want to keep the bark or remove it. Some bark stays firmly attached, while other types may fall off over time.
- Imperfections: Small cracks or holes can add character, but larger defects might need repairs. Consider whether these flaws work with your design or create extra challenges.
Prepping Your Slab for Success
Preparation is key to making your live edge project shine. Here’s how to get started:
- Acclimate the Wood: Let the slab sit in your workspace for a few weeks to adjust to the environment. This helps prevent cracking or warping later.
- Flatten the Surface: Use tools like a planer or sander to create a flat, stable surface. Be gentle to keep the slab’s natural thickness and character.
- Handle the Edge: Decide how to treat the live edge. You can keep the bark, remove loose sections, or strip it entirely to reveal the wood underneath. Each option gives a different look.
- Fix Defects: Fill small cracks or holes with epoxy, or use butterfly keys to stabilize larger splits. These techniques can add both strength and style to your piece.
Tools You’ll Need
Working with live edge wood often means thinking outside the box. Here are some tools and tips to help:
- Flattening Jigs: These help you level large slabs that won’t fit in a standard planer.
- Hand Tools: Chisels, scrapers, and spokeshaves are great for refining edges and details.
- Power Tools: Circular saws and routers can handle big cuts and joinery, but don’t underestimate the value of hand skills for finishing touches.
Planning for Wood Movement
Wood naturally expands and contracts with changes in humidity, and live edge slabs are no exception. The irregular edge can make this movement unpredictable, so plan ahead:
- Leave room for expansion in your design.
- Use flexible mounting systems to prevent cracks.
- Monitor your piece over time, especially during the first year, and make adjustments if needed.
Finishing Touches
The right finish can make your live edge project pop while protecting it for years to come. Here’s how to get it right:
- Test First: Try your finish on a small, hidden area to see how it looks.
- Balance Beauty and Protection: Choose a finish that enhances the wood’s natural beauty but is also practical for its use.
- Maintenance: Some finishes need regular upkeep, especially on irregular edges. Pick one you’re comfortable maintaining.
Challenges
Live edge projects come with their own set of challenges, but they’re all part of the fun:
- Irregular Shapes: Use templates or creative marking techniques to work around uneven edges.
- Joinery: Combine traditional methods with modern solutions like hidden fasteners to handle tricky edges.
- Dust Control: Plan for extra dust when working with irregular surfaces.
The Future of Live Edge Wood
As more people fall in love with live edge designs, new tools and techniques are making it easier to work with these beautiful slabs. Whether you’re a beginner or a seasoned pro, there’s always something new to learn in the world of live edge woodworking.
This guide should help you get started on your live edge journey. If you have questions or need inspiration, feel free to reach out to us at Bay & Bent. We’re always happy to share our love for wood and its endless possibilities!