How to Fix Wood Cracks with Butterfly Keys: The Ultimate Guide
Butterfly Keys 101: A Timeless Technique for Wood Repairs and Design
Wood cracks can break your heart. You've got this beautiful table or cherished family piece, and suddenly there's an ugly split running right through it. But here's the thing - that crack doesn't mean your project is ruined. In fact, with butterfly keys, you can turn that problem into a stunning design feature.
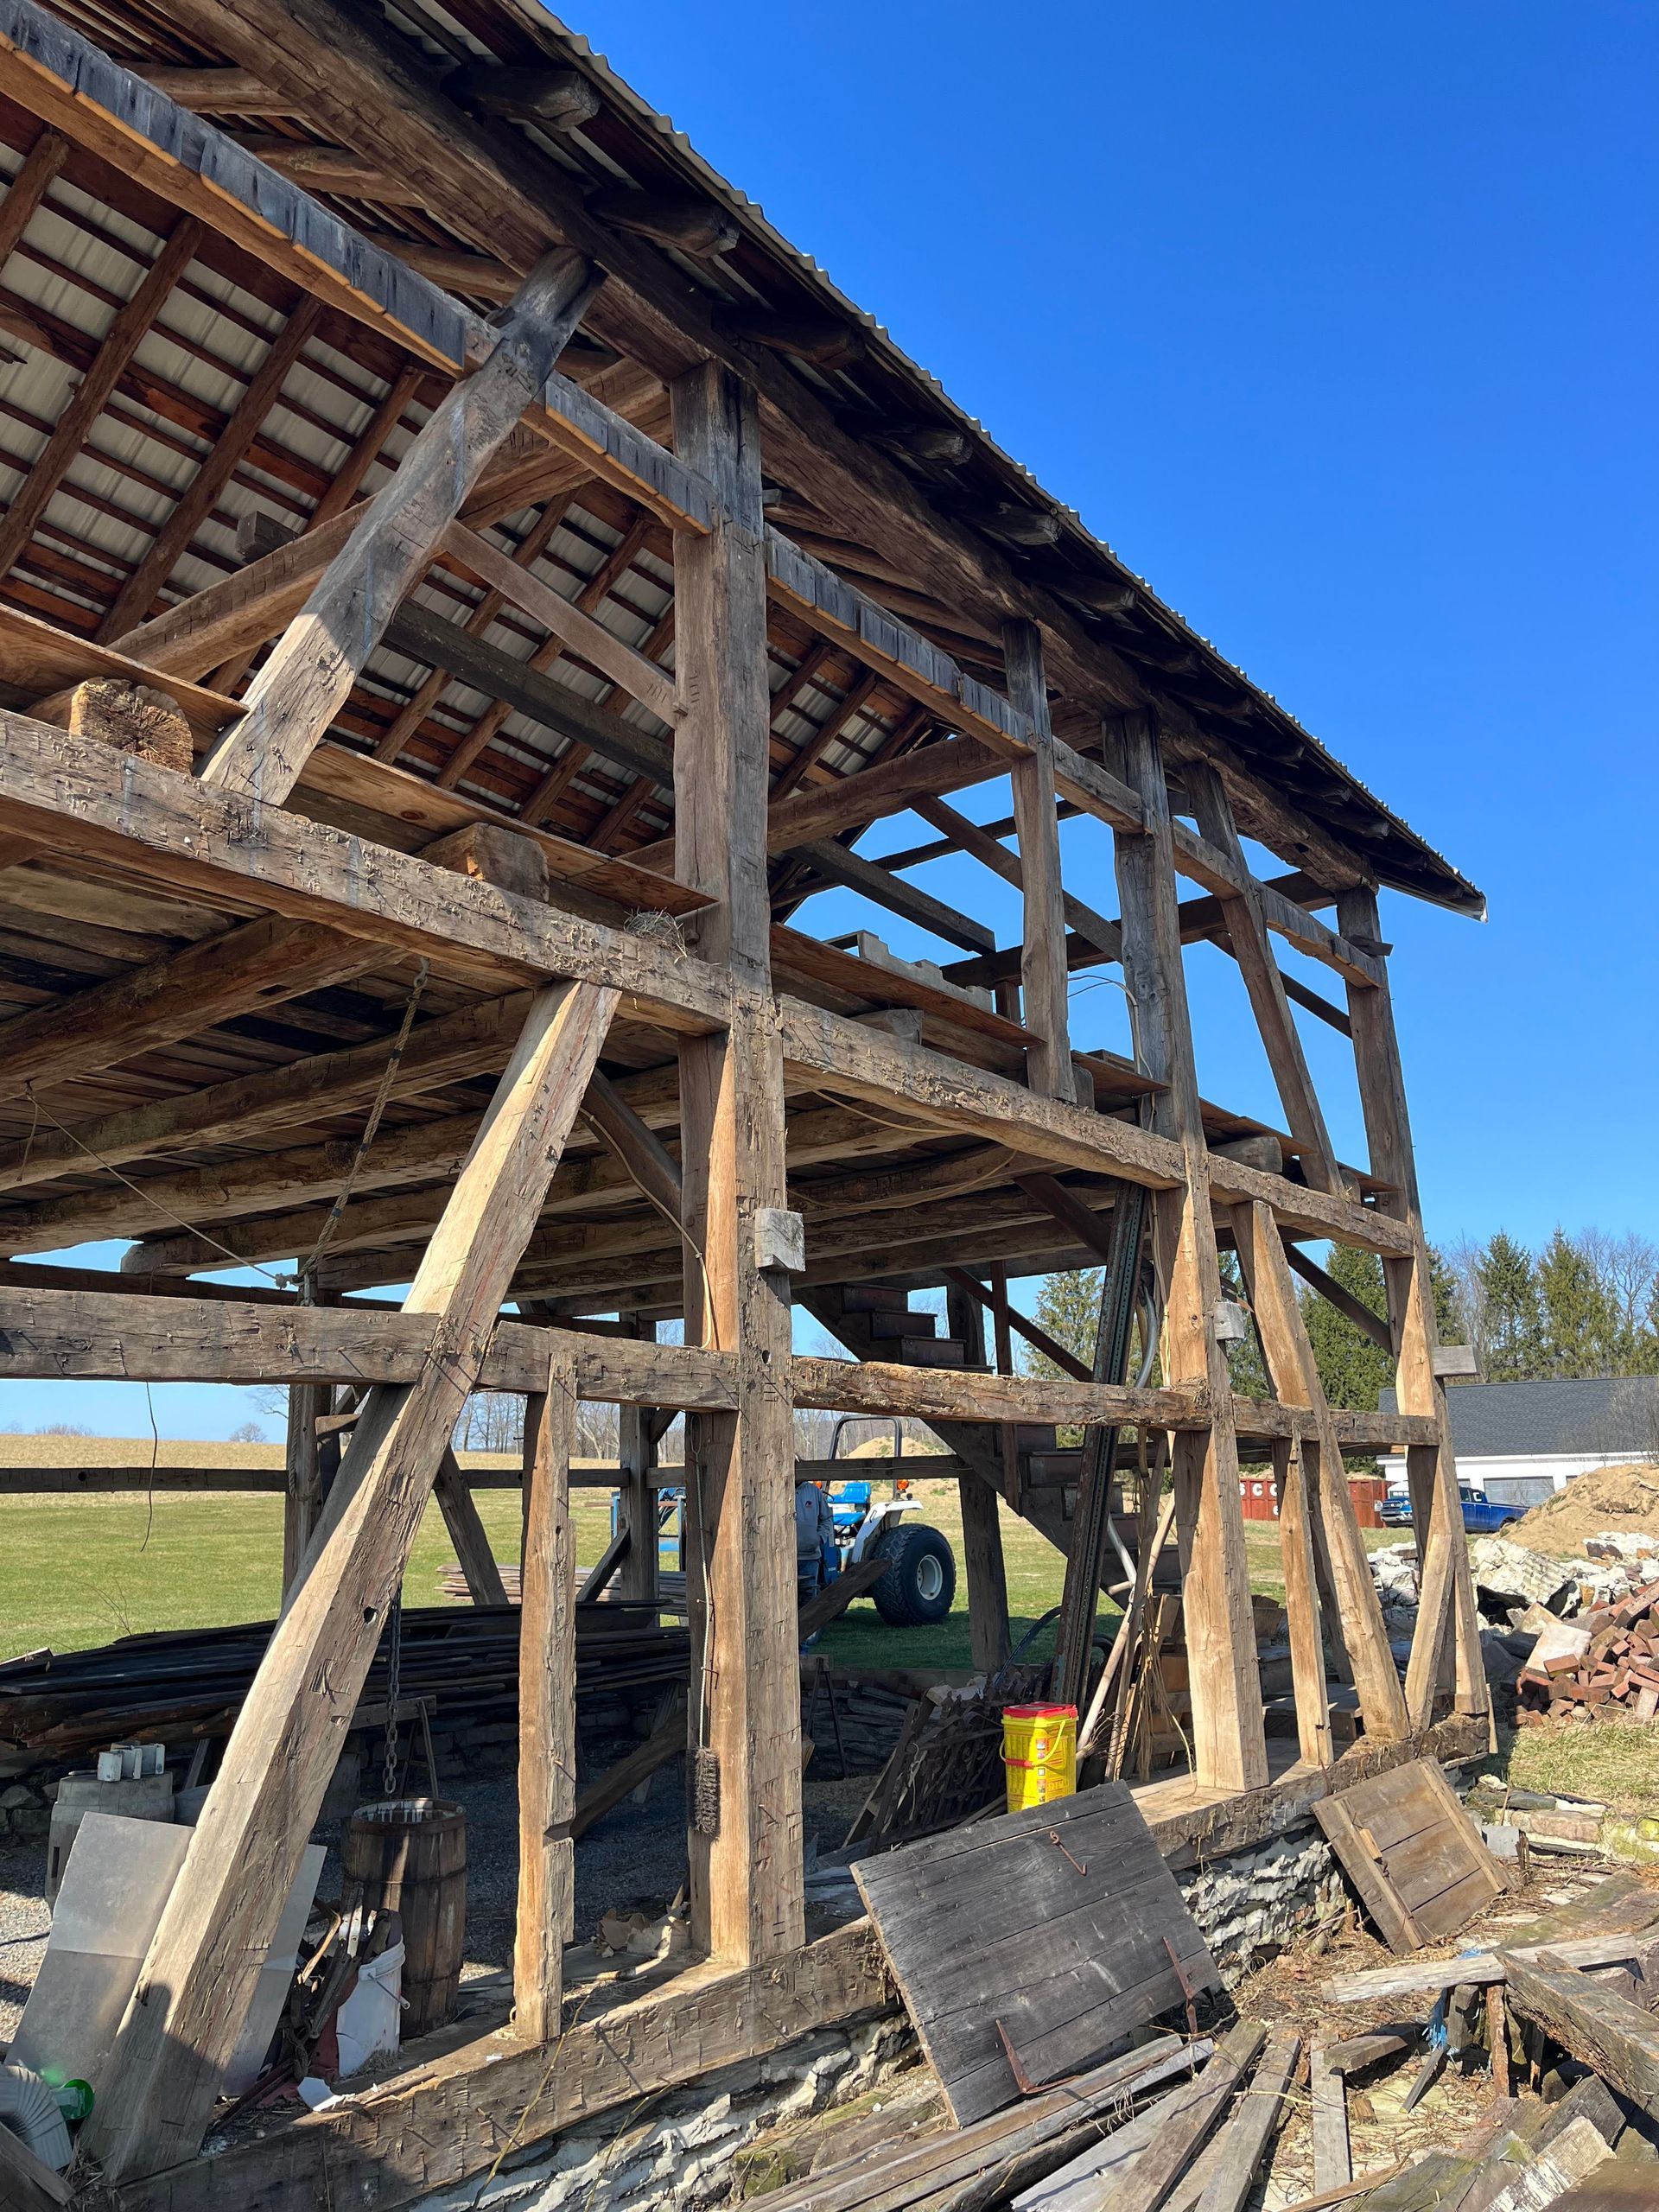
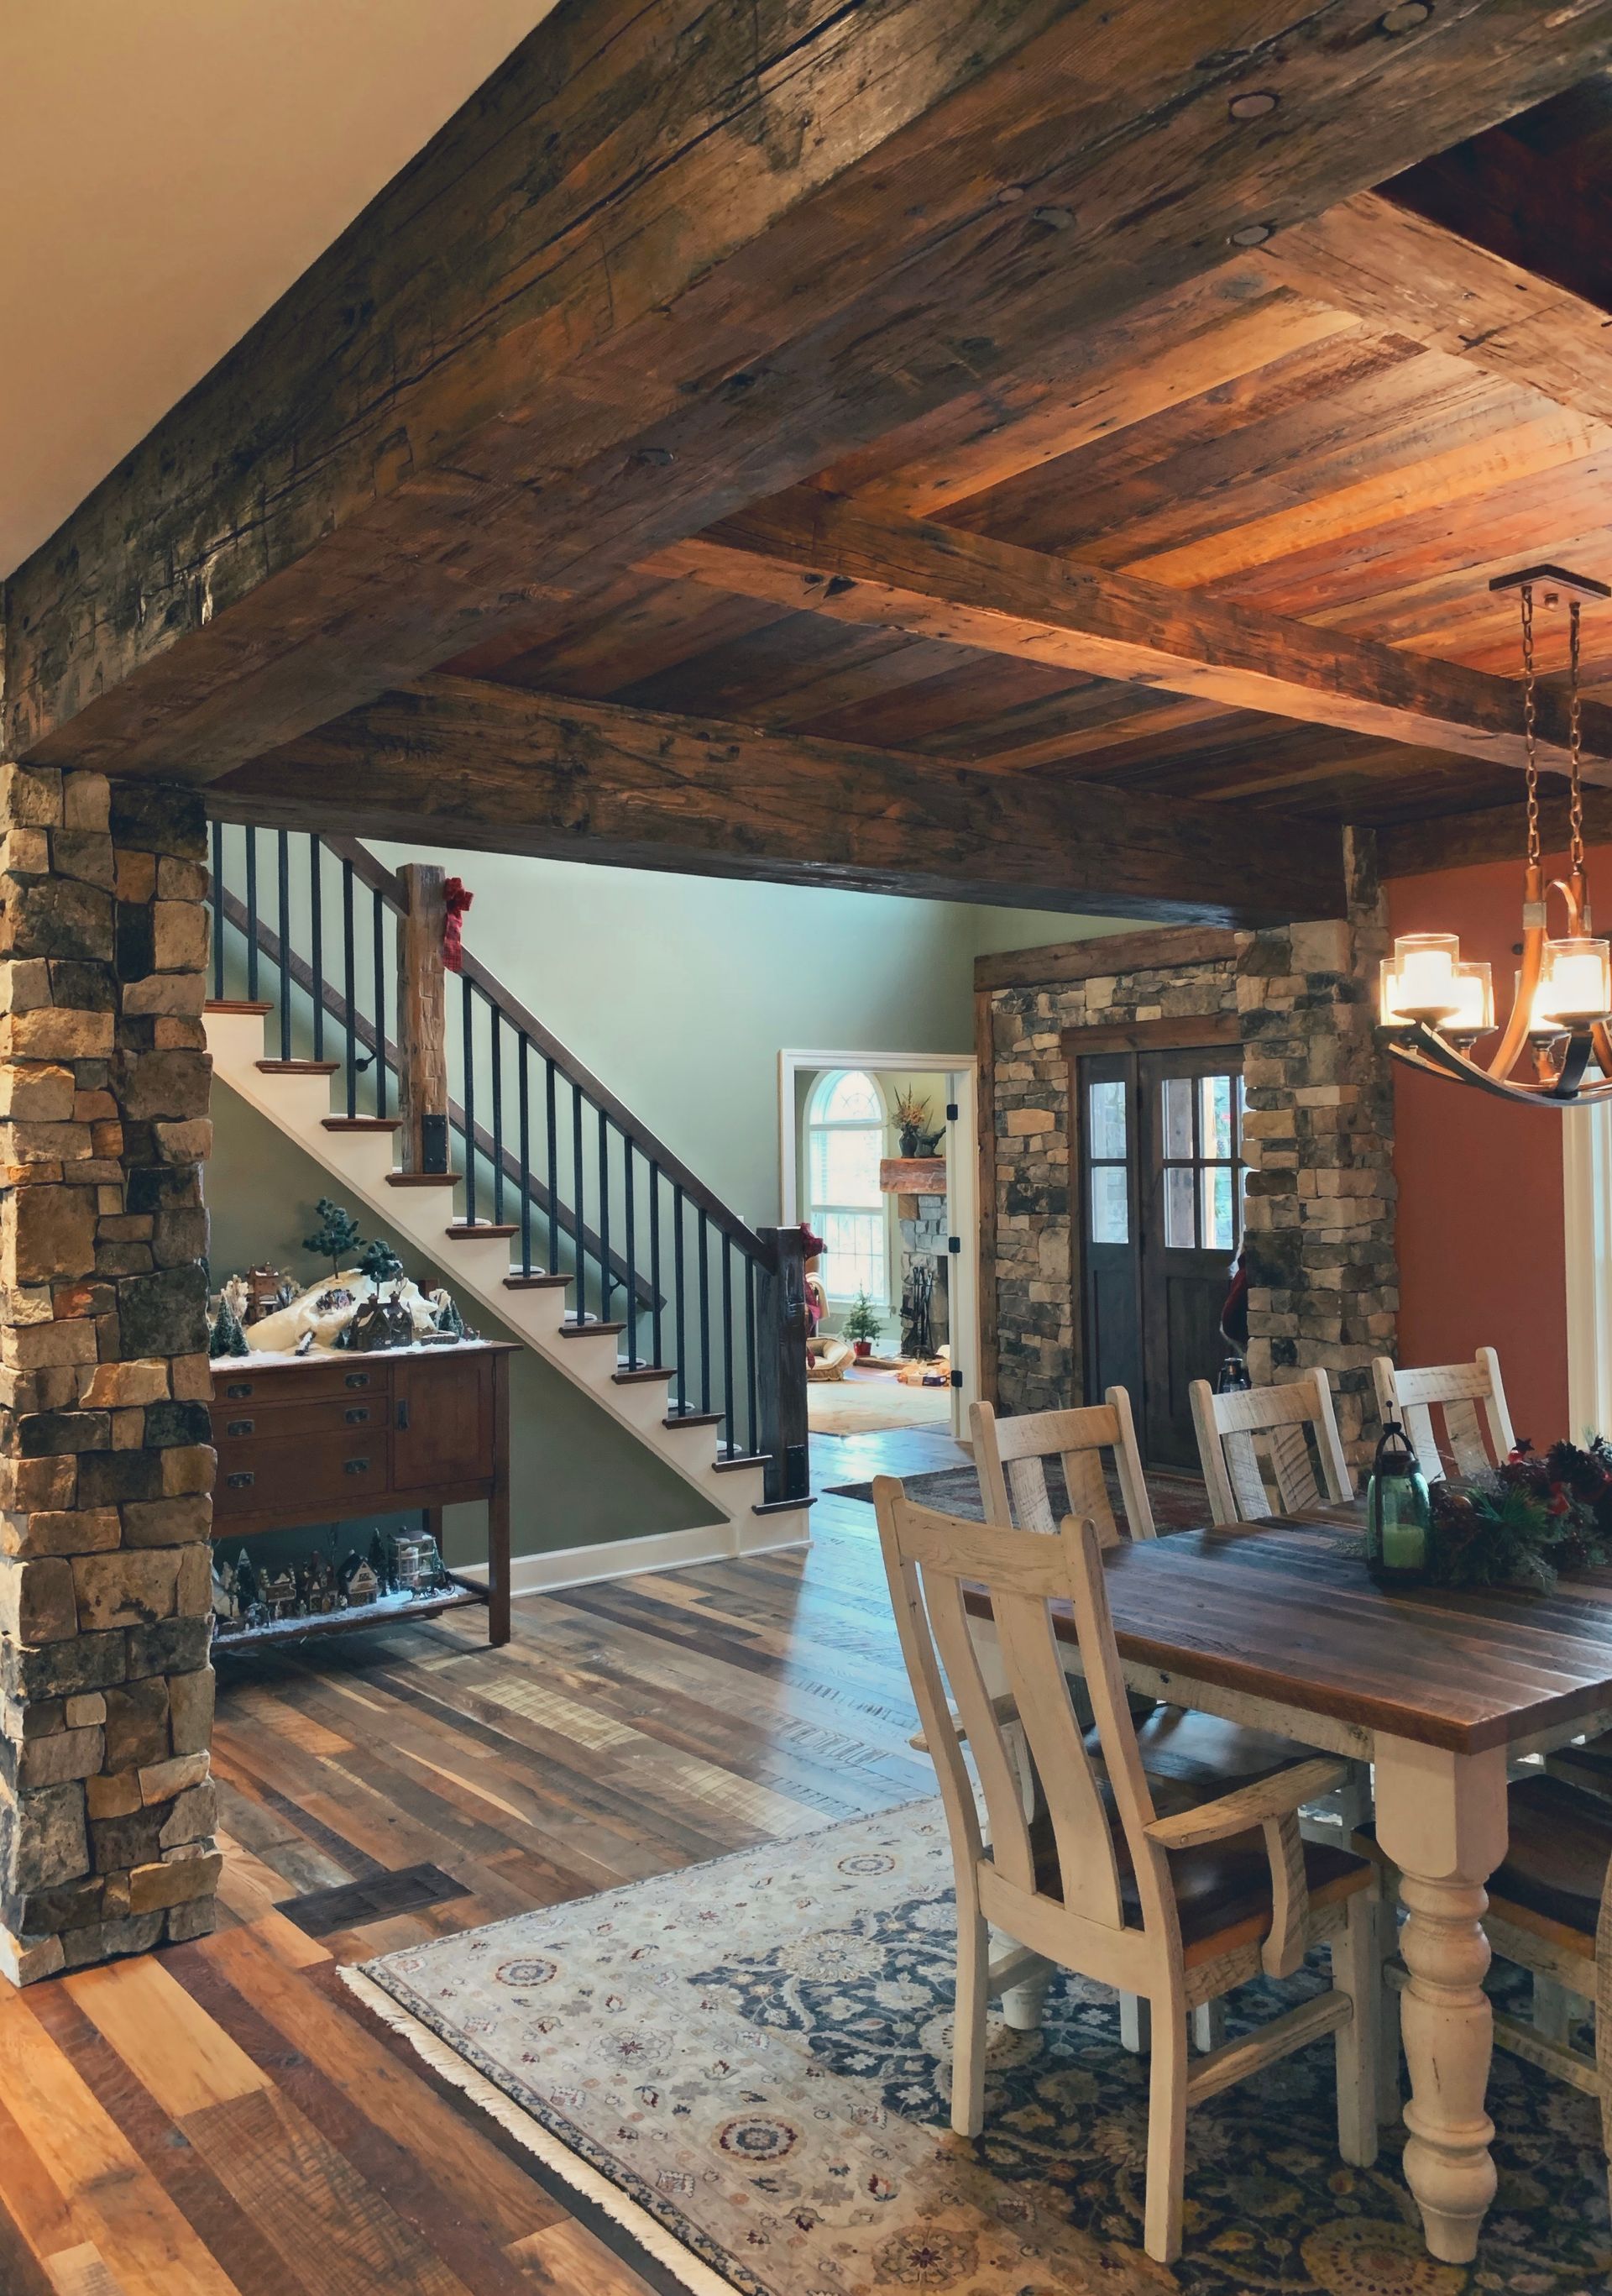
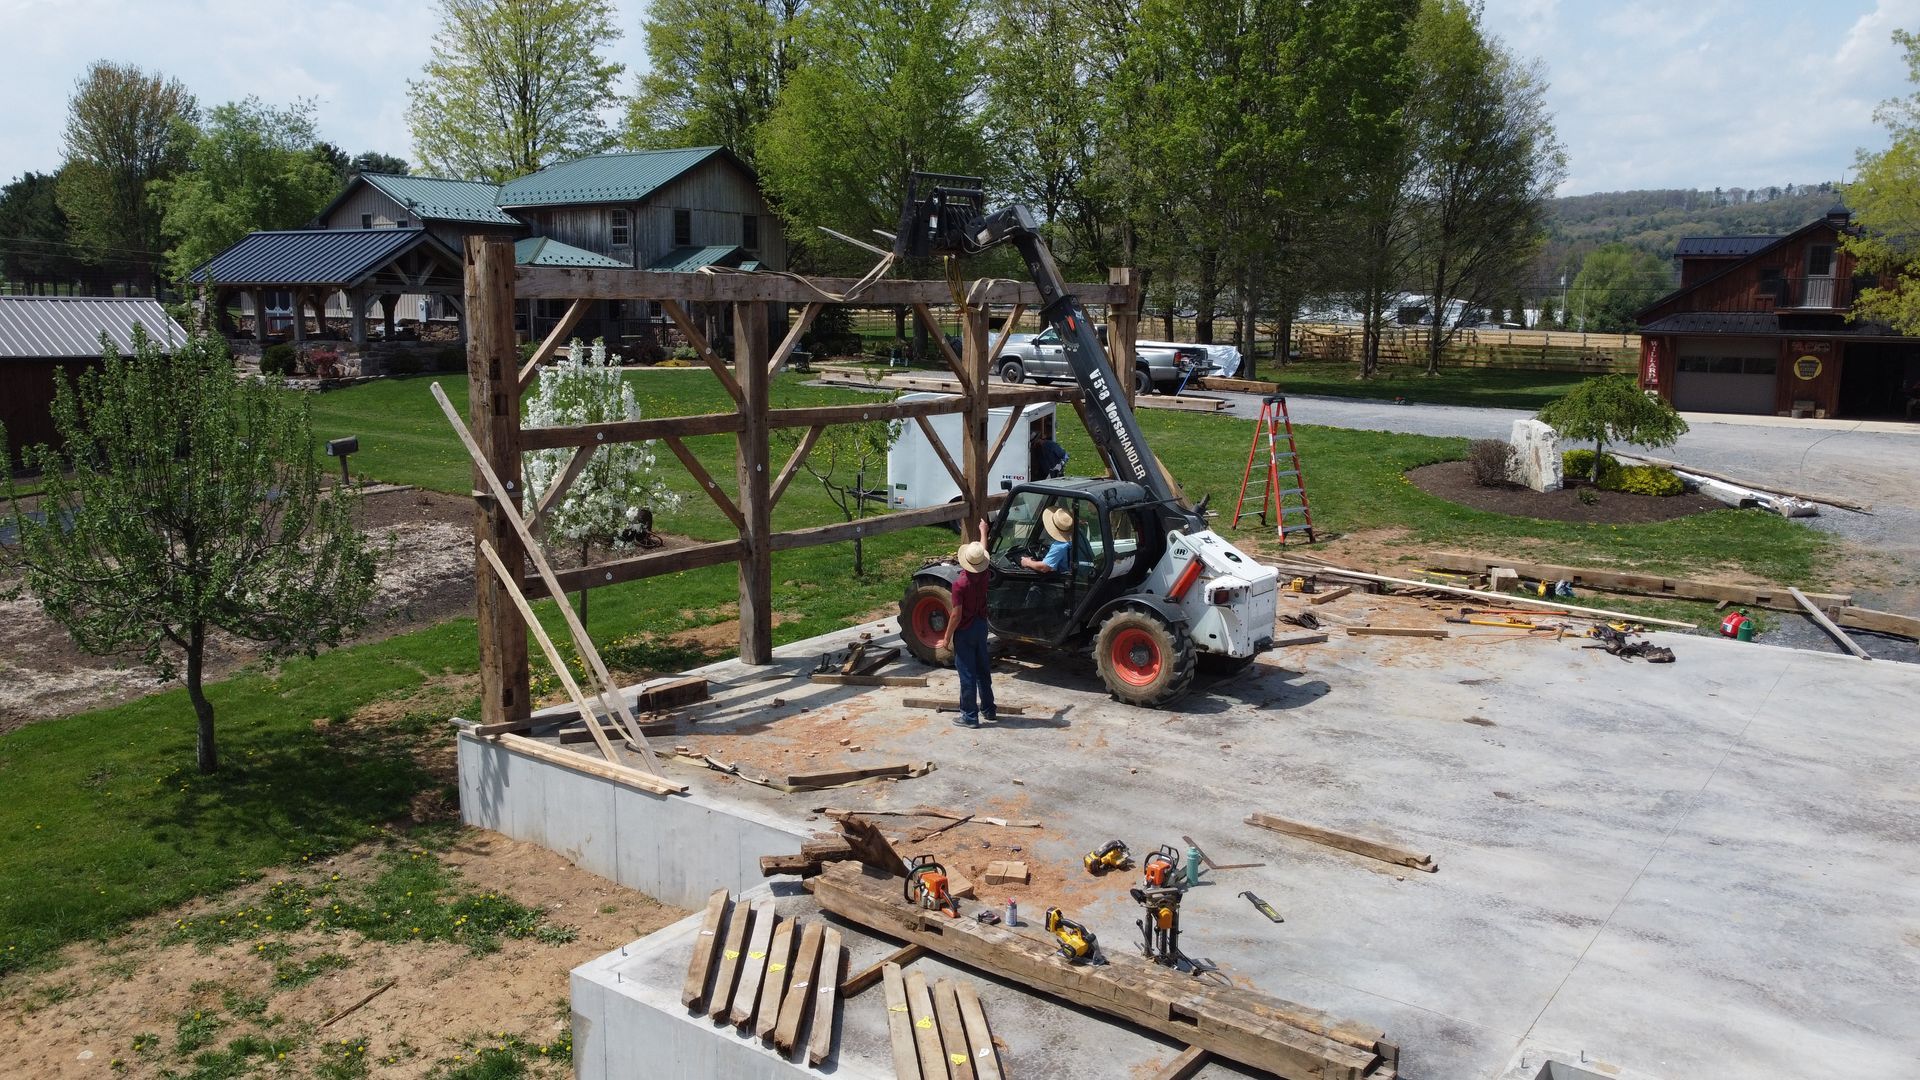
At Bay & Bent, we've been working with historic timber for years. We've seen countless wood pieces with cracks, splits, and damage. And we've learned that butterfly keys are one of the best ways to fix these problems while making your piece even more beautiful.
This guide will show you exactly how to use butterfly keys for wood repair. You'll learn what they are, why they work so well, and how to install them step by step.
What Are Butterfly Keys?
Butterfly keys are small wooden pieces that look like bow ties or butterflies. You might also hear them called bow ties, dutchmen, or dovetail keys. They're all the same thing.
These little wooden patches get set into cracks to stop them from getting bigger. The shape is key here - wider at both ends and narrow in the middle. This creates a lock that grabs the wood fibers on both sides of the crack.
Think of it like a tiny wooden clamp working across the grain. It holds everything together and stops the crack from spreading.
This isn't a new technique either. Woodworkers have used butterfly keys for hundreds of years. There's a reason this method has stuck around - it works.
Why Butterfly Keys Work So Well
Wood never stops moving. It shrinks and swells with changes in humidity and temperature. This movement causes cracks, especially along the grain.
Instead of seeing these cracks as flaws, butterfly keys turn them into features. Here's why they're so effective:
- They Lock Into Place: The double-wedge shape grabs wood fibers on both sides. Once it's in, it's not coming out.
- They Look Great: Rather than hiding the repair, butterfly keys show off your craftsmanship. They add character to any piece.
- They Last: When done right, butterfly keys can last for decades. We've seen them in century-old timber frames still doing their job.
- They Work Everywhere: From thin tabletops to thick beams, butterfly keys adapt to any project.
The key is making them deep enough. Plan for 1/4 to 3/8 inches deep for real structural support.
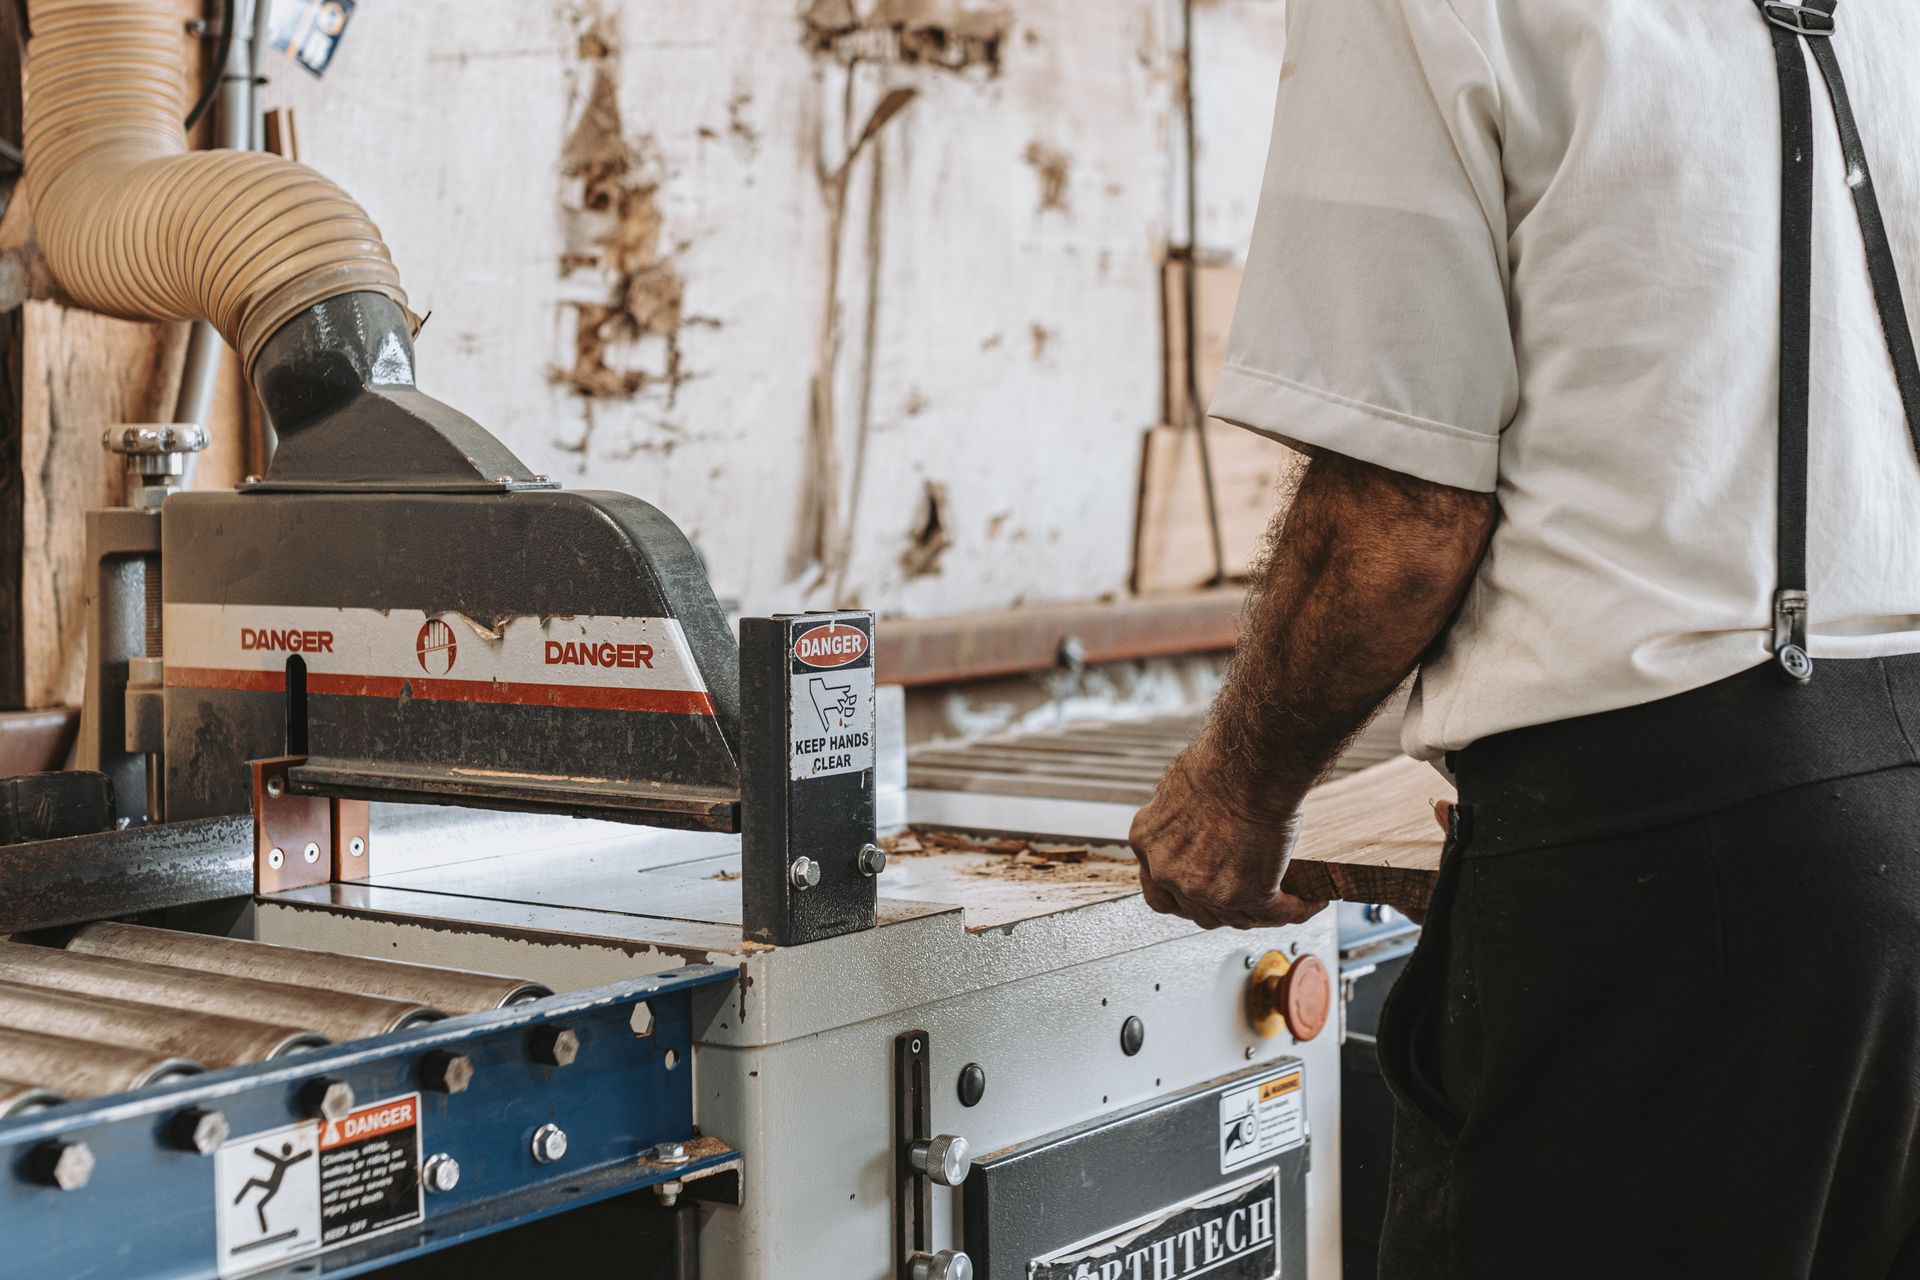
Tools and Materials You Need
Before you start, gather these essential tools:
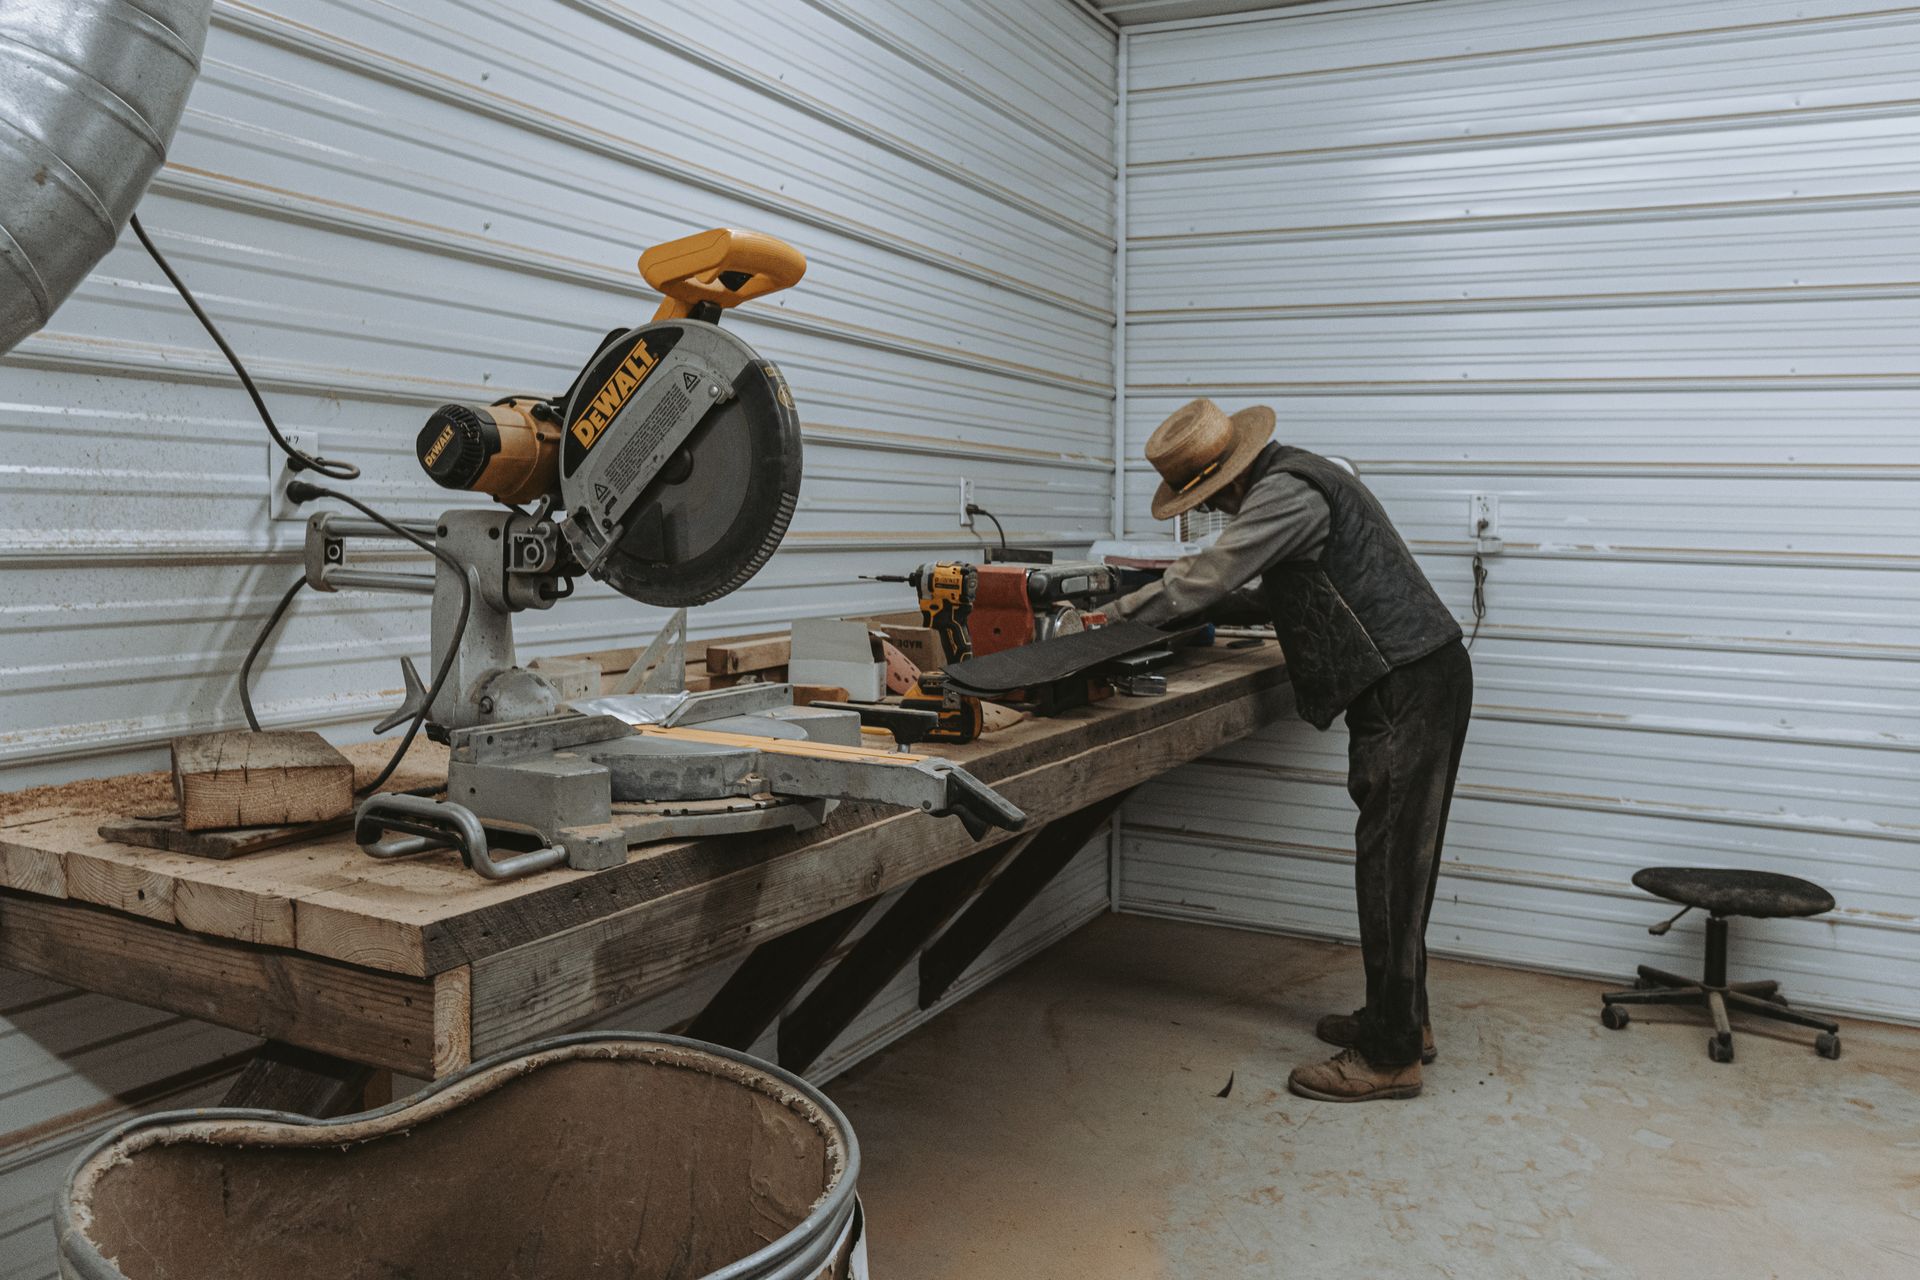
- Bandsaw or coping saw for cutting the key shape
- Sharp chisels (1/4" and 1/2" work best)
- Router with template guide (optional but helpful)
- Marking gauge or knife
- Sandpaper (120-220 grit)
- Wood glue
- Clamps
For the keys themselves, wood choice matters. Many woodworkers use contrasting wood species to make the repair stand out. Others match the original wood for a subtle look. Both approaches work great.
Popular choices include:
- Walnut for dark contrast
- Maple for light contrast
- Cherry for warm tones
- Oak for strength
Step-by-Step Installation Guide
Step 1: Check the Crack
Start by looking at your crack carefully. Clean out any dirt or debris. Figure out if it's still moving or if it has settled.
The crack needs to be stable before you add a butterfly key. If it's still opening and closing with weather changes, wait for it to settle.
Step 2: Make Your Butterfly Key
Cut your butterfly key slightly oversized. The easiest method uses a bandsaw and chisel, especially for thick wood.
The shape should be wider at both ends with a narrow waist in the middle. Make it about 1/8 inch larger than your final size - you can trim it down later.
Step 3: Mark the Location
Place your butterfly key across the crack where it will do the most good. Use a sharp knife to trace around it. This gives you clean, precise lines to follow.
Position matters. The key should cross the crack at its widest point. For long cracks, you might need multiple keys spaced evenly.
Step 4: Cut the Recess
This is where patience pays off. Use your chisel to remove wood from inside your marked lines carefully. Work slowly to avoid tear-out.
Keep checking your depth with a ruler. The recess should be consistent across the entire outline. Clean, square sides make for the best fit.
Step 5: Test the Fit
Your butterfly key should slide in snugly without needing a hammer. If it's too tight, pare down the key. If it's too loose, make a new one.
This step separates good work from great work. Take your time here.
Step 6: Glue and Clamp
Apply a thin layer of wood glue to both the recess and the key. Don't use too much - excess glue just creates cleanup problems.
Insert the key and clamp it down. Let the glue cure according to the manufacturer's directions.
Step 7: Final Shaping
Once the glue has dried, carefully sand the butterfly key flush with the surrounding surface. Start with coarser grit and work your way to finer grits.
The goal is to make the key feel smooth to the touch while maintaining its visual impact.
Design Tips for Better Results
Placement Strategy
Think about both function and looks when placing butterfly keys. They should be where they'll do the most structural good while creating visual balance.
For longer cracks, several smaller keys often work better than one large one. Space them evenly for the best look.
Grain Direction Matters
The grain in your butterfly key should run perpendicular to the crack. This gives maximum strength against the forces that caused the crack in the first place.
Size Guidelines
Bigger isn't always better. The key should be proportional to your piece. A tiny key on a thick beam looks silly. A huge key on a delicate table overwhelms the design.
As a rule of thumb:
- Small pieces (1-2 inches thick): Keys 2-3 inches long
- Medium pieces (2-4 inches thick): Keys 3-5 inches long
- Large pieces (4+ inches thick): Keys 5+ inches long
Common Mistakes to Avoid
Even experienced woodworkers make mistakes with butterfly keys. Here are the biggest ones:
- Keys Too Small: Decorative keys might look nice, but they won't provide structural support. Make them big enough to do the job.
- Wrong Wood Choice: Soft wood or poor grain direction leads to failure. Choose your material carefully.
- Not Deep Enough: Surface-level keys are just decoration. For real crack repair, depth is crucial.
- Ignoring Wood Movement: The key must work with the wood's natural movement, not against it.
- Rushing the Job: This technique is forgiving for beginners, but that doesn't mean you should hurry.
When to Get Professional Help
While butterfly keys are accessible to most woodworkers, some situations need expert help:
- Valuable antique pieces
- Unusual wood species
- Complex structural problems
- Historic preservation projects
At Bay & Bent, we've seen too many valuable pieces damaged by well-meaning but inexperienced repairs. When in doubt, consult a professional.
Advanced Techniques
Multiple Keys
For very long cracks, use several smaller keys instead of one large one. This distributes stress better and looks more balanced.
Space them evenly and vary their sizes slightly for a more organic look.
Decorative Variations
Try different wood species for artistic effect:
- Dark walnut keys in light maple
- Bright cherry keys in dark oak
- Exotic wood keys for special projects
Curved Keys
Standard butterfly keys work for straight cracks. But what about curved splits? You can bend the key shape to follow the crack's path.
This takes more skill but creates stunning results on live-edge pieces and natural wood.
Maintenance and Long-Term Care
Once installed, butterfly keys need little maintenance. The wood will move with seasonal changes, but the key should move with it.
Check them annually for any signs of loosening or damage. A well-installed key should last as long as the surrounding wood.
If you notice movement, don't panic. Small seasonal changes are normal. Only worry if gaps appear or the key starts lifting.
Butterfly Keys vs Other Repair Methods
Butterfly Keys vs Metal Brackets
Metal brackets are strong but obvious. They also expand and contract differently than wood, which can cause problems over time.
Butterfly keys move with the wood and become part of the piece visually.
Butterfly Keys vs Simple Gluing
Just gluing a crack might work temporarily, but it doesn't address the underlying stress. The crack will likely reopen.
Butterfly keys provide mechanical reinforcement that glue alone can't match.
Butterfly Keys vs Replacement
Sometimes people think damaged wood needs replacing. But butterfly keys can save pieces that would otherwise be scrapped.
This is especially important for historic or sentimental pieces where replacement isn't an option.
Conclusion: Turning Problems into Beauty
Take your time with this technique. Choose your materials thoughtfully. Remember that the best repairs enhance rather than hide the wood's natural character.
In our work with historic timber frames, we see this principle daily. The marriage of preservation and function defines the best woodworking traditions. Butterfly keys embody this philosophy perfectly.
Your next crack doesn't have to be a problem. With butterfly keys, it can become your favorite feature.