How to Install a Reclaimed Wood Wall in Just One Weekend
Transform your space with a stunning reclaimed wood wall
Installing a reclaimed wood wall might seem challenging, but with planning and the right steps, most homeowners can finish this project in one weekend. The key is preparing well and understanding how to work with reclaimed materials. Want to try installing your reclaimed wall in just one weekend? Here’s how:
Weekend Project Plan
Friday Evening: Get Everything Ready
Clear the room, cover the floors with drop cloths, and remove any old wall coverings. Make sure the wall is clean and even. Gather all your tools and materials so you can start right away on Saturday.
Saturday: Main Installation Day
Spend the day measuring, cutting, and installing most of your wood planks. If you work steadily, you can cover the entire wall in one day.
Sunday: Finishing Touches
Finish any remaining installation, add trim, and apply a wood finish if desired. Complete the cleanup and enjoy your transformed room.
Tools and Materials You’ll Need
Tools
- Miter saw or circular saw
- Drill with different bits
- Level (at least 4 feet long)
- Stud finder
- Measuring tape
- Safety glasses and a dust mask
- Nail gun or hammer with nails
Materials
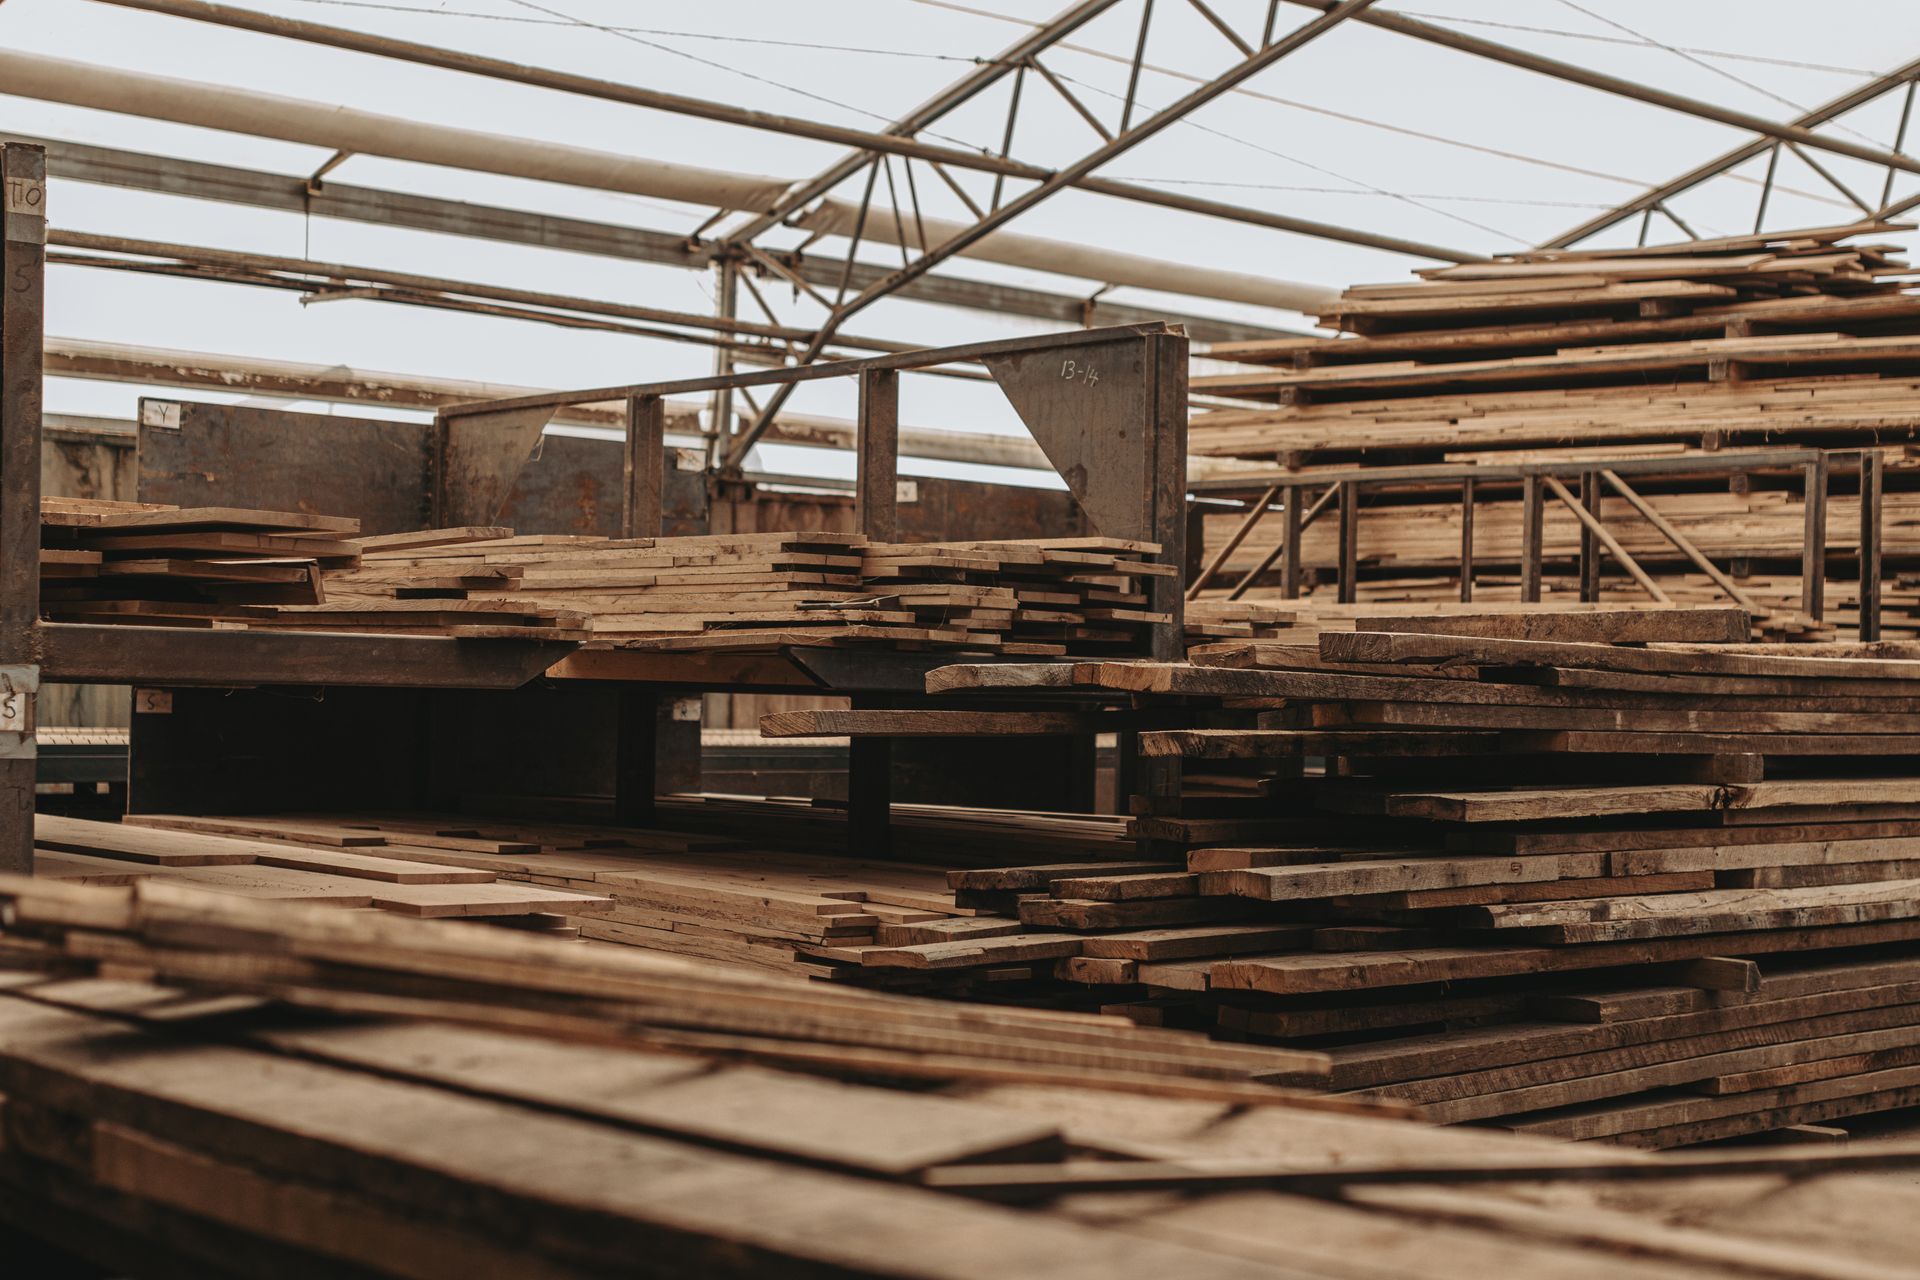
- Reclaimed wood planks (get 10% more than needed for mistakes or waste)
- Wood glue
- Finish nails or brad nails
- Sandpaper (different grits)
- Wood finish or sealant (optional)
Getting Your Reclaimed Wood Ready
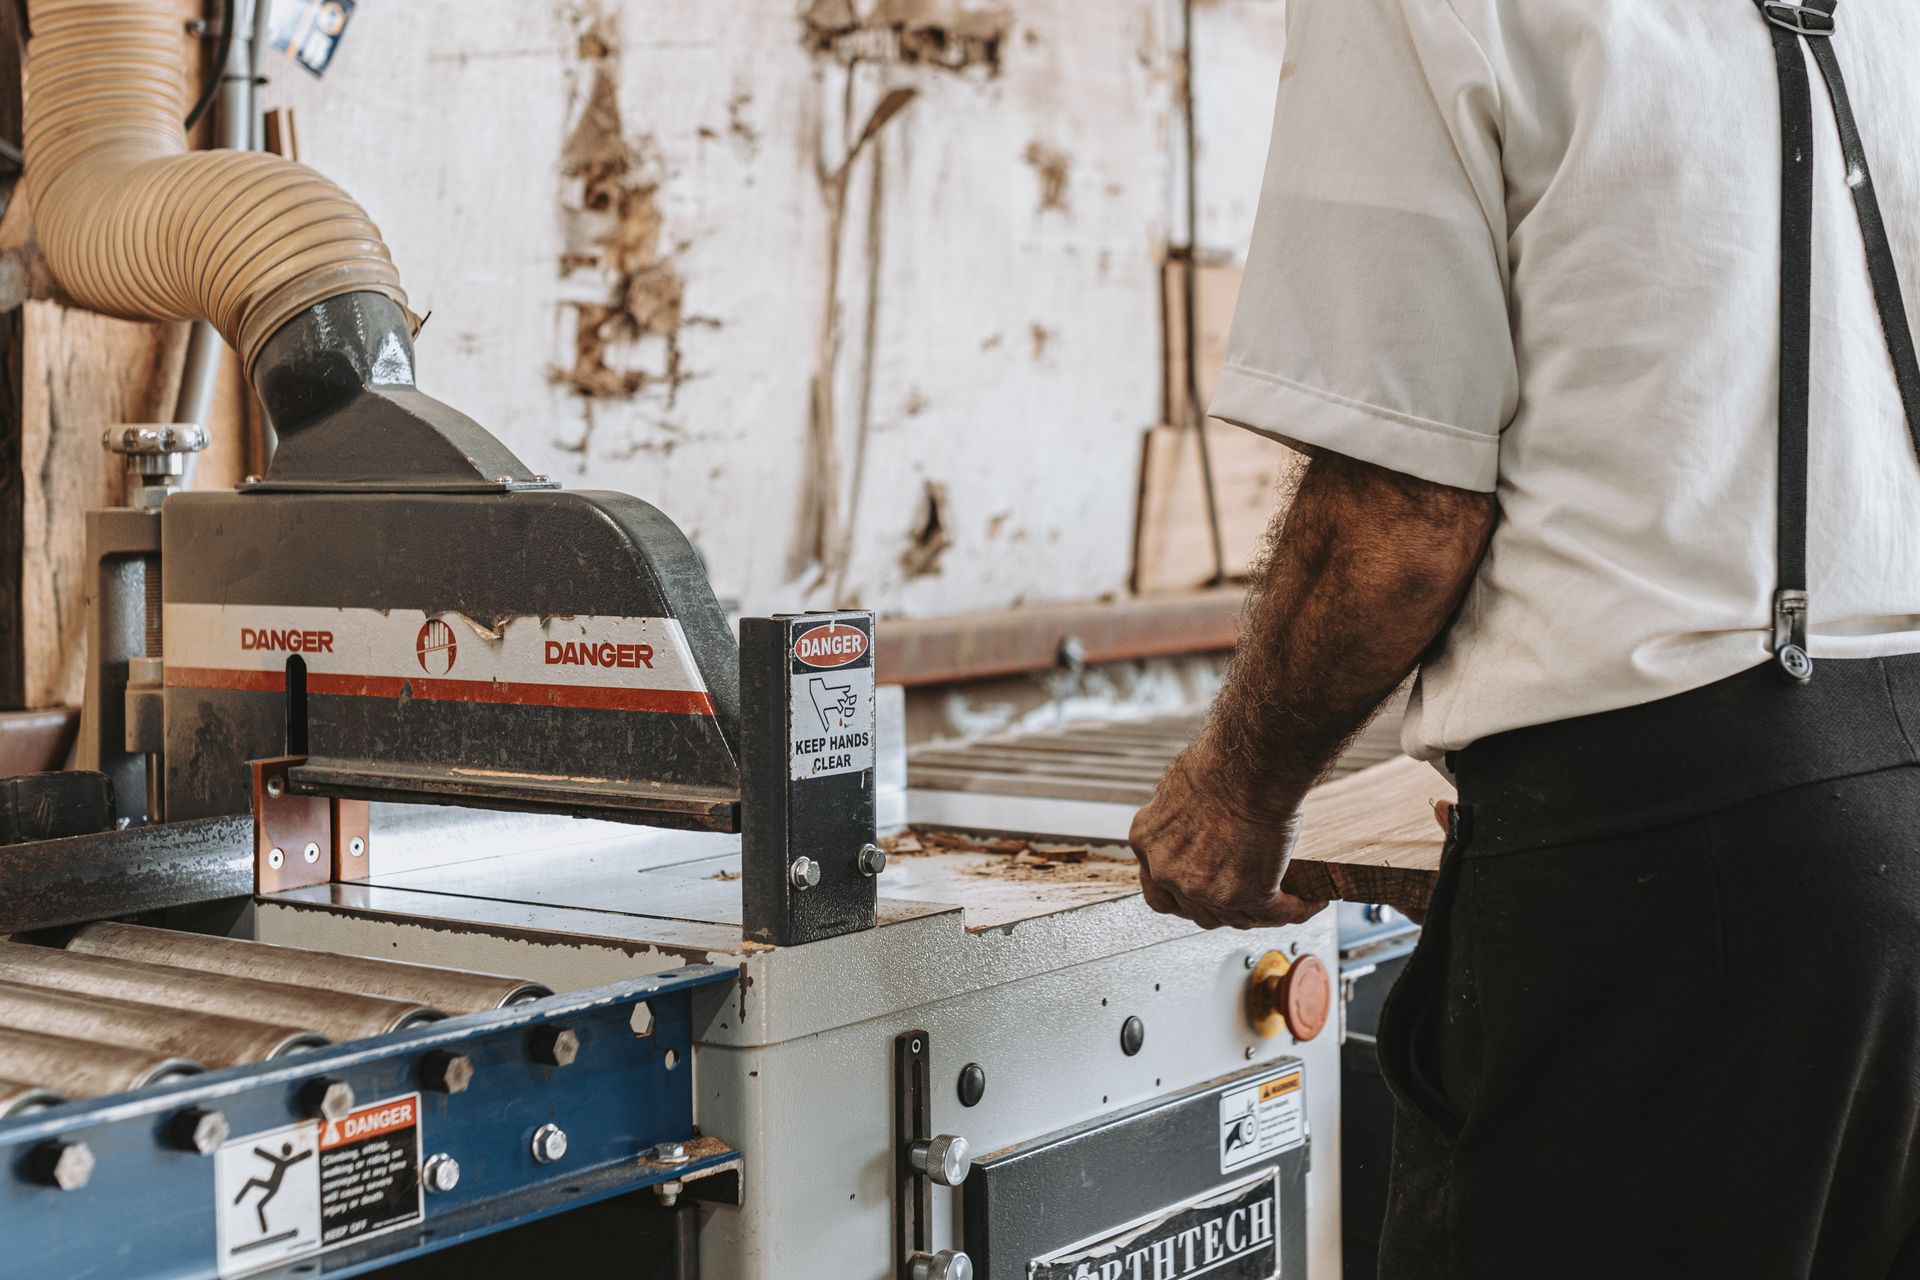
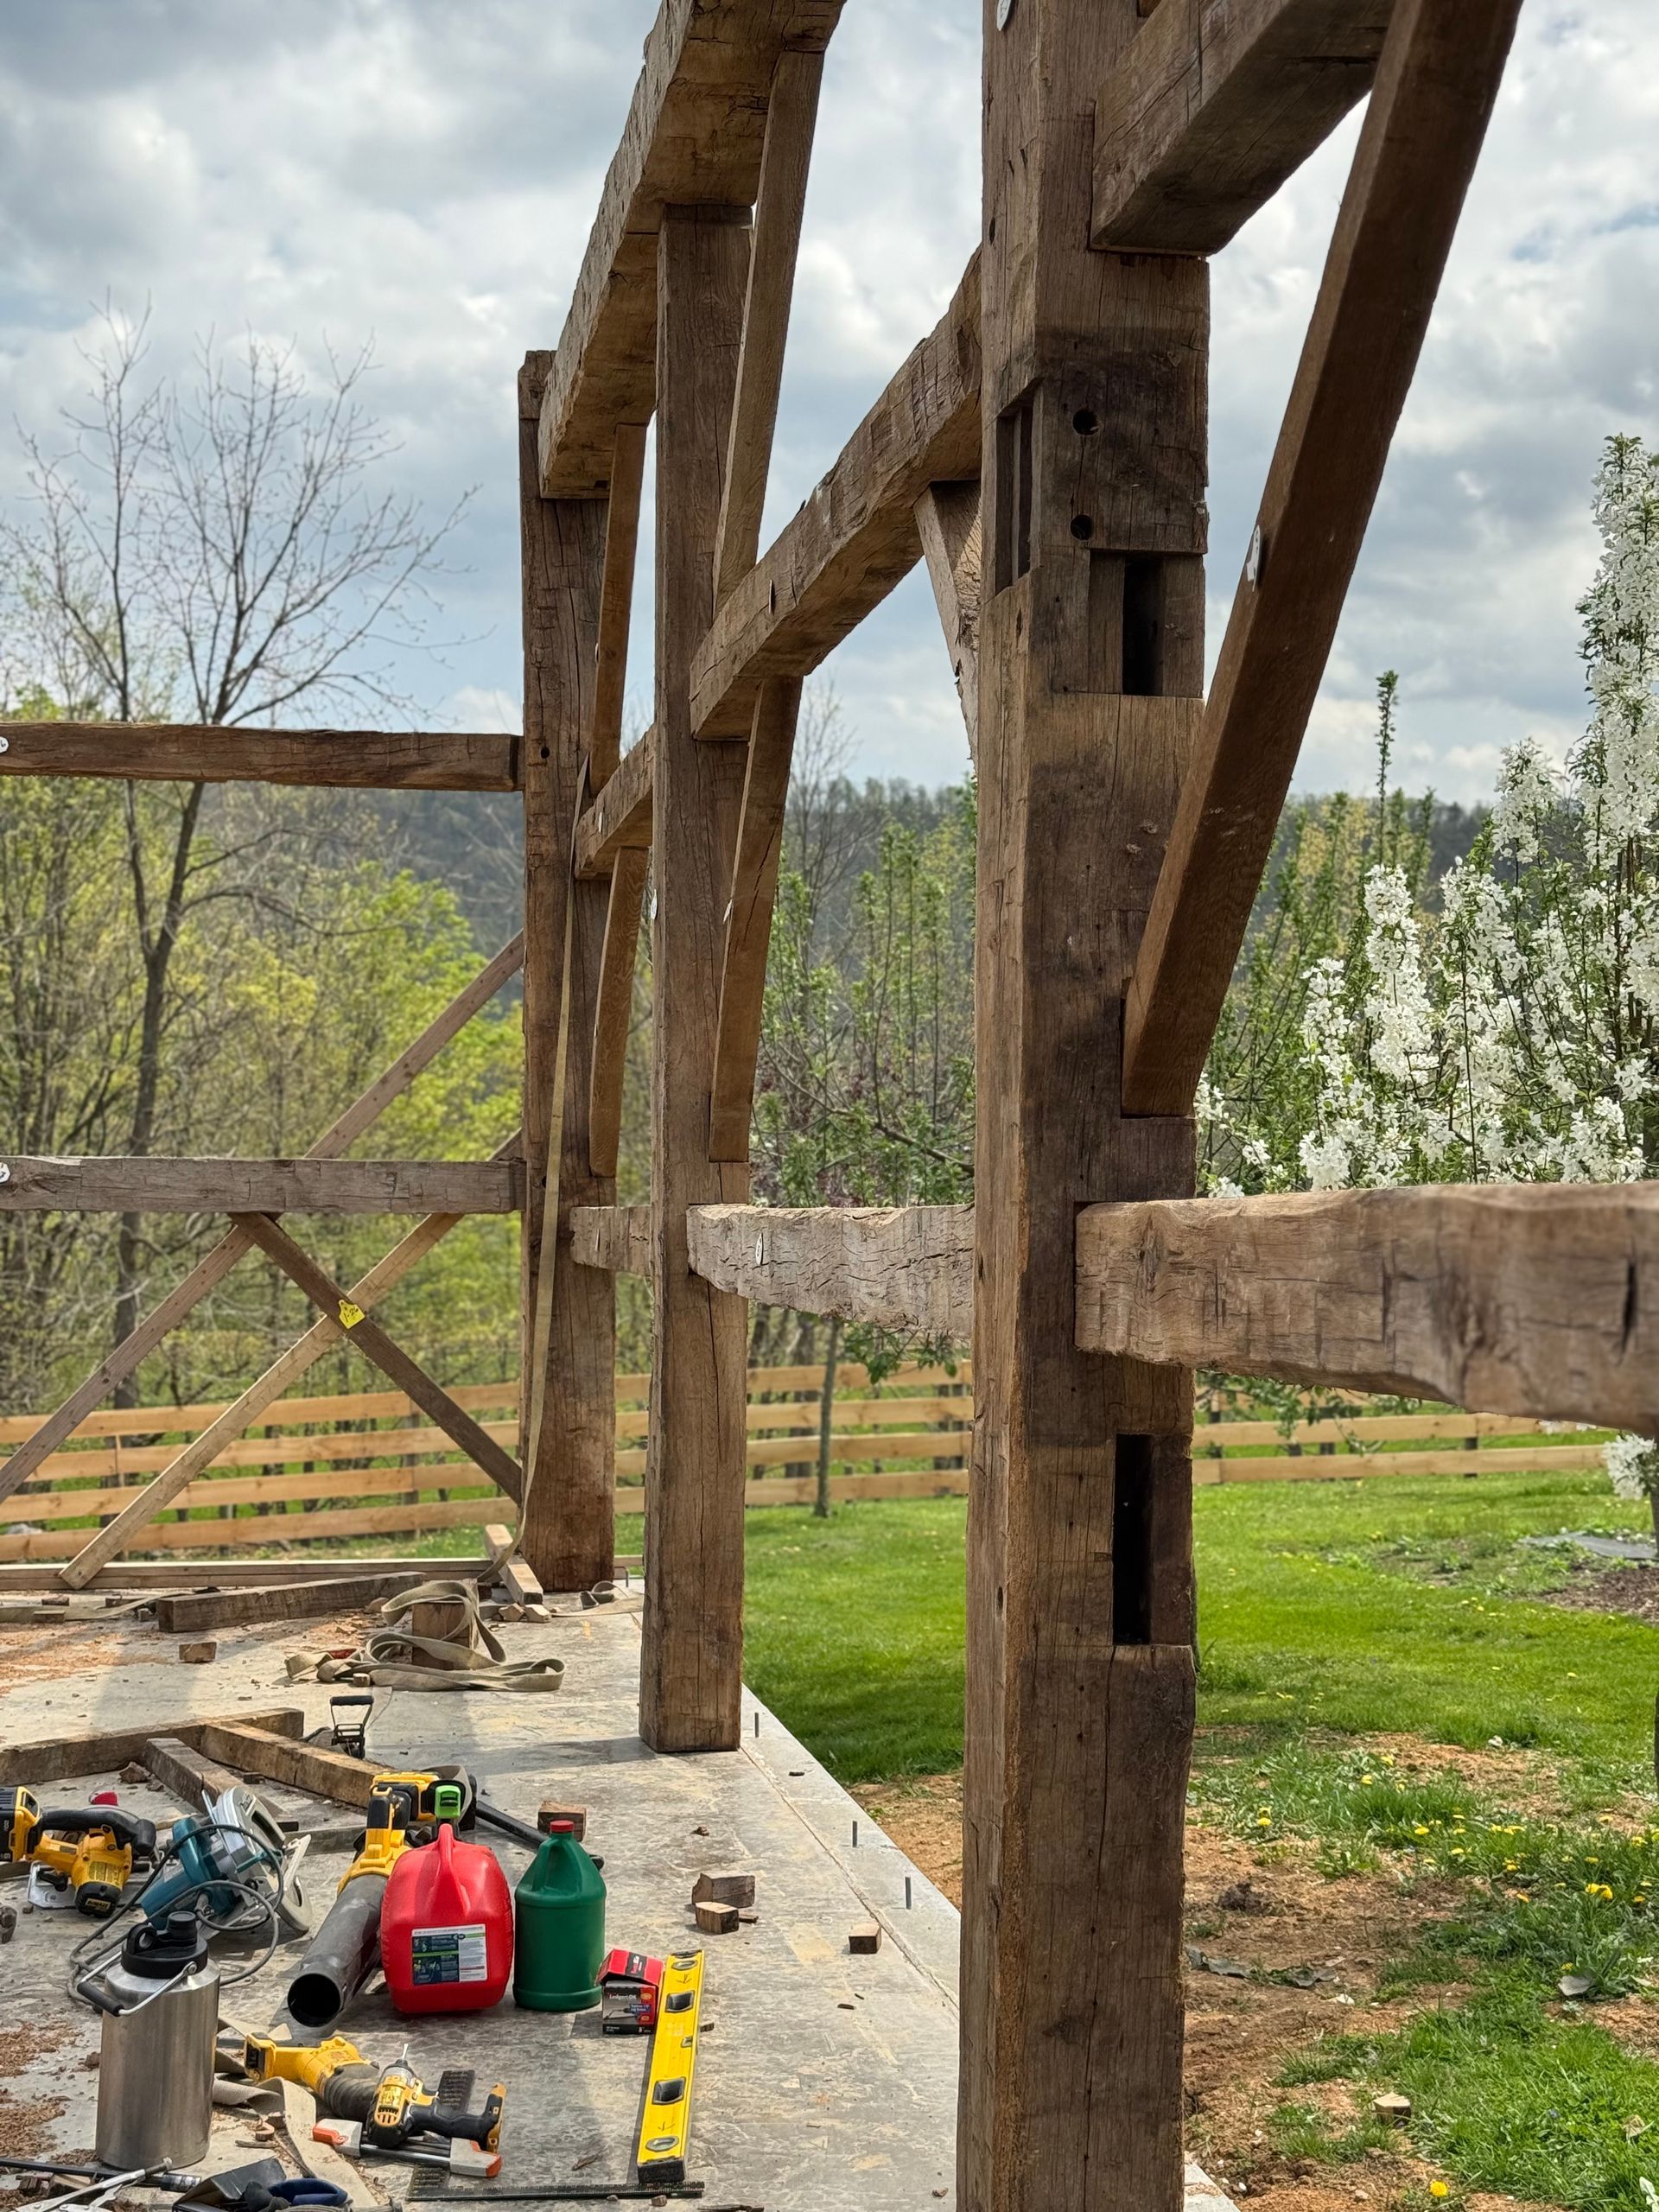
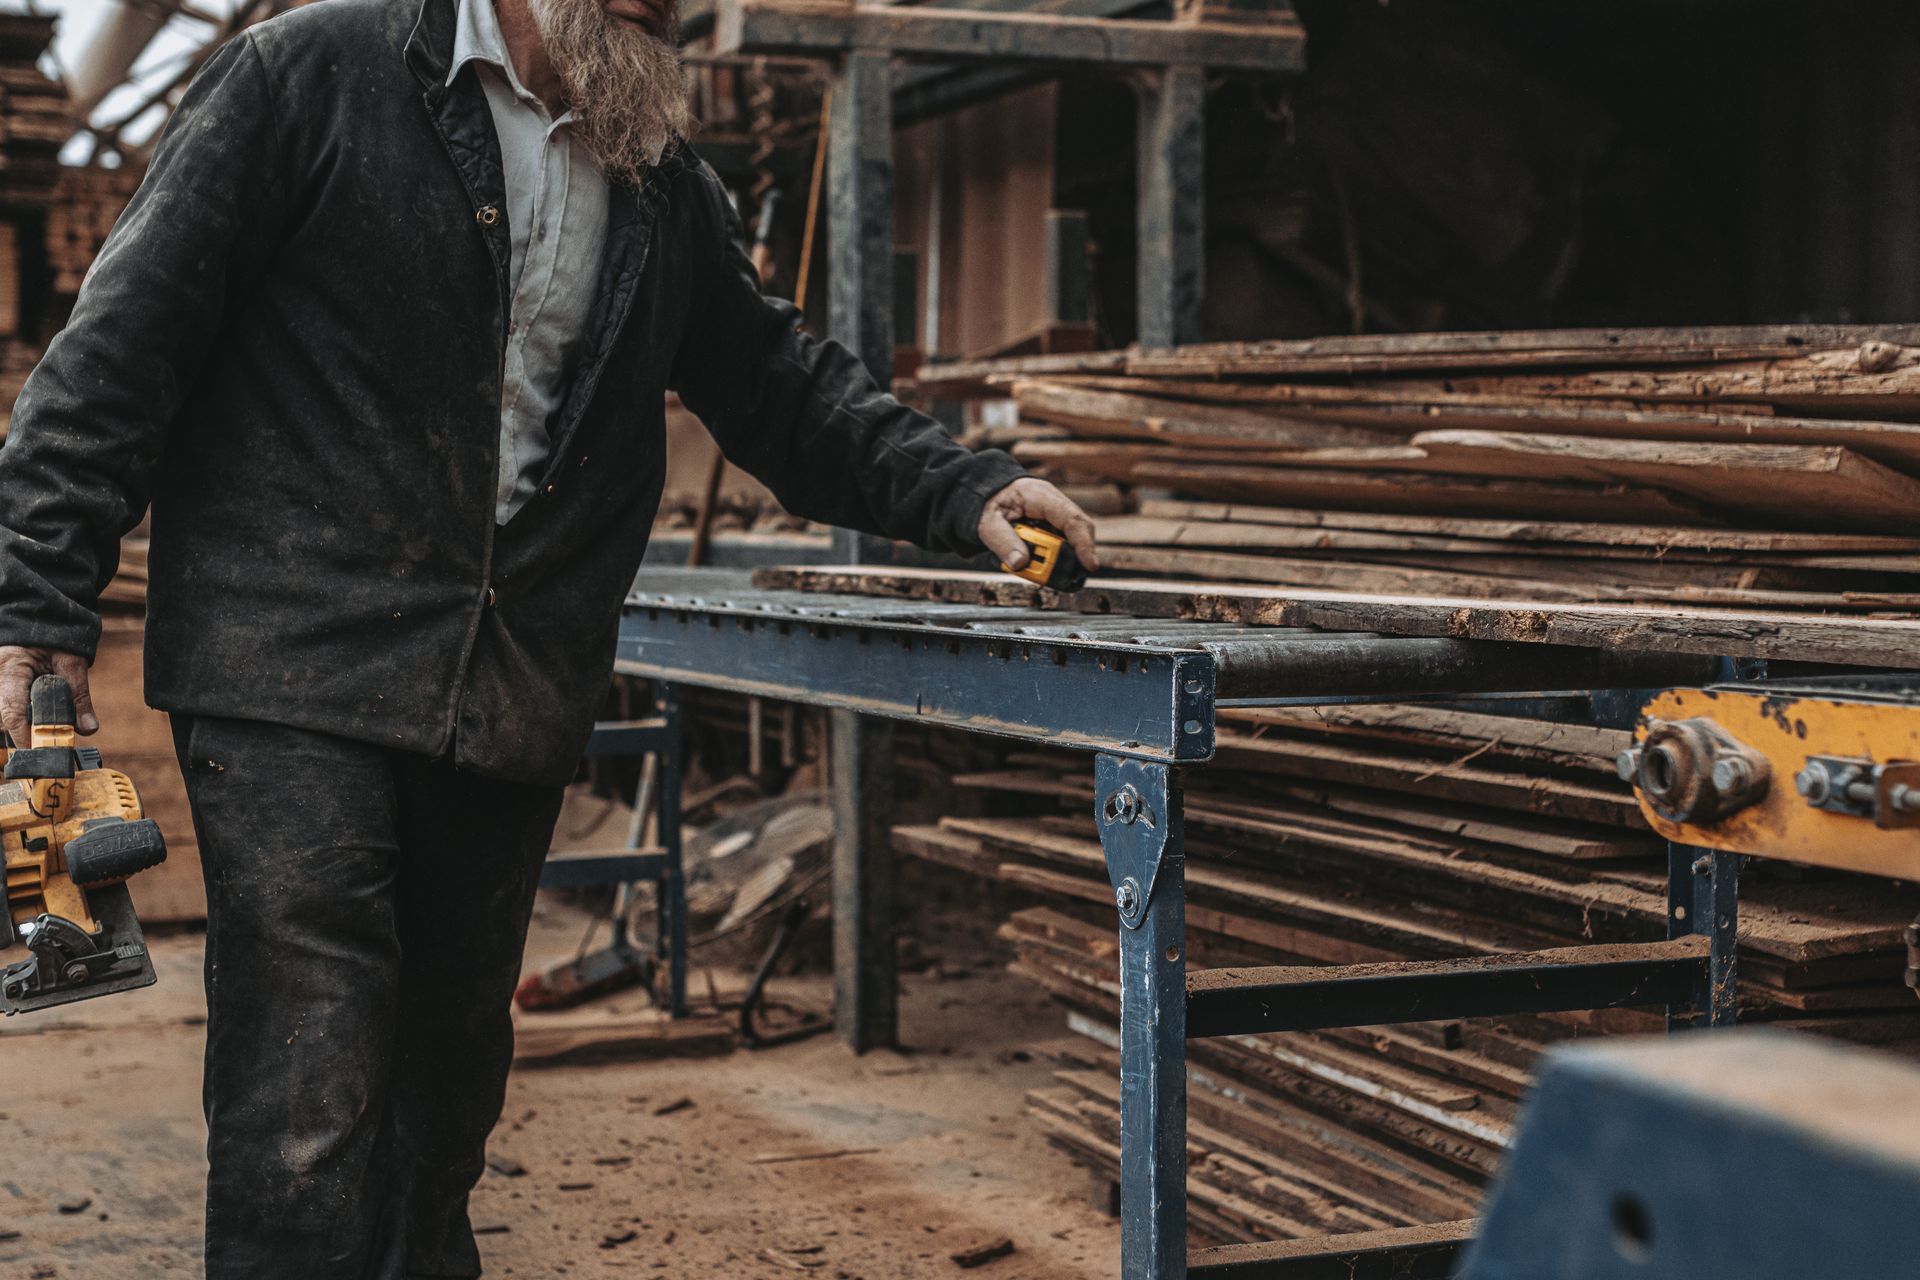
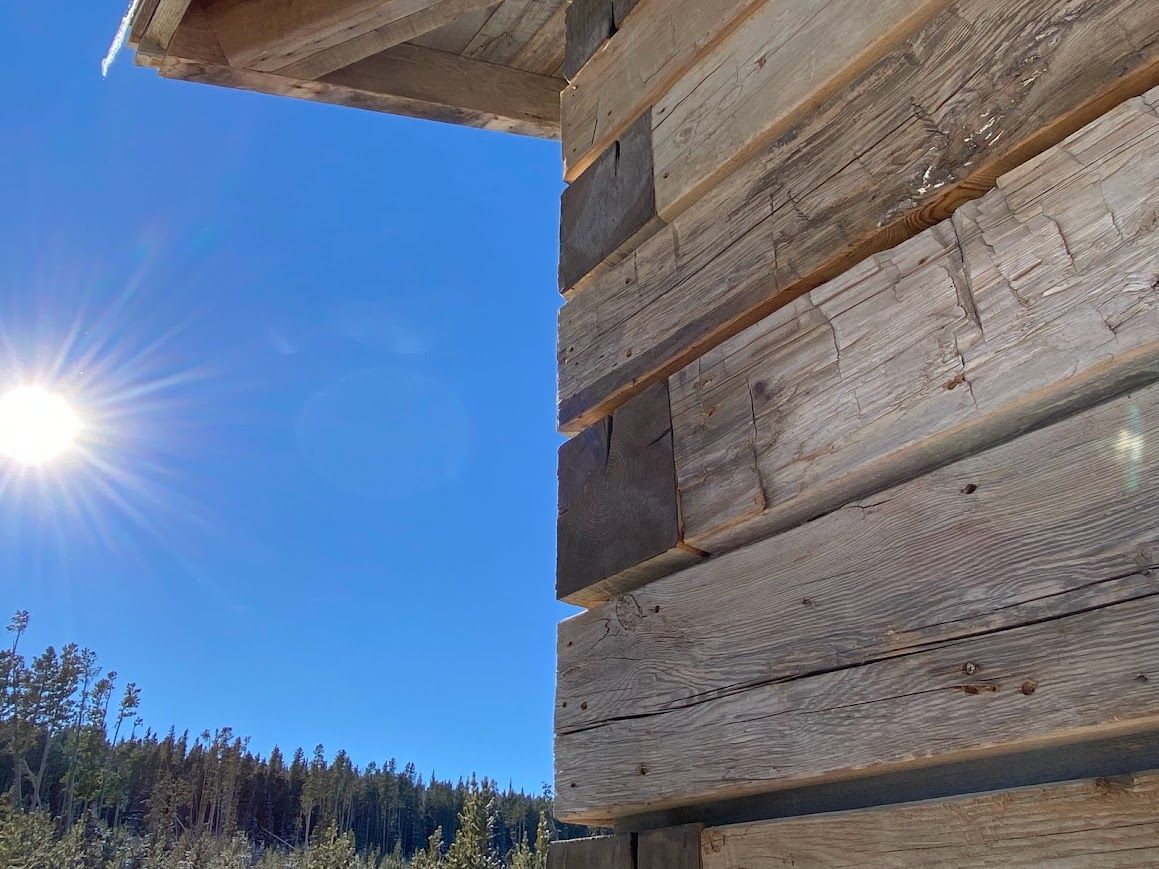
Reclaimed wood often needs preparation before you can install it. Check each plank for loose nails, splinters, or damage that might make it unsafe to use.
Remove old nails or metal bits with pliers or a pry bar. Sand rough spots enough to make them smooth, but don’t sand away the wood’s character. Check the thickness and width of the planks. Some variation adds charm, but big differences can make installation harder.
Prepping Your Wall
Check the Wall
Make sure your wall is strong and mostly even. Fix any big problems before you begin.
Watch for Moisture
Reclaimed wood should sit in your home for 48 hours before installation to adjust to the humidity. This keeps the wood from shifting after it’s installed.
Plan the Layout
Measure your wall carefully and think about how you want the planks to look. Plan around windows, doors, and corners to avoid waste and awkward patterns.
Installing the Wood
Start in the Right Spot
Begin with the most noticeable area, like eye level, where flaws are easiest to spot. Use a level to make sure your first row is perfectly straight. This will guide the rest of the rows.
Secure the Planks
Attach the wood directly to the wall studs for strength. Use construction adhesive for extra support, but don’t rely on glue alone.
Work with the Wood’s Quirks
Reclaimed wood varies in thickness and size. Use shims under thinner planks to keep the wall surface even and accept the natural imperfections that give reclaimed wood its charm.
Tips for a Better Process
- Measure Twice Before Cutting: Reclaimed wood can’t always be replaced if you make a mistake. Be sure of your measurements before making cuts.
- Cut in Batches: Cutting multiple pieces at once saves time and helps maintain visual balance in color and grain patterns.
- Stay Safe: Always wear safety glasses and gloves to protect yourself from splinters, nails, or dust.
Finishing Your Installation
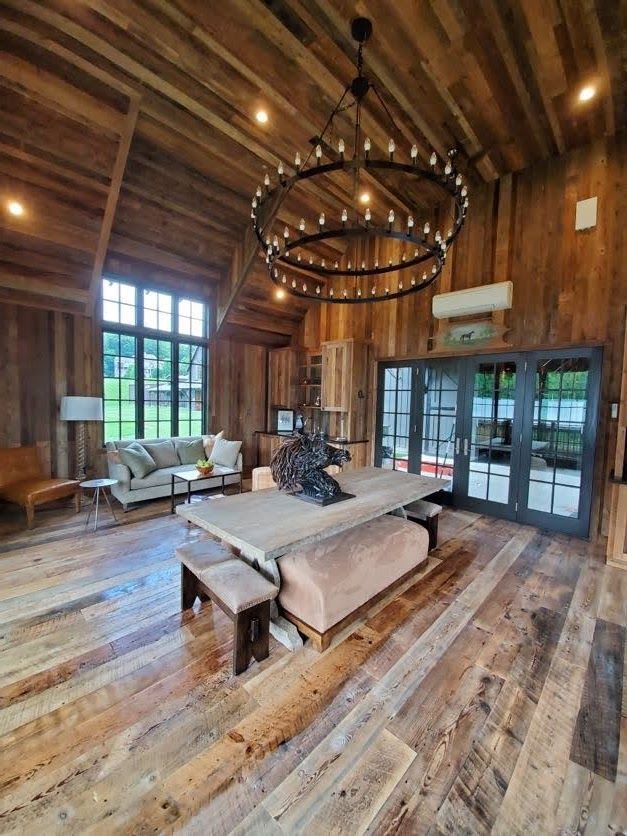
Leave it Natural
Many people prefer to leave the wood as-is to keep its natural look. This option requires little maintenance.
Add a Sealant
A clear sealer can protect the wood from moisture and dirt without changing its appearance. Test the finish on a small area first.
Enhance with Stain
If you want a more even color or a specific look, a light stain can bring out the grain without hiding the wood’s character.
Handling Common Challenges
- Uneven Surfaces: Use shims or careful sanding to fix uneven areas without losing the wood’s charm.
- Dealing with Outlets: Plan well and consider relocating outlets with help from an electrician if they interfere with your layout.
- Corners: Inside and outside corners can be tricky. Using trim pieces can help create clean, neat transitions.
Important Considerations
- Give Yourself Time: While you can finish in a weekend, unexpected challenges may come up. Stay flexible and be patient.
- Post-Installation Maintenance: Once the wall is up, regular dusting and occasional checks for loose planks are all that’s needed.
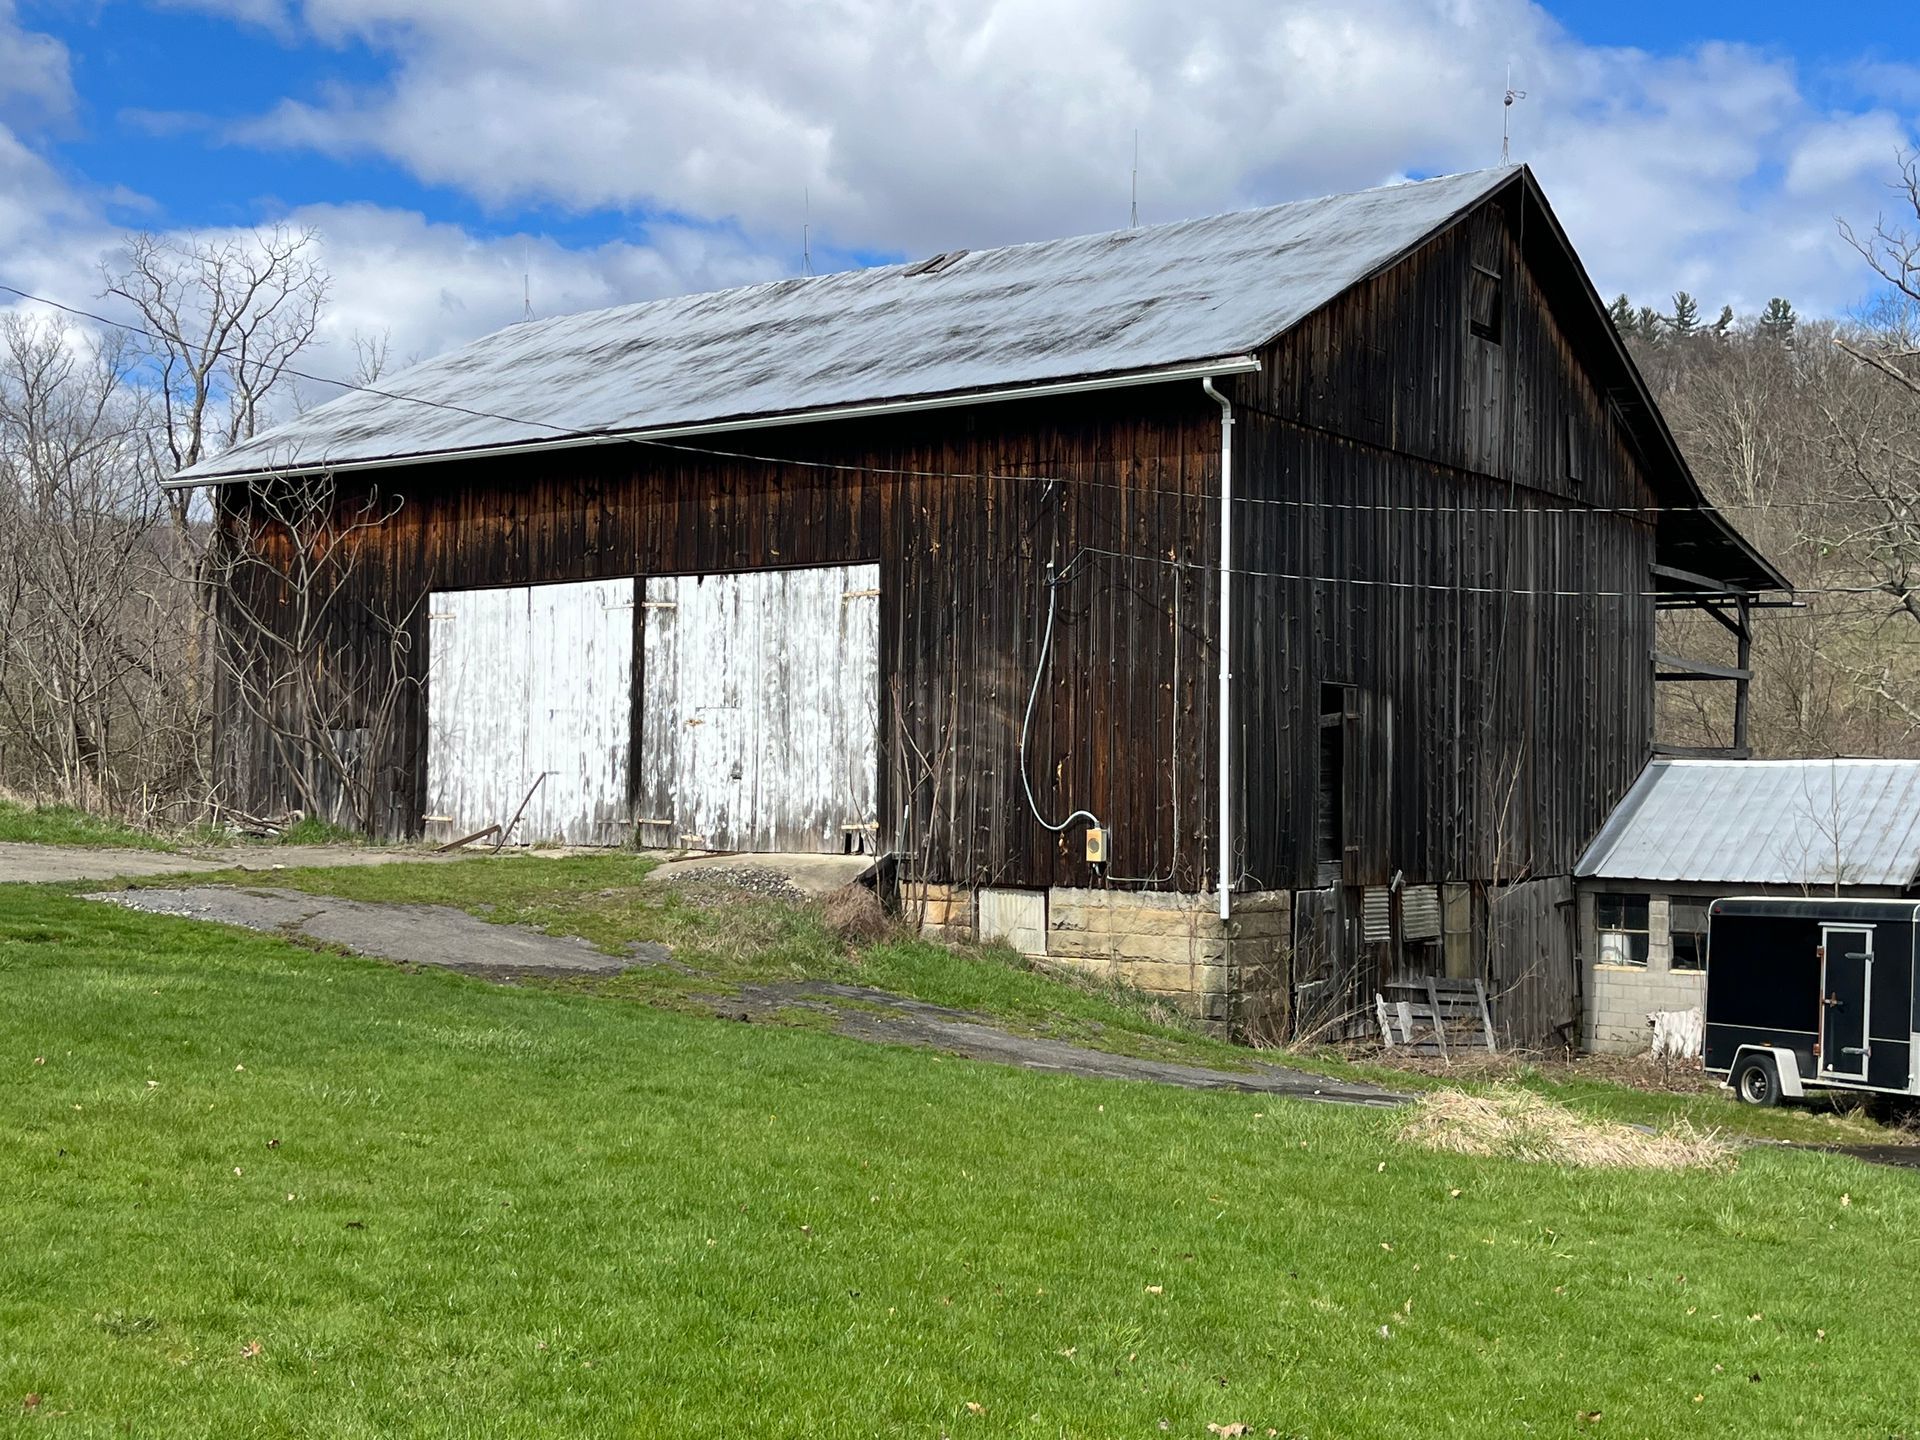
Why Choose Bay & Bent for Reclaimed Materials?
When you choose Bay & Bent, you’re not just getting materials; you’re investing in premium-quality reclaimed wood that’s full of charm and durability. This means your DIY reclaimed wood wall will stand as a unique and timeless feature of your home.
Start your project with confidence by selecting materials from experts who share your passion for creative, sustainable design. Visit
Bay & Bent's website to learn more about our mission and explore our stunning selection of reclaimed wood.
Final Thoughts
The success of this project depends on preparation and patience. By planning, understanding the materials, and working carefully, you can create a beautiful reclaimed wood wall. Remember that small imperfections are part of the charm, so enjoy the natural beauty and unique story your wood wall brings to your space.